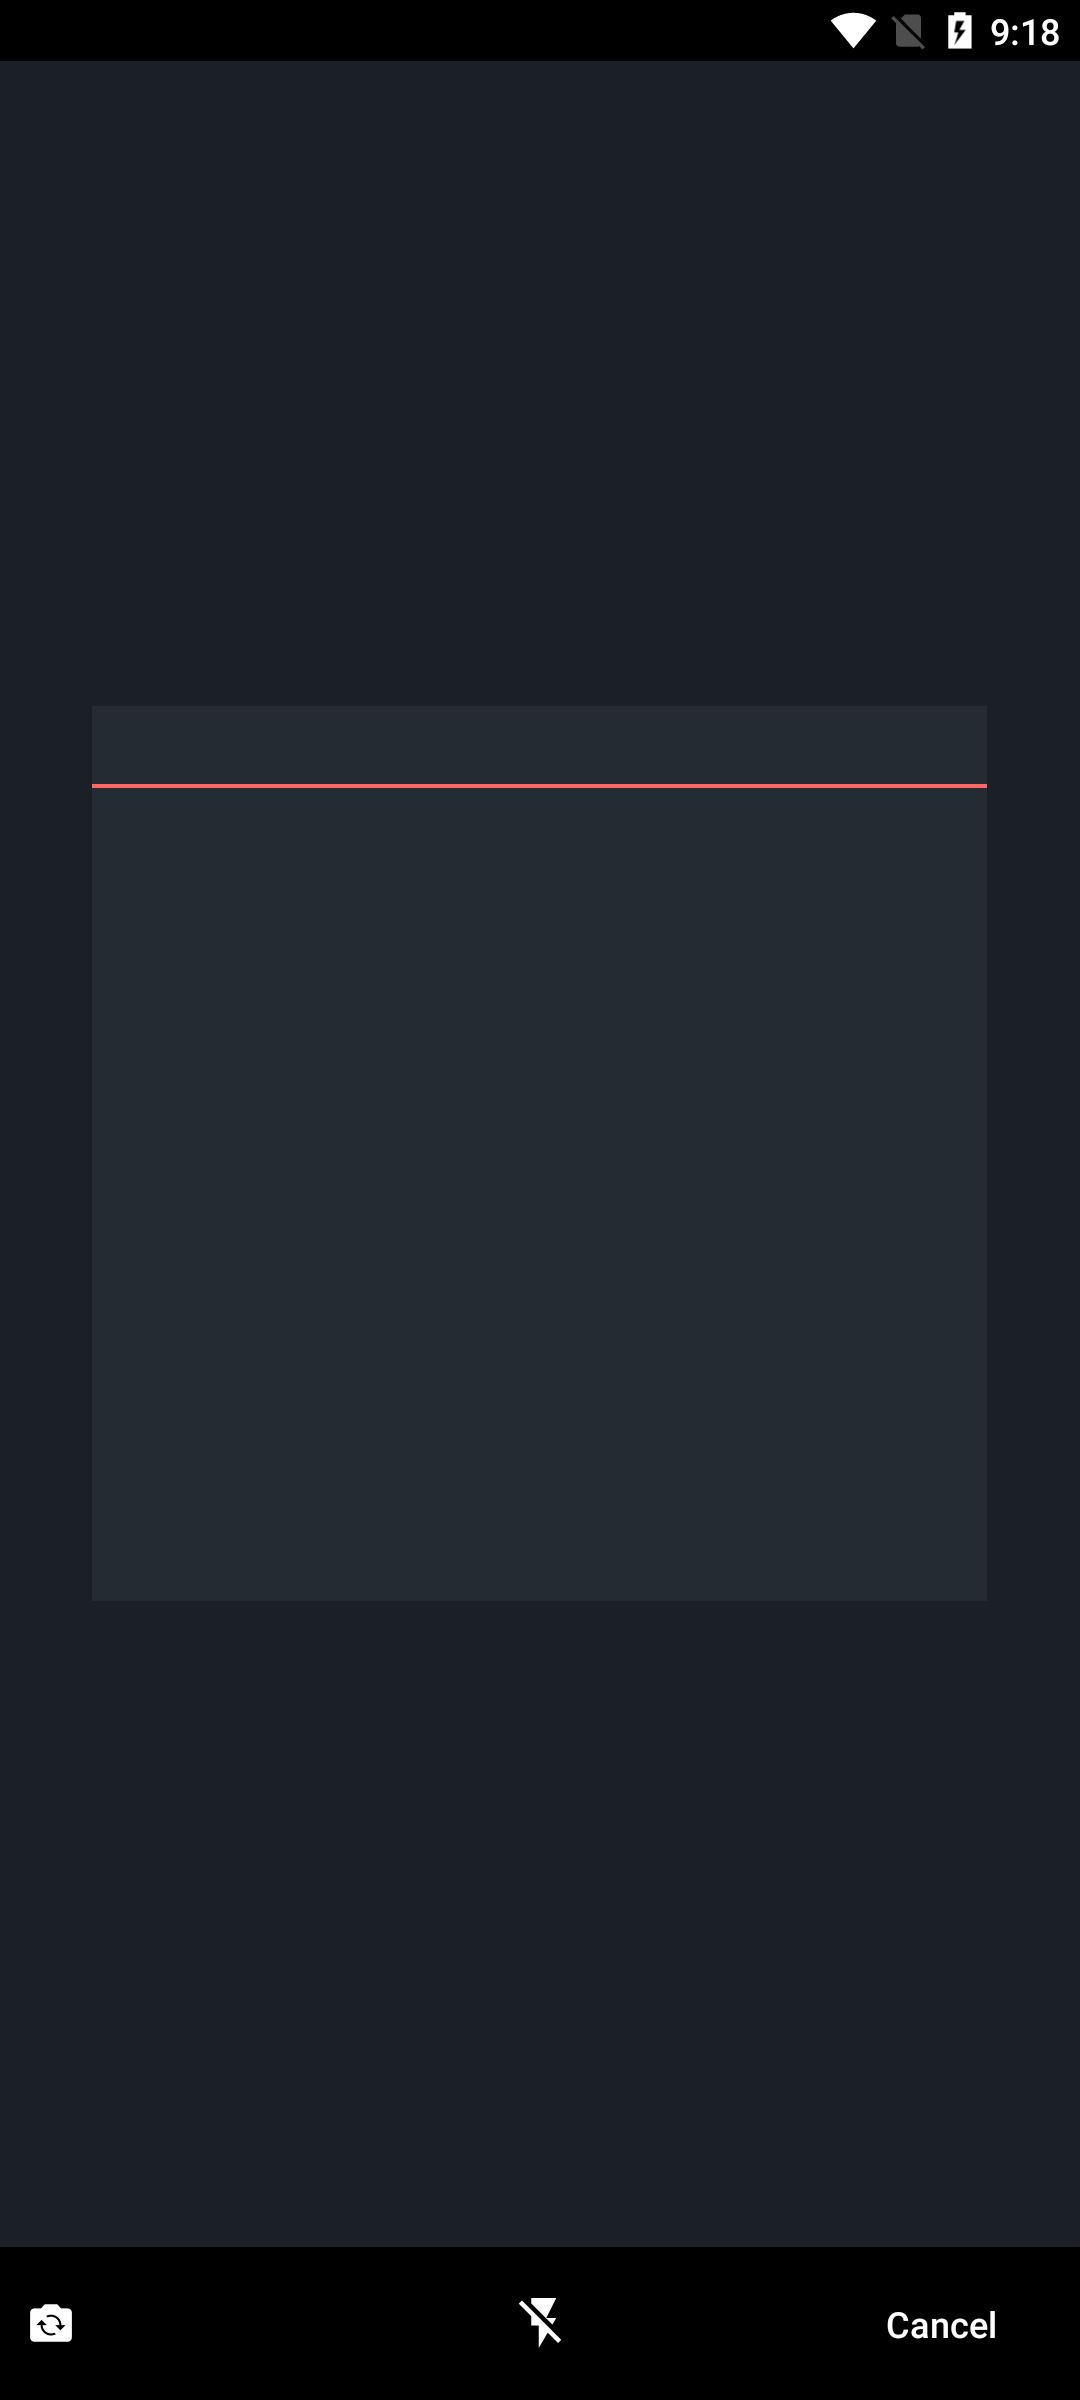
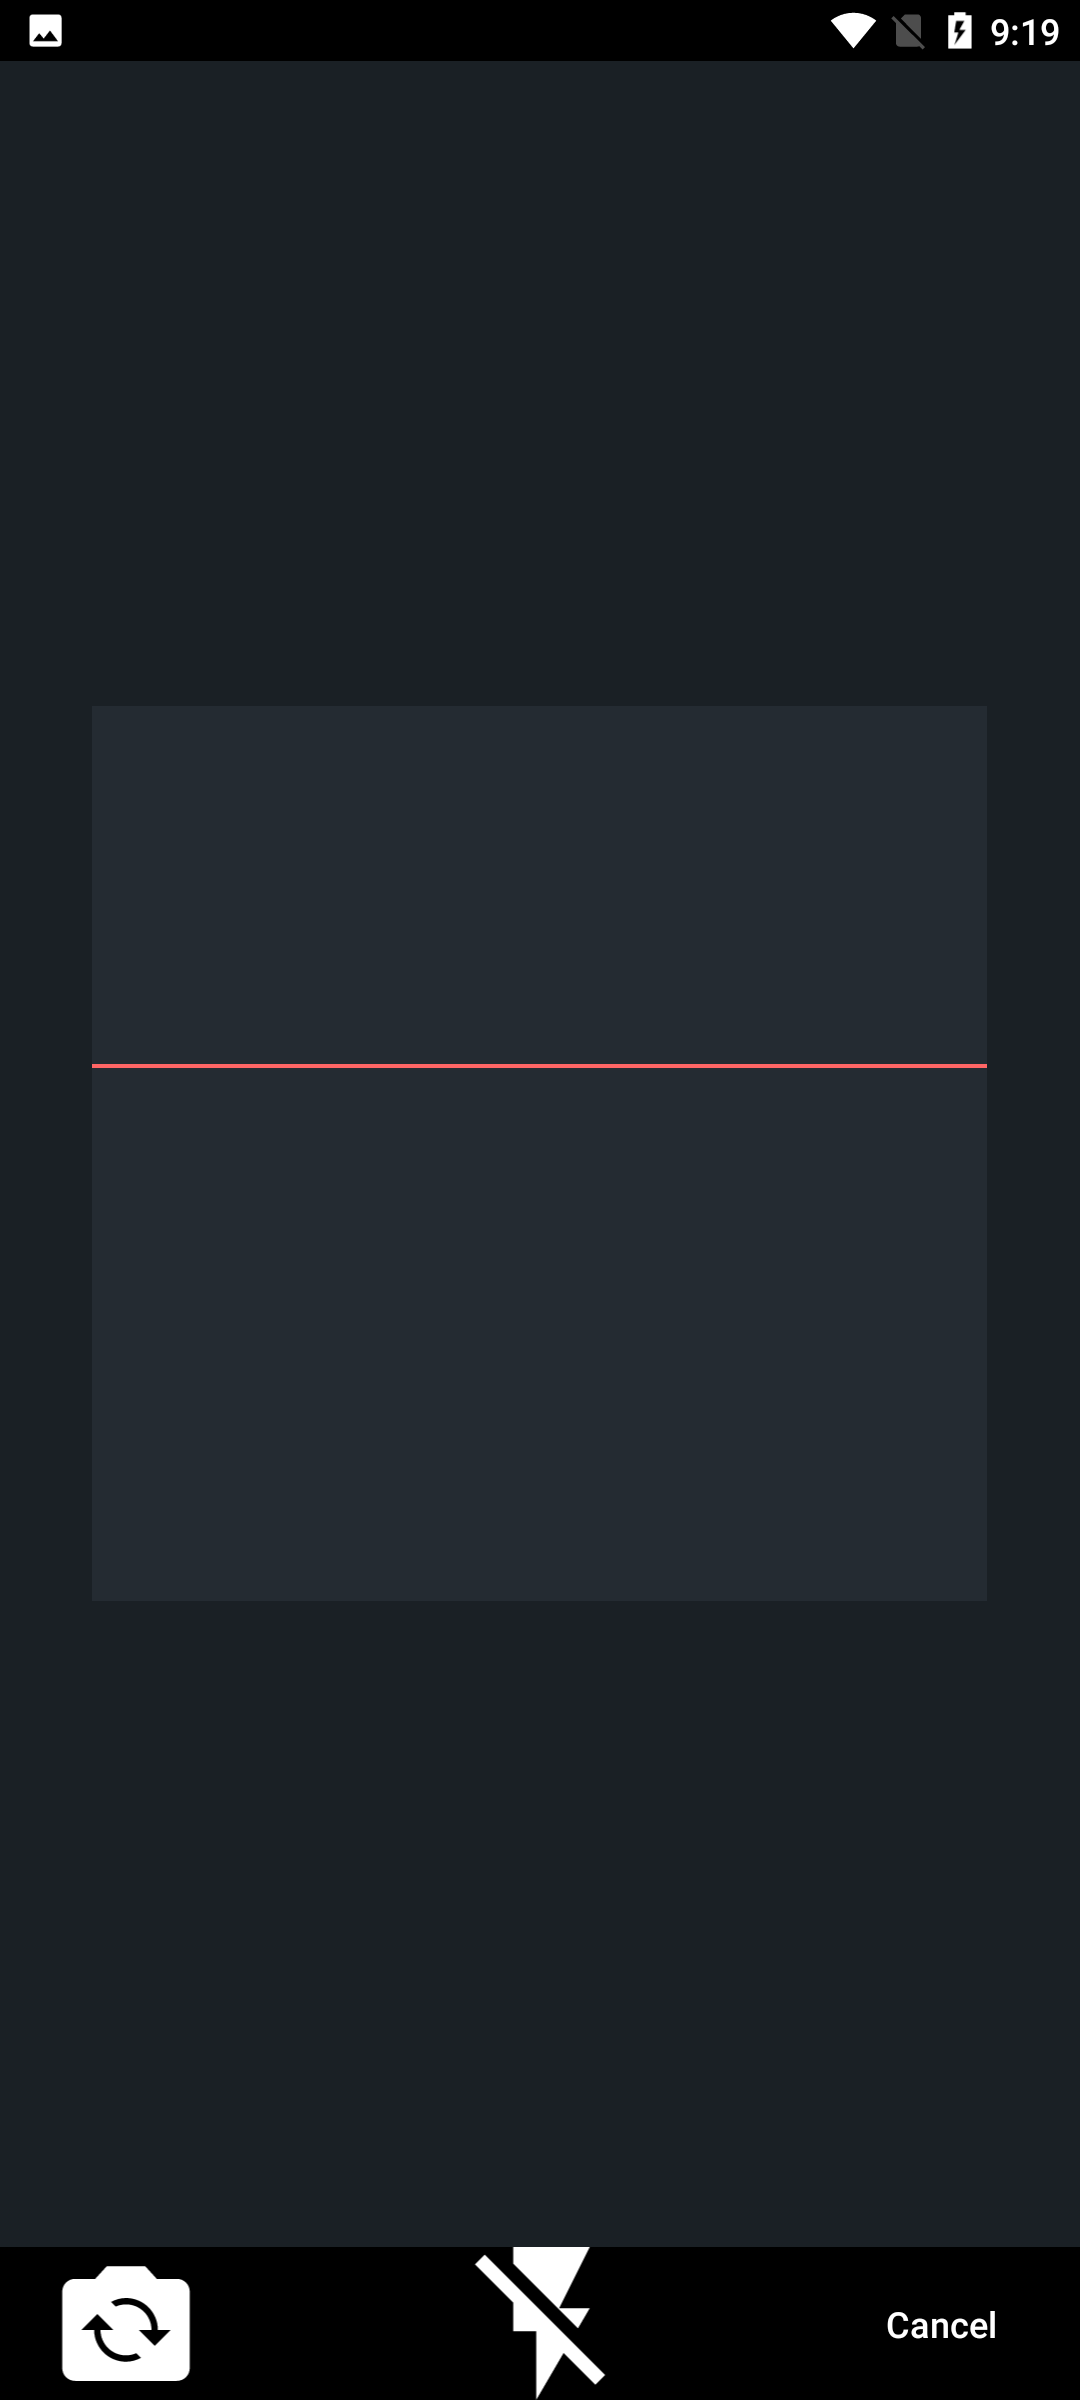
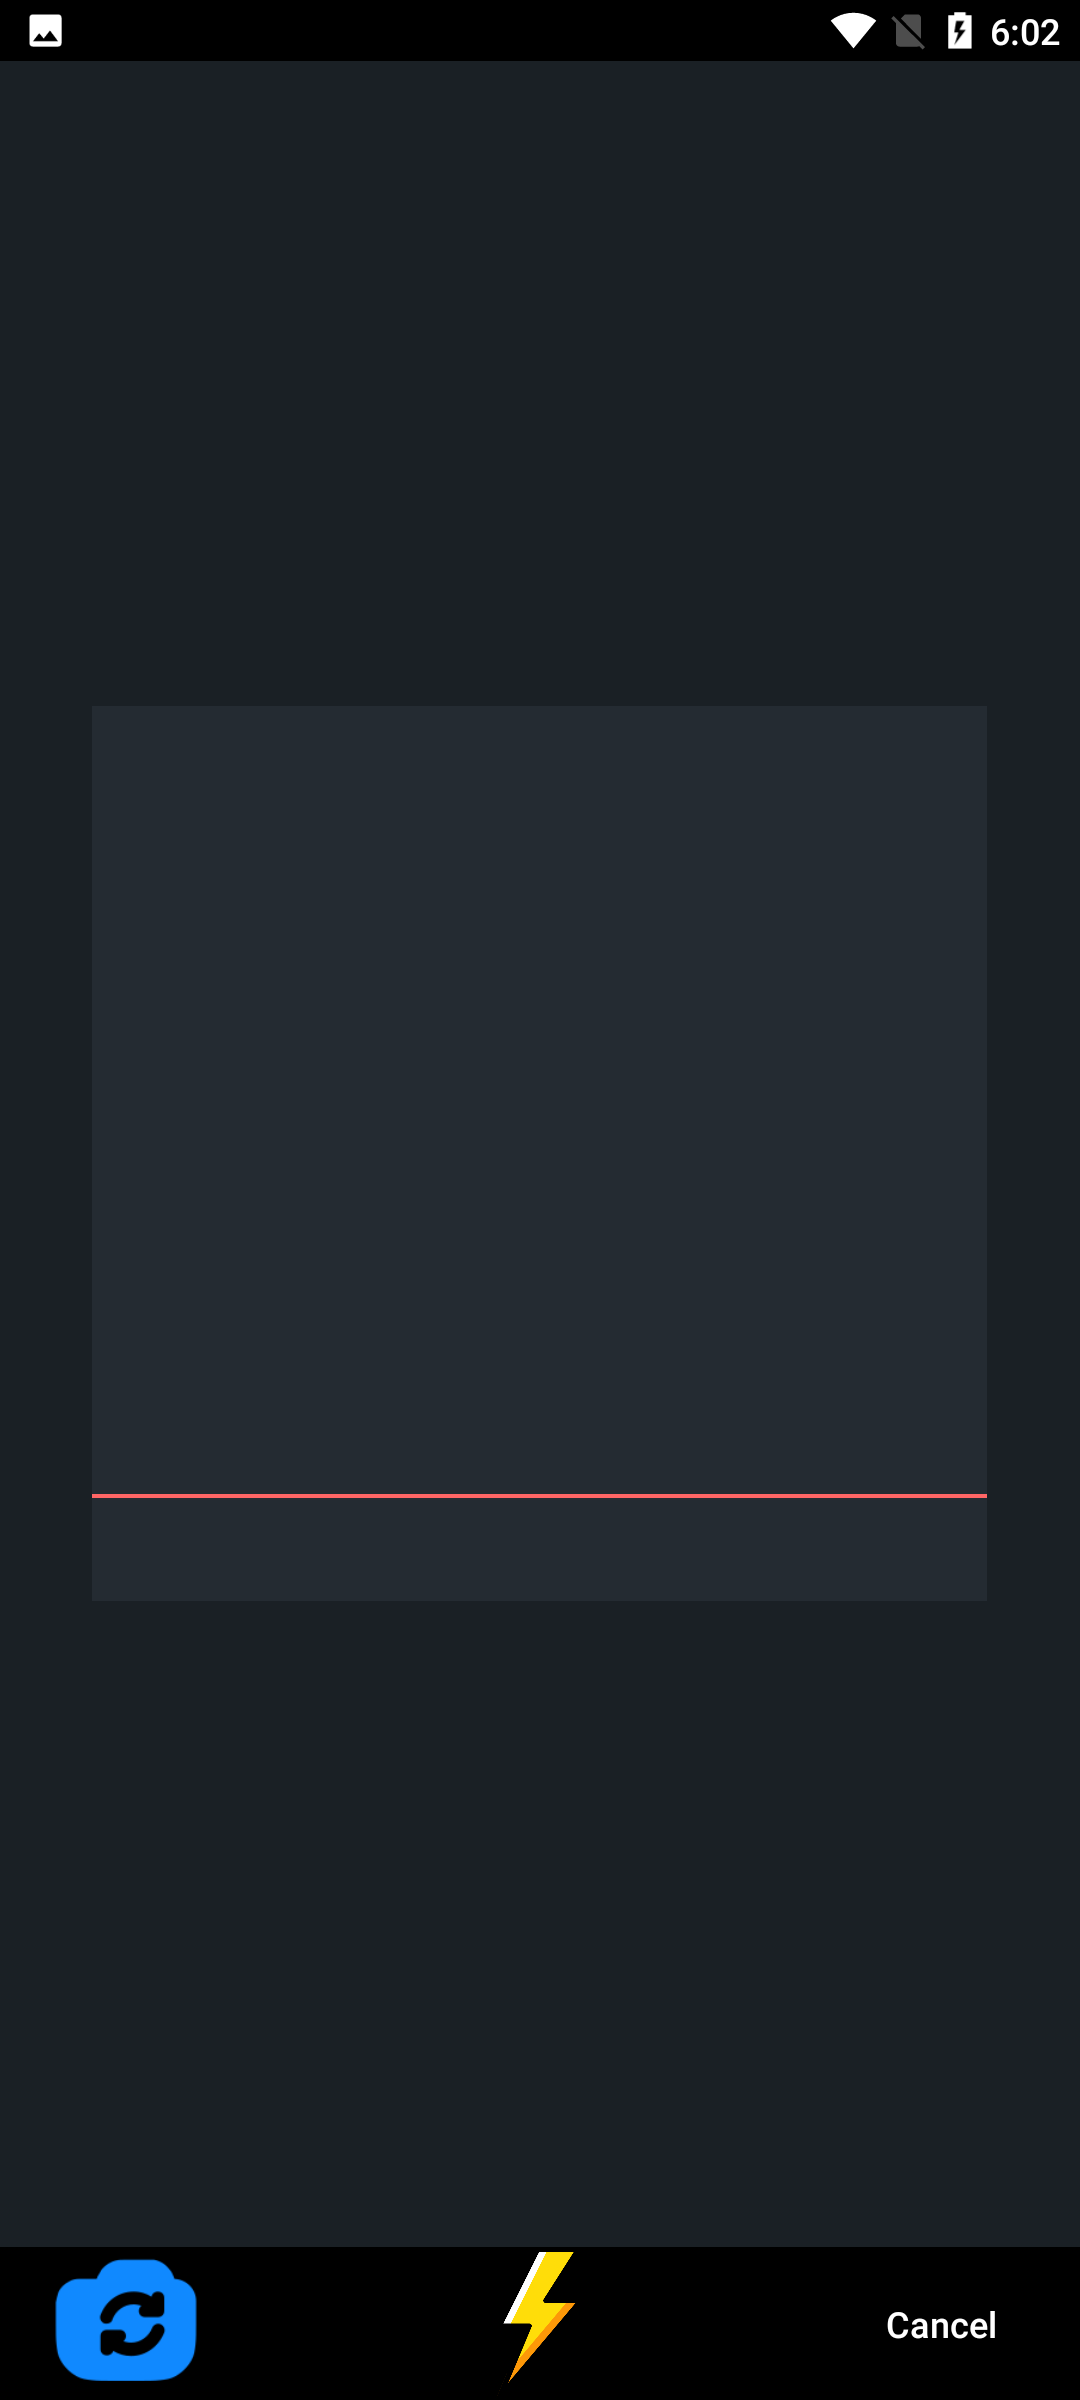
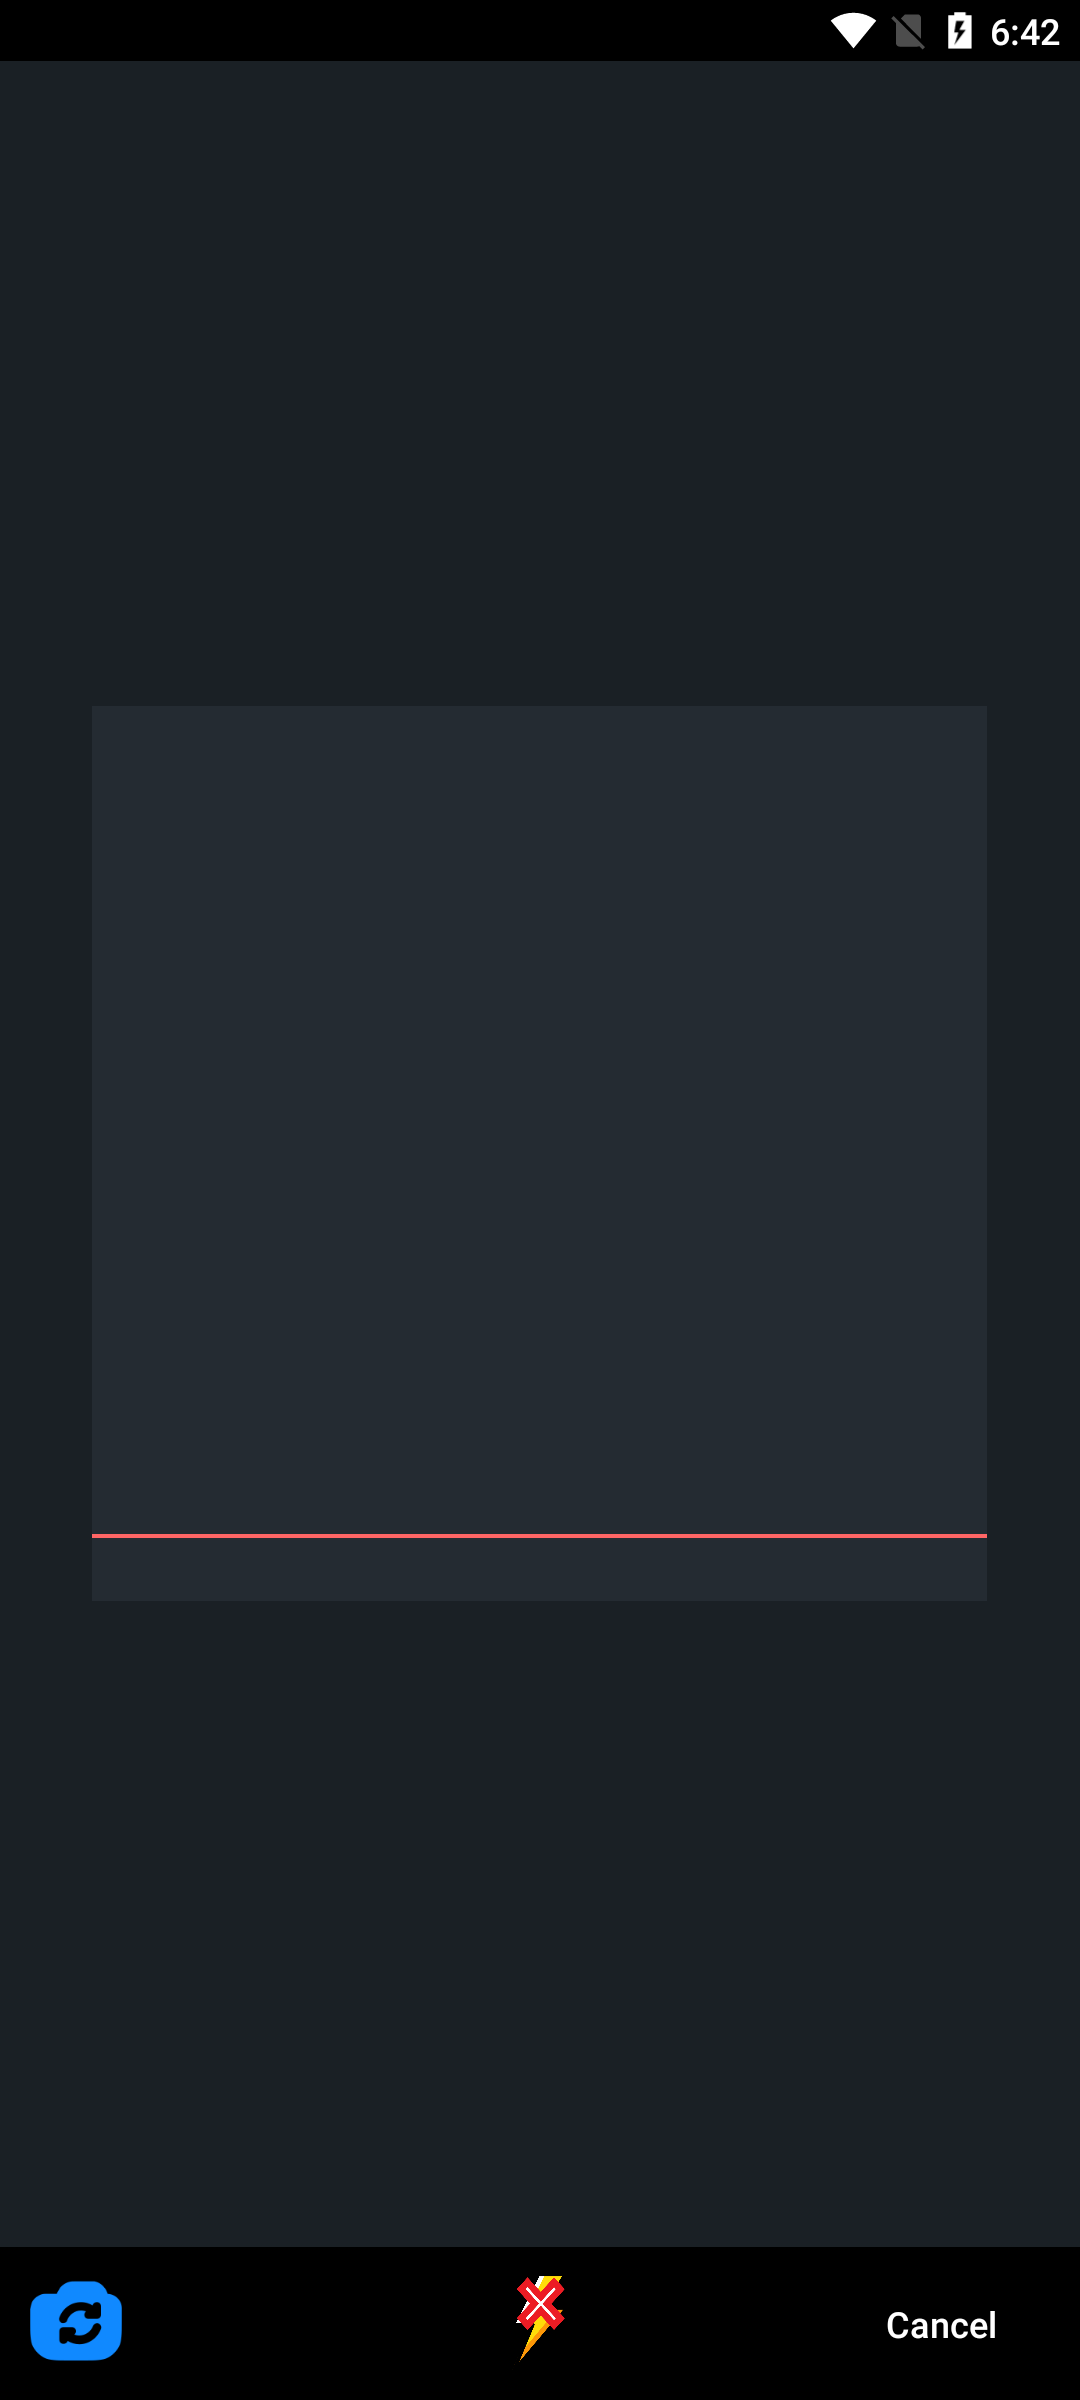
A plugin for Flutter apps that adds barcode scanning support on both Android and iOS.
Just clone or download the repository, open the project in Android Studio/ VS Code, open pubspec.yaml and click on Packages get.
Connect device and hit run.
To run on iPhone you need to run from Xcode first time and just make pod install in example/ios then run from Xcode.
Follow the steps for Android and iOS
PLEASE FOLLOW iOS STEPS CAREFULLY
You need to use FlutterFragmentActivity instead of FlutterActivity in MainActivity.kt
Deployment target : 12
- Create a new flutter project. Please check for Include swift support for iOS code.
- After creating new flutter project open
/iosproject in Xcode and set minimum deployment target to 12 and set Swift version to 5. - After setting up the deployment target and swift version, close the Xcode then run pod install in
/iosin flutter project.
You have done with basic configuration now proceed to section How to use.
- Set minimum deployment target to 12 and set Swift version to 5.
- Close the Xcode and run pod install in
/iosin flutter project. - Now proceed to section How to use.
- Create a new flutter project with same name at different location (Don't forget to check Include swift support for iOS code while creating)
- Just copy newly created
/iosfolder from project and replace with existing/ios. - Open ios project in Xcode and set minimum deployment target to 12 and set Swift version to 5.
- Run pod install in
/ios
Note: If you did any changes in ios part before, you might need to make these configuration again
To use on iOS, you will need to add the camera usage description.
To do that open the Xcode and add camera usage description in Info.plist.
<key>NSCameraUsageDescription</key>
<string>Camera permission is required for barcode scanning.</string>
After making the changes in Android ans iOS add flutter_scanner_devxhub to pubspec.yaml
dependencies:
  ...
  flutter_scanner_devxhub: ^1.0.2
- You need to import the package first.
import 'package:flutter_scanner_devxhub/flutter_scanner_devxhub.dart';
- Then use the
scanBarcodemethod to access barcode scanning.
String barcodeScanRes = await FlutterScanner.scanBarcode(
          lineColor: '#ff6666',
          cancelButtonText: 'Cancel',
          isShowFlashIcon: true,
          scanMode: ScanMode.QR,
          iconSize: 50,
          fontSize: 20,
          duration: Duration(seconds: 20),
          flashIconPath: "assets/flash.png",
          flashOffIconPath: "assets/flashoff.png",
          changeCameraIconPath: "assets/camera.png");
Here in scanBarcode,
lineColor is hex-color which is the color of line in barcode overlay you can pass color of your choice,
cancelButtonText is a text of cancel button on screen you can pass text of your choice and language,
isShowFlashIcon is bool value used to show or hide the flash icon,
scanMode is a enum in which user can pass any of { QR, BARCODE, DEFAULT }, if nothing is passed it will consider a default value which will be QR.
It shows the graphics overlay like for barcode and QR.
iconSize is int value used to change size of flash icon and camera chnage icon,
fontSize is float value used to change size of cancel text,
duration is Duration type value used to close scanner after that time,
flashIconPath is String value used to change the flash icon,
flashOffIconPath is String value used to change the flash off icon,
changeCameraIconPath is String value used to change the camera chnage icon,
NOTE: Currently, scanMode is just to show the graphics overlay for barcode and QR. Any of this mode selected will scan both QR and barcode and flashIconPath , flashOffIconPath & changeCameraIconPath is the assets image path of futter.
 |
 |
 |
 |