Install Unity Version 2020.1.6 (best 2020.1.6f1).
You will need something to edit code (e.g. the VisualStudio IDE or VisualStudio Code). For version control you will need git.
- Download the installer for your OS-Version.
- Run the installer.
If you already have a Unity project, that's great. If not, create a new Unity 3D project, initialize a git repo with git init and add the Unity .gitignore.
Add this framework as a submodule into the Assets folder:
cd path/to/repo
cd Assets
git submodule add https://github.com/HassoPlattnerInstituteHCI/unity-dualpanto-framework
git submodule update --init --recursive
You can find the installation instructions for SpeechIO here.
Drag the Panto Prefab into your scene. You can find it at Assets -> unity-dualpanto-framework -> Assets -> Resources. The Panto game object has different components attached to it: the DualPantoSync, the lower handle, the upper handle and a level. It also has a few child objects, including Panto Working Areas for different device versions. This is the area the DualPanto can reach.
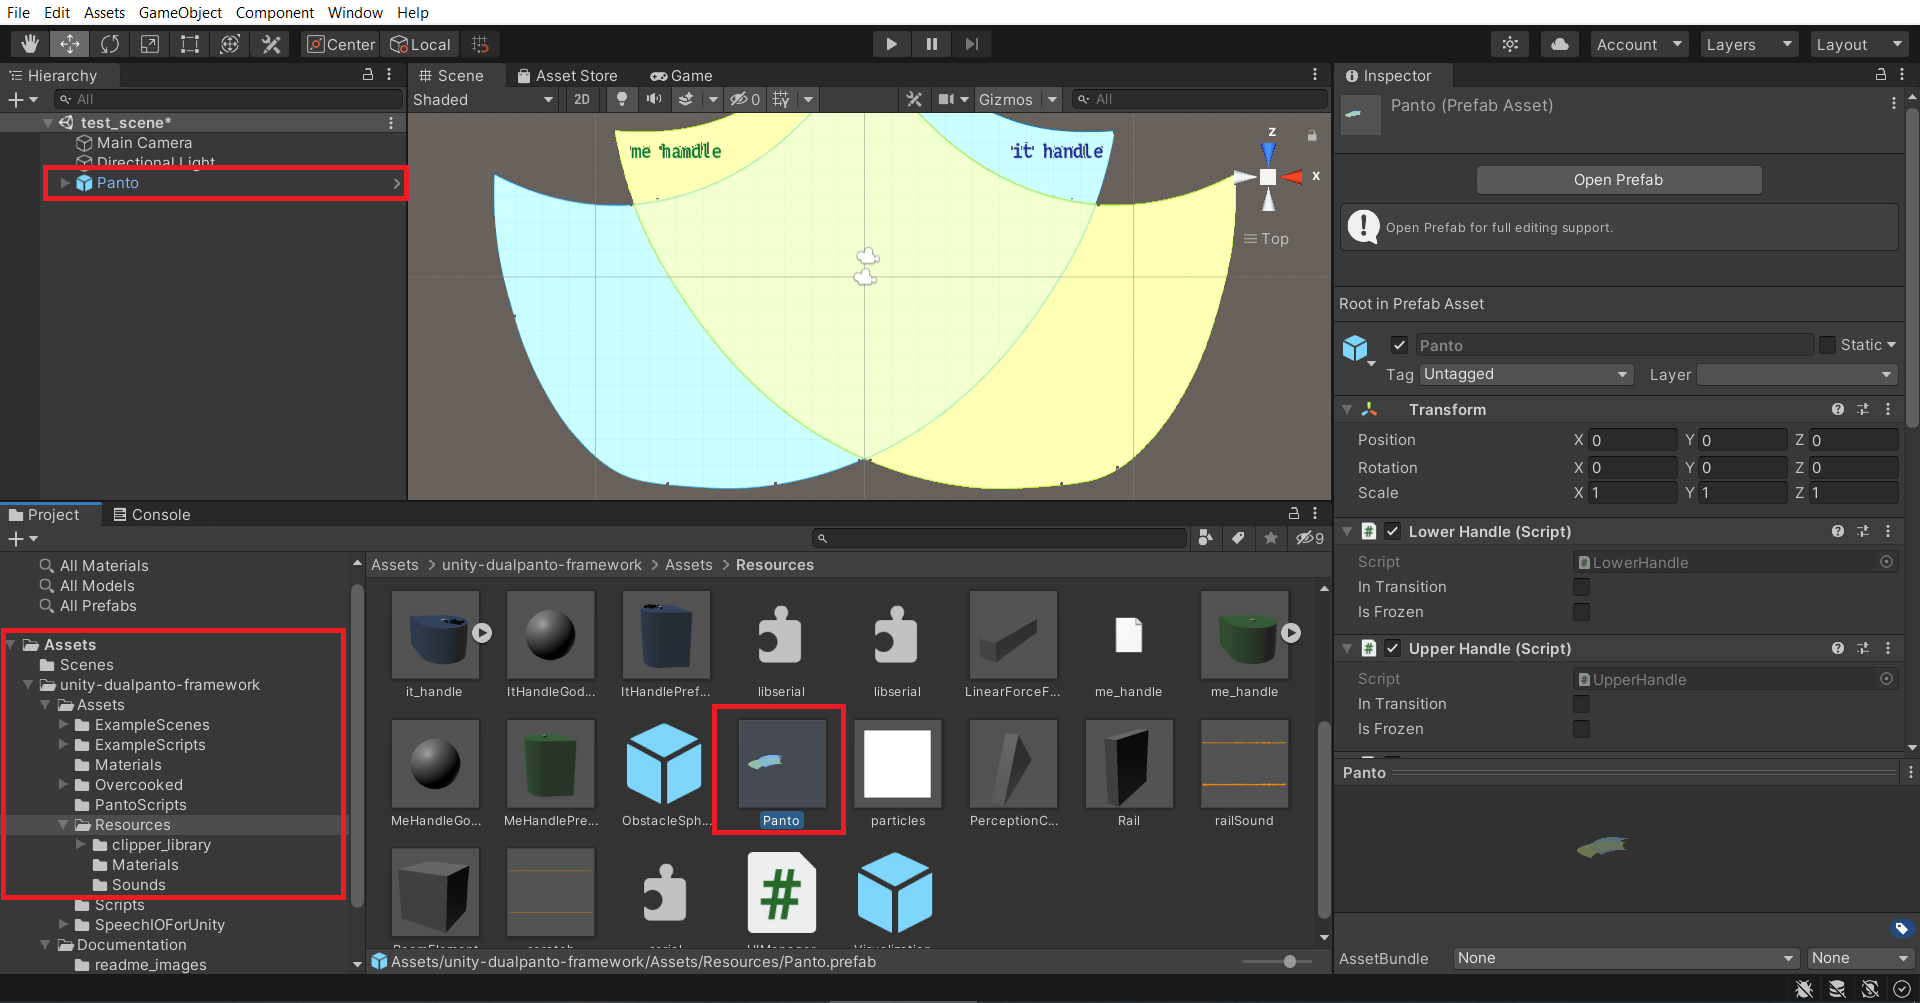
Prepare your scene by deleting the Main Camera object that is created with every new scene in Unity. The Panto Prefab, that you just added to the scene, already contains a camera that is adjusted to show a top-down perspective of the entire area the Panto can reach.
If the scene is very bright (white panto-area), also delete the directional light that is part of any new scene. The Panto Prefab also contains one of those.
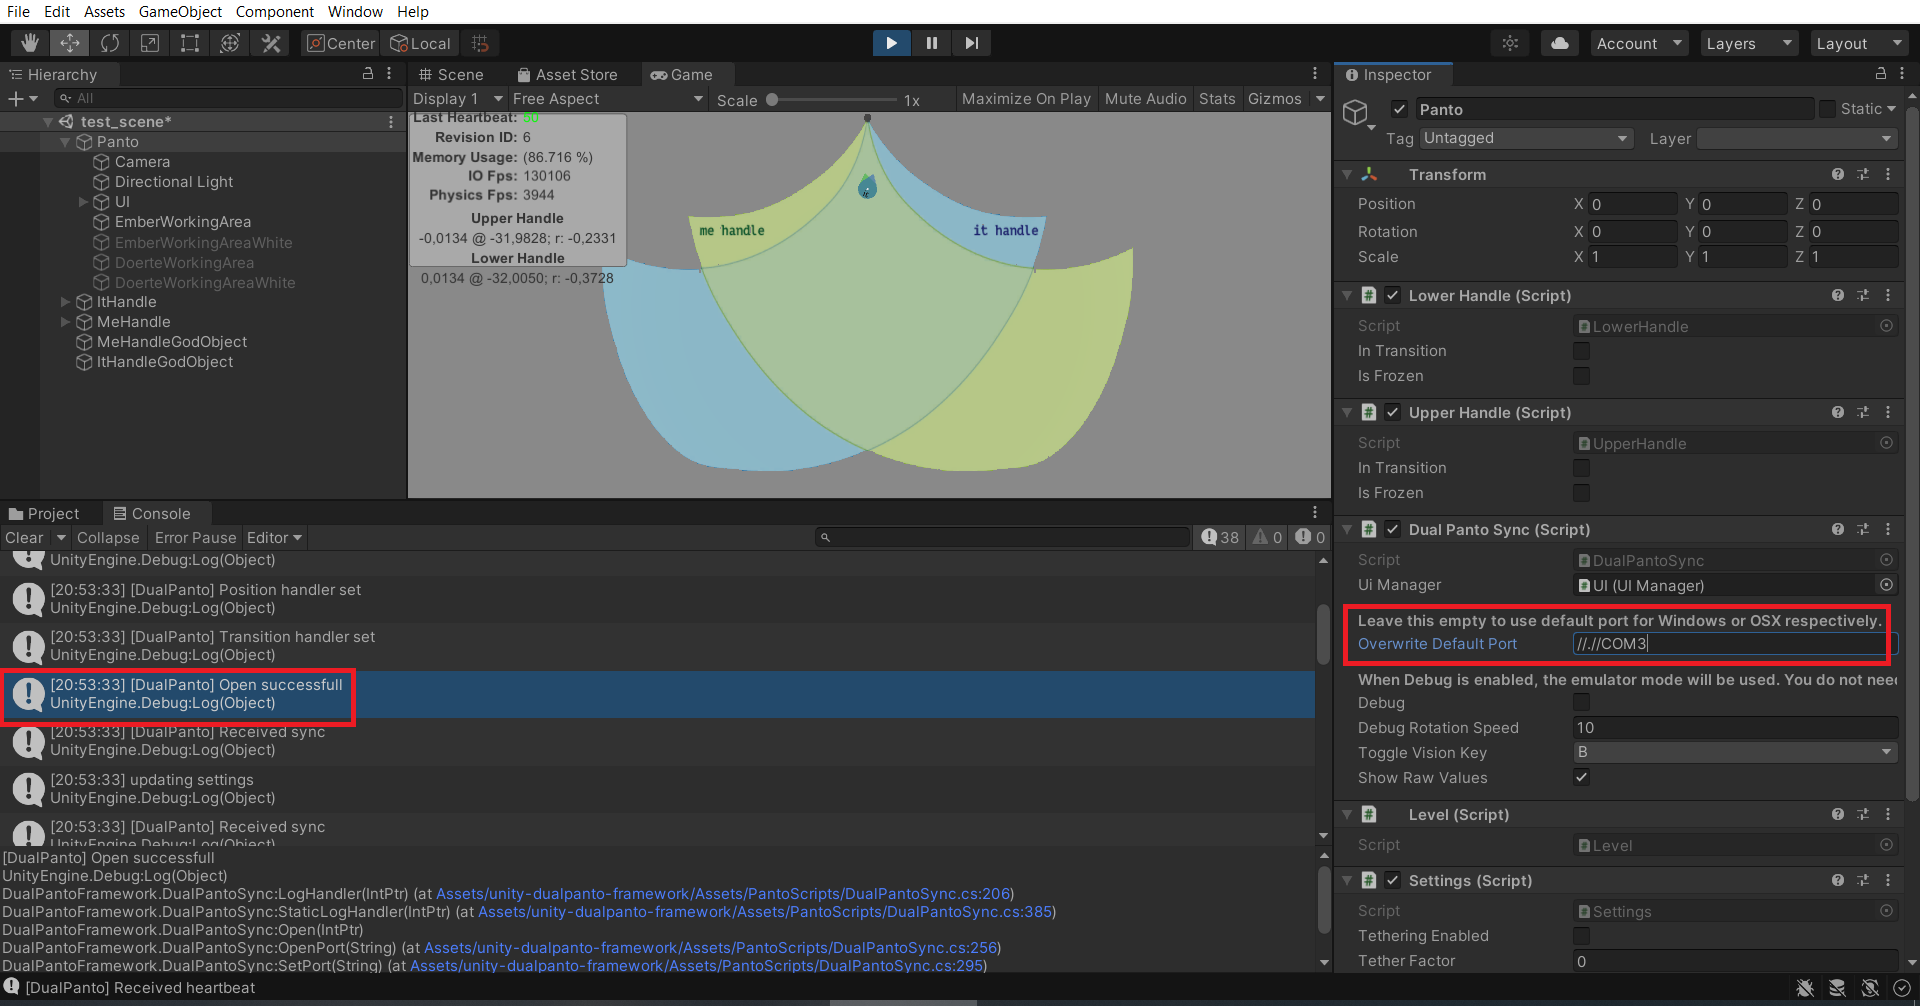
You may be able to skip this step. The Panto will by default use the most common port name on your OS: //.//COM3 (Windows), /dev/cu.SLAB_USBtoUART (MacOS) or /dev/ttyUSB0 (Linux). Check if your Panto is already being found by connecting it and hitting Play (make sure Debug is disabled). If it works, you can skip this part!
If it doesn't work, you need to manually update the serial port of your panto before running the application. Therefore you have to find the correct port name and enter it in DualPantoSync's Overwrite Default Port.
On Windows open the Device Manager and go to Ports (COM & LPT). Under that tab you will find a device called "Silicon Labs CP..." with the usb serial port in brackets (e.g. "COM6"). The Port Name in your Panto Object would hence after updating be "//.//COM6".
On Unix you can list your usb devices by using the command ls /dev | grep cu.
To find out which device your Panto is one easy way is to plug the device out and in again and to check in between which serial port disappeared. That's the one we want to use.
Copy the path of the port (e.g. "/dev/cu.SLAB_USBtoUART") into the Port Name on the Panto Object.
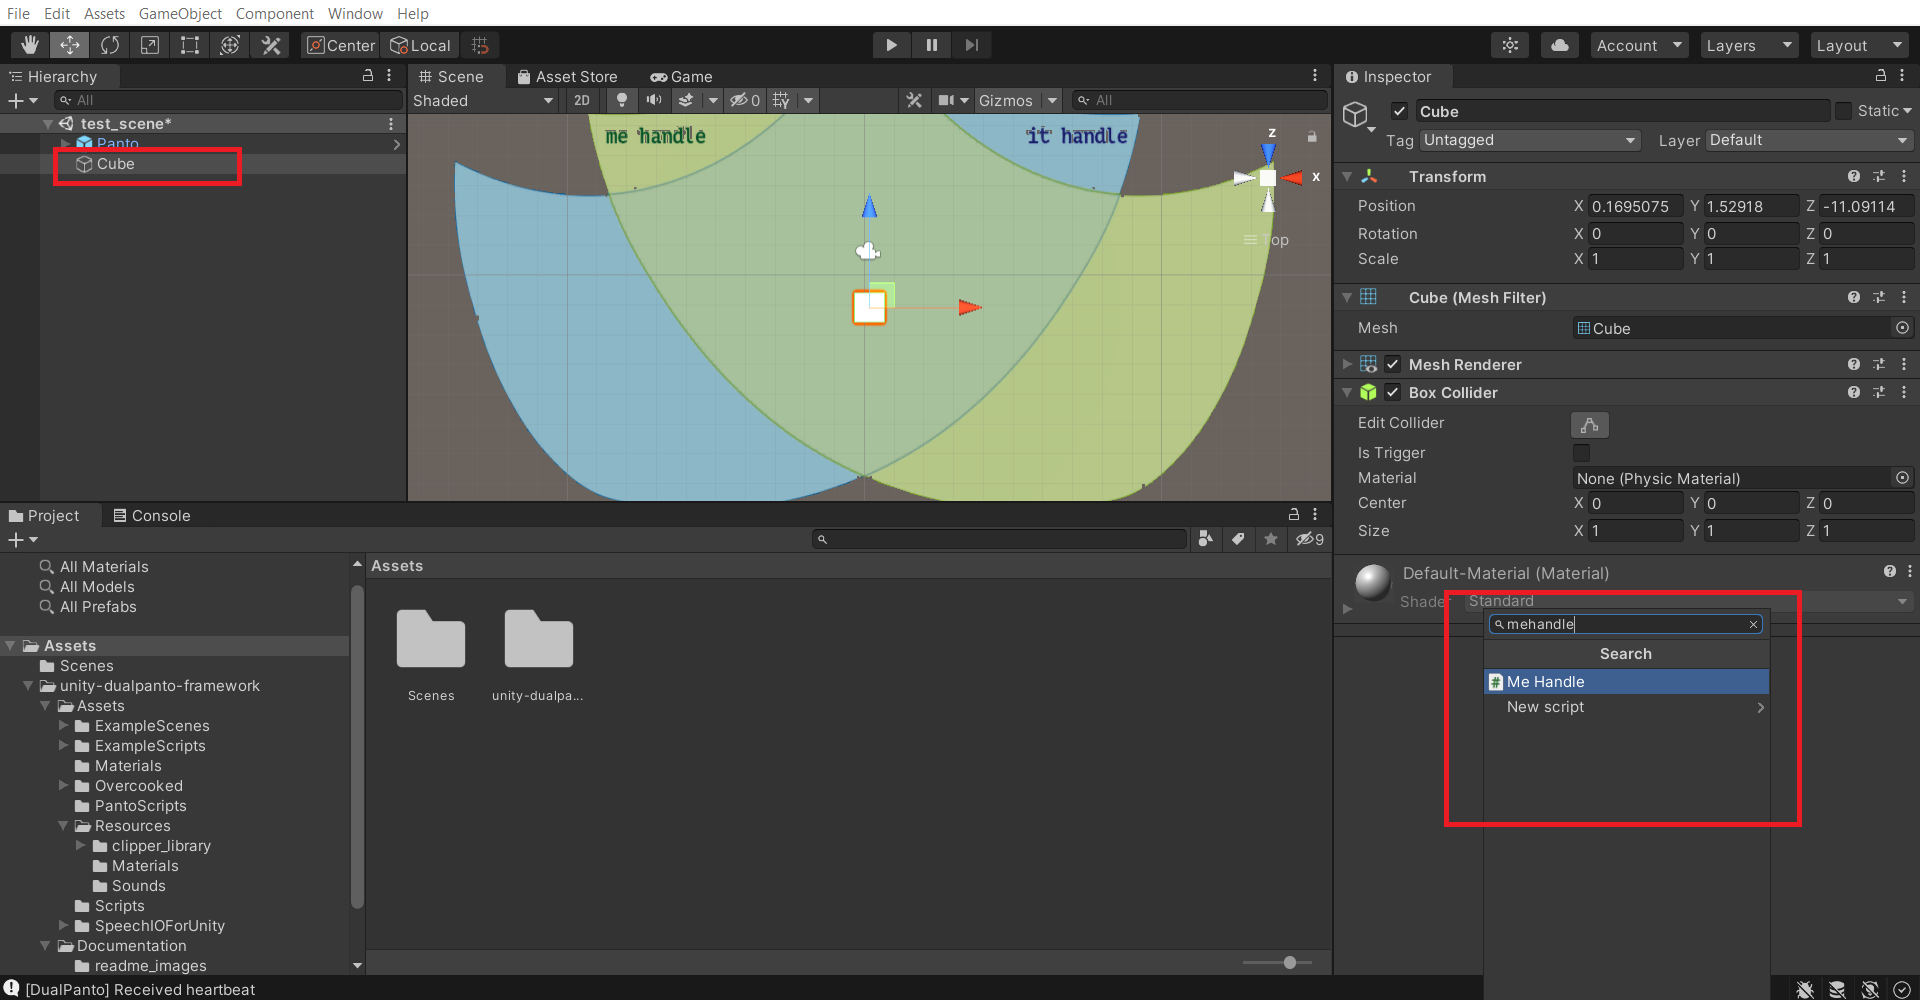
In your Unity Scene, add a cube using GameObject -> 3D Object -> Cube. Attach the MeHandle component to this cube. It should now follow the movement of the Upper Panto Handle.
You can find more sample scenes to get inspired in ExampleScenes, the relevant scripts can be found in ExampleScripts
There are two ways to test your app:
- Using the emulator mode (default): For this you do not need a DualPanto, the device will be emulated. You should see two game objects that represent the two handles. The blue objects represents the lower handle, the green one the upper handle. When the handles are controlled by the user, both will follow the mouse. You emulate rotation input with
aandd. - Using a DualPanto: If you want to run the application on the Panto, make sure the Debug mode is disabled in the DualPantoSync component and the panto is connected to your computer. If you have no device connect, it will fall back to the emulator mode.
If you do not see the cube in Game View: Refer to the next section.
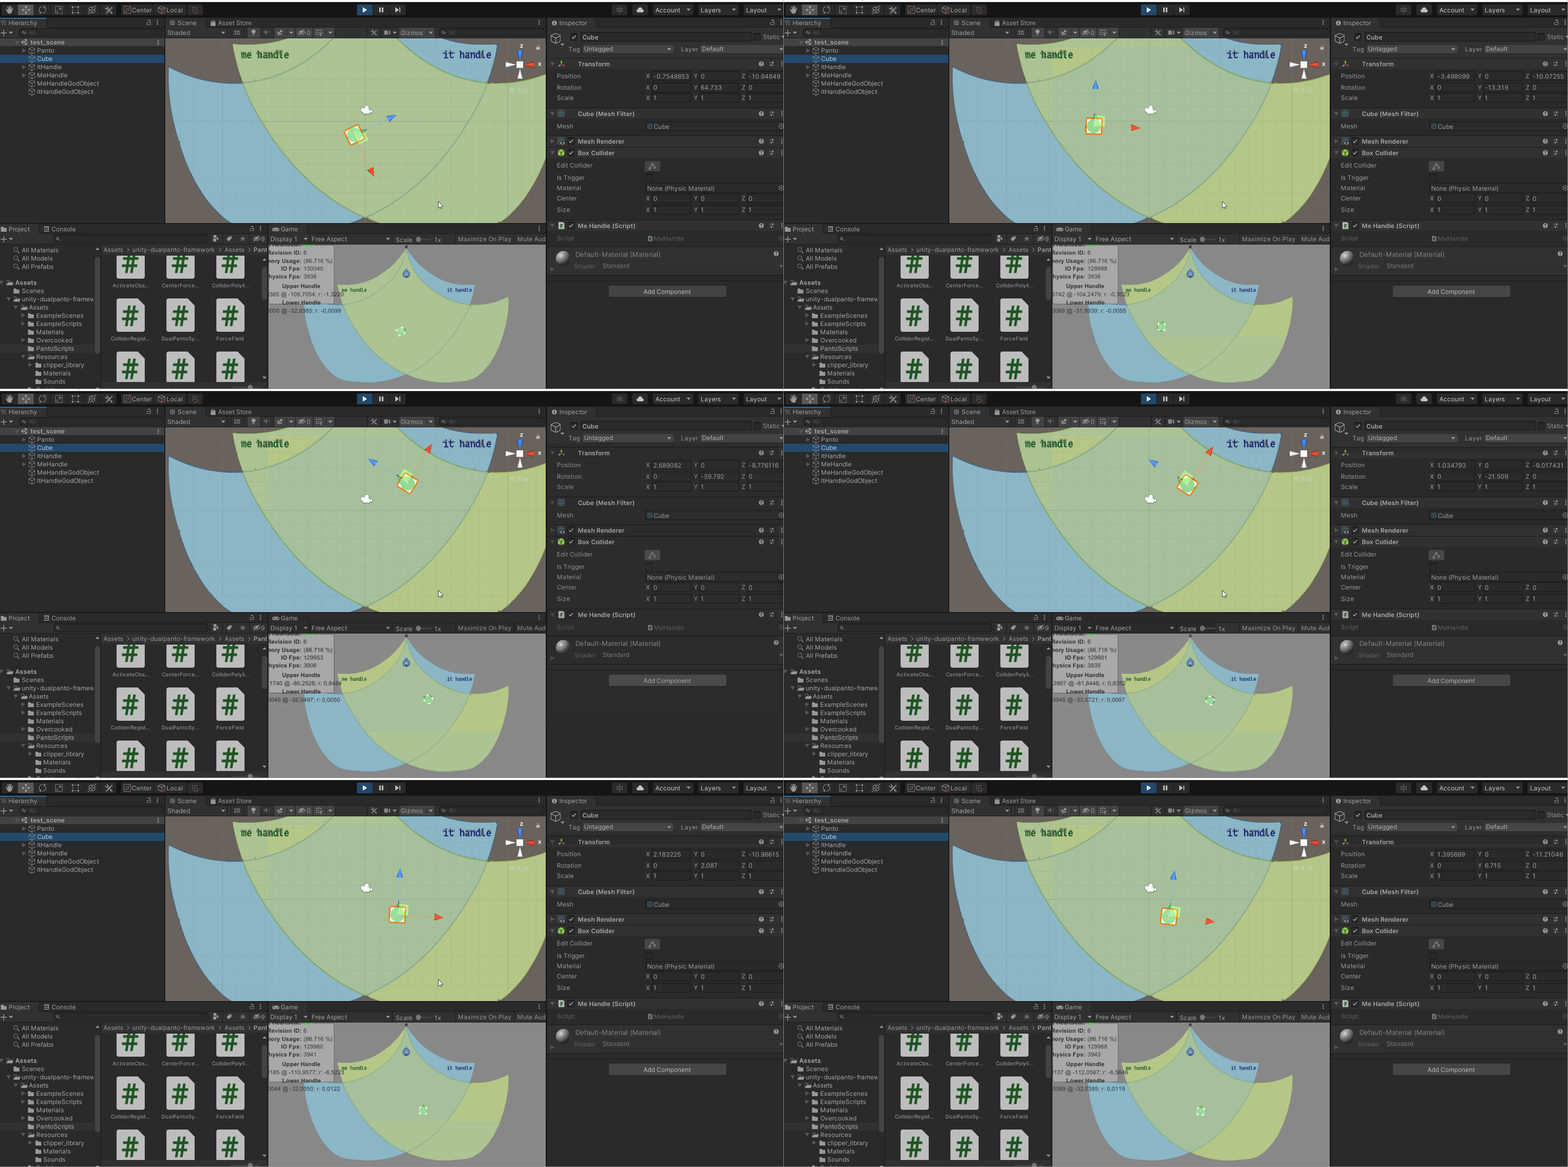
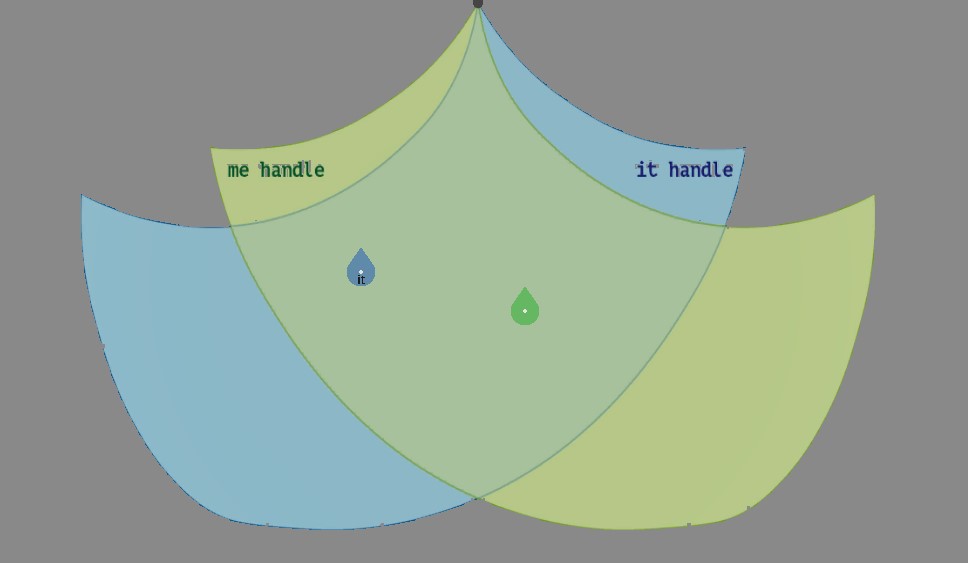
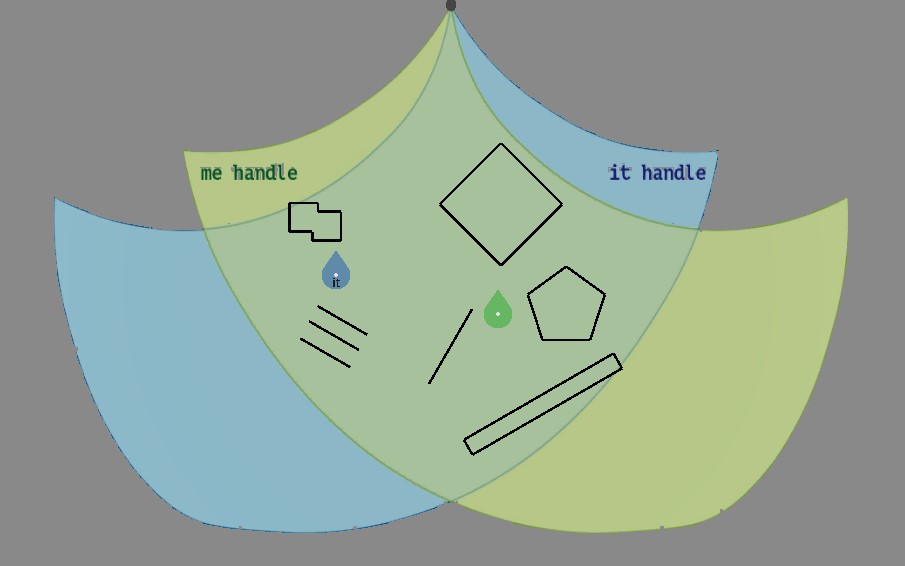
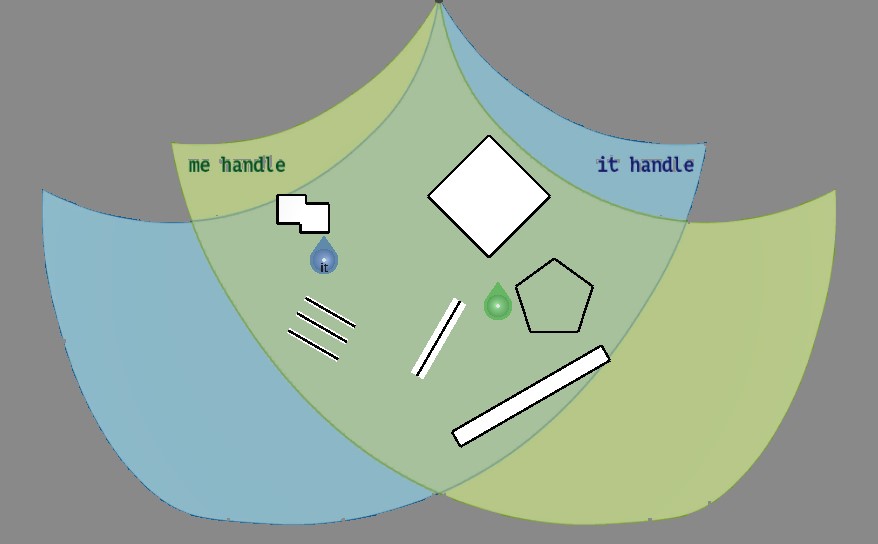
To get a better sense of what your game will feel to blind people, there is a small emulator for blind vision. You can use b to toggle between blind view (only the handles and the area is displayed), mixed mode (the outlines of collider will also be displayed) and development mode (everything is displayed).
| Blind Mode | Mixed Mode | Develop Mode |
|---|---|---|
 |
 |
 |
if a function does not seem to exist (unity throws an error like "missing assembly reference") or if you try to use content that we released at a later stage than when the framework was released, try to update your submodules first before reaching out to us (we will always use the latest state of the submodules when we try to debug your code).
git submodule update --remote
On the back of your dualPanto device is a power switch. Push so that it turns to On and make sure the battery is charged.
On the back of your dualPanto device is a button next to the cable connection. Move the linkages back in the closing position, turn the handles so they point to the right, press the button and wait 3 seconds.
dualPanto handles not moving inside the game/Message Revision id not matching. Try resetting the panto. appears.
Try to reset the dualPanto device using the button on the back. For this see How do I reset my dualPanto device.
Have you turned the device on? For this see How do I turn my dualPanto device on?
Don't hold the handles too hard or push against the motors too hard.
Make sure you use HandlePosition() instead of GetPosition(). See the documentation for more info on usage.
No input or output from the DualPanto is arriving, the Console is showing Received sync, but no Received heartbeat.
This might be due to obstacles registering before the device is ready. Insert a Task.Delay(1000) to wait 1 second before registering an obstacle.
If you keep having troubles, you can enable show raw values in the DualPantoSync component. A Popup will show you the raw position and rotation values Unity receives for each handle, how much time has passed since t last received a heartbeat from the device, the name of the port and the current protocol revision id.
Please refer to the Wiki.