PyTorch code: Spine and Vertebrae Segmentation
Dataset: The “images” folder contains 20 pngs of spine MRI slices. The “masks” folder contains 20 .npy files, where each mask represents the segmentation map of the discs and vertebrae for the corresponding spine image (1.png goes with 1.npy, etc.).
- Label 1: disc location
- Label 2: Vertebrae
- Label 0: Background
- A data loader capable of reading in the provided dataset in batches
- A script or instructions demonstrating using the data loader to run through 1 epoch of model training with a segmentation network
- Well-organized, easily-understandable, and documented code
- Object oriented programming where appropriate
-
What, if anything, did you do to verify that the segmentation masks and images were correctly aligned in the data loader?
- You could easily check the image dimension after plotting the first set of images to verify if they are aligned or not. Normally, I always check the following with the data loader:
- printing inbetween values to make sure the data is normalized well.
- the values are in that specifice range or not.
- the input shape is correct or not.
- the lables changed to categorical format or not, since I use SoftMax for multi-class segmentation task.
- You could easily check the image dimension after plotting the first set of images to verify if they are aligned or not. Normally, I always check the following with the data loader:
-
What assumptions did you make about the data or model training during this process?
- Very straight forward, this task/challenge is very similar to what we are doing on a daily bases at the lab. This task was not that difficult, and I tried to incorporate a different piece of codes that I wrote for medical data analysis including, data augmentation, normalization, preprocessing and training procedures.
In the following figure, you can see one test spine MR image that we randomly selected from the validation set to visually evaluate the quality of segmentation by the trained model.
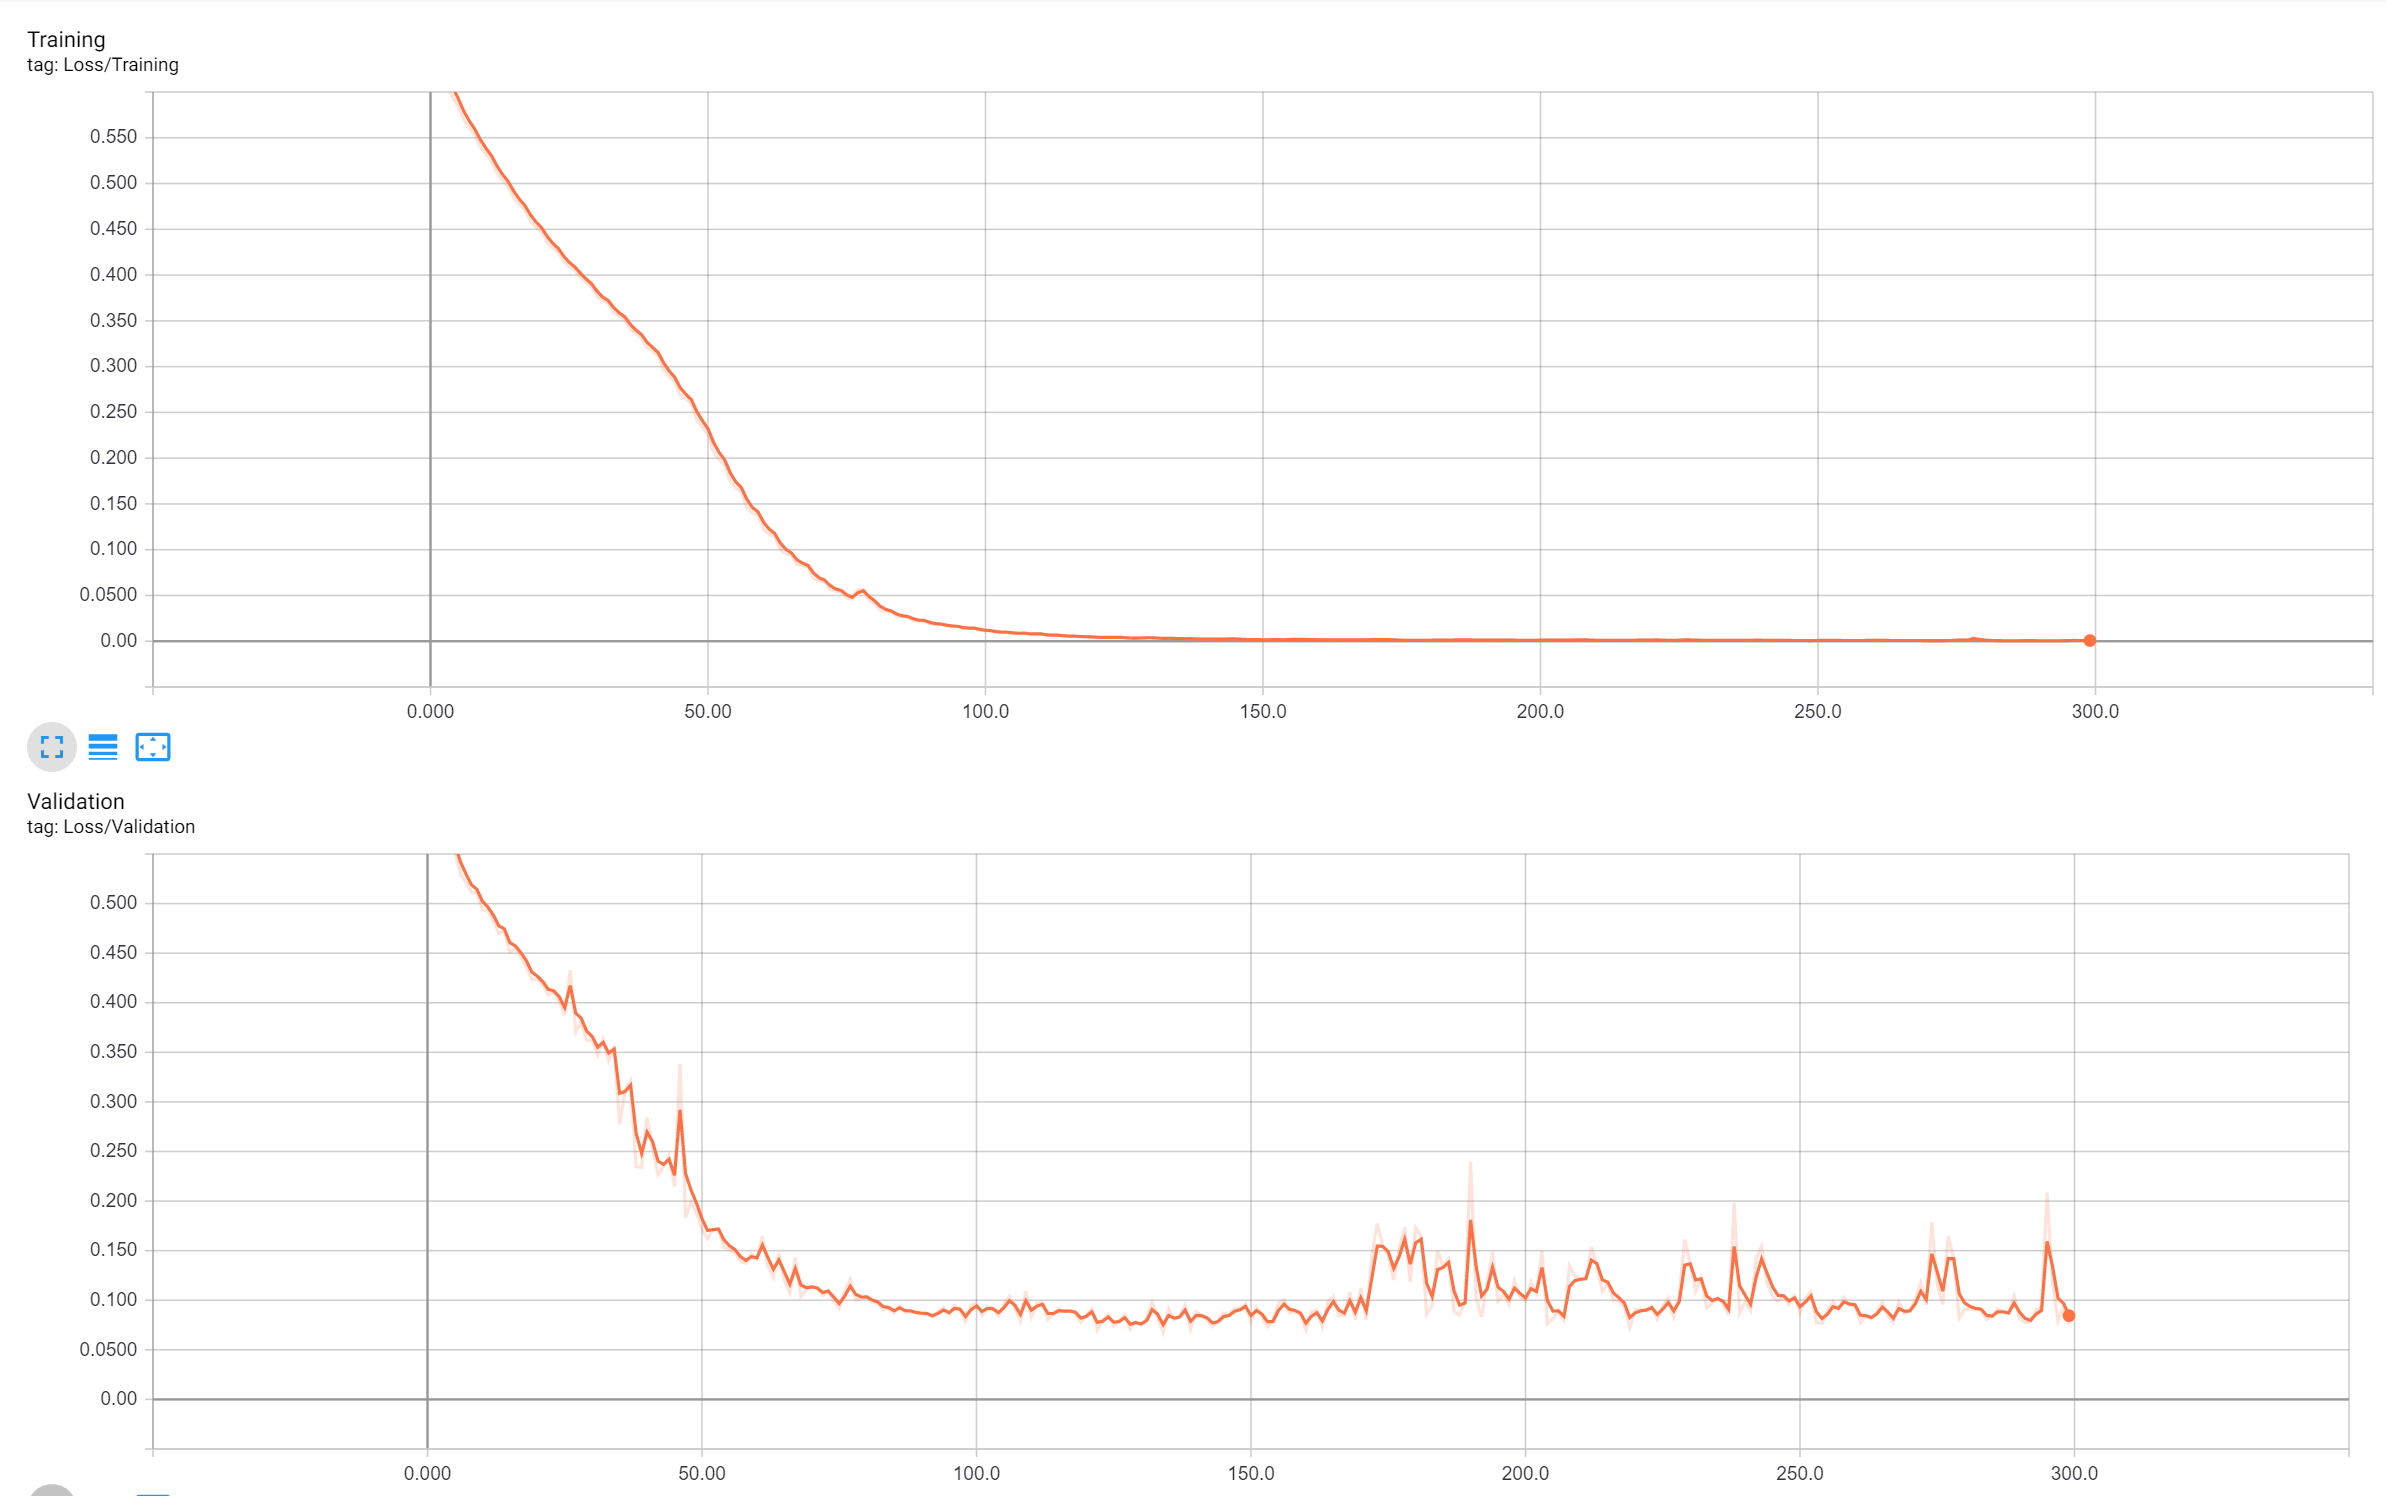
Since the data were very few, I used an iterative data loader with online augmentation to cope with limited data and overfitting problems. During one epoch the data loader generates 100 augmented images/masks for training iteratively. To train the model, please run the following command, you can change the parameters within the train.py file.
python -u src\trainer.py -nc 3 -e 300

***You can update the following default training parameteres:***
parser.add_argument("-unetlr", help="to set the learning rate for the unet", type=float, default=0.0001)
parser.add_argument("-e", "--epochs", help="the number of epochs to train", type=int, default=300)
parser.add_argument("-gn", "--gaussianNoise", help="whether to apply gaussian noise", action="store_true",
                    default=True)
parser.add_argument("--n_samples", help="number of samples to train", type=int, default=100)
parser.add_argument("-bs", "--batch_size", help="batch size of training", type=int, default=4)
parser.add_argument("-nc", "--n_class", help="number of classes to segment", type=int, default=3)
parser.add_argument("-nf", "--n_filter", help="number of initial filters for DR-UNET", type=int, default=32)
parser.add_argument("-nb", "--n_block", help="number unet blocks", type=int, default=4)
parser.add_argument("-pt", "--pretrained", help="whether to train from scratch or resume", action="store_true",
                    default=True)
Pretrained weights can be download from here: Trained DR-UNet Weights
-
Please place weight files (.pth) inside the weights/Verterbra_disk.unet_lr_0.0001_32.gaussian_noise/ folder in order to reproduce the results and resume the training.
-
Otherewise you can change the -pt parameter to False to train the model from scratch.
To test the model please run the following command
python -u src\predict.py
The output will be something similar:
Using TensorFlow backend.
filters 32, n_block 4
Verterbra_disk.unet_lr_0.0001_32.gaussian_noise
(5, 3, 256, 256) (5, 3, 256, 256)
The validation dice score: 0.913376534685773
time elapsed for training (hh:mm:ss.ms) 0:00:04.292751
