Control your Ducky Keyboard's RGB lighting via a named pipe. Can be used to create your own custom effects and interact with other software, etc. This was developed for Ducky Shine 7 but might work for other keyboard (untested). Firmware version: V1.01.04.
The following is a video of some sample programs in action.
Disclaimer: This code might make your computer bluescreen, brick your keyboard or expose your system to security vulnerabilities. Use at your own risk or at least read through the code first.
The API itself is a named pipe created by a c++ program based on hidapi. The code is based on the hidapi sample. To talk to the API, send commands to the named pipe \\.\pipe\DuckyController
The commands are sent in batches separated by ;
The following commands can be sent:
- INITIALIZE - Takes control of the keyboard
- RESET - Set all key colors to black (no lighting)
- PUSH - Pushes the current set of colors to the keyboard
- TERMINATE - Give control back to the keyboard firmware
- <Key name> <R> <G> <B> - Set the color of a key
The different key names can be found in ColorSetter.cpp. Note that the keyboard used had Scandinavian key caps and the keys has been named using a Swedish layout. It should be fairly easy to replace the names should you prefer another language.
Some examples:
INITIALIZE;F 40 255 255;PUSH;
RESET;H 20 20 20;R 160 56 14;UmlautA 0 0 2;PUSH;
RESET;TERMINATE;
When compiling you might need to copy the .txt files into the directory. In the release directory you can find the exe and dll should you not want to compile the project.
In the scripts directory you can find the source code for the programs shown in the video. Python dependencies:
- pywin32
- keyboard
- numpy
- The following fork of PyAudio: https://github.com/intxcc/pyaudio_portaudio
This one shows some different color changing effects you can use
Visualizes audio output on the keyboard. You will need to find your audio device for this to work though. There are some comments in the code regarding this.
Displays a message on the keyboard
This section describes how I reverse engineered the protocol and built this API. Background: I wanted to control the RGB lights of a keyboard, so I searched for different keyboards with the RGB feature and found Ducky to have some software which allows you to reconfigure the light effects, implying that it is indeed possible to control the keyboard over USB.
After testing the software and various effects I found a feature which allows you to customize the color of each button so I decided to focus on this feature and attempt to analyze the USB packets sent to the keyboard when utilizing it.
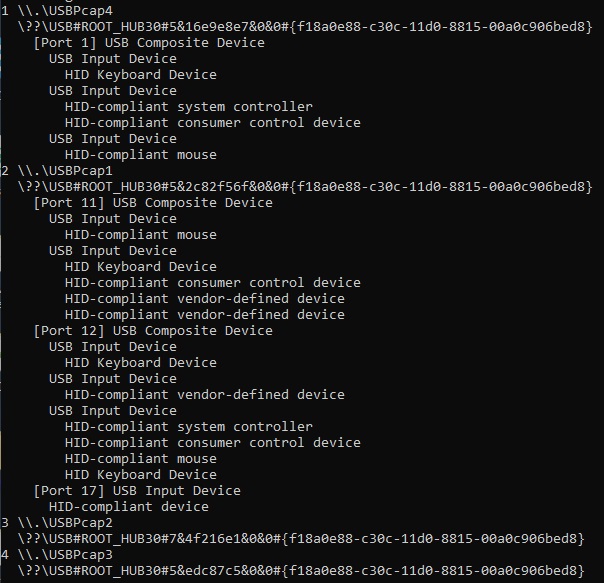
To do this I used Wireshark and the USBPcap plugin in particular. You can run USBPcapCMD.exe to get some initial information regarding your USB devices. However this doesn't help all that much.
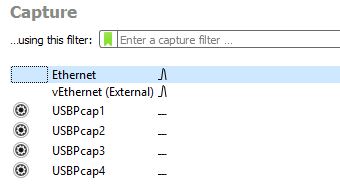
Then in Wireshark you can sniff the traffic to and from the different USB interfaces and see if you can find your keyboard.
The Ducky Shine 7 is easily spotted if you try the different interfaces since it will send packets when you press keys on the keyboard. Note that you might have problems sniffing some ports so try different USB ports if you encounter errors here.
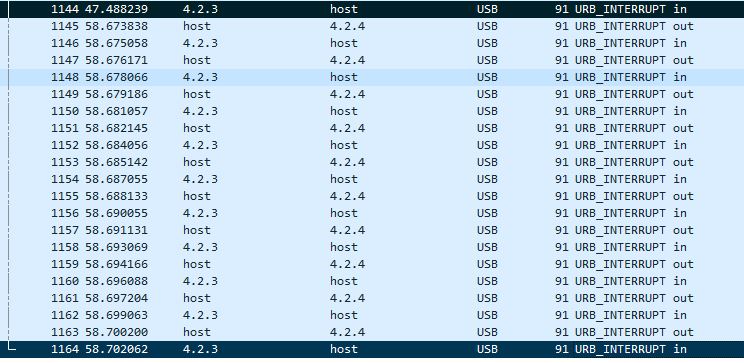
Starting the Ducky software called DuckyRGBSeries, about 1200 packets are sent back and forth. Disregard these for now. By selecting the tab called LED Zone Cuztomization you can set the color independently on every single key. Mark the last packet in Wireshark and then change the color of a single key (use only the mouse for a clean capture, or another keyboard). This will show that 10 packets are sent to the keyboard, and 10 responses are sent back. These 10 packets are what is setting the color on the keyboard and you will notice similar packets being sent every time you change the color on a key.
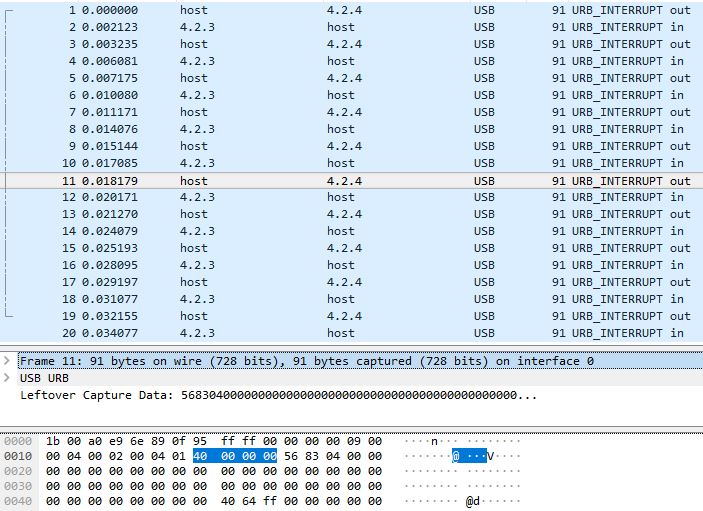
Now by look at the bytes and with some trial and error, it's easy to see that the RGB values for a key are sent in these packets. For example setting the Enter key to the RGB values 64, 100, 255 shows the hexadecimal forms of these values in the sixth packet: 40, 64, FF
After this I enumerated every single key by giving them unique values and noting down which packet they were sent in and at what offset in the packet. The following picture shows how it looked like halfway through this process. I started with values 64 2 2 and increased each key like 64 3 3, 64 4 4 and so on.
We can also see some bytes that appear to be the same every time. These are probably some form of header values, telling the keyboard and the software what type of packet it is and how to parse the data sent. In Wireshark you will want to focus on the "Leftover Capture Data" as the bytes before that are part of how a USB device communicates with the computer.
This image is the first packet sent every time and it always has the same values.
This is the final packet sent every time and it also always has the same values.
As for the packets in between, they are obviously not static as they change with the colors we set. However some parts are always the same here too. Notably there is also an index value noting the packet number, starting at 00 and ending at 07. In other words we sent the first packet, 0 to 7 = 8 color packets and the final packet for a total of 10.
From this I guessed the following:
The first packet
- Static
- Starts with the header 56 81
- The byte at offset 4 is set to 01
- The byte at offset 8 is set to 08
- The bytes from 12-15 are all set to AA
- Everything else is 0
The final packet
- Static
- Starts with the header 51 28
- The byte at offset 4 is set to FF
- Everything else is 0
The color packets
- Not static
- Starts with the header 56 83
- The byte at offset 2 is the index byte, starting at 0 and ending at 07
- RGB values for different keys are sent in the order R, G, B at preset offsets and packets. The colors can also span two packets if they start at one of the last bytes. To see the list of packet numbers and offsets see the file ColorSetter.cpp
- The very first packet has an extra long header which can also be found in ColorSetter.cpp
At this point we know exactly how to construct the packets to set the color of the keyboard, however simply sending them will not work. That is because of the way that the Ducky software needs to take control of the keyboard first, and then later on release the control back to the keyboard. Or something like that, we don't even need to know exactly what is going on.
In order to do this, we will simply replay the traffic sent from the Ducky software when it takes control and releases it. Now a problem here seems to be that you can't export USB traffic from Wireshark easily. I opted to use the File -> Export Packet Dissections -> ... tool in order to export the packets (Important note when exporting: You have to expand the data you want to export in the disector or Wireshark will not export that data). However Wireshark will not allow you to export data and metadata simultaneously. So what I did is I exported both as plaintext and to "C" arrays, and then used a python script to parse these files and outputting into a more suitable format. This can be found in the script packetComparer.py. This script has the ability to read txt and array files, combine the files and then compare to another set of files. I used this to compare the conversations from different starts of the Ducky software to look for differences. Really what you want though is the last couple of lines where the data is saved into a combined file.
Armed with the knowledge to construct packets and the data to replay in order to take/release control we can now proceed and write software to talk to the keyboard. Really at this point I tried about 5 different libraries, failed and settled for the tried and true HIDAPI. The replayed packets also gives about 500 packets back which are not the expected responses (Maybe it's keyboard configurations I changed or something) but that does not interfere with actually taking control of the keyboard.
Since I wanted to program using python, preferably, I made the program talking to the keyboard into a sort of API which takes input from a named pipe. You can send data to it as described above.
Some reading I found useful during this project in no particular order. This should give you a good starting point if you have 0 experience with USB like I had.


