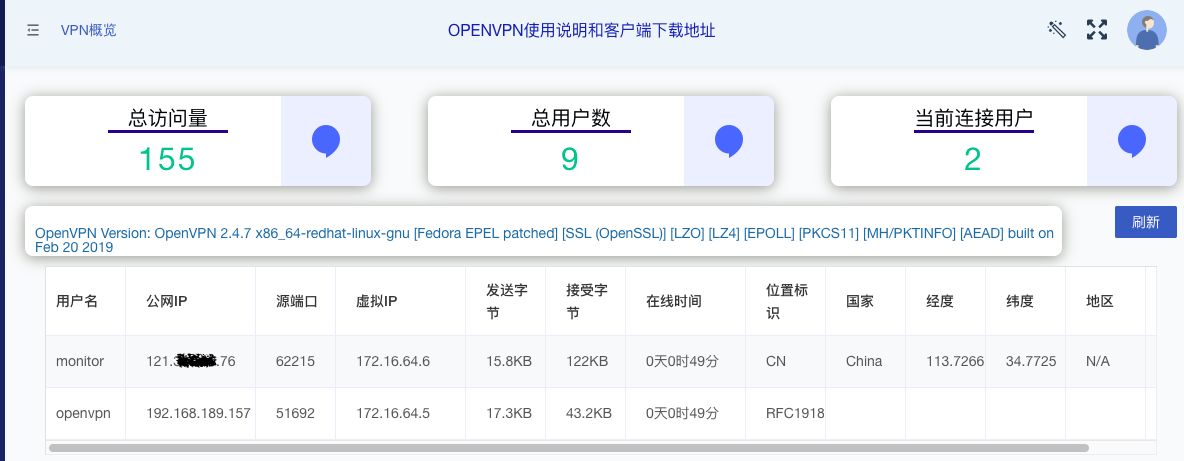
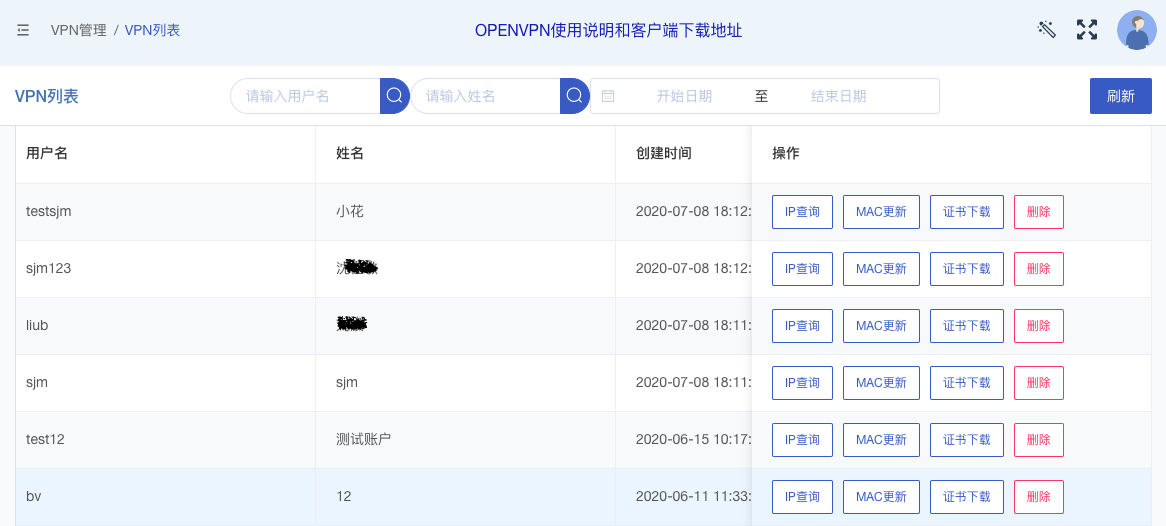
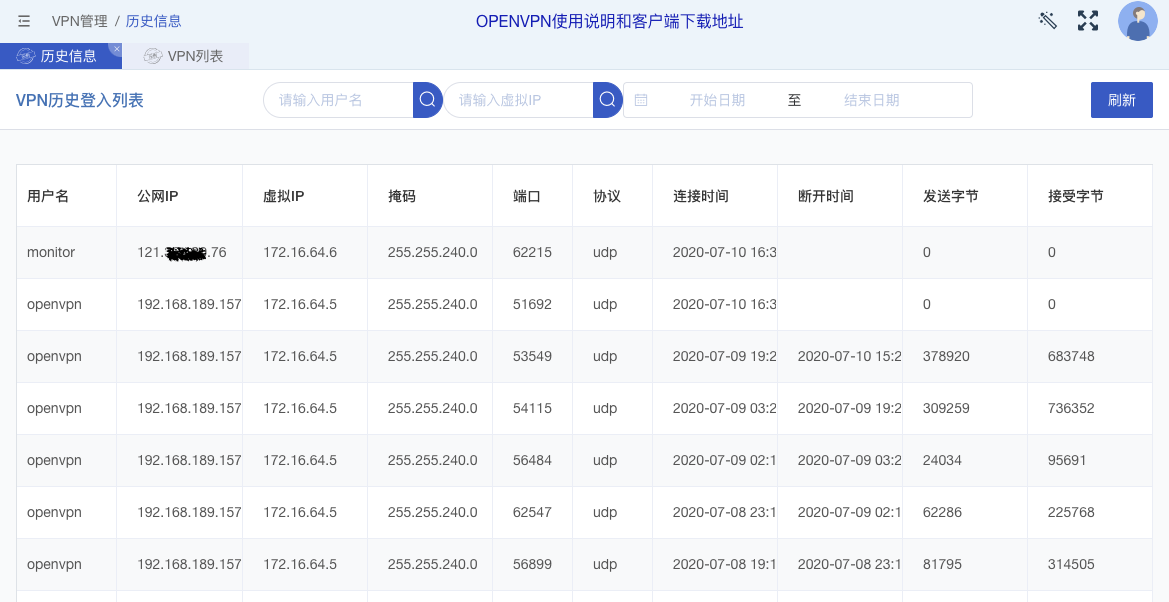
基于Lin-cms-vue 二次开发的openvpn-cms-vue,是openvpn-cms的前端,后端是openvpn-cms-flask
- Node.js(version:8.11.0+)
- npm (version: 5.6.0)
克隆代码:git clone https://github.com/xiaoyunjie/openvpn-cms-vue.git openvpn-cms-vue
安装npm:yum install -y npm
更新npm到5.6.0:npm i -g n
更新node后,版本没有发生变化,原因是环境变量没有设置
echo "export N_PREFIX=/usr/local" >> /etc/profile
echo "export PATH=\$N_PREFIX/bin:\$PATH" >> /etc/profile
source /etc/profile
mkdir -p /usr/local/n切换node版本:sudo n 8.11.3
安装:cd /opt/openvpn-cms-vue && npm install
vi src/config/index.js
baseURL: 'http://IP:5000' ## 地址改成本机IP,不要使用环回口或localhostnpm install
npm run serve
vue项目无需每次都 npm run serve,只需要打包成html页面,静态发布就行。
npm run build ## 打包打包完成后,会在当前目录下生成一个dist目录,里面就是静态文件,将文件放到指定目录下,并用nginx代理。
yum install nginx -y    ## 安装nginx
mkdir -p /www           ## 创建发布目录
cp -r dist/*  /www      ## 拷贝静态文件到发布目录
systemctl start nginx   ## 启动nginx
systemctl enable nginx  ## 开机启动nginx
nignx 配置
http {
    server {
        listen       80 default_server;
        server_name  _;
        root    /www;

        location / {
        }
        error_page 404 /404.html;
            location = /40x.html {
        }
        error_page 500 502 503 504 /50x.html;
            location = /50x.html {
        }
    }
}QQ:2913381648


