Just a note that I've launched Dream Factory, a significant upgrade to this. It's got an (optional) GUI, true simultaneous multi-GPU support, an integrated gallery with full EXIF metadata support, and many other new features.
I dropped VQGAN and Disco Diffusion support to focus on Stable Diffusion, so if you want VQGAN and/or Disco Diffusion you should stick with this for now. Otherwise I encourage everyone to migrate to Dream Factory! I'll continue to patch bug fixes on this repo but I likely won't be adding new features going foward.
For automating the creation of large batches of AI-generated artwork locally. Put your GPU(s) to work cranking out AI-generated artwork 24/7 with the ability to automate large prompt queues combining user-selected subjects, styles/artists, and more! More info on which models are available after the sample pics.
Some example images that I've created via this process (these are cherry-picked and sharpened):

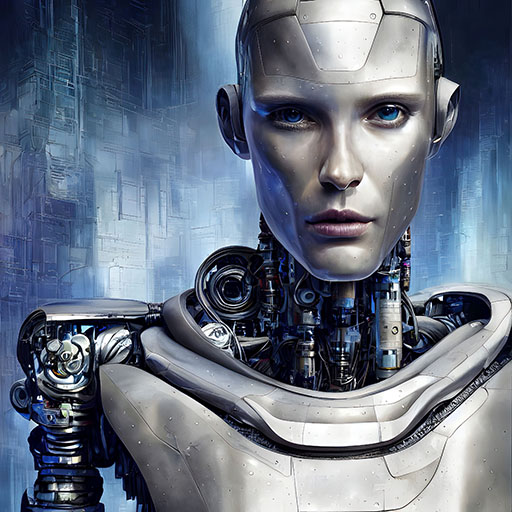
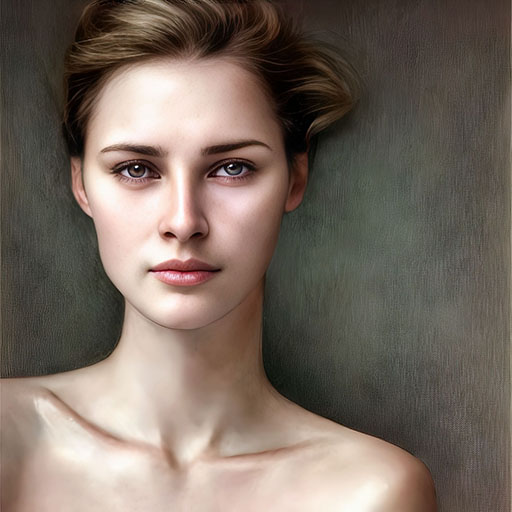
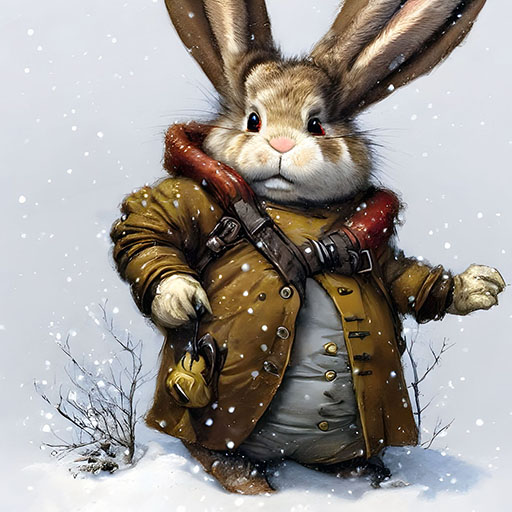
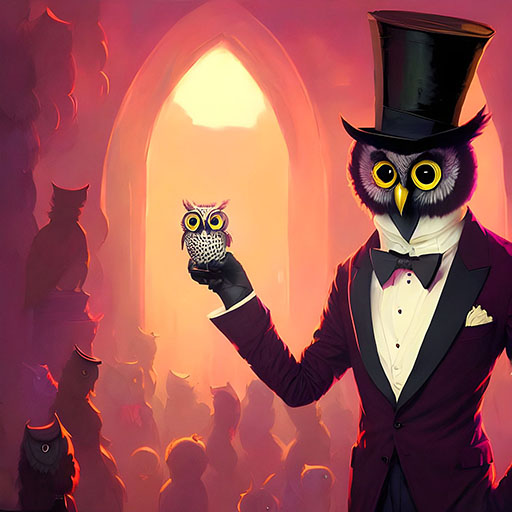
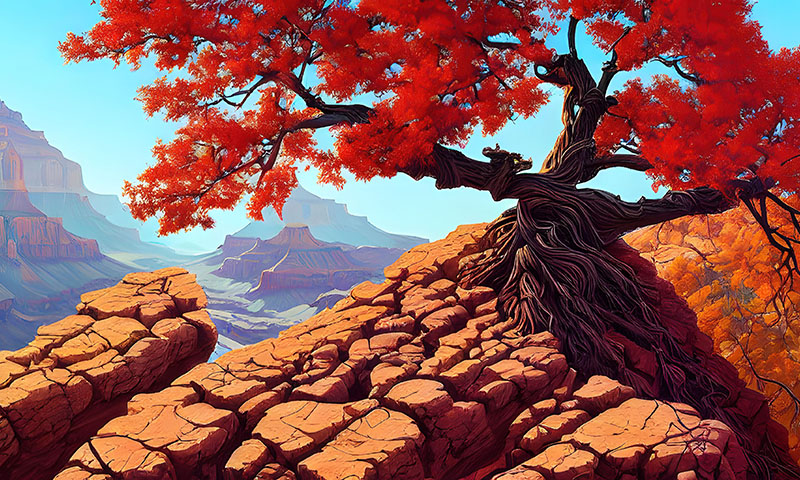
Note that I did not create or train the models used in this project, nor was I involved in the original coding. I've simply modified the original colab versions so they'll run locally and added some support for automation.
Models currently supported, with links to their original implementations:
- Stable Diffusion
- CLIP-guided Diffusion (via Disco Diffusion adapted to run locally)
- VQGAN+CLIP
You'll need an Nvidia GPU, preferably with a decent amount of VRAM. 12GB of VRAM is sufficient for 512x512 output images depending on model and settings, and 8GB should be enough for 384x384 (8GB should be considered a reasonable minimum!). To generate 1024x1024 images, you'll need ~24GB of VRAM or more. Generating small images and then upscaling via ESRGAN or some other package provides very good results as well.
It should be possible to run on an AMD GPU, but you'll need to be on Linux to install the ROCm version of Pytorch. I don't have an AMD GPU to throw into a Linux machine so I haven't tested this myself.
These instructions were tested on a Windows 10 desktop with an Nvidia 3080 Ti GPU (12GB VRAM), and also on an Ubuntu Server 20.04.3 system with an old Nvidia Tesla M40 GPU (24GB VRAM).
[1] Install Anaconda, open the root terminal, and create a new environment (and activate it):
conda create --name ai-art python=3.9
conda activate ai-art
[2] Install Pytorch:
conda install pytorch torchvision torchaudio cudatoolkit=11.3 -c pytorch
Note that you can customize your Pytorch installation by using the online tool located here.
[3] Install other required Python packages:
conda install -c anaconda git urllib3
pip install transformers keyboard pillow ftfy regex tqdm omegaconf pytorch-lightning IPython kornia imageio imageio-ffmpeg einops torch_optimizer
[4] Clone this repository and switch to its directory:
git clone https://github.com/rbbrdckybk/ai-art-generator
cd ai-art-generator
Note that Linux users may need single quotes around the URL in the clone command.
[5] Clone additional required repositories:
git clone https://github.com/openai/CLIP
git clone https://github.com/CompVis/taming-transformers
[6] Download the default VQGAN pre-trained model checkpoint files:
mkdir checkpoints
curl -L -o checkpoints/vqgan_imagenet_f16_16384.yaml -C - "https://heibox.uni-heidelberg.de/d/a7530b09fed84f80a887/files/?p=%2Fconfigs%2Fmodel.yaml&dl=1"
curl -L -o checkpoints/vqgan_imagenet_f16_16384.ckpt -C - "https://heibox.uni-heidelberg.de/d/a7530b09fed84f80a887/files/?p=%2Fckpts%2Flast.ckpt&dl=1"
Note that Linux users should replace the double quotes in the curl commands with single quotes.
[7] (Optional) Download additional pre-trained models:
Additional models are not necessary, but provide you with more options. Here is a good list of available pre-trained models.
For example, if you also wanted the FFHQ model (trained on faces):
curl -L -o checkpoints/ffhq.yaml -C - "https://app.koofr.net/content/links/0fc005bf-3dca-4079-9d40-cdf38d42cd7a/files/get/2021-04-23T18-19-01-project.yaml?path=%2F2021-04-23T18-19-01_ffhq_transformer%2Fconfigs%2F2021-04-23T18-19-01-project.yaml&force"
curl -L -o checkpoints/ffhq.ckpt -C - "https://app.koofr.net/content/links/0fc005bf-3dca-4079-9d40-cdf38d42cd7a/files/get/last.ckpt?path=%2F2021-04-23T18-19-01_ffhq_transformer%2Fcheckpoints%2Flast.ckpt"
[8] (Optional) Test VQGAN+CLIP:
python vqgan.py -s 128 128 -i 200 -p "a red apple" -o output/output.png
You should see output.png created in the output directory, which should loosely resemble an apple.
[9] Install packages for CLIP-guided diffusion (if you're only interested in VQGAN+CLIP, you can skip everything from here to the end):
pip install ipywidgets omegaconf torch-fidelity einops wandb opencv-python matplotlib lpips datetime timm
conda install pandas
[10] Clone repositories for CLIP-guided diffusion:
git clone https://github.com/crowsonkb/guided-diffusion
git clone https://github.com/assafshocher/ResizeRight
git clone https://github.com/CompVis/latent-diffusion
[11] Download models needed for CLIP-guided diffusion:
mkdir content\models
curl -L -o content/models/256x256_diffusion_uncond.pt -C - "https://openaipublic.blob.core.windows.net/diffusion/jul-2021/256x256_diffusion_uncond.pt"
curl -L -o content/models/512x512_diffusion_uncond_finetune_008100.pt -C - "http://batbot.tv/ai/models/guided-diffusion/512x512_diffusion_uncond_finetune_008100.pt"
curl -L -o content/models/secondary_model_imagenet_2.pth -C - "https://ipfs.pollinations.ai/ipfs/bafybeibaawhhk7fhyhvmm7x24zwwkeuocuizbqbcg5nqx64jq42j75rdiy/secondary_model_imagenet_2.pth"
mkdir content\models\superres
curl -L -o content/models/superres/project.yaml -C - "https://heibox.uni-heidelberg.de/f/31a76b13ea27482981b4/?dl=1"
curl -L -o content/models/superres/last.ckpt -C - "https://heibox.uni-heidelberg.de/f/578df07c8fc04ffbadf3/?dl=1"
Note that Linux users should again replace the double quotes in the curl commands with single quotes, and replace the mkdir backslashes with forward slashes.
[12] (Optional) Test CLIP-guided diffusion:
python diffusion.py -s 128 128 -i 200 -p "a red apple" -o output.png
You should see output.png created in the output directory, which should loosely resemble an apple.
[13] Clone Stable Diffusion repository (if you're not interested in SD, you can skip everything from here to the end):
git clone https://github.com/rbbrdckybk/stable-diffusion
[14] Install additional dependancies required by Stable Diffusion:
pip install diffusers
[15] Download the Stable Diffusion pre-trained checkpoint file:
mkdir stable-diffusion\models\ldm\stable-diffusion-v1
curl -L -o stable-diffusion/models/ldm/stable-diffusion-v1/model.ckpt -C - "https://huggingface.co/CompVis/stable-diffusion-v-1-4-original/resolve/main/sd-v1-4.ckpt"
If the curl command doesn't download the checkpoint, it's gated behind a login. You'll need to register here (only requires email and name) and then you can download the checkpoint file here.
After downloading, you'll need to place the .ckpt file in the directory created above and name it model.ckpt.
[16] (Optional) Test Stable Diffusion:
The easiest way to test SD is to create a simple prompt file with !PROCESS = stablediff and a single subject. See example-prompts.txt and the next section for more information. Assuming you create a simple prompt file called test.txt first, you can test by running:
python make_art.py test.txt
Images should be saved to the output directory if successful (organized into subdirectories named for the date and prompt file).
[17] Setup ESRGAN/GFPGAN (if you're not planning to upscale images, you can skip this and everything else):
git clone https://github.com/xinntao/Real-ESRGAN
pip install basicsr facexlib gfpgan
cd Real-ESRGAN
curl -L -o experiments/pretrained_models/RealESRGAN_x4plus.pth -C - "https://github.com/xinntao/Real-ESRGAN/releases/download/v0.1.0/RealESRGAN_x4plus.pth"
python setup.py develop
cd ..
You're done!
If you're getting errors outside of insufficient GPU VRAM while running and haven't updated your installation in awhile, try updating some of the more important packages, for example:
pip install transformers -U
Essentially, you just need to create a text file containing the subjects and styles you want to use to generate images. If you have 5 subjects and 20 styles in your prompt file, then a total of 100 output images will be created (20 style images for each subject).
Take a look at example-prompts.txt to see how prompt files should look. You can ignore everything except the [subjects] and [styles] areas for now. Lines beginning with a '#' are comments and will be ignored, and lines beginning with a '!' are settings directives and are explained in the next section. For now, just modify the example subjects and styles with whatever you'd like to use.
After you've populated example-prompts.txt to your liking, you can simply run:
python make_art.py example-prompts.txt
Depending on your hardware and settings, each image will take anywhere from a few seconds to a few hours (on older hardware) to create. If you can run Stable Diffusion, I strongly recommend it for the best results - both in speed and image quality.
Output images are created in the output/[current date]-[prompt file name]/ directory by default. The output directory will contain a JPG file for each image named for the subject & style used to create it. So for example, if you have "a monkey on a motorcycle" as one of your subjects, and "by Picasso" as a style, the output image will be created as output/[current date]-[prompt file name]/a-monkey-on-a-motorcycle-by-picasso.jpg (filenames will vary a bit depending on process used).
You can press CTRL+SHIFT+P any time to pause execution (the pause will take effect when the current image is finished rendering). Press CTRL+SHIFT+P again to unpause. Useful if you're running this on your primary computer and need to use your GPU for something else for awhile. You can also press CTRL+SHIFT+R to reload the prompt file if you've changed it (the current work queue will be discarded, and a new one will be built from the contents of your prompt file). Note that keyboard input only works on Windows.
The settings used to create each image are saved as metadata in each output JPG file by default. You can read the metadata info back by using any EXIF utility, or by simply right-clicking the image file in Windows Explorer and selecting "properties", then clicking the "details" pane. The "comments" field holds the command used to create the image.
Directives can be included in your prompt file to modify settings for all prompts that follow it. These settings directives are specified by putting them on their own line inside of the [subject] area of the prompt file, in the following format:
![setting to change] = [new value]
For [setting to change], valid directives are:
- PROCESS
- CUDA_DEVICE
- WIDTH
- HEIGHT
- ITERATIONS (vqgan/diffusion only)
- CUTS (vqgan/diffusion only)
- INPUT_IMAGE
- SEED
- LEARNING_RATE (vqgan only)
- TRANSFORMER (vqgan only)
- OPTIMISER (vqgan only)
- CLIP_MODEL (vqgan only)
- D_VITB16, D_VITB32, D_RN101, D_RN50, D_RN50x4, D_RN50x16 (diffusion only)
- STEPS (stablediff only)
- CHANNELS (stablediff only)
- SAMPLES (stablediff only)
- STRENGTH (stablediff only)
- SD_LOW_MEMORY (stablediff only)
- USE_UPSCALE (stablediff only)
- UPSCALE_AMOUNT (stablediff only)
- UPSCALE_FACE_ENH (stablediff only)
- UPSCALE_KEEP_ORG (stablediff only)
- REPEAT
Some examples:
!PROCESS = vqgan
This will set the current AI image-generation process. Valid options are vqgan for VQGAN+CLIP, diffusion for CLIP-guided diffusion (Disco Diffusion), or stablediff for Stable Diffusion.
!CUDA_DEVICE = 0
This will force GPU 0 be to used (the default). Useful if you have multiple GPUs - you can run multiple instances, each with it's own prompt file specifying a unique GPU ID.
!WIDTH = 384
!HEIGHT = 384
This will set the output image size to 384x384. A larger output size requires more GPU VRAM. Note that for Stable Diffusion these values should be multiples of 64.
!TRANSFORMER = ffhq
This will tell VQGAN to use the FFHQ transformer (somewhat better at faces), instead of the default (vqgan_imagenet_f16_16384). You can follow step 7 in the setup instructions above to get the ffhq transformer, along with a link to several others.
Whatever you specify here MUST exist in the checkpoints directory as a .ckpt and .yaml file.
!INPUT_IMAGE = samples/face-input.jpg
This will use samples/face-input.jpg (or whatever image you specify) as the starting image, instead of the default random noise. Input images must be the same aspect ratio as your output images for good results. Note that when using with Stable Diffusion the output image size will be the same as your input image (your height/width settings will be ignored).
!SEED = 42
This will use 42 as the input seed value, instead of a random number (the default). Useful for reproducibility - when all other parameters are identical, using the same seed value should produce an identical image across multiple runs. Set to nothing or -1 to reset to using a random value.
!INPUT_IMAGE =
Setting any of these values to nothing will return it to its default. So in this example, no starting image will be used.
!STEPS = 50
Sets the number of steps (simliar to iterations) when using Stable Diffusion to 50 (the default). Higher values take more time and may improve image quality. Values over 100 rarely produce noticeable differences compared to lower values.
!SCALE = 7.5
Sets the guidance scale when using Stable Diffusion to 7.5 (the default). Higher values (to a point, beyond ~25 results may be strange) will cause the the output to more closely adhere to your prompt.
!SAMPLES = 1
Sets the number of times to sample when using Stable Diffusion to 1 (the default). Values over 1 will cause multiple output images to be created for each prompt at a slight time savings per image. There is no cost in GPU VRAM required for incrementing this.
!STRENGTH = 0.75
Sets the influence of the starting image to 0.75 (the default). Only relevant when using Stable Diffusion with an input image. Valid values are between 0-1, with 1 corresponding to complete destruction of the input image, and 0 corresponding to leaving the starting image completely intact. Values between 0.25 and 0.75 tend to give interesting results.
!SD_LOW_MEMORY = no
Use a forked repo with much lower GPU memory requirements when using Stable Diffusion (yes/no)? Setting this to yes will switch over to using a memory-optimized version of SD that will allow you to create higher resolution images with far less GPU memory (512x512 images should only require around 4GB of VRAM). The trade-off is that inference is much slower compared to the default official repo. For comparison: on a RTX 3060, a 512x512 image at default settings takes around 12 seconds to create; with !SD_LOW_MEMORY = yes, the same image takes over a minute. Recommend keeping this off unless you have under 8GB GPU VRAM, or want to experiment with creating larger images before upscaling.
!USE_UPSCALE = no
Automatically upscale images created with Stable Diffusion (yes/no)? Uses ESRGAN/GFPGAN (see additional settings below).
!UPSCALE_AMOUNT = 2
How much to scale when !USE_UPSCALE = yes. Default is 2.0x; higher values require more VRAM and time.
!UPSCALE_FACE_ENH = no
Whether or not to use GFPGAN (vs default ESRGAN) when upscaling. GFPGAN provides the best results with faces, but may provide slightly worse results if used on non-face subjects.
!UPSCALE_KEEP_ORG = no
Keep the original unmodified image when upscaling (yes/no)? If set to no (the default), the original image will be deleted. If set to yes, the original image will be saved in an /original subdirectory of the image output folder.
!REPEAT = no
When all jobs in the prompt file are finished, restart back at the top of the file (yes/no)? Default is no, which will simply terminate execution when all jobs are complete.
TODO: finish settings examples & add usage tips/examples, document random_art.py