[TOC]
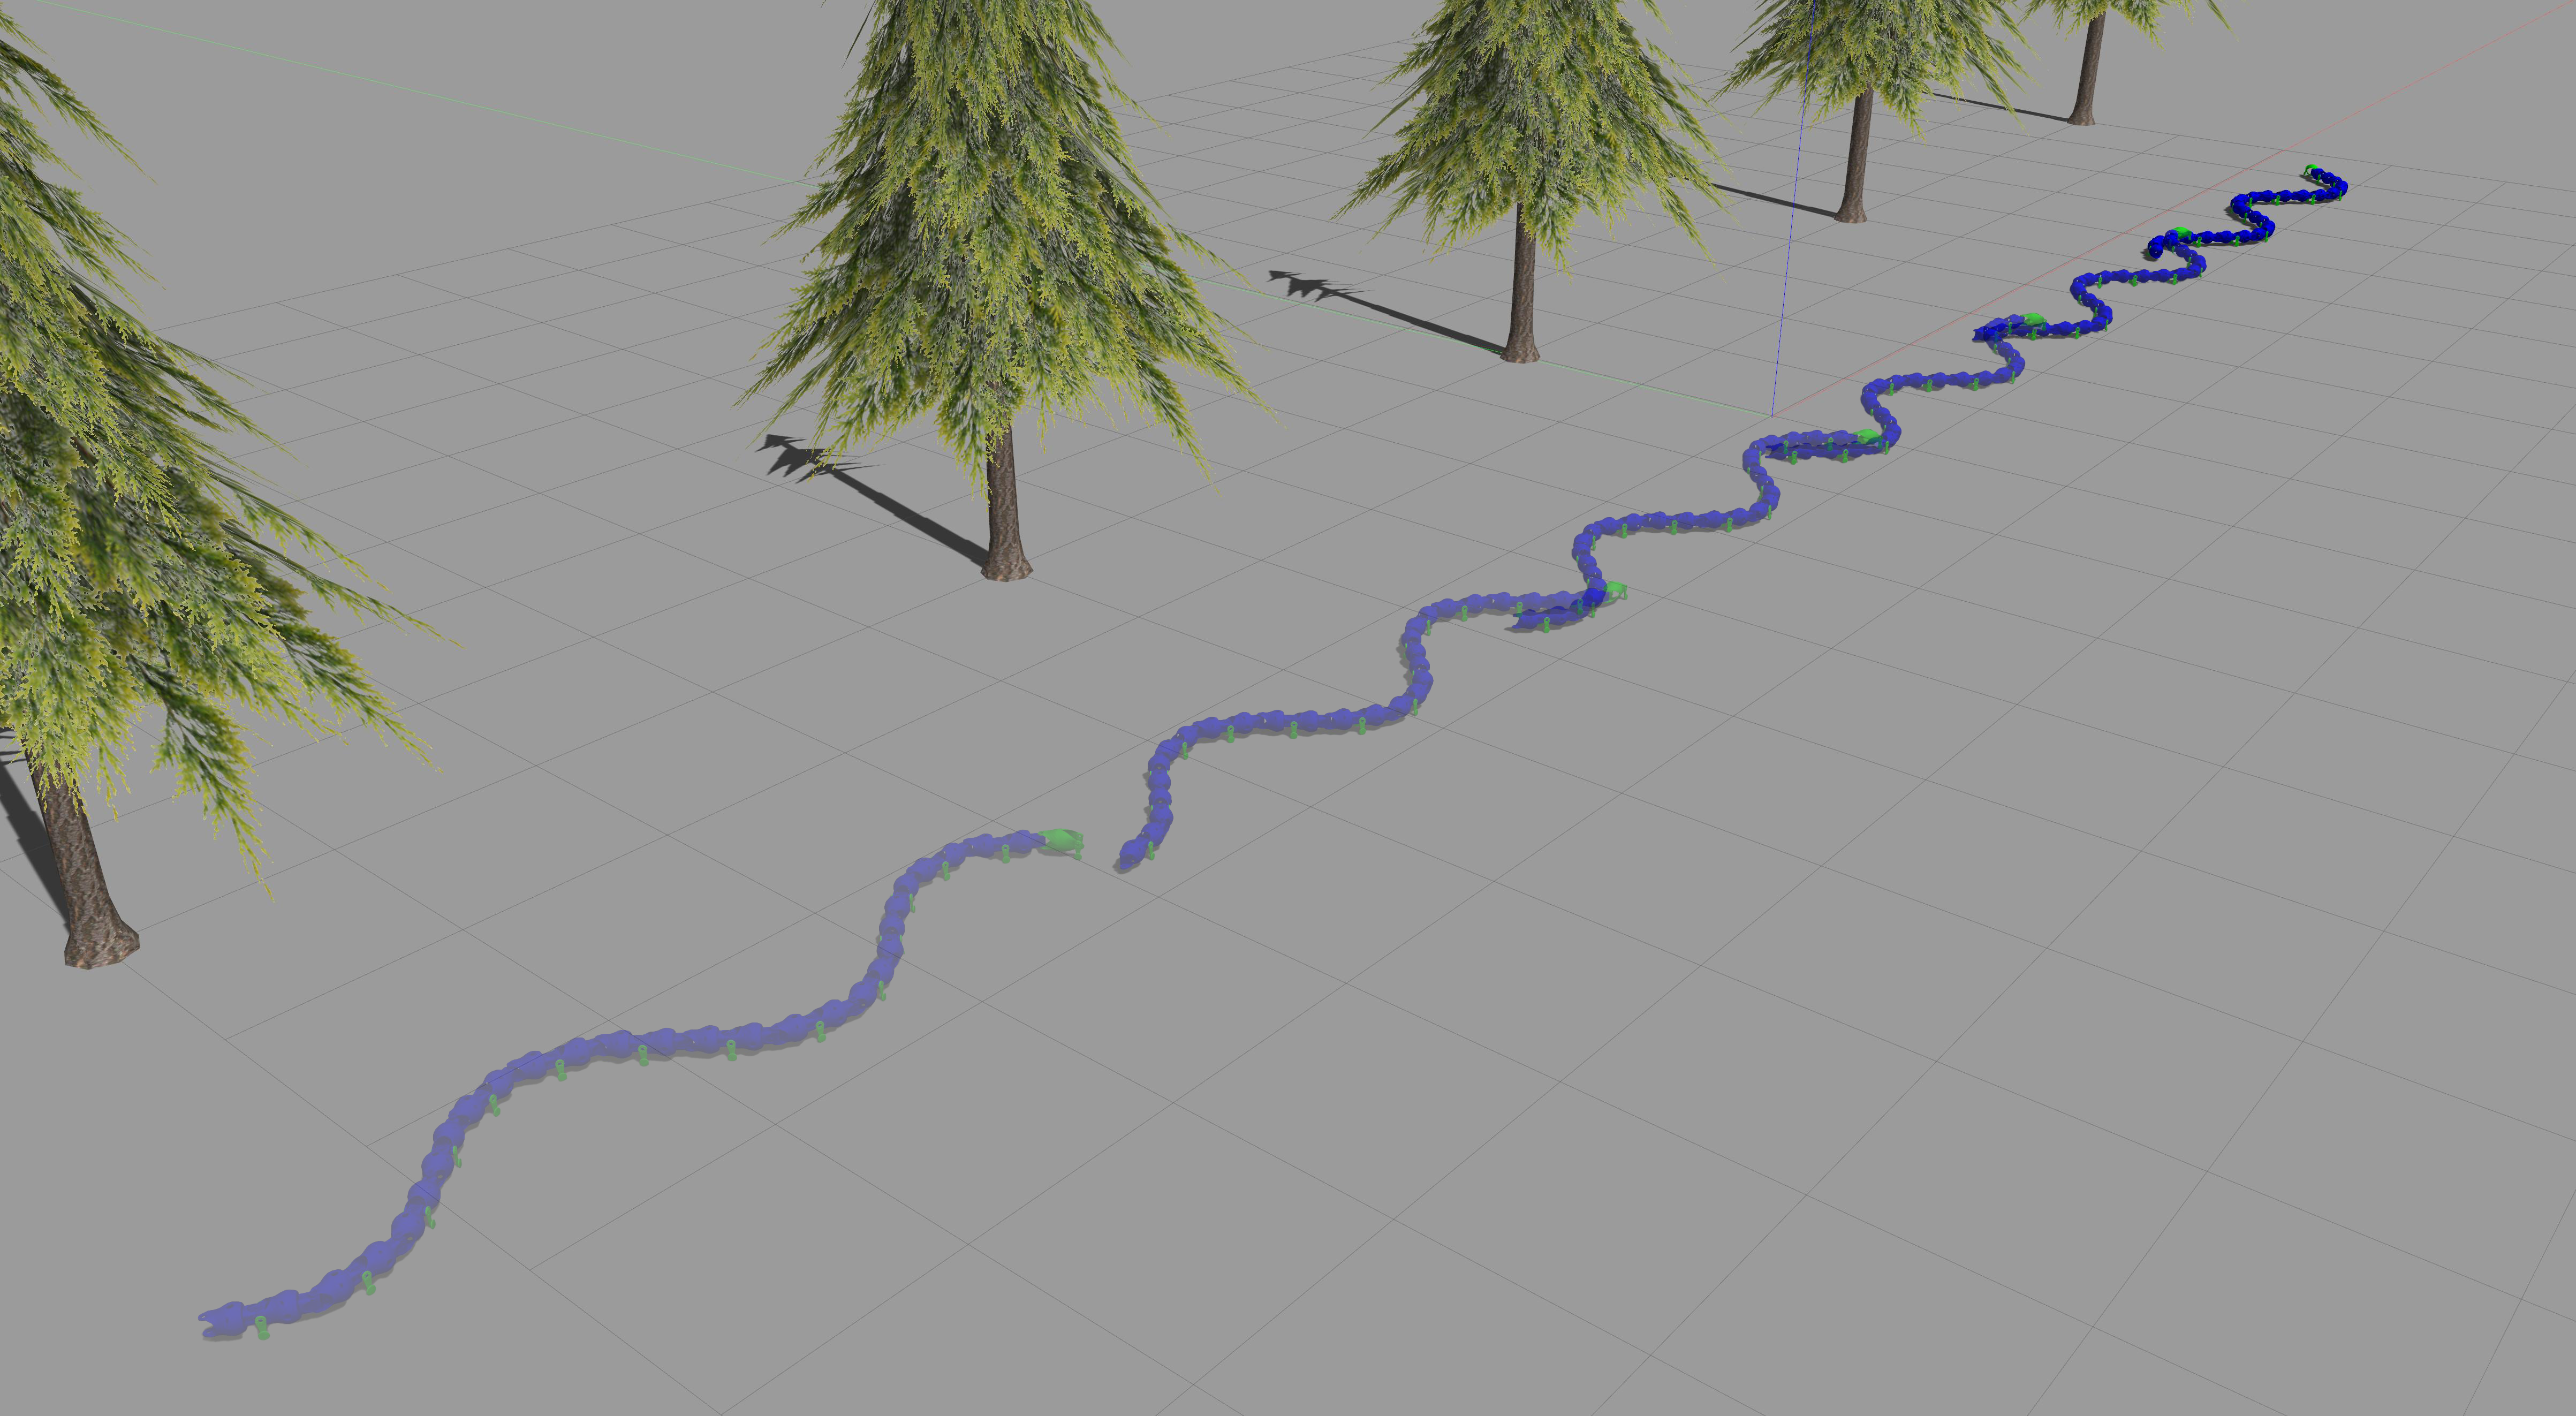
SnakeSys is an open-source system for snake robots.
Authors: Liu Xupeng, Zang Yong, and Gao Zhiying.
Important
SnakeSys includes five modules: CPG-based multimodal motion control, prototypes of snake robots, Gazebo-based simulation, information perception, and GUI. The source code of SnakeSys is in the folders SnakeSys/ros2/src/snake and SnakeSys/ros1/src/snake.

@article{liu2024bio,
  title={Bio-Inspired Multimodal Motion Gait Control of Snake Robots with Environmental Adaptability Based on ROS},
  author={Liu, Xupeng and Zang, Yong and Gao, Zhiying},
  journal={Electronics},
  volume={13},
  number={17},
  pages={3437},
  year={2024},
  publisher={MDPI}
}
@article{liu2024locomotion,
title={Locomotion gait control of snake robots based on a novel unified CPG network model composed of Hopf oscillators},
author={Liu, Xupeng and Zang, Yong and Gao, Zhiying and Liao, Maolin},
journal={Robotics and Autonomous Systems},
volume={179},
pages={104746},
year={2024},
publisher={Elsevier}
}@article{liu2021tribological,
title={Tribological Mechanism and Propulsion Conditions for Creeping Locomotion of the Snake-like Robot},
author={Liu, Xupeng and Gao, Zhiying and Zang, Yong and Zhang, Liyuan},
journal={Journal of Mechanical Engineering},
volume={57},
number={21},
pages={189--201},
year={2021}
}
% or
@article{刘旭鹏2021蛇形机器人蜿蜒运动的摩擦机理及推进条件,
title={蛇形机器人蜿蜒运动的摩擦机理及推进条件},
author={刘旭鹏 and 郜志英 and 臧勇 and 张立元},
journal={机械工程学报},
volume={57},
number={21},
pages={189--201},
year={2021}
}
Important
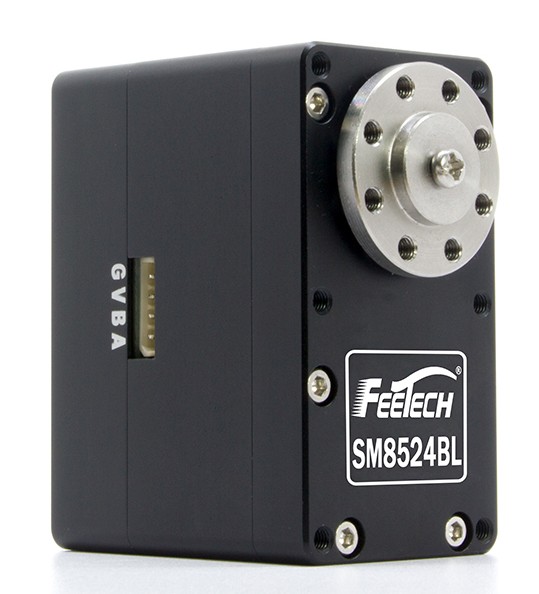
We have built the servo driver for ROS2 in folder SnakeSys/ros2/src/snake/snake_servo.

Important
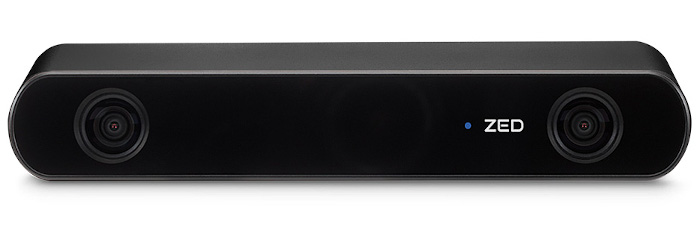
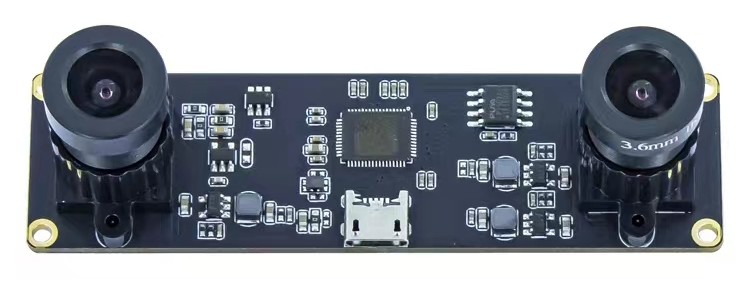
In folders SnakeSys/ros2/src/sensor_camera/realsense_cam, SnakeSys/ros2/src/sensor_camera/zed_cam, and SnakeSys/ros2/src/sensor_camera/usb_cam.

Important
In folder SnakeSys/ros2/src/sensor_imu/fdilink_ahrs.


We used the Ubuntu 20.04 desktop for 64-bit, ROS1 Noetic and ROS2 Foxy, and used the zsh terminal.
# Check the current shell in the system.
$ echo $SHELL

# Check the shells in the system.
$ cat /etc/shells

# Install zsh shell.
$ sudo apt-get install zsh -y

# Set zsh as the default shell.
$ chsh -s /bin/zsh

# Install oh-my-zsh
$ sh -c "$(curl -fsSL https://raw.githubusercontent.com/ohmyzsh/ohmyzsh/master/tools/install.sh)"

# Restart the Ubuntu.
$ sudo reboot

# Configure the environment.
$ source ~/.zshrc
# Setup Sources.
$ sudo sh -c '. /etc/lsb-release && echo "deb http://mirrors.tuna.tsinghua.edu.cn/ros/ubuntu/ `lsb_release -cs` main" > /etc/apt/sources.list.d/ros-latest.list'

# Set up your keys.
$ curl -s https://raw.githubusercontent.com/ros/rosdistro/master/ros.asc | sudo apt-key add -

# Installation.
$ sudo apt update
$ sudo apt install ros-noetic-desktop-full

# Environment setup.
$ echo "source /opt/ros/noetic/setup.zsh" >> ~/.zshrc
$ source ~/.zshrc$ vim ~/.zshrc# Write the following content in .zshrc.
# ******************** ros1 ********************
source /opt/ros/noetic/setup.zsh
##################################################$ source ~/.zshrc$ sudo apt install python3-rosdep
$ sudo rosdep init
$ rosdep update
$ rosdep install --from-paths src --ignore-src -r -y$ sudo apt-get install build-essential
$ pip3 install rosdep rosinstall rosinstall-generator wstool vcstools vcstool
$ pip3 install rospkg catkin_pkg pyyaml empy numpy defusedxml$ sudo apt-get install ros-noetic-ddynamic-reconfigure
$ sudo apt-get install ros-noetic-position-controllers
$ sudo apt-get install ros-noetic-effort-controllers
$ sudo apt-get install ros-noetic-joint-state-controller
$ sudo apt-get install ros-noetic-control*
$ sudo apt-get install ros-noetic-serial*
$ sudo apt-get install ros-noetic-usb-cam*
$ sudo apt-get install ros-noetic-cv-bridge*
$ sudo apt-get install ros-noetic-cv-camera*
$ sudo apt-get install ros-noetic-dynamixel*
$ sudo apt-get install ros-noetic-xacro
$ sudo apt-get install ros-noetic-rviz*
$ sudo apt-get install ros-noetic-rqt*
$ sudo apt-get install ros-noetic-urdf*
$ sudo apt-get install ros-noetic-joy
$ sudo apt-get install ros-noetic-tf*
# Set locale.
$ locale  # check for UTF-8
$ sudo apt update && sudo apt install locales
$ sudo locale-gen en_US en_US.UTF-8
$ sudo update-locale LC_ALL=en_US.UTF-8 LANG=en_US.UTF-8
$ export LANG=en_US.UTF-8
# Verify settings.
$ locale

# Setup Sources.
# First ensure that the Ubuntu Universe repository is enabled.
$ sudo apt install software-properties-common
$ sudo add-apt-repository universe
# Now add the ROS2 GPG key with apt.
$ sudo apt update && sudo apt install curl
$ sudo curl -sSL https://raw.githubusercontent.com/ros/rosdistro/master/ros.key -o /usr/share/keyrings/ros-archive-keyring.gpg
# Then add the repository to your sources list.
$ sudo sh -c 'echo "deb [arch=$(dpkg --print-architecture) signed-by=/usr/share/keyrings/ros-archive-keyring.gpg] http://mirror.tuna.tsinghua.edu.cn/ros2/ubuntu $(. /etc/os-release && echo $UBUNTU_CODENAME) main" | sudo tee /etc/apt/sources.list.d/ros2.list'

# Install ROS2 Packages.
$ sudo apt update
$ sudo apt upgrade
$ sudo apt install ros-humble-desktop-full

# Environment Setup.
$ echo "source /opt/ros/humble/setup.zsh" >> ~/.zshrc
$ source ~/.zshrc

# Check environment variables.
$ printenv | grep -i ROS$ vim ~/.zshrc# Write the following content in .zshrc.
# ******************** ros2 ********************
source /opt/ros/humble/setup.zsh
export ROS_DOMAIN_ID=<your_domain_id>
##################################################$ source ~/.zshrc$ sudo apt-get install python3-rosdep
$ pip3 install -U rosdep
$ sudo rosdep init
$ rosdep update
$ rosdep install -i --from-path src --rosdistro foxy -y$ sudo apt-get install python3-argcomplete
$ sudo apt-get install python3-colcon-common-extensions
$ pip3 install -U colcon-common-extensions
$ sudo apt-get install build-essential
$ sudo apt-get install python3-rosdep python3-rosinstall python3-rosinstall-generator python3-wstool python3-vcstool
$ sudo apt-get install python3-rospkg python3-empy python3-numpy
$ sudo apt-get install python3-setuptools python3-pkg-resources python3-lark
$ pip3 install -U catkin_pkg pyyaml lark-parser pyyaml
$ sudo apt-get install build-essential
$ pip3 install -U rosdep rosinstall rosinstall-generator wstool vcstool
$ pip3 install -U rospkg catkin_pkg pyyaml empy numpy
$ pip3 install -U setuptools lark lark-parser$ sudo apt-get install ros-foxy-position-controllers
$ sudo apt-get install ros-foxy-effort-controllers
$ sudo apt-get install ros-foxy-joint-state-controller
$ sudo apt-get install ros-foxy-control*
$ sudo apt-get install ros-foxy-serial*
$ sudo apt-get install ros-foxy-usb-cam*
$ sudo apt-get install ros-foxy-cv-bridge*
$ sudo apt-get install ros-foxy-dynamixel*
$ sudo apt-get install ros-foxy-xacro
$ sudo apt-get install ros-foxy-rviz*
$ sudo apt-get install ros-foxy-rqt*
$ sudo apt-get install ros-foxy-urdf*
$ sudo apt-get install ros-foxy-joy*
$ sudo apt-get install ros-foxy-tf*
$ sudo apt-get install ros-foxy-gazebo*
$ sudo apt-get install ros-foxy-nmea-msgs ros-foxy-geographic-msgs ros-foxy-robot-localization ros-foxy-robot-localization ros-foxy-image-transport-plugins ros-foxy-realsense2-camera# Install g++-9 and gcc-9.
$ sudo apt-get install g++-9 gcc-9
# Check the current version.
$ gcc --version
$ g++ --version
We used Anaconda3 2024.02 to create two environments: Python 3.8 and Python 3.10.
# Create environments.
$ conda create -n python38 python=3.8 # For ROS2.
$ conda create -n python310 python=3.10 # For ROS1.

# Delete environments.
$ conda remove --name python38 --all
$ conda remove --name python310 --all

# Activate the environment.
$ conda activate python38
$ conda activate python310

# Close the environment.
$ conda deactivate
# Download CMake.
$ wget https://github.com/Kitware/CMake/releases/download/v3.29.3/cmake-3.29.3.tar.gz
$ tar -zxvf cmake-3.29.3.tar.gz
$ sudo cp -r cmake-3.29.3 /opt
$ cd /opt/cmake-3.29.3

# Configure.
$ sudo ./configure -- -DCMAKE_USE_OPENSSL=OFF

# Compile.
$ sudo make -j$(nproc)

# Install.
$ sudo make install
Important
We have added the qcustomplot to SnakeSys/ros2/src/snake/snake_gui/include/snake_gui/qcustomplot.h and SnakeSys/ros2/src/snake/snake_gui/src/qcustomplot.cpp of SnakeSys.
$ sudo apt-get install libgl1-mesa-dev fcitx-frontend-qt5 libmd4c-dev
$ sudo apt-get install libfontconfig1-dev libfreetype6-dev libx11-dev libxext-dev libxfixes-dev libxi-dev libxrender-dev libxcb1-dev libx11-xcb-dev libxcb-glx0-dev libxkbcommon-x11-dev
$ sudo apt-get install libxcb-keysyms1-dev libxcb-image0-dev libxcb-shm0-dev libxcb-icccm4-dev libxcb-sync0-dev libxcb-xfixes0-dev libxcb-shape0-dev libxcb-randr0-dev libxcb-render-util0-dev libxcb-cursor0$ vim ~/.zshrc# Write the following content in .zshrc.
# ******************** qt ********************
# export QT_DEBUG_PLUGINS=1
export QT6_HOME=$QT6_HOME:/opt/Qt/6.7.0
export LD_LIBRARY_PATH=$LD_LIBRARY_PATH:$QT6_HOME/gcc_64/lib
##############################################$ source ~/.zshrc
$ sudo apt-get install build-essential g++ autotools-dev libicu-dev libbz2-dev# Download Boost.
$ wget https://archives.boost.io/release/1.85.0/source/boost_1_85_0.tar.gz
$ tar -zxvf boost_1_85_0.tar.gz
$ sudo cp -r boost_1_85_0 /opt
$ cd /opt/boost_1_85_0
# Compile.
$ sudo ./bootstrap.sh --with-python=/opt/anaconda3/bin/python3.11 --with-toolset=gcc
$ sudo ./b2 --with-python include="/opt/anaconda3/include/python3.11" --with-atomic --with-log --with-test --with-thread --with-date_time --with-chrono
# Install.
$ sudo ./b2 install$ cd /usr/local/lib
$ sudo ln -s libboost_python311.so libboost_python3.so
$ sudo ln -s libboost_python311.a libboost_python3.a
# Download Boost.
$ wget https://mirrors.tuna.tsinghua.edu.cn/gnu/gsl/gsl-2.7.1.tar.gz
$ tar -zxvf gsl-2.7.1.tar.gz
$ sudo cp -r gsl-2.7.1 /opt
$ cd /opt/gsl-2.7.1

# Compile.
$ sudo ./configure
$ sudo make -j$(nproc)

# Install.
$ sudo make install
# Download Eigen3.
$ wget https://gitlab.com/libeigen/eigen/-/archive/3.4.0/eigen-3.4.0.tar.gz
$ tar -zxvf eigen-3.4.0.tar.gz
$ sudo cp -r eigen-3.4.0 /opt
$ cd /opt/eigen-3.4.0

# Compile.
$ sudo mkdir build
$ cd build
$ sudo ccmake ..
$ sudo make -j$(nproc)

# Install.
$ sudo make install
# Download fmt.
$ wget https://github.com/fmtlib/fmt/releases/download/10.2.1/fmt-10.2.1.zip
$ unzip fmt-10.2.1.zip
$ sudo cp -r fmt-10.2.1 /opt
$ cd /opt/fmt-10.2.1

# Compile.
$ sudo mkdir build
$ cd build
$ sudo ccmake ..
$ sudo make -j$(nproc)

# Install.
$ sudo make install
# Download Sophus.
$ wget https://github.com/strasdat/Sophus/archive/refs/tags/1.22.10.tar.gz
$ tar -zxvf 1.22.10.tar.gz
$ sudo cp -r Sophus-1.22.10 /opt
$ cd /opt/Sophus-1.22.10

# Compile.
$ sudo mkdir build
$ cd build
$ sudo ccmake ..
$ sudo make -j$(nproc)

# Install.
$ sudo make install
# Download VTK.
$ wget https://www.vtk.org/files/release/9.3/VTK-9.3.0.tar.gz
$ wget https://www.vtk.org/files/release/9.3/VTKData-9.3.0.tar.gz
$ wget https://www.vtk.org/files/release/9.3/VTKDataFiles-9.3.0.tar.gz
$ wget https://www.vtk.org/files/release/9.3/VTKLargeData-9.3.0.tar.gz
$ wget https://www.vtk.org/files/release/9.3/VTKLargeDataFiles-9.3.0.tar.gz

$ tar -zxvf VTK-9.3.0.tar.gz
$ tar -zxvf VTKData-9.3.0.tar.gz
$ tar -zxvf VTKDataFiles-9.3.0.tar.gz
$ tar -zxvf VTKLargeData-9.3.0.tar.gz
$ tar -zxvf VTKLargeDataFiles-9.3.0.tar.gz

$ sudo cp -r VTK-9.3.0 /opt
$ cd /opt/VTK-9.3.0

$ sudo mkdir build
$ cd build
$ sudo ccmake ..
# Configure.
BUILD_SHARED_LIBS=ON
CMAKE_BUILD_TYPE=Release
VTK_BUILD_DOCUMENTATION=ON
VTK_BUILD_EXAMPLES=ON
VTK_BUILD_TESTING=ON
VTK_FORBID_DOWNLOADS=ON
VTK_USE_LARGE_DATA=ON
# Qt options.
VTK_GROUP_ENABLE_Qt=YES
VTK_QT_VERSION=6
VTK_MODULE_ENABLE_VTK_GuiSupportQt=YES
VTK_MODULE_ENABLE_VTK_GuiSupportQtQuick=YES
VTK_MODULE_ENABLE_VTK_GuiSupportQtSQL=YES
VTK_MODULE_ENABLE_VTK_RenderingQt=YES
VTK_MODULE_ENABLE_VTK_ViewsQt=YES
# gcc.
CMAKE_CXX_COMPILER_AR=/usr/bin/gcc-ar-9
CMAKE_CXX_COMPILER_RANLIB=/usr/bin/gcc-ranlib-9
CMAKE_C_COMPILER_AR=/usr/bin/gcc-ar-9
CMAKE_C_COMPILER_RANLIB=/usr/bin/gcc-ranlib-9
# CUDA.
CMAKE_CUDA_COMPILER=/usr/local/cuda/bin/nvcc
VTK_USE_CUDA=ON
# Python3.
Python3_EXECUTABLE=/opt/anaconda3/bin/python3# Compile.
$ sudo cmake -Wno-dev ..
$ sudo make -j$(nproc)
# Install.
$ sudo make install
# Source code directory structure:
/opt/opencv
├── build
├── opencv-4.9.0
└── opencv_contrib-4.9.0

$ cd build
$ sudo cmake-gui ..
# Configure.
BUILD_EXAMPLES=ON
BUILD_opencv_world=ON
CMAKE_BUILD_TYPE=Release
OPENCV_ENABLE_NONFREE=ON
OPENCV_EXTRA_MODULES_PATH=/opt/opencv/opencv_contrib-4.9.0/modules
WITH_V4L=ON
WITH_OPENGL=ON
VTK_DIR=/usr/local/lib/cmake/vtk-9.3
WITH_CUDA=ON
# WITH_QT=ON# Compile.
$ sudo ccmake ../opencv-4.9.0
$ sudo make -j$(nproc)
# Install.
$ sudo make install
# Download PCL.
$ wget https://github.com/PointCloudLibrary/pcl/archive/refs/tags/pcl-1.14.1.tar.gz
$ tar -zxvf pcl-1.14.1.tar.gz
$ sudo cp -r pcl-1.14.1 /opt
$ cd /opt/pcl-1.14.1

$ sudo mkdir build
$ cd build
$ sudo ccmake ..
# Configure.
BUILD_examples=ON
BUILD_CUDA=ON
BUILD_GPU=ON
CMAKE_BUILD_TYPE=Release
WITH_QT=QT6
WITH_CUDA=ON
CMAKE_CUDA_COMPILER=/usr/local/cuda/bin/nvcc# Compile.
$ sudo make -j$(nproc)
# Install.
$ sudo make instal
Important
In folder SnakeSys/ORB_SLAM3.
SnakeSys includes ROS1 and ROS2 packages, which need to be compiled separately.
# Download the source code on your computer and the controller of the snake robot.
$ git clone https://github.com/LiuXPs/SnakeSys.gitROS2 packages are divided into two parts: computer and controller. Due to the software and hardware requirements, not all packages can be compiled on the controller.
$ cd SnakeSys/ros2

# Set up the environment.
$ source /opt/ros/foxy/setup.zsh
$ conda activate python38

# Compile all packages for the computer.
$ colcon build --symlink-install --cmake-args -DCMAKE_BUILD_TYPE=Release -DCMAKE_EXPORT_COMPILE_COMMANDS=ON --parallel-workers $(nproc)$ cd SnakeSys/ros2
# Set up the environment.
$ source /opt/ros/foxy/setup.zsh
$ conda activate python38
# Compile corresponding packages based on the nodes deployed on the controller.
$ colcon build --symlink-install --cmake-args -DCMAKE_BUILD_TYPE=Release -DCMAKE_EXPORT_COMPILE_COMMANDS=ON --parallel-workers $(nproc) --packages-select usb_cam fdilink_ahrs snake_cpg snake_frame snake_heart snake_joy snake_msgs snake_params snake_sensor snake_servoROS1 packages are only used to simulate the snake robot, and you needn't compile it if you don't simulate it.
$ cd SnakeSys/ros1

# Set up the environment.
$ source /opt/ros/noetic/setup.zsh
$ conda activate python310

# Compile the package for the computer.
$ catkin_make -j$(nproc) -DCMAKE_BUILD_TYPE=ReleaseRun SnakeSys for the prototype or simulation.
Start terminal 1 on the controller of the snake robot with ROS2.
# Start snake_heart, snake_servo, and snake_frame.
$ cd SnakeSys/ros2
$ source /opt/ros/foxy/setup.zsh
$ . install/setup.zsh

$ ls /dev/ttyUSB*
$ sudo chmod 777 /dev/ttyUSB*

# Need to confirm the serial port number [/dev/ttyUSBx] of your device.
$ ros2 launch snake_servo snake_servo.launch.py use_sim_time:=false serial_port:=/dev/ttyUSB0 heart_rate:=50
Start terminal 2 on the computer or controller with ROS2.
# Start snake_cpg_hopf.
$ cd SnakeSys/ros2
$ source /opt/ros/foxy/setup.zsh
$ . install/setup.zsh
$ ros2 launch snake_cpg snake_cpg_hopf.launch.py use_sim_time:=false
Start terminal 3 on the computer with ROS2.
# Start snake_gui.
$ cd SnakeSys/ros2
$ source /opt/ros/foxy/setup.zsh
$ . install/setup.zsh
$ ros2 launch snake_gui snake_gui.launch.py use_sim_time:=falseStart terminal 1 on the computer with ROS1.
# Start gazebo_sim.
$ cd SnakeSys/ros1
$ source /opt/ros/noetic/setup.zsh
$ conda activate python310
$ source devel/setup.zsh
$ roslaunch snake_sim snake_gazebo.launch use_sim_time:=true
Start terminal 2 on the computer with ROS2.
# Start snake_sim.
$ cd SnakeSys/ros2
$ source /opt/ros/foxy/setup.zsh
$ . install/setup.zsh
$ ros2 launch snake_sim snake_sim.launch.py use_sim_time:=true heart_rate:=50
Start terminal 3 on the computer with ROS1 and ROS2.
# Start ros1_bridge.
$ cd SnakeSys/ros2
$ source /opt/ros/noetic/setup.zsh
$ source /opt/ros/foxy/setup.zsh
$ ros2 run ros1_bridge dynamic_bridge --bridge-all-topics
Start terminal 4 on the computer with ROS2.
# Start snake_cpg_hopf.
$ cd SnakeSys/ros2
$ source /opt/ros/foxy/setup.zsh
$ . install/setup.zsh
$ ros2 launch snake_cpg snake_cpg_hopf.launch.py use_sim_time:=true
Start terminal 5 on the computer with ROS2.
# Start snake_gui.
$ cd SnakeSys/ros2
$ source /opt/ros/foxy/setup.zsh
$ . install/setup.zsh
$ ros2 launch snake_gui snake_gui.launch.py use_sim_time:=trueSnakeSysis released under the GPLv3 license.- Source codes in files
SnakeSys/ros2/src/snake/snake_gui/include/snake_gui/qcustomplot.handSnakeSys/ros2/src/snake/snake_gui/src/qcustomplot.cppare licensed under the GNU GPL except as noted otherwise. - Source codes in folder
SnakeSys/ros2/src/sensor_camera/realsense_camare under the Apache License, Version 2.0. - Source codes in folder
SnakeSys/ros2/src/sensor_camera/zed_camare under the Apache License, Version 2.0. - Source codes in folder
SnakeSys/ros2/src/sensor_camera/usb_camare under the BSD license. - Source codes in folder
SnakeSys/ORB_SLAM3are under the GPLv3 license, and for a list of all code/library dependencies (and associated licenses), please see Dependencies.md. - Library dependencies:
Qt 6.7.0is under Qt Licensing.Boost 1.85.0is under the Boost Software License.GSL 2.7.1is under the GNU General Public License (GPL).Eigen 3.4.0is Free Software. Starting from the 3.1.1 version, it is licensed under the MPL2, which is a simple weak copyleft license. Common questions about the MPL2 are answered in the official MPL2 FAQ. Earlier versions were licensed under the LGPL3+.fmt 10.2.1is under the MIT license.Sophus 1.22.10is under the MIT license.VTK 9.3.0is under the BSD license.OpenCV 4.9.0.OpenCV 4.5.0and higher versions are licensed under the Apache 2 License.OpenCV 4.4.0and lower versions, includingOpenCV 3.x,OpenCV 2.x, andOpenCV 1.x, are licensed under the 3-clause BSD license.PCL 1.14.1is under the BSD license.