This is a template for running a simple version of Temporal on Render. This is not recommended for production beyond small use cases, as all 4 Temporal internal services (Frontend, Matching, History, and Worker) are being run out of one server, but the benefit is that setup is a lot simpler. For a more production-ready setup, see the render-examples/temporal repo.
The deployment also includes an example Go app that interacts with the cluster. Fork this repo and click the button below to try it out!
⚠️ Note: this blueprint spins up 4 server instances and 2 Postgres instances, all on Render's "Starter" plan, which (as of Feb 2022) will cost $42 if left running for a whole month. Remember to tear down your resources when just kicking the tires.
This repo defines a Render Blueprint with the following components:
- Temporal cluster:
- Two Postgres databases,
temporal-dbandtemporal-db-visibility. - A
temporalserver that runs all Temporal services. temporal-uiprovides the Temporal web UI.
- Two Postgres databases,
- Example app (from Render's sample Temporal app):
app-workflow-triggerruns a simple HTTP server with two routes:/for health checking./trigger-workflowfor kicking off theTransferMoneyworkflow.
app-workerexecutes any triggered workflows.
-
Click the "Deploy to Render" button.
-
In your Render dashboard, click on the service
app-workflow-trigger, and copy its URL. Let's say it'shttps://app-workflow-trigger.onrender.com/. -
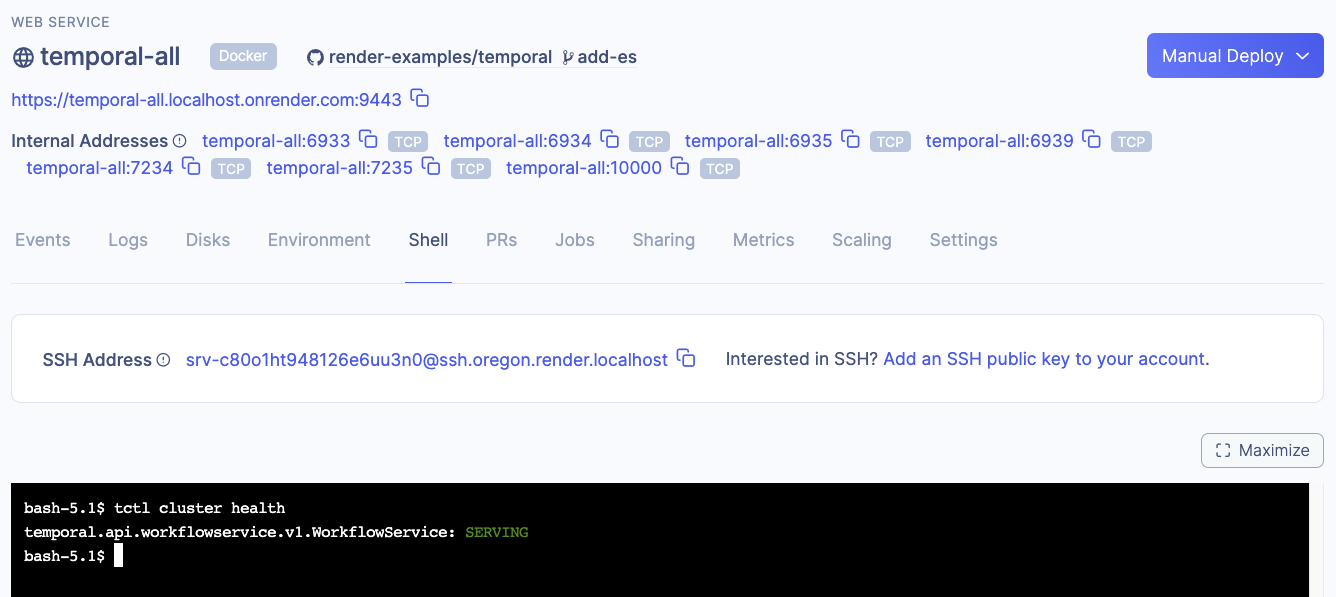
To verify that your Temporal cluster is running correctly, you can use Temporal's CLI tool
tctl. Gain shell access to thetemporalservice:- Using SSH.
- Using the web shell:

Some commands to run (with expected, non-exact output):
$ tctl cluster health
temporal.api.workflowservice.v1.WorkflowService: SERVING
$ tctl admin membership list_gossip  # list all temporal services.
[
  {
    "role": "frontend",
    "member_count": 1,
    "members": [
      {
        "identity": "0.0.0.0:7233"
      }
    ]
  },
  {
    "role": "history",
    "member_count": 1,
    "members": [
      {
        "identity": "0.0.0.0:7234"
      }
    ]
  },
  {
    "role": "matching",
    "member_count": 1,
    "members": [
      {
        "identity": "0.0.0.0:7235"
      }
    ]
  },
  {
    "role": "worker",
    "member_count": 1,
    "members": [
      {
        "identity": "0.0.0.0:7239"
      }
    ]
  }
]
-
Go to
https://app-workflow-trigger.onrender.com/. If everything is well, you will see "OK!". -
Now trigger the example workflow by visiting
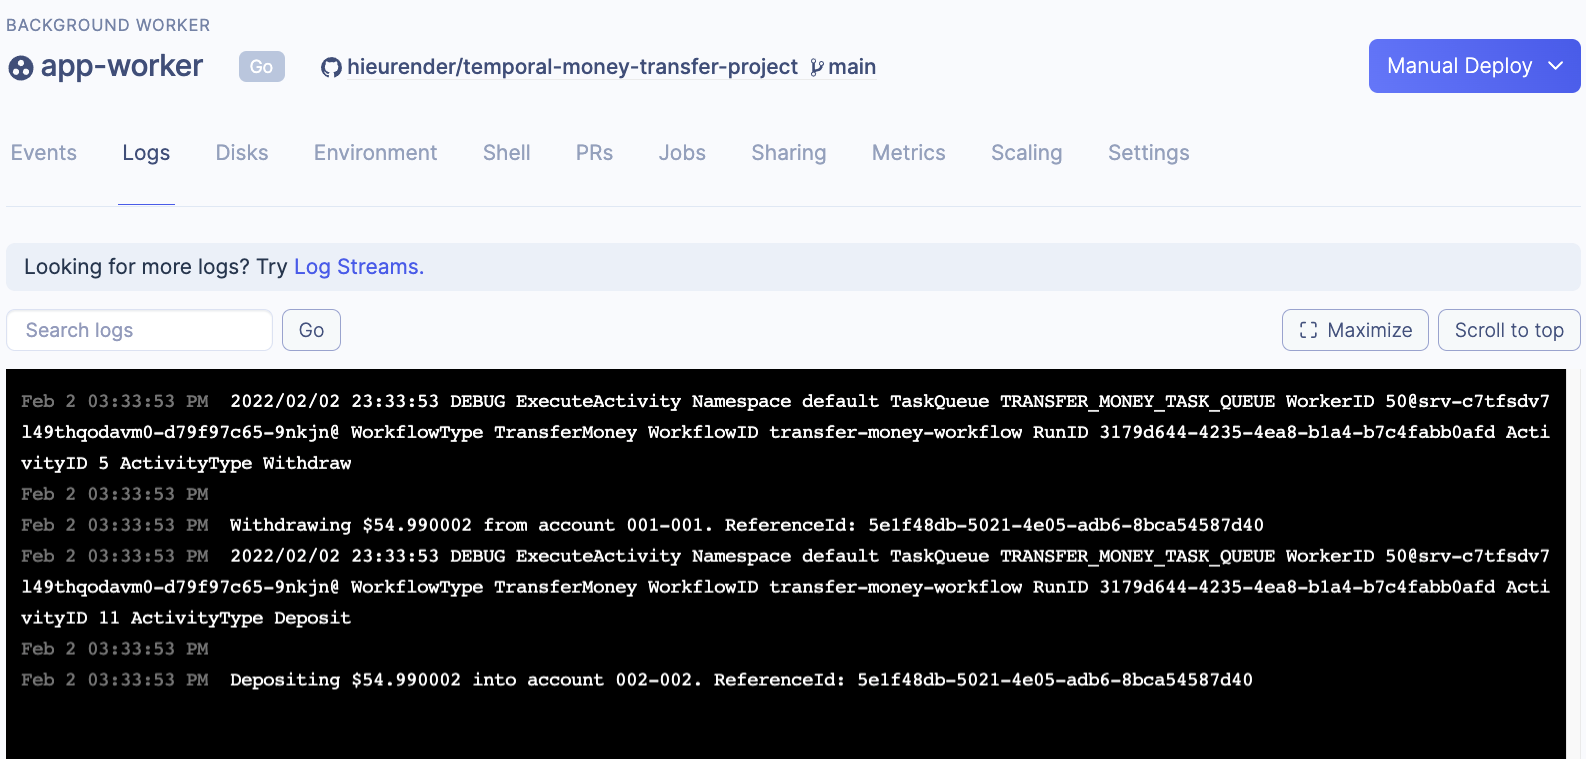
https://app-workflow-trigger.onrender.com/trigger-workflow. It should printTransfer of $54.990002 from account 001-001 to account 002-002 is processing. ReferenceID: 5e1f48db-5021-4e05-adb6-8bca54587d40 WorkflowID: transfer-money-workflow RunID: 3179d644-4235-4ea8-b1a4-b7c4fabb0afd -
app-workerwill immediately pick up and run this workflow. You can verify by clicking on the service, and going to the "Logs" tab:
-
To check that the workflow has been run successfully, click on the
temporal-uiservice, and go to its URL. Under thedefaultnamespace, you should find your workflow's run with the status "Completed".
