First of all, this article serves as a personal refresher, and I hope it turns out to be equally insightful for you too.
In the realm of internet security, OAuth2 shines as a robust protocol, enabling third-party applications to access restricted resources from a server, without sharing or exposing users' sensitive credentials. Its innovative "authorization code flow" allows these applications to procure access tokens, which then permit controlled access to user data. Serving as an invaluable cornerstone of modern web application architecture, OAuth2 brilliantly merges security and functionality, creating a safer, more streamlined internet experience for users globally.
The internet abounds with excellent resources, such as articles and videos, that provide detailed insights into utilizing OAuth2 to invoke Business Central APIs. Rather than duplicating these existing explanations, I aim to shed light on an often-overlooked aspect: invoking external APIs from within Business Central, using OAuth2.
This article will demonstrate how to use OAuth2 to invoke external APIs from Business Central, using the LinkedIn API.
I will be working with a Business Central container named bc22. I assume you have a basic understanding of using Business Central containers with BcContainerHelper, as well as familiarity with Visual Studio Code and AL Language. However, if there is sufficient interest, I would be happy to write a dedicated article on these topics.
Note: You have the option to utilize a local container for your Business Central deployment. It is not necessary for your Business Central instance to be accessible from the internet.
I won't go into the details of the LinkedIn API here, as it is well-documented in the LinkedIn API Overview. Assuming you have a basic understanding of the LinkedIn API, I will provide a brief overview of the important points.
- Create a LinkedIn App
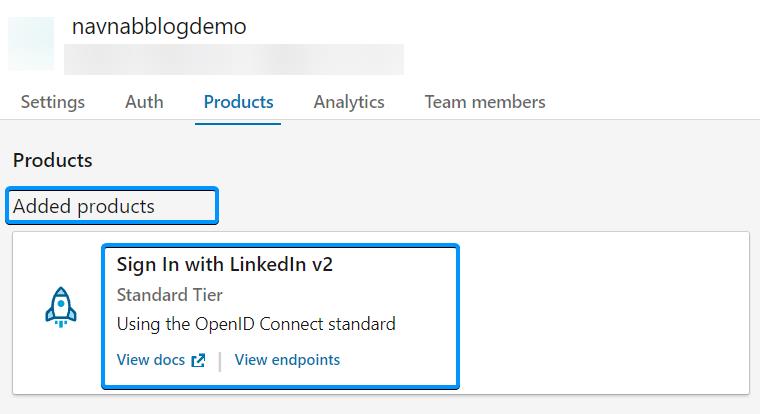
- Go to Products
- Enable Sign In with LinkedIn v2
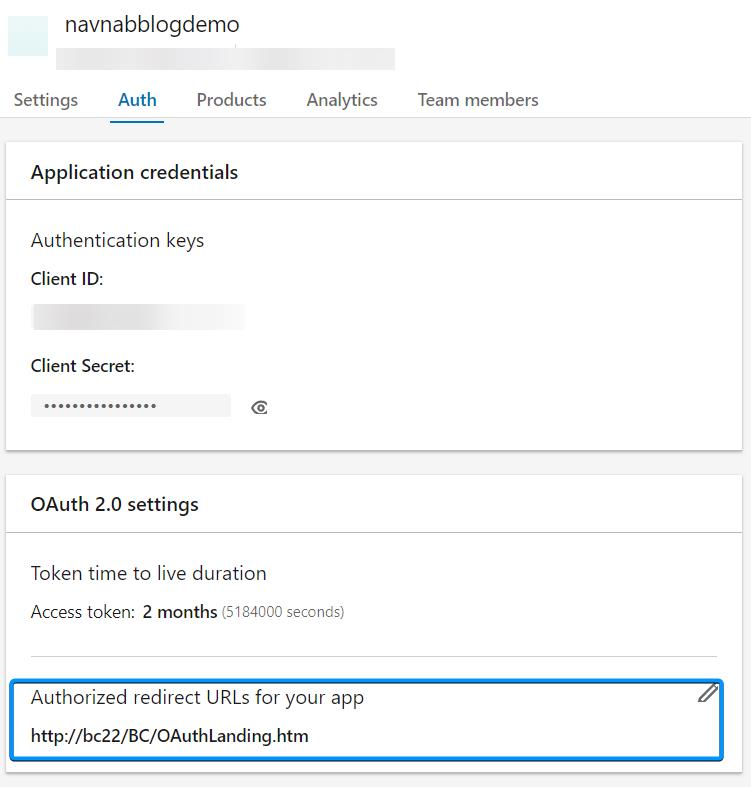
- Go to Auth
- Copy the Client ID and Client Secret
- Add the following Authorized Redirect URLs: http://bc22/BC/OAuthLanding.htm
- We'll use the scope:
profile
Note: You can use any other API that supports OAuth2. The steps will be similar.
I create a small PTE which you can find on my github. The code is self-explanatory, but I'll highlight the important points. The code is divided as follows:
- A table and pages (list and card) to store and display the LinkedIn API settings
OAuthControlAddInthat handles the OAuth2 flow: this is the most important part of the code. I'll explain it in detail below.- A codeunit that invokes the LinkedIn API to get the token.
This control add-in is part of Business Central System Application. However, in my opinion, the documentation for this control add-in is somewhat lacking. Allow me to provide an explanation to the best of my ability.
The OAuthControlAddIn consists of one procedure called StartAuthorization, and features three events: AuthorizationCodeRetrieved, AuthorizationErrorOccurred, and ControlAddInReady.
ControlAddInReady: this is the first event that is triggered. It is used to initialize the control add-in (just like any other control add-in).StartAuthorization: this procedure is called from the the actionAuthorizein thePage OAuth2 Setup. It is used to start the OAuth2 flow.AuthorizationCodeRetrieved: this event is triggered when the authorization code is retrieved. It is used to retrieve the access token.AuthorizationErrorOccurred: this event is triggered when an error occurs during the OAuth2 flow.
Unfortunately, having a basic understanding of the control add-in is not sufficient to ensure its functionality. It is crucial to be aware that it only works in conjunction with the OAuthLanding.htm file. This explains the necessity for the authorized redirect URLs (http://bc22/BC/OAuthLanding.htm) that we configured earlier.
Note: If you have already configured AAD authentication, it is likely that you have already utilized this HTML page during the setup process. However, if you haven't, I would be delighted to create a dedicated article on this topic if there is sufficient interest.


