Note
Tazama Open Source Real-Time Transaction Monitoring Software for Fraud and Money Laundering Detection
Welcome to the Tazama Demo Application. This demo app is used to demo the Tazama Open Source Real-Time Transaction Monitoring System built to support any Financial Services Provider (FSP) that requires Transaction Monitoring for Fraud and Money Laundering detection. Whether that FSP is a small provider running one or 2 transactions per day or a national payment switch running at over 3,000 Transactions per second. With Tazama they can implement simple or complex rules, implement Fraud Detection controls or support Anti-Money Laundering activities. 🌍
What you need:
 Full-Stack-Tazama-Docker - Setup the Rules and Typologies Using Docker Compose from the Tazama Repository. Follow the instructions in the readme.md
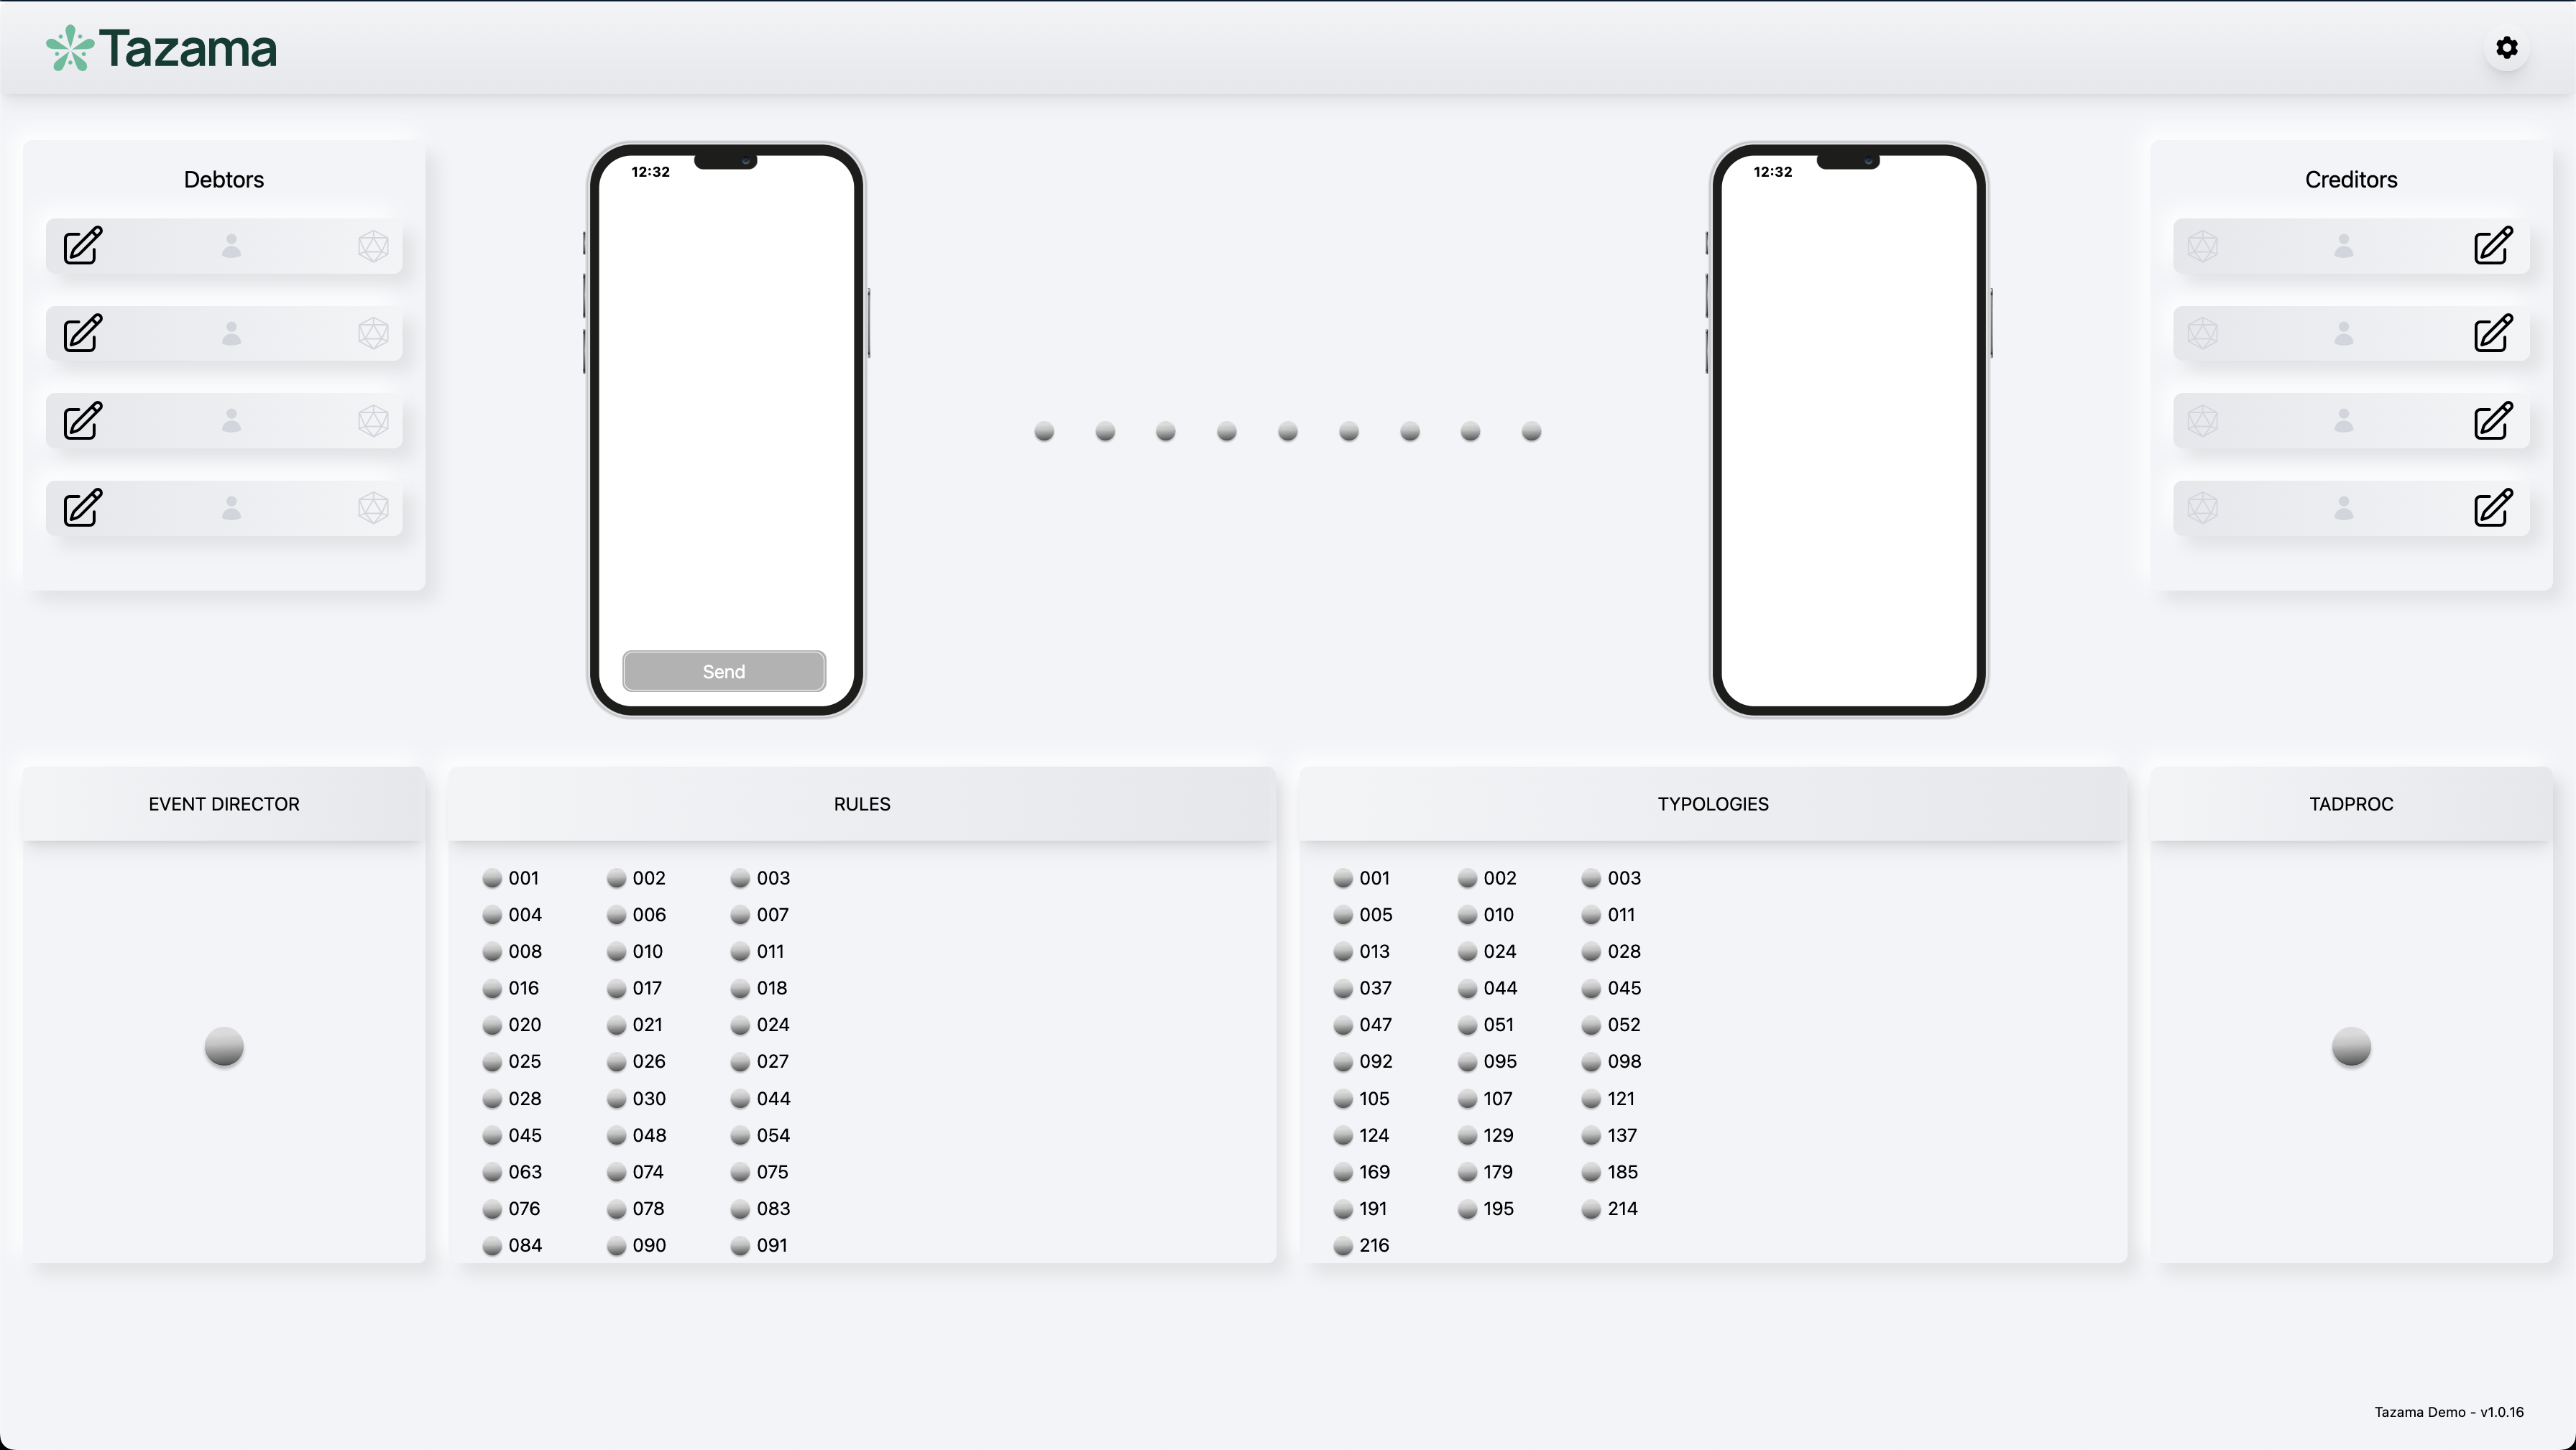
- 💻 Demo UI - Clone this repository and use the easy to setup UI to demo the Tazama Open Source Real-Time Transaction Monitoring System that dynamically builds the UI based on the configured rules and typologies
To get started by running the demo locally, follow these steps:
- Fork & clone repository:
## Don't forget to ⭐ star and fork it first :)
git clone [email protected]:tazama-lf/tazama-demo.git- Setup
add your GH_TOKEN to the .npmrc file ${GH_TOKEN}- Install the dependencies:
yarn install --frozen-lockfile- Create a new .env file and copy the contents of the
env_samplefile to the newly created .env
NODE_ENV=dev
NEXT_PUBLIC_URL="http://localhost:3001"
PORT="3001"
NEXT_PUBLIC_TMS_SERVER_URL="http://localhost:5000"
NEXT_PUBLIC_TMS_KEY="no_key_set"
NEXT_PUBLIC_CMS_NATS_HOSTING="nats://localhost:14222"
NEXT_PUBLIC_NATS_USERNAME=""
NEXT_PUBLIC_NATS_PASSWORD=""
NEXT_PUBLIC_ARANGO_DB_HOSTING="http://localhost:18529"
NEXT_PUBLIC_DB_USER="root"
NEXT_PUBLIC_DB_PASSWORD=""
NEXT_PUBLIC_WS_URL="http://localhost:3001"

NEXT_PUBLIC_NATS_SUBSCRIPTIONS="['connection', '>', '[email protected]']"
- Run the development server:
yarn dev- Open http://localhost:3001 with your browser to see the result.
- Follow the Full-Stack-Tazama-Docker setup guide.
- Add the following to the Full-Stack-Tazama-Docker docker-compose.yaml found in the root directory
demo:
    image: tazamaorg/demo-ui:v1.0.16
    env_file:
      - path: ./env/demo.env
        required: true
    restart: always
    depends_on:
      - tms
      - arango
      - nats
    ports:
- '3001:3001'*Note - Make sure to update the image to the most recent version tazamaorg/demo-ui:
{current_version}eg:v1.0.16
- Navigate to the
envdirectory in the Full-Stack-Tazama-Docker folder:
demo.env file:
# SPDX-License-Identifier: Apache-2.0

NODE_ENV=dev
NEXT_PUBLIC_URL="http://{server_ip_address}:3001"
PORT="3001"
NEXT_PUBLIC_TMS_SERVER_URL="http://{server_ip_address}:5000"
NEXT_PUBLIC_TMS_KEY=""
NEXT_PUBLIC_CMS_NATS_HOSTING="nats://nats:4222"
NEXT_PUBLIC_NATS_USERNAME=""
NEXT_PUBLIC_NATS_PASSWORD=""
NEXT_PUBLIC_ARANGO_DB_HOSTING="http://{server_ip_address}:18529"
NEXT_PUBLIC_DB_USER="root"
NEXT_PUBLIC_DB_PASSWORD=""
NEXT_PUBLIC_WS_URL="http://{your_machines_ip_address}:3001"

NEXT_PUBLIC_NATS_SUBSCRIPTIONS="['connection', '>', '[email protected]']"
-
From the Full-Stack-Tazama-Docker directory run:
docker compose pull demo
then:
docker compose up demo -d
-
Navigate to: http://localhost:3001
-
To bring the demo container down run:
docker compose down demo --remove-orphans
- First Load
- Click the gear icon on the top right for Settings
-
TMS API Host URL:
http://localhost:5000*Check what port number is being used by the TMS server on the docker instance (Default Port: 5000)
-
CMS NATS Hosting:
http://localhost:14222if run outside of docker-compose elsenats://nats:4222*Check what port number is being used by the NATS server on the docker instance (Default Port: 4222)
-
Arango DB Hosting:
http://localhost:18529*Check what port number is being used by the TMS server on the docker instance (Default Port: 8529)
-
Websocket IP Address:
http://localhost:3001*If run locally use
http://localhost:3001else if run on a network or hosted usehttp://{your_ip_address}:3001(Default Port: 3001)
Format: v1.0.16
Given a version number MAJOR.MINOR.PATCH, increment the:
MAJOR version when you make incompatible API changes, MINOR version when you add functionality in a backwards-compatible manner, and PATCH version when you make backwards-compatible bug fixes. Additional labels for pre-release and build metadata are available as extensions to the MAJOR.MINOR.PATCH format.
In this section the following script will update the PATCH version in the package.json file and update the docker-compose.dev.yml file.
-
From the root of the project directory run:
sudo chmod +x ./tag.sh
-
When you are ready to create a new image, run
./tag.shfrom the command line../tag.sh
*This will build the Docker Image and Push it to Docker Hub
If the build fails run the following script to revert changes made to the docker-compose.dev.yml and the package.json files.
-
From the root of the project directory run:
sudo chmod +x ./revertTag.sh
-
When you are ready to create a new image, run
./tag.shfrom the command line../revertTag.sh
-
Fix the build issues and run the
./tag.shscript again to Tag and Release the Demo
-
Build the Docker image
COMPOSE_DOCKER_CLI_BUILD=1 DOCKER_BUILDKIT=1 docker compose -f docker-compose.dev.yml build
-
Tag the Docker Image
docker tag tazamaorg/demo-ui:{version} tazamaorg/demo-ui:{version}-dev*Note: Check The
docker-compose.dev.ymlfile to see what the version will be and update above command by replacing {version} with eg. v1.0.16 -
Push the image to docker hub
If you want to push the Docker image to Dockerhub for a distribution and testing:
docker push tazamaorg/demo-ui:{version}-dev*Note: Check The
docker-compose.dev.ymlfile to see what the version will be and update above command by replacing {version} with eg. v1.0.16 -
To use the Docker Image in the Full-Stack-Tazama-Docker stack, update the following:
demo:
  image: tazamaorg/demo-ui:{version}-dev
  env_file:
    - path: ./env/demo.env
      required: true
  restart: always
  depends_on:
    - tms
    - arango
    - nats
  ports:
    - '3001:3001'
*Note: Check The
docker-compose.dev.ymlfile to see what the version will be and update above command by replacing {version} with eg. v1.0.16
This project is licensed under the Apache License Version 2.0. For more information, see the LICENSE file.
Detmar Ruhfus 💻 📖 |
Paul Von Zeuner 💻 |
Sahra Amir 💻 |
Oliver Vermeulen 💻 |
|||
|
|
||||||
Thank you


