Original Repository
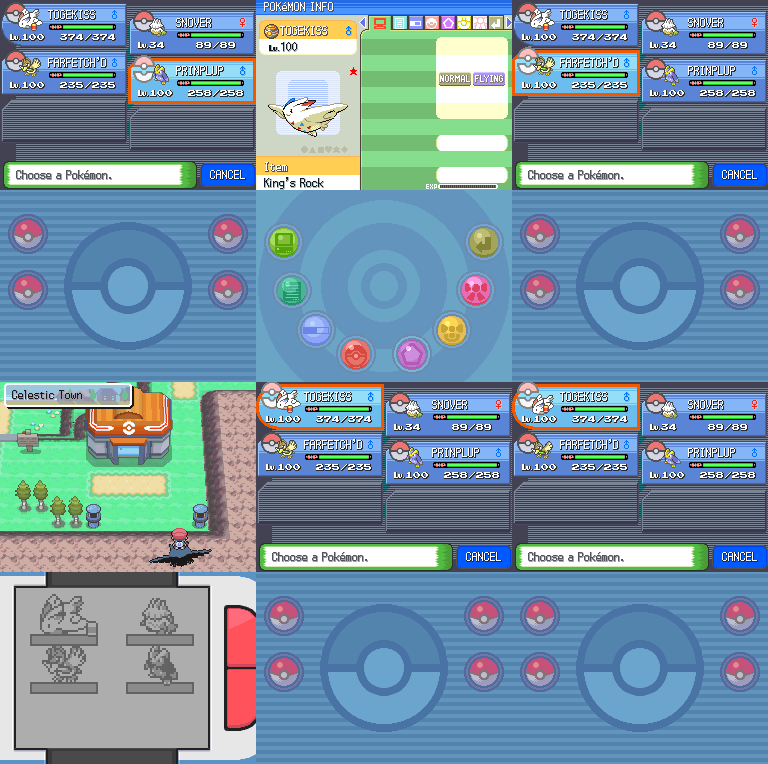
C Injection Pokemon Platinum repository intended to be used in tandem with Following Platinum to create a number of Quality of Life changes that enhance the gameplay experience.
This repository is also structured to be extensible as a C injection template with the requisite infrastructure already set up for an aspiring hacker.
DM me on Discord (BluRose#0412)
Windows builds are based on WSL. If you do not have WSL set up (or do not know if you do), follow the instructions in Setting up WSL below.
If you already have a WSL environment set up, proceed to Further Instructions.
- Enable Windows Subsystem for Linux.
- Open your command prompt as Administrator.
- In the search bar in the Start Menu, search for "cmd".
- Right-click on Command Prompt.
- Click Run as Administrator.
- Run the following command:
dism.exe /online /enable-feature /featurename:Microsoft-Windows-Subsystem-Linux /all. - After the process completes, you will be prompted to restart your PC. Type "Y" and press Enter to restart.
- During the reboot process, enable virtualization in your BIOS.
- The exact steps here will vary by system and the exact make/model of your PC's motherboard. You can find a general sketch of instructions here.
- Open your command prompt as Administrator.
- Install Ubuntu.
- In the search bar in the Start Menu, search for "store" and open Microsoft Store.
- In the search bar of the window that opens, search for "Ubuntu".
- Click the blue Get button.
- Once installation is complete, launch Ubuntu from its page in the Microsoft Store to finish setup.
- This will start a setup procedure that may take some time to complete.
- Once the setup procedure is complete, choose a username and password for the system.
- Open WSL.
- Open the Run window by pressing the Windows Key and R at the same time.
- Type
wslinto the window and press Enter.
- Update WSL.
- In WSL, type
sudo apt updateand press Enter. - After the update process completes, type
sudo apt upgradeand press Enter.- This process may take a long time.
- You may be prompted to confirm that WSL should restart automatically during package updates. Select Yes and press Enter.
- In WSL, type
- Download and install devkitPro-pacman.
- In WSL, run the following commands:
wget https://apt.devkitpro.org/install-devkitpro-pacmanchmod +x ./install-devkitpro-pacmansudo ./install-devkitpro-pacman
- In WSL, run the following commands:
- Install necessary packages.
- In WSL, run the following commands:
sudo apt-get install build-essential git libpng-dev gdebi-core python3 python3-pip cmake automakepip3 install ndspydkp-pacman -S gba-dev
- In WSL, run the following commands:
- Restart WSL, then run the following commands.
export DEVKITPRO=/opt/devkitproecho "export DEVKITPRO=$DEVKITPRO" >> ~/.bashrcexport DEVKITARM=$DEVKITPRO/devkitARMecho "export DEVKITARM=$DEVKITARM" >> ~/.bashrccd Documentsgit clone https://github.com/lhearachel/plat-qol.git- This will create a new directory
plat-qol, which will be short-handed as "the project directory" from hereon.
- This will create a new directory
TBD
- Download and install devkitPro-pacman.
- Follow the instructions listed here.
- Install necessary packages.
- In Terminal, run the following commands:
sudo apt install libpng-dev build-essential cmake python3-pip git automakepip3 install ndspydkp-pacman -S gba-dev
- In Terminal, run the following commands:
- Import keys for devkitPro's repository.
- Follow the instructions listed here.
- Install necessary packages.
- In Terminal, run the following commands:
sudo pacman -S libpng base-devel cmake python-pip git automake gba-devpip3 install ndspy
- In Terminal, run the following commands:
- Restart Terminal, then run the following commands.
export DEVKITPRO=/opt/devkitproecho "export DEVKITPRO=$DEVKITPRO" >> ~/.bashrcexport DEVKITARM=$DEVKITPRO/devkitARMecho "export DEVKITARM=$DEVKITARM" >> ~/.bashrccd Documentsgit clone https://github.com/lhearachel/plat-qol.git- This will create a new directory
plat-qol, which will be short-handed as "the project directory" from hereon.
- This will create a new directory
- Setup your ROM.
- Your base ROM must be a verified dump of Pokemon Platinum (US).
- Perform any and all edits to scripts, maps, events, etc. to your ROM before you install this repository.
- Place your ROM.
- Place your finalized ROM into the project directory and rename it to
rom.nds.
- Place your finalized ROM into the project directory and rename it to
- Navigate to the project directory in Terminal/WSL.
- Download and build necessary tools.
- Run
make build_tools -j$(nprocs). This process will download the source code for tools needed by the injection routine and compile them for you.
- Run
- Make your ROM.
- Run
make -j$(nprocs).
- Run
- Test your ROM.
- After the previous
makeprocess completes, a new file will appear in this folder namedbuild.nds. This ROM will contain all injected routines and modifications from this project.
- After the previous
- Skeli (FR template)
- CodenamePU (NARC tool)
- Mikelan98, Nomura (ARM9 Expansion Subroutine )
- Rafael Vuijk (Nintendo DS rom tool)
- pret/pokediamond
- JimB16/PokePlat
- [Bubble791 for base repo]


