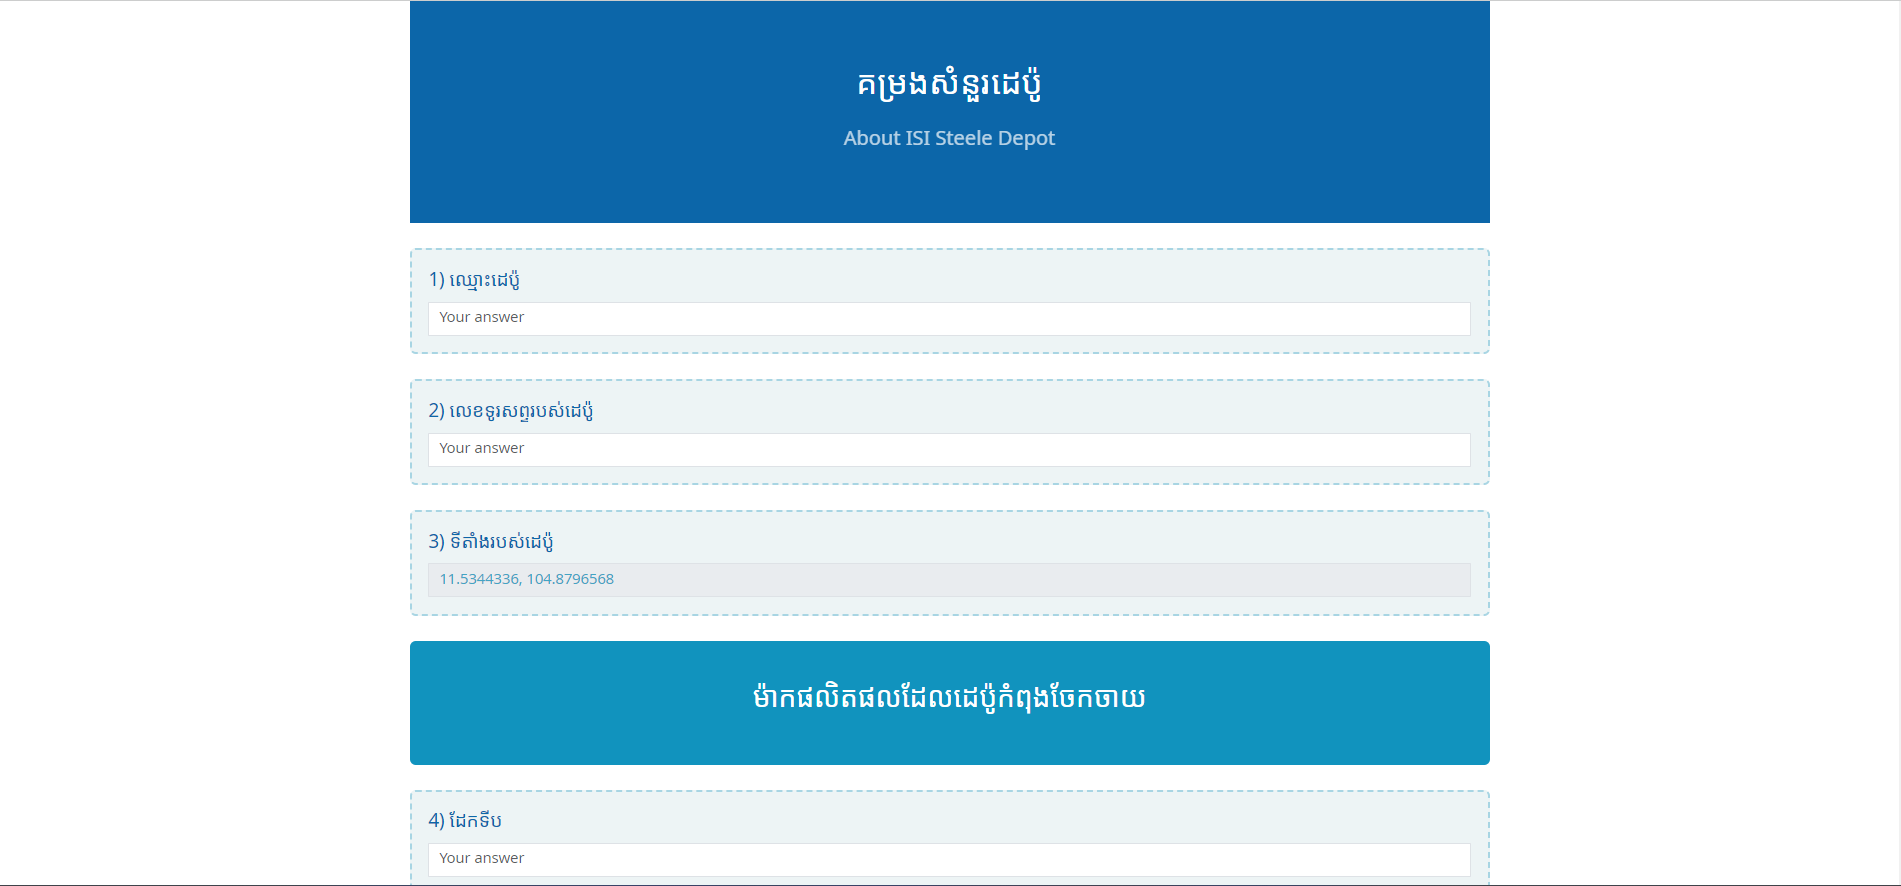
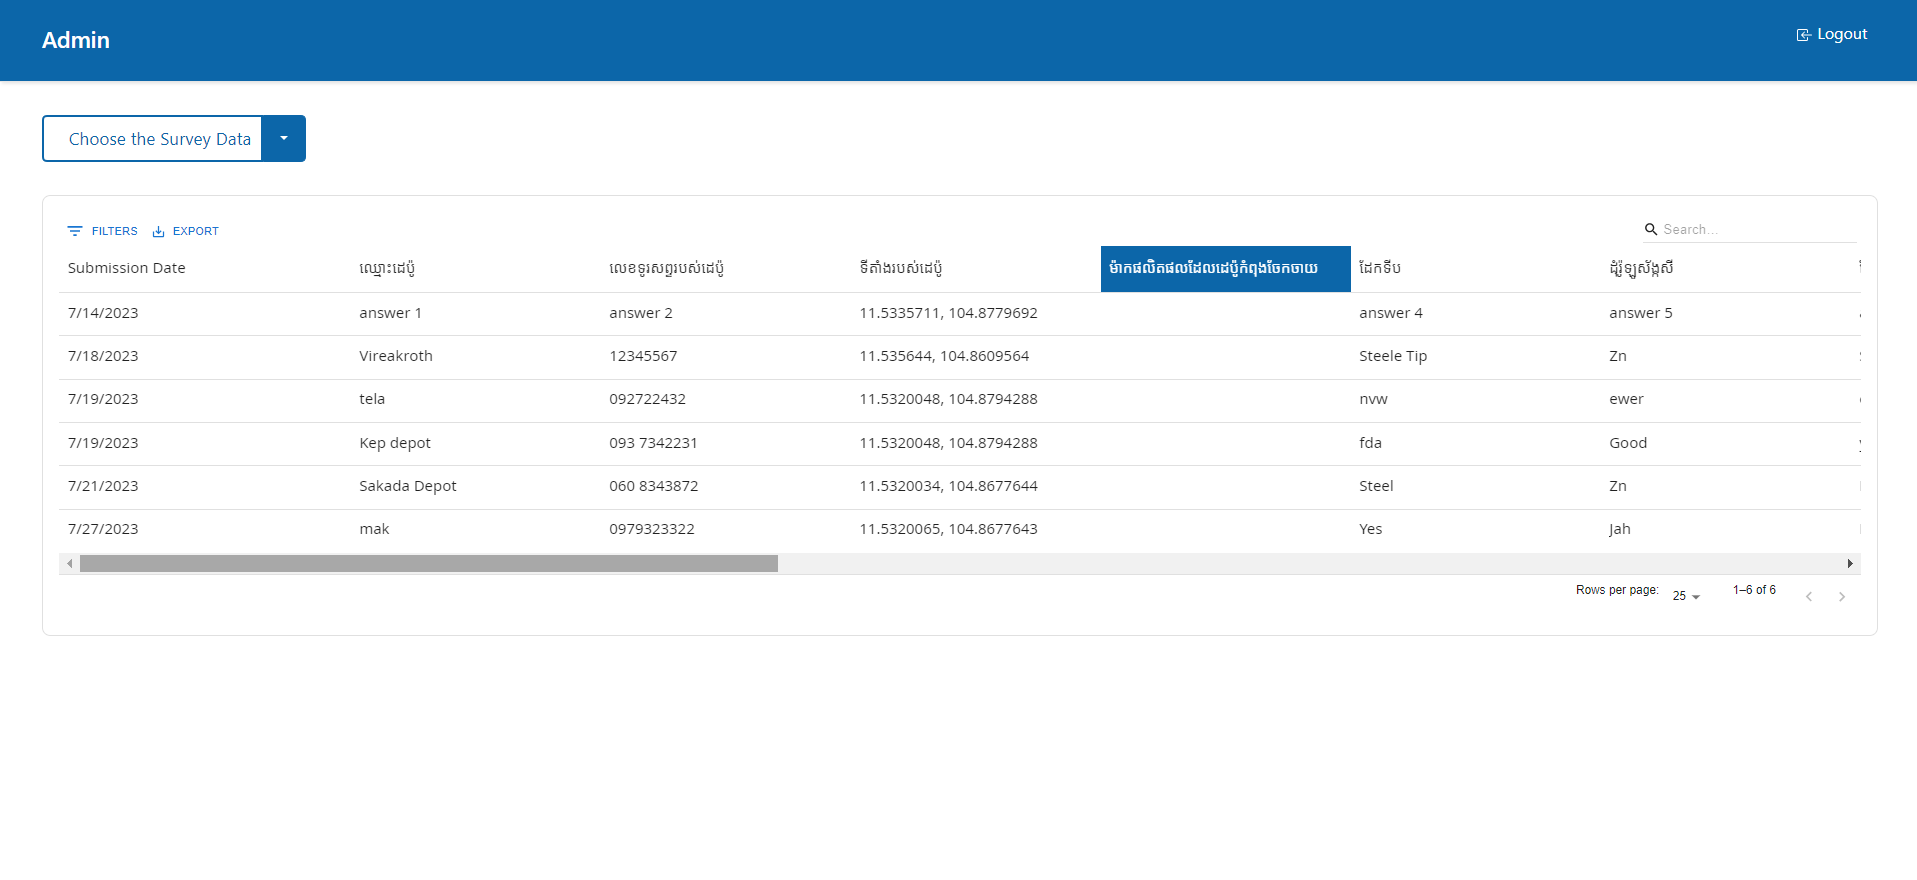
This project is a survey application built using the MERN stack (MongoDB, Express, React, and Node.js). The application allows users to create surveys, answer surveys, and view survey results.
Admin users can also perform CRUD (create, read, update, delete) operations on surveys and keep track of survey results.
- Application Screens
- What's included in ISI-Survey
- ISI Survey API
- Installing the project
- Licenses and attribution
- Contributing
Login page
 Register page
 Admin dashboard page
 User Dashboard page
 Survey page
 Thank you page
 Create survey page (for Admin only)
 Data grid page (Visible for Admin only)
 Delete Survey Modal
 Edit Survey
 Survey responses page

The ISI Survey includes two main folders, client and server. The directories that live in the the client is those responsible for what the user see and interact with. Conversely the diectories that live in the server are api and logic that interact with database.
-
package.json : Since this project is uses node package manager (
npm) we will see package.json file in client and server directory that contains metadata such as name, version, dependencies, scripts (used to build and run the project). -
Fonts In this project we used Google font. There are two fonts we are using those are
open sansfor English text andnokorafor Khmer font. -
Images and icons are located in:
client/src/assets. -
Icons for icons we are using bootstrap-icons icons for the components. For favicons is located in
client/public/favicon.ico.
- React
- ReactGlobalContext
- JavaScript
- React-Bootstrap
- MUI datagrid
- Node.js
- Express.js
- MongoDB
- Mongoose
Here's what you can expect to find inside the ISI survey.
[isi-survey]
├── client/
│   ├── public/
│   │   └── media
│   ├── src/
│   │   ├── assets/
│   │   │   ├── isi_logo.svg
│   │   │   └── ThankYou.png
│   │   ├── components/
│   │   │   ├── boilerplate/
│   │   │   │   ├── Header.jsx
│   │   │   │   └── Spinner.jsx
│   │   │   └── Survey/
│   │   │       ├── createQuestionComponents.jsx
│   │   │       ├── CreateSurvey.jsx
│   │   │       ├── displayQuestionComponents.jsx
│   │   │       ├── DisplayResult.jsx
│   │   │       ├── displayResultComponents.jsx
│   │   │       ├── DisplaySurvey.jsx
│   │   │       ├── DisplaySurveyList.jsx
│   │   │       └── SurveySubmit.jsx
│   │   ├── context/
│   │   │   └── AuthContext.js
│   │   ├── hooks/
│   │   │   ├── useAuthContext.js
│   │   │   ├── useLogin.js
│   │   │   ├── useLogout.js
│   │   │   └── useSignup.js
│   │   ├── pages/
│   │   │   ├── Login.jsx
│   │   │   ├── NotFound.jsx
│   │   │   ├── Signup.jsx
│   │   │   └── Welcome.jsx
│   │   ├── utils/
│   │   │   ├── findInputError.js
│   │   │   └── isFormInvalid.js
│   │   ├── App.css
│   │   ├── App.js
│   │   ├── App.test.js
│   │   ├── index.css
│   │   ├── index.js
│   │   ├── logo.svg
│   │   ├── reportWebVitals.js
│   │   └── setupTests.js
│   ├── .gitignore
│   ├── package-lock.json
│   ├── package.json
│   └── README.md
├── server/
│   ├── controllers/
│   │   ├── questionController.js
│   │   ├── surveyController.js
│   │   └── userController.js
│   ├── middleware/
│   │   └── authMiddleware.js
│   ├── models/
│   │   ├── questionModel.js
│   │   ├── surveyModel.js
│   │   └── userModel.js
│   ├── routes/
│   │   ├── questions.js
│   │   ├── surveys.js
│   │   └── users.js
│   ├── .env
│   ├── .gitignore
│   ├── package-lock.json
│   ├── package.json
│   └── server.js
└── README.md
Here's what you can expect to find in each of the directories and files in the ISI Survey project:
/client: contain the required directories and files for the user./client/public: You can find the favicon and SPAindex.html/client/src: contain the app page, components, hooks, boilerplate, context, utils directories, as well as other necessary files for front-end./client/README.md: Front-End documents
/server: contain the required directories and file for API and database interactions./server/controllerhandling the incoming requests from the client.
- API for survey results
- This api need token authorization
localhost:5000/api/surveys
- This api need token authorization
Project can be install using git commands, Node and npm
gitandgithub:- You will need to register
SSHkey with your github account. - One more method is to simply signin to your github account during the project cloning.
- You will need to register
node js:- During the current development my node version is
v18.12.1
- During the current development my node version is
npm- You'll need
npm, It will be come out of the box
- You'll need
- Clone this project using git
- Use
npm installfor the three main directories
cd client && npm installcd server && npm installcd .. && npm install
- Create Mongo Atlas account.
- Create a new Database
- Get the database URI
- Create a new
.envfile
- DB_URI=
- PORT=
- JWT_SECRET=
- Go to root directory
- Run
npm run dev
This application allows users to create surveys, answer surveys, and view survey results. Admin users have additional features like managing surveys and tracking survey results.
This user documentation will guide you through the process of, logging in, creating surveys, answering surveys, and viewing survey results.
There are two roles in this project User Admin and Normal User
-
Open your web browser and enter the URL of the ISI-Survey App.
-
On the login page, enter your username and password.
-
Click on the "Login" button to log in.

If you are an admin user, you can create surveys using the ISI-Survey App. Follow these steps to create a survey:
- Log in to the ISI-Survey App using your credentials
- Once logged in, you will be redirected to the admin dashboard.
- On the admin dashboard, click on the "Create Survey" button.
- Enter a title for the survey in the provided field.
- Add questions to the survey by clicking on the "add question" button.
- Choose the type of each question (e.g short response, paragraph, true/false) also in that options there a
new sectionfor creating a new section for the survey. - Repeat step 5 and 6 to add more questions to the survey.
- Click on the
Save and Finish Surveyto save the survey.
To answer a survey using the ISI-Survey App, follow these steps:
- Log in to the ISI-Survey App using your credentials.
- Once logged in, you will be redirected to the user dashboard.
- On the user dashboard, you will see a list of available surveys.
- Click on the survey you want to answer.
- Read the instructions and qustions carefully.
- Select the appropriate answers or provide text inputs as required.
- Click on the "Submit" button to submit your survey responses.

Viewing Survey Results
Admin users can view the results of the surveys using the ISI-Survey App. To view survey results, follow these steps:
- Log in to the ISI-Survey App using your admin credentials.
- Once logged in, you will be redirected to the admin dashboard.
- On the admin dashboard, you will
Survey databutton to show responses as data-grid andSee all responesto show data as table and pie chart for True/False question. - The survey results will be displayed, showing the responses for each question.


Congratulations!🎈🥳 You have successfully set up the ISI-Survey App, logged in, created surveys, answered surveys, and viewed survey results. If you have any further questions or issues, please contact the me for assistance. Enjoy using the ISI-Survey App!

