Fisnar Robot Plugin adds the Fisnar F5200N dispensing robot to Cura, allows slicer output to be saved in the Fisnar command .csv format, and enables printing CAD models, executing pick-and-place maneuvers, and manually controlling the robot over it's RS232 port.
- Introduction
- Installation and Initial Setup
- Necessary Physical Printer Configuration
- Using the Plugin
- Technical Details
- Contact
FisnarRobotPlugin is a plugin for Ultimaker Cura version 5.0.0+. Broadly speaking, it makes the Fisnar F5200N robot compatible with Cura and adds some functionality to it. This plugin contains the necessary files to add the Fisnar F5200N printer to Cura and enables exporting slicer output in the Fisnar .csv format. Additionally, this plugin allows the user to print with the Fisnar F5200N over the RS232 port, which eliminates any command limit issues sometimes seen with Fisnar's proprietary command upload software ('Smart Robot Edit'). There is also a user-interface that allows the user to 'jog' the printer, manually type and send RS232 commands, and execute two-point pick-and-place maneuvers.
A video demo of the plugin can be found here.
A lot of this plugin was written using other existing plugins as guides. This includes Ultimaker's GCodeWriter plugin and Tim Schoenmackers' Dremel Printer plugin.
If you find any bugs/issues or have suggestions for this plugin, contact me using the info below or use one of the GitHub communication features.
Lastly, the development of this plugin was funded by the McAlpine Research Group at the University of Minnesota.
- Download and install Cura to your computer. The plugin should function the same regardless of operating system.
- Once Cura is installed, the plugin can be downloaded from the Ultimaker Marketplace. It is listed as 'Fisnar Robot Plugin' and can be installed by pressing the 'Add to Cura' button.
After installing the plugin, the Fisnar F5200N printer has to be added before the plugin can be used. To do so, first navigate to the 'Add Printer' menu as indicated in the picture below.
In the resulting menu, the Fisnar F5200N can be found under 'Add a non-networked printer' > 'Fisnar' > 'Fisnar F5200N'.
This plugin assumes that (up to) two Nordson Ultimus V dispensers are being used for pressure control. The only feature that does not require these dispensers to be used is fisnar .csv file saving, which saves in the format which uses 'Output <on/off>' commands, and so requires a Fisnar I/O Expansion Module to be used with. Every other feature of the plugin, however, hinges upon the fact that the Ultimus V dispensers are being used.
There are two main interfaces of the plugin: the 'Define Setup' window, and the 'Monitor' stage.
The define setup window can be accessed under the Extensions > Fisnar Actions tab in the menu in the top left corner of the screen.
And the monitor stage can be accessed via the 'Monitor' tab in the top-middle of the screen.
The define setup window has two main sections: 'Print Surface' and 'Serial Ports'. The main purpose of this window is to enter information about the physical setup being used.
The print surface info sets the x, y, and z boundaries for the print surface in use. It should be noted that the Fisnar coordinate system is inverted to the coordinate system used in Cura - the print surface coordinates should be in the Fisnar coordinate system. This allows the Fisnar teach pendant to be used to probe the surface and get the boundary values.
The 'z-maximum' entry is by far the most important - this defines the height of the printing surface. Too low of a z-value means the print will start in mid-air, and too high of a z-value means the nozzle will slam into the build surface (the +z axis points downward). The 'z-maximum' value is used to convert the Cura coordinate system to the Fisnar coordinate system when exporting to Fisnar .csv.
The x and y boundary values are not used during the file export process, but are useful for proper model placement in Cura. When x and y boundary values are entered, the 'disallowed areas' in Cura are updated. This 'grays out' the portions of the build plate in Cura that are outside of the print surface, ensuring that models can only be sliced if they are within the printable region.
The serial ports section is used to assign the fisnar and dispensers to the serial port they are connected to on the computer running Cura. Underneath each text field, there is an indicator showing whether or not the device is connected. Each device is set on a timer, such that every few seconds the computer attempts to connect to them, so any changes in serial ports may take a few seconds to update in the user interface.
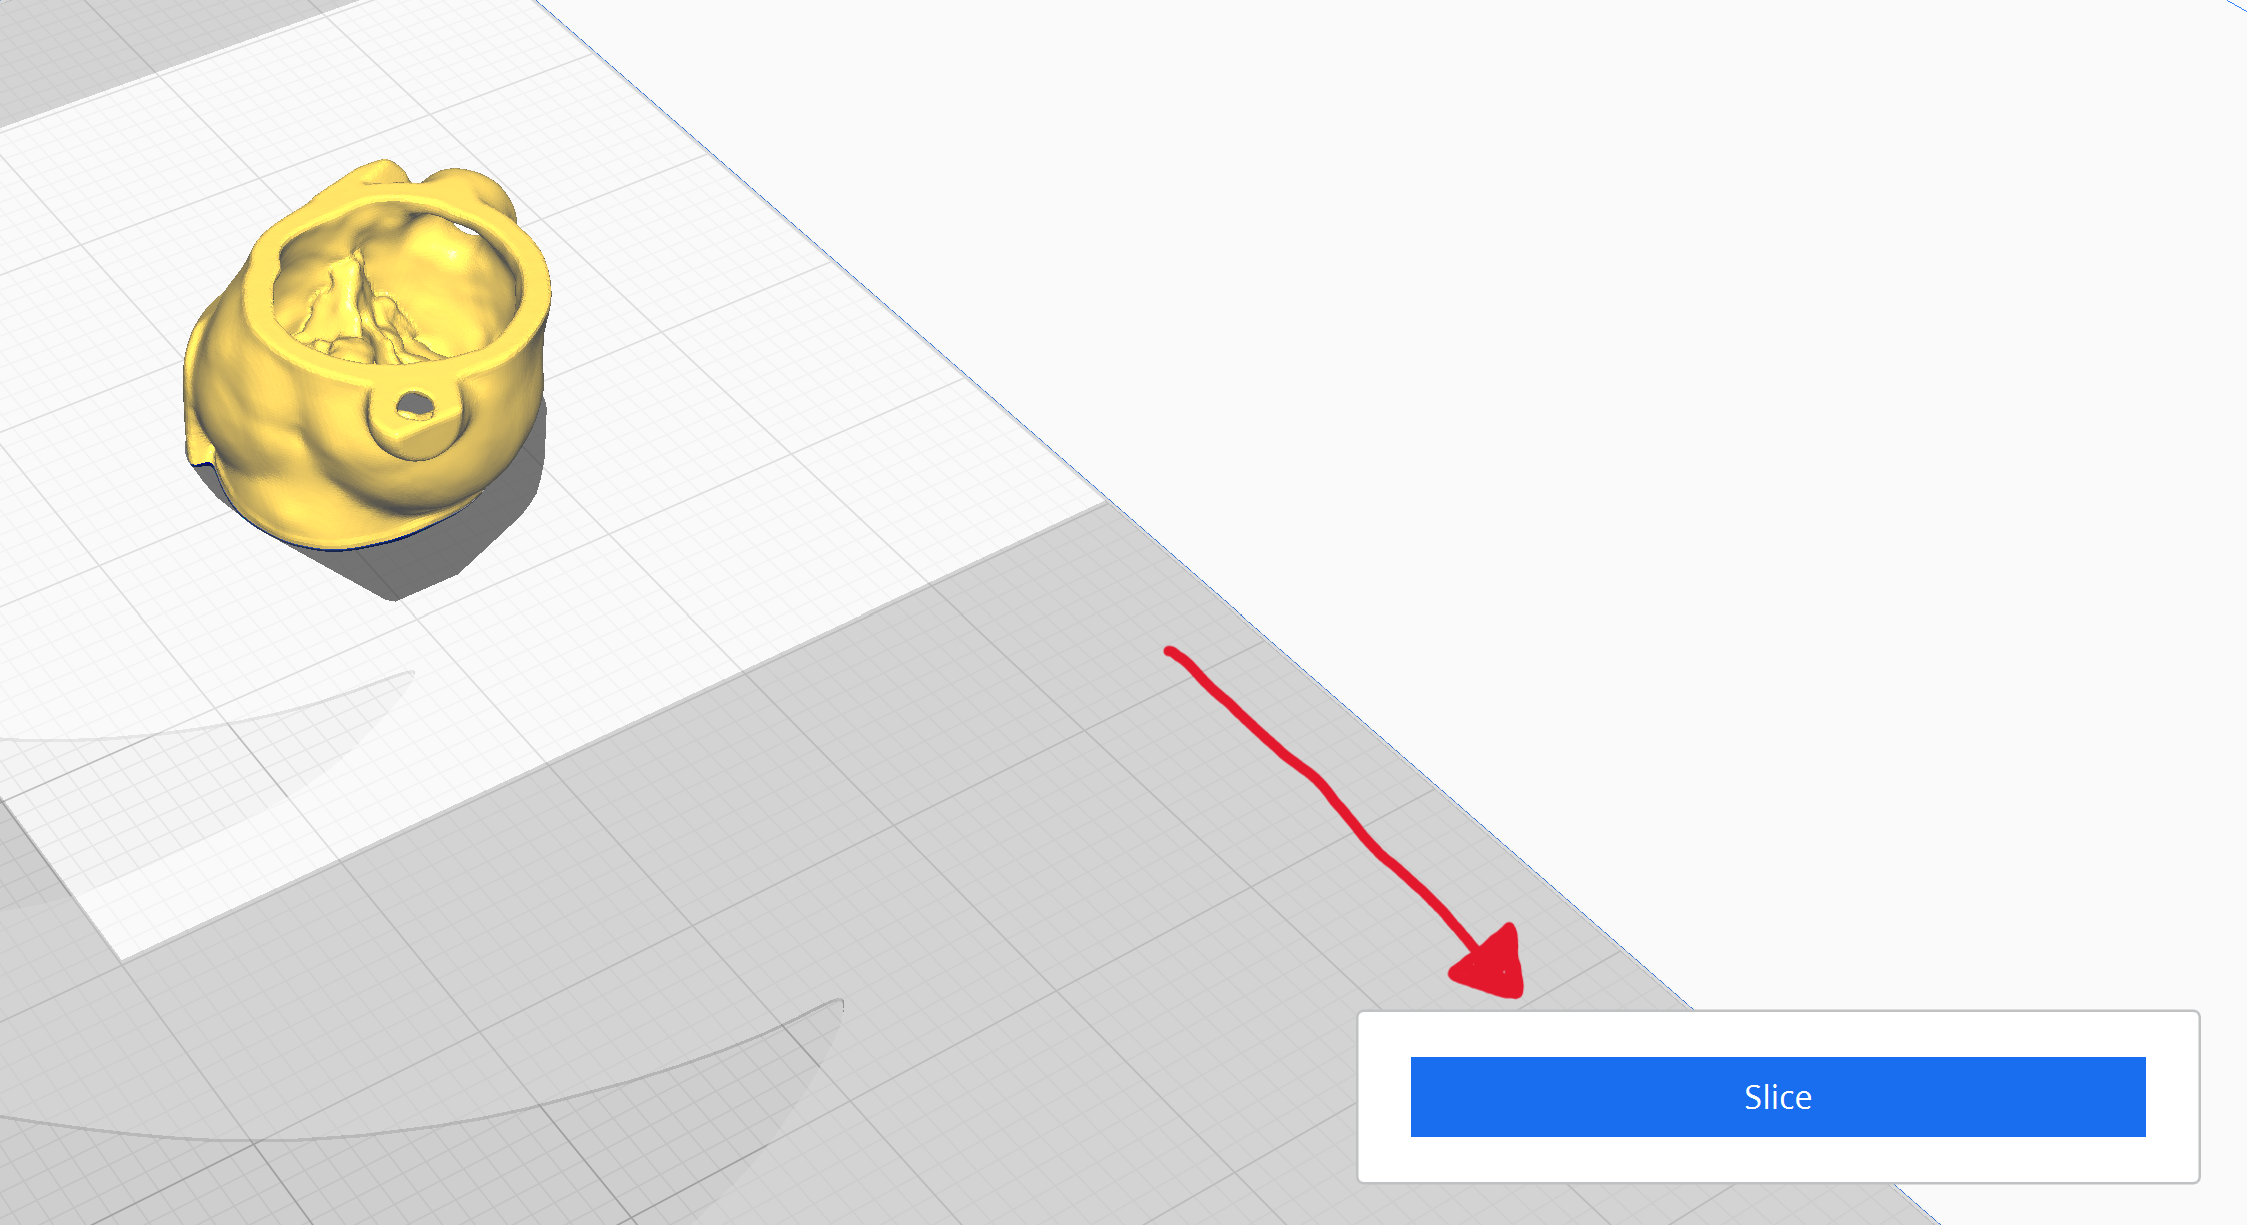
Once a model is loaded into Cura and positioned as intended, it can be sliced by pressing the 'Slice' button in the bottom right corner of the screen.
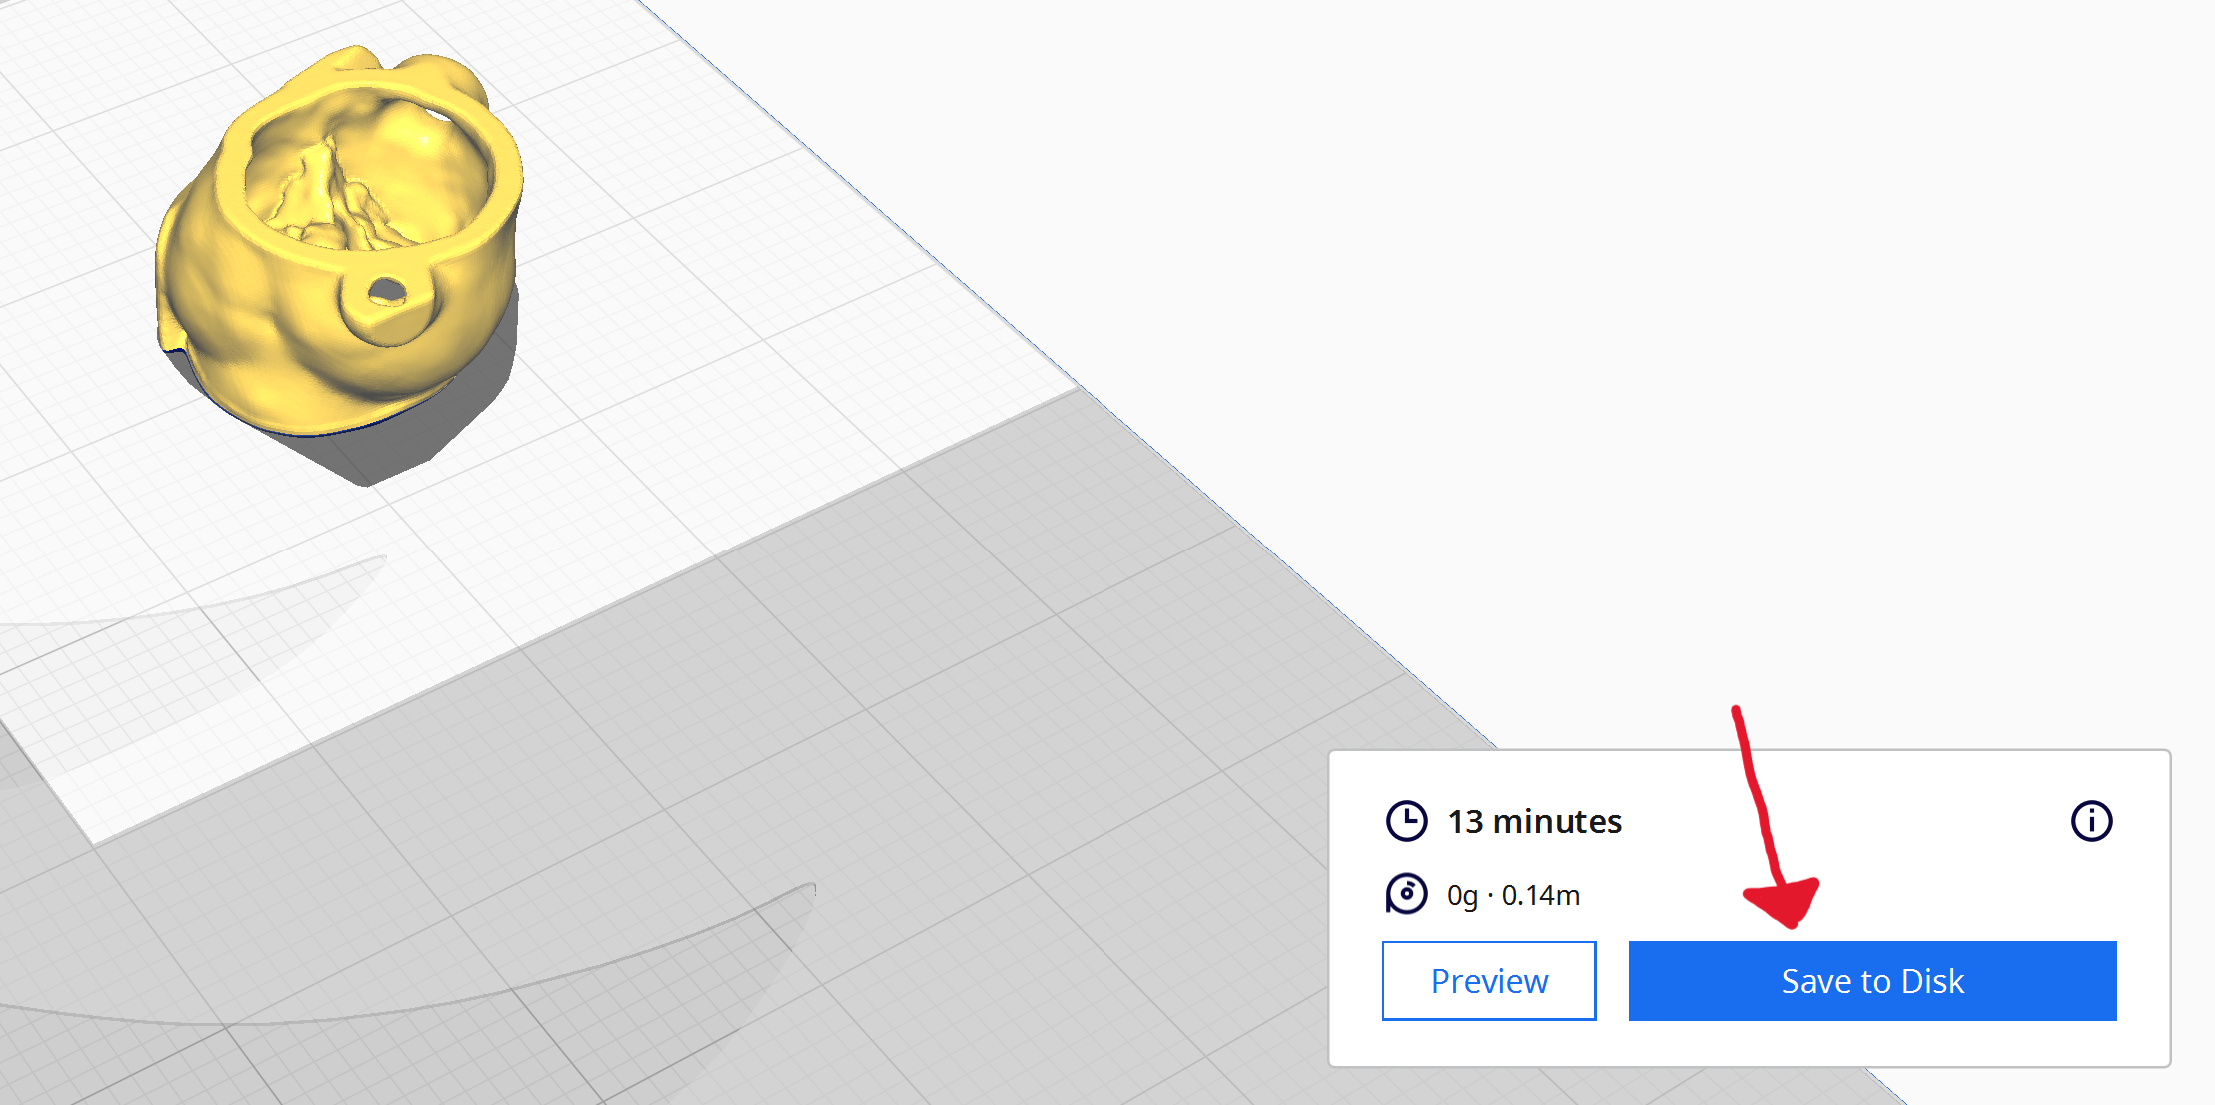
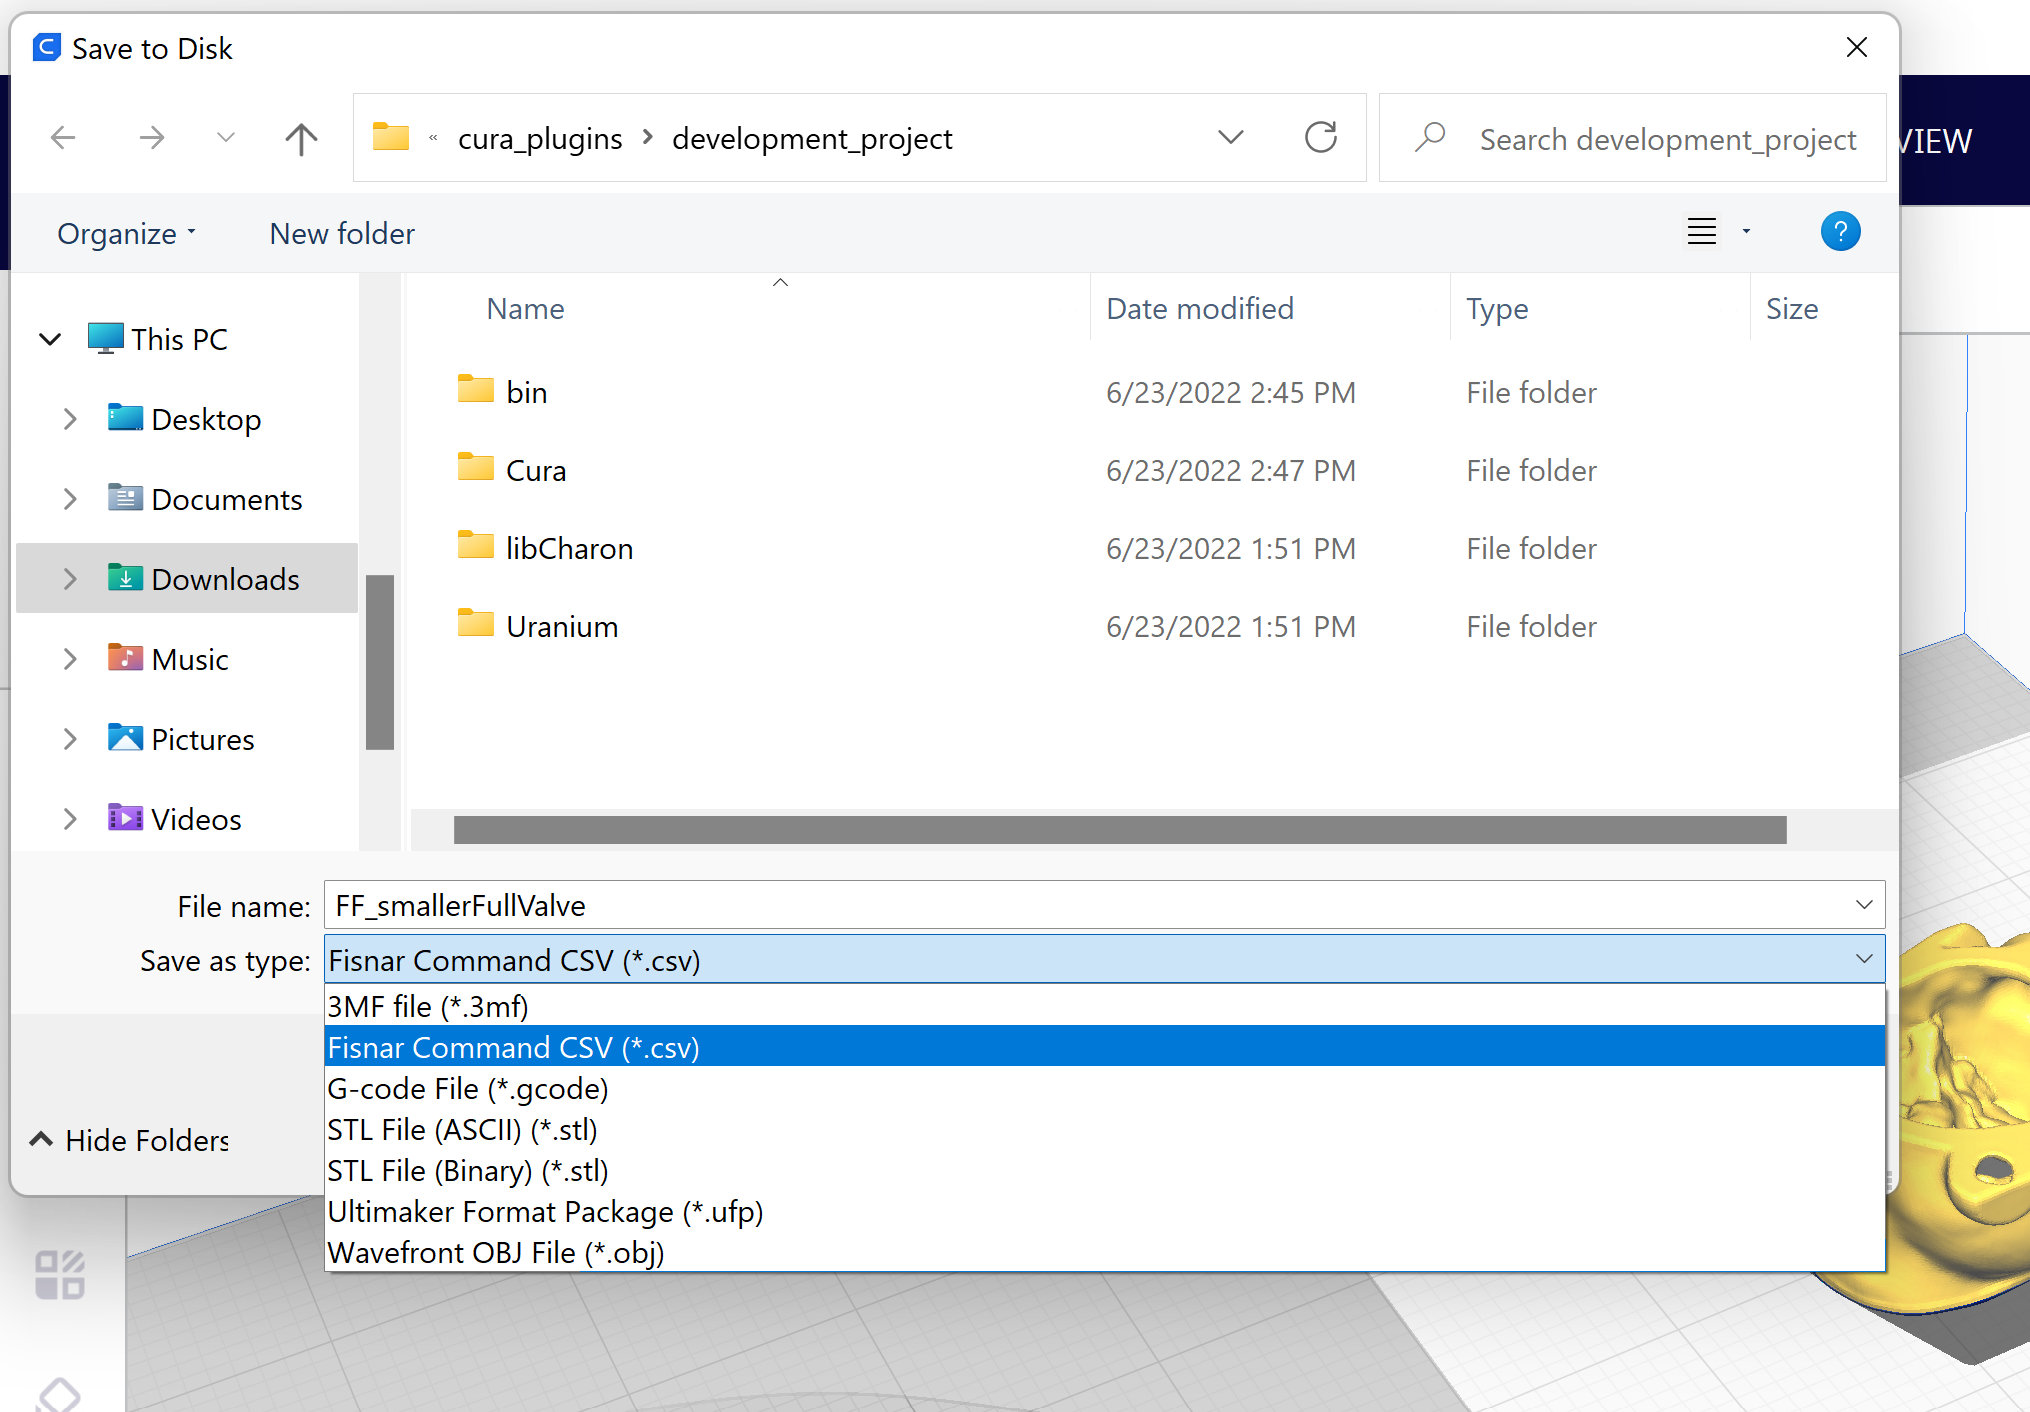
After slicing, press the 'Save to disk' button that appears. This will open up the file-saving interface. In the file-saving interface, the 'Fisnar Command CSV' format can be selected (if the machine being used is the Fisnar F5200N, this should be the default selection), which will save the slicer output in a Fisnar .csv file.
After slicing, the slicer output can also be directly printed in real time. In the same place as the 'Save to Disk' button, a dropdown arrow can be pressed to activate a 'Print Over RS232' button.
Upon clicking this button, the monitor stage will be activated and the fisnar will immediately begin printing. When the robot is printing, a progress bar near the bottom of the monitor stage will indicate the percentage completion of the print, and buttons for terminating, pausing, and resuming the print will appear.
In the monitor stage, a user interface is provided for controlling the robot in real time. There are jog buttons for the x, y, and z directions, as well as a home button. The jog distance row beneath these buttons can be used to select how far the robot will move (in mm) on each jog motion (button press). Under the jog distance row is a text field, which can be used to send custom RS232 commands to the fisnar. The format of these commands can be found under the Fisnar RS232 Command Format section of this document. The text in this box will be sent to the robot upon pressing enter.
Underneath the manual control UI is an entry form for executing pick-and-place maneuvers. Upon pressing the 'Execute Pick and Place' button, the entered parameters will be used to generate and execute a series of commands which will pick an object up at the 'pick' location and release it at the 'place' location.
< coming soon >
< coming soon >
To report bugs/issues or make suggestions, email me at [email protected], or use one of the GitHub communication features.


