I have created a admin dashboard to simulate the status of Flights. Once the admin changes the status of any flight, a notification reaches to each subscriber, who have subscribed for the notification of that specific flight.
Since sending realtime updates of flight is one way connection, I used Server-Sent Events to send current status of flight.
Advantage
- Less complex to implement
- No firewall blocking
- Builtin support of reconnection
I used smtp.gmail.com email server to send email regarding flight status. I used RabbitMq as Message broker to process sending email and saving notification in the database in the background.
To communicate with RabbitMq I used the python's library called dramatiq, It is easy to use, reliable and provides better performance.
To create APIs, used Python's Framework called FastAPI. I chose it because of it great featuers:
- Easy to use
- Fast to code
- Great editor support
- Data validation
- Robustness
For frontend I used Next.js - The React Framework. To create beautiful UI, used shadcn/ui a component library. We can copy paste the code and customize the components according to our needs.
For database, I used PostgreSQL and for Object Relation Mapping used a Python SQL Toolkit called SQLAlchemy, It provides a full suite of well known enterprise-level persistence patterns, designed for efficient and high-performing database access, adapted into a simple and Pythonic domain language. And for database migration used, alembic is a lightweight database migration tool for usage with the SQLAlchemy Database Toolkit for Python.
git clone https://github.com/Thakur127/flight-status-and-notification.gitNote: You should have python 3.12 and pip installed in your system. As I have made this project using the specific version. If it works for you with other version then great, you are good to go.
Change directory to Backend, use following command:
cd backendCreate virtual environment
python -m venv [environment_name]Activate virtual environment
[environment_name]\Scripts\activateabove command is for windows, for other OS you can refer this documentation.
Install dependencies
pip install -r requirements.txtStart RabbitMq Instance
To run rabbit on your localhost you can checkout this documentaion.
or
Using docker, run following command-
docker pull rabbitmq:3-managementdocker run -d --name rabbitmq -p 5672:5672 -p 15672:15672 rabbitmq:3-managementthe above command requires docker installed on your system.
Create Environment variables
Create a .env file in your backend directory. Put required environment variables in it. Check .env.example for required environment variables.
Start backend server
run following command on your terminal
uvicorn main:app --host 127.0.0.1 --port 8000 --reloadStart Consumers for sending emails and saving notification
open another terminal, change directory to backend, then run following command
dramatiq _dramatiq.tasksMigrate changes or Create Tables in the database
To migrate changes or create tables into the database, you can write below commands in your backend directory terminal
alembic revision --autogeneratealembic upgrade headPopulate data for testing
For testing the application you can populate your database, with following command in your backend directory terminal
pythonthe above command opens up a python shell in terminal, now write following command to initialize flight data/populate database
from testdata.add_data import initialize_flights
initialize_flights()
Now your backend setup is complete 😃
Note: Your system should have node v21.7.1 and npm 10.5.0 installed in your system. As I have created this project using specific versions, If it works for you with different version too, then you are good to go.
Open another terminal and change directory to your repository root directory
Change Directory
cd frontendInstall dependencies
npm installStart client server
npm run devOnce the server starts, go to the http://localhost:3000. And Start Enjoying application
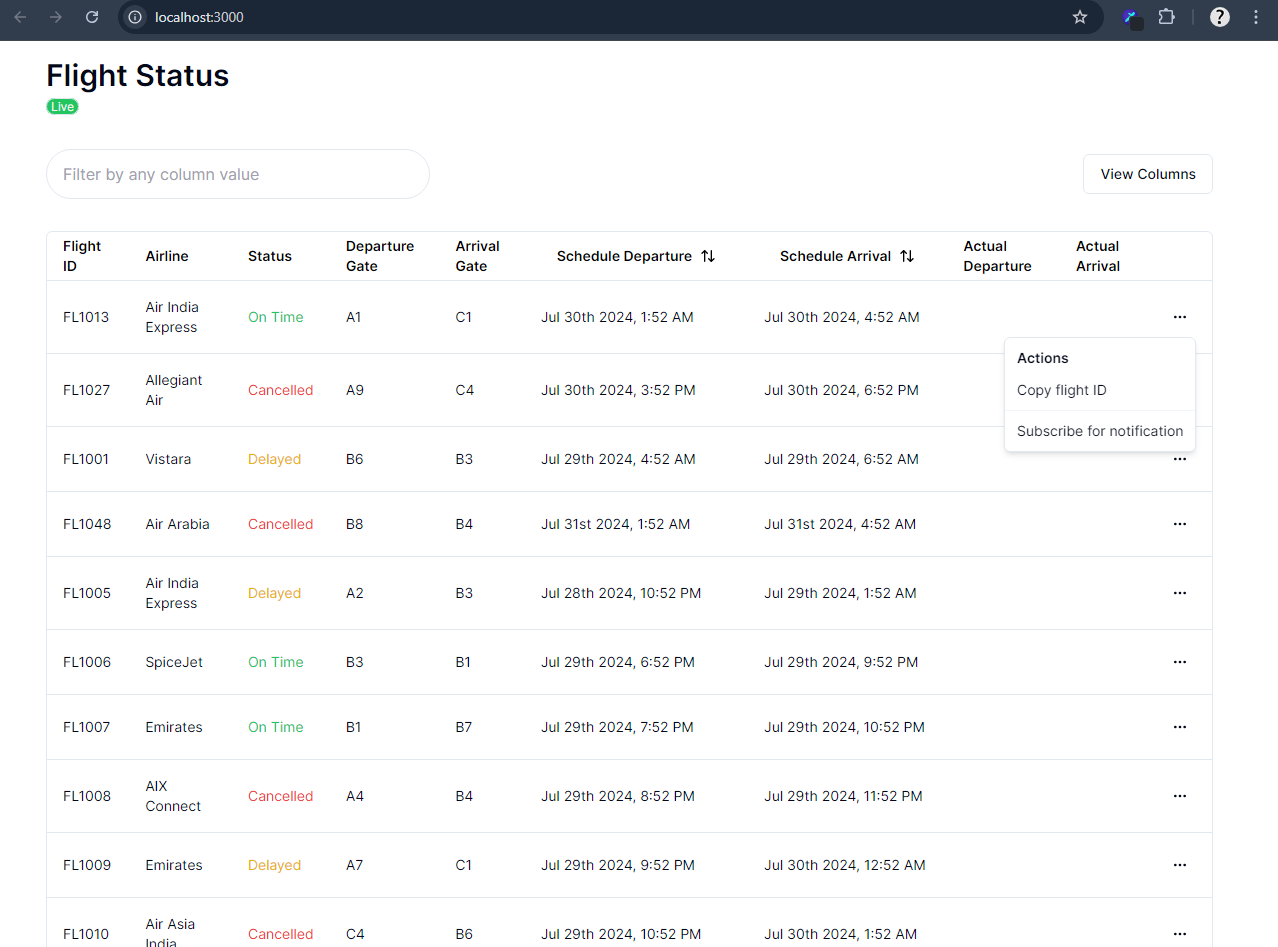
First Look 😍
Once you visit http://localhost:3000, you will see the following page
Subscribe For Notification 👍
In the right side of each row of table, yow will see three horizontal dot. Clicking on it opens up a dropdown menu, with two option -
- Copy Flight Id
- Subscribe for notification
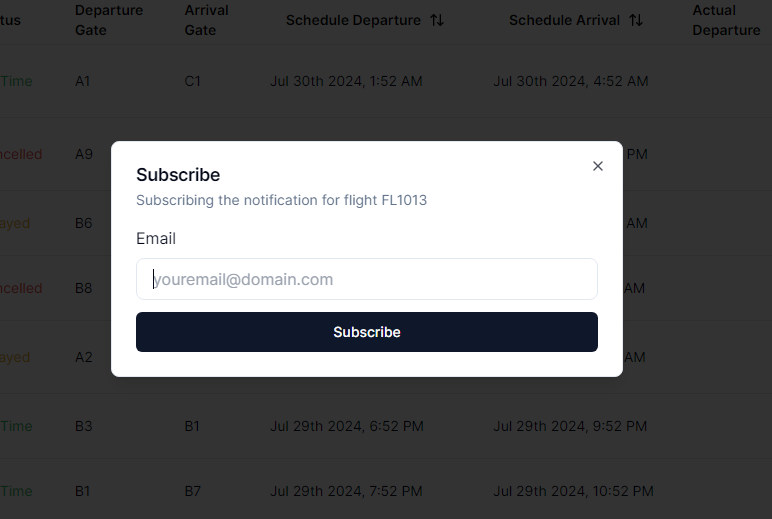
Once you press Subscribe for notification, a dialogs pops up
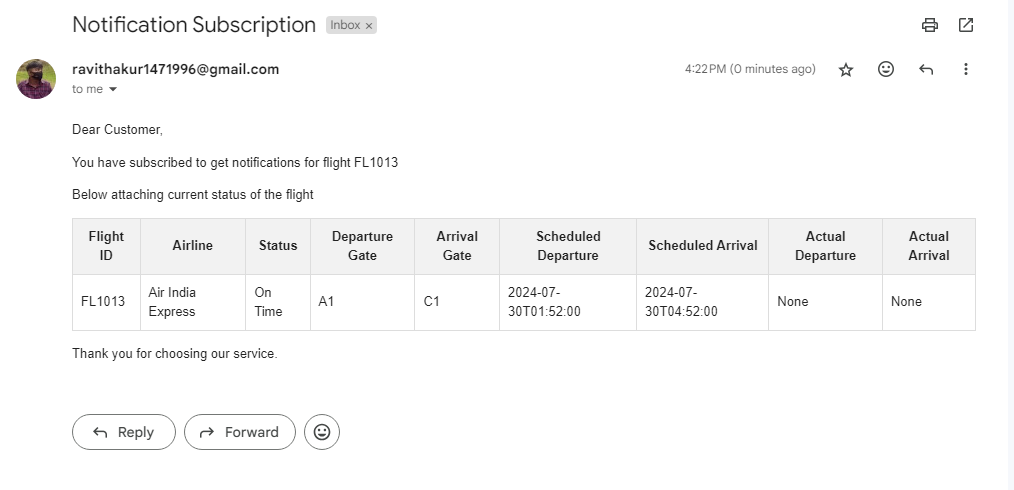
Now put your email in input box and press Subscribe, and you will get an email like this
Change Flight Status 🐱🏍
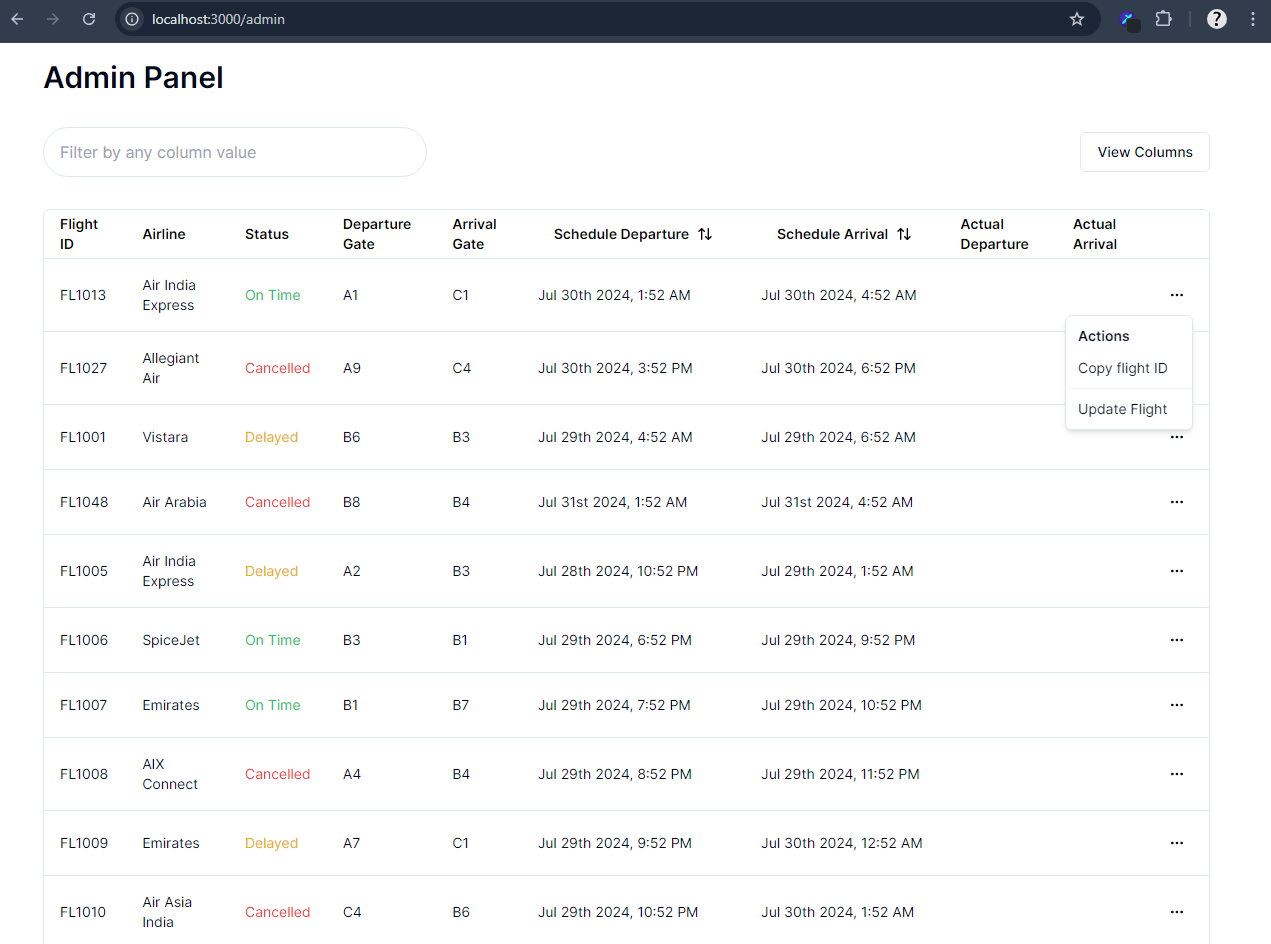
Change your url to http://localhost:3000/admin
Yep, it looks same to the first page, but in dropdown menu it has different option -
- Copy Flight Id
- Update Flight
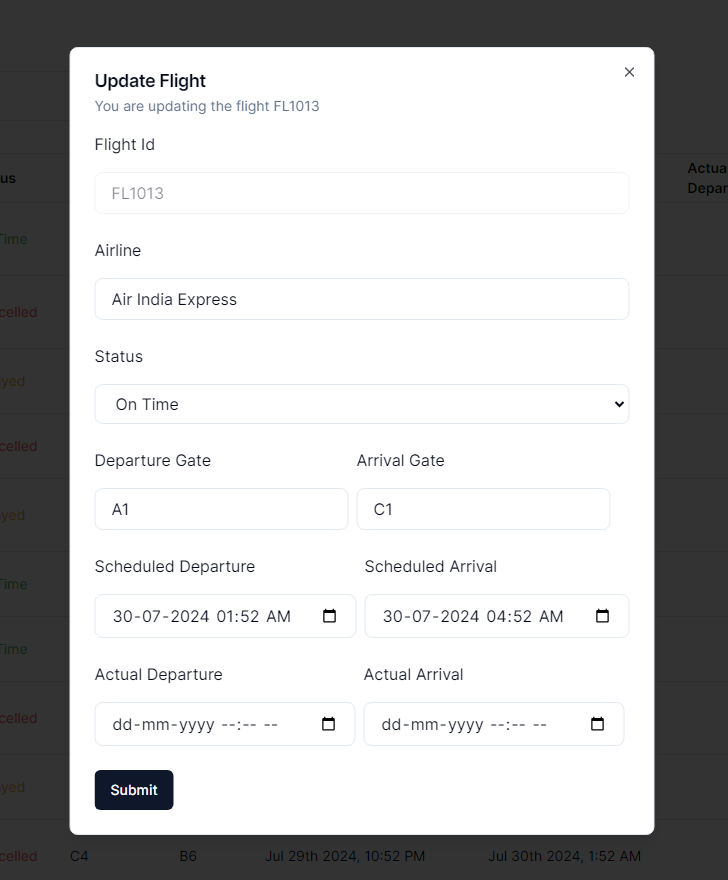
Once you click on Update Flight, a new dialog opens up
Once you make changes and submits it, With in a couple of seconds you will see, the most recently updated flight comes on the top of the table.
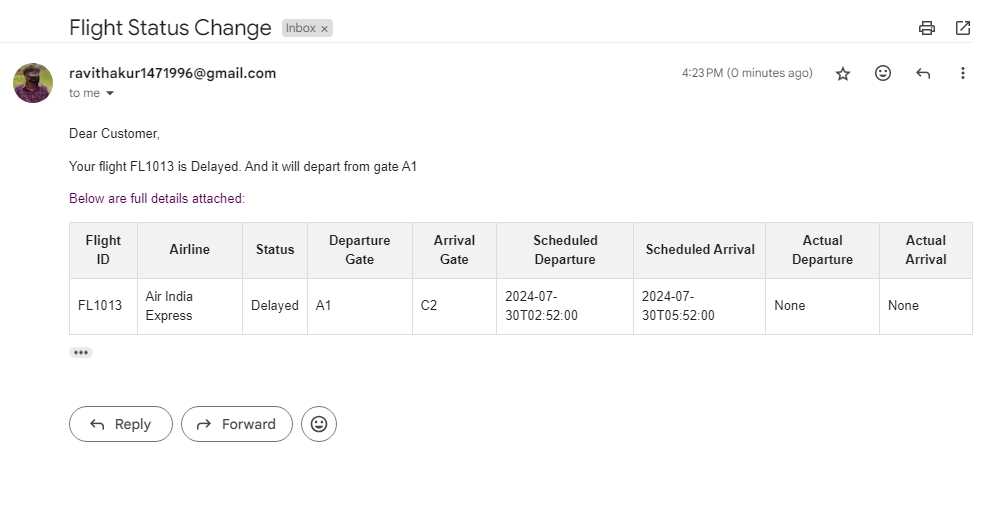
And if you have subscribed this flight for notification, you will see an email like this in your inbox
And, this whole process of sending email and saving data for notification into the database runs in the background.
Thankyou for coming this far with me 😊
