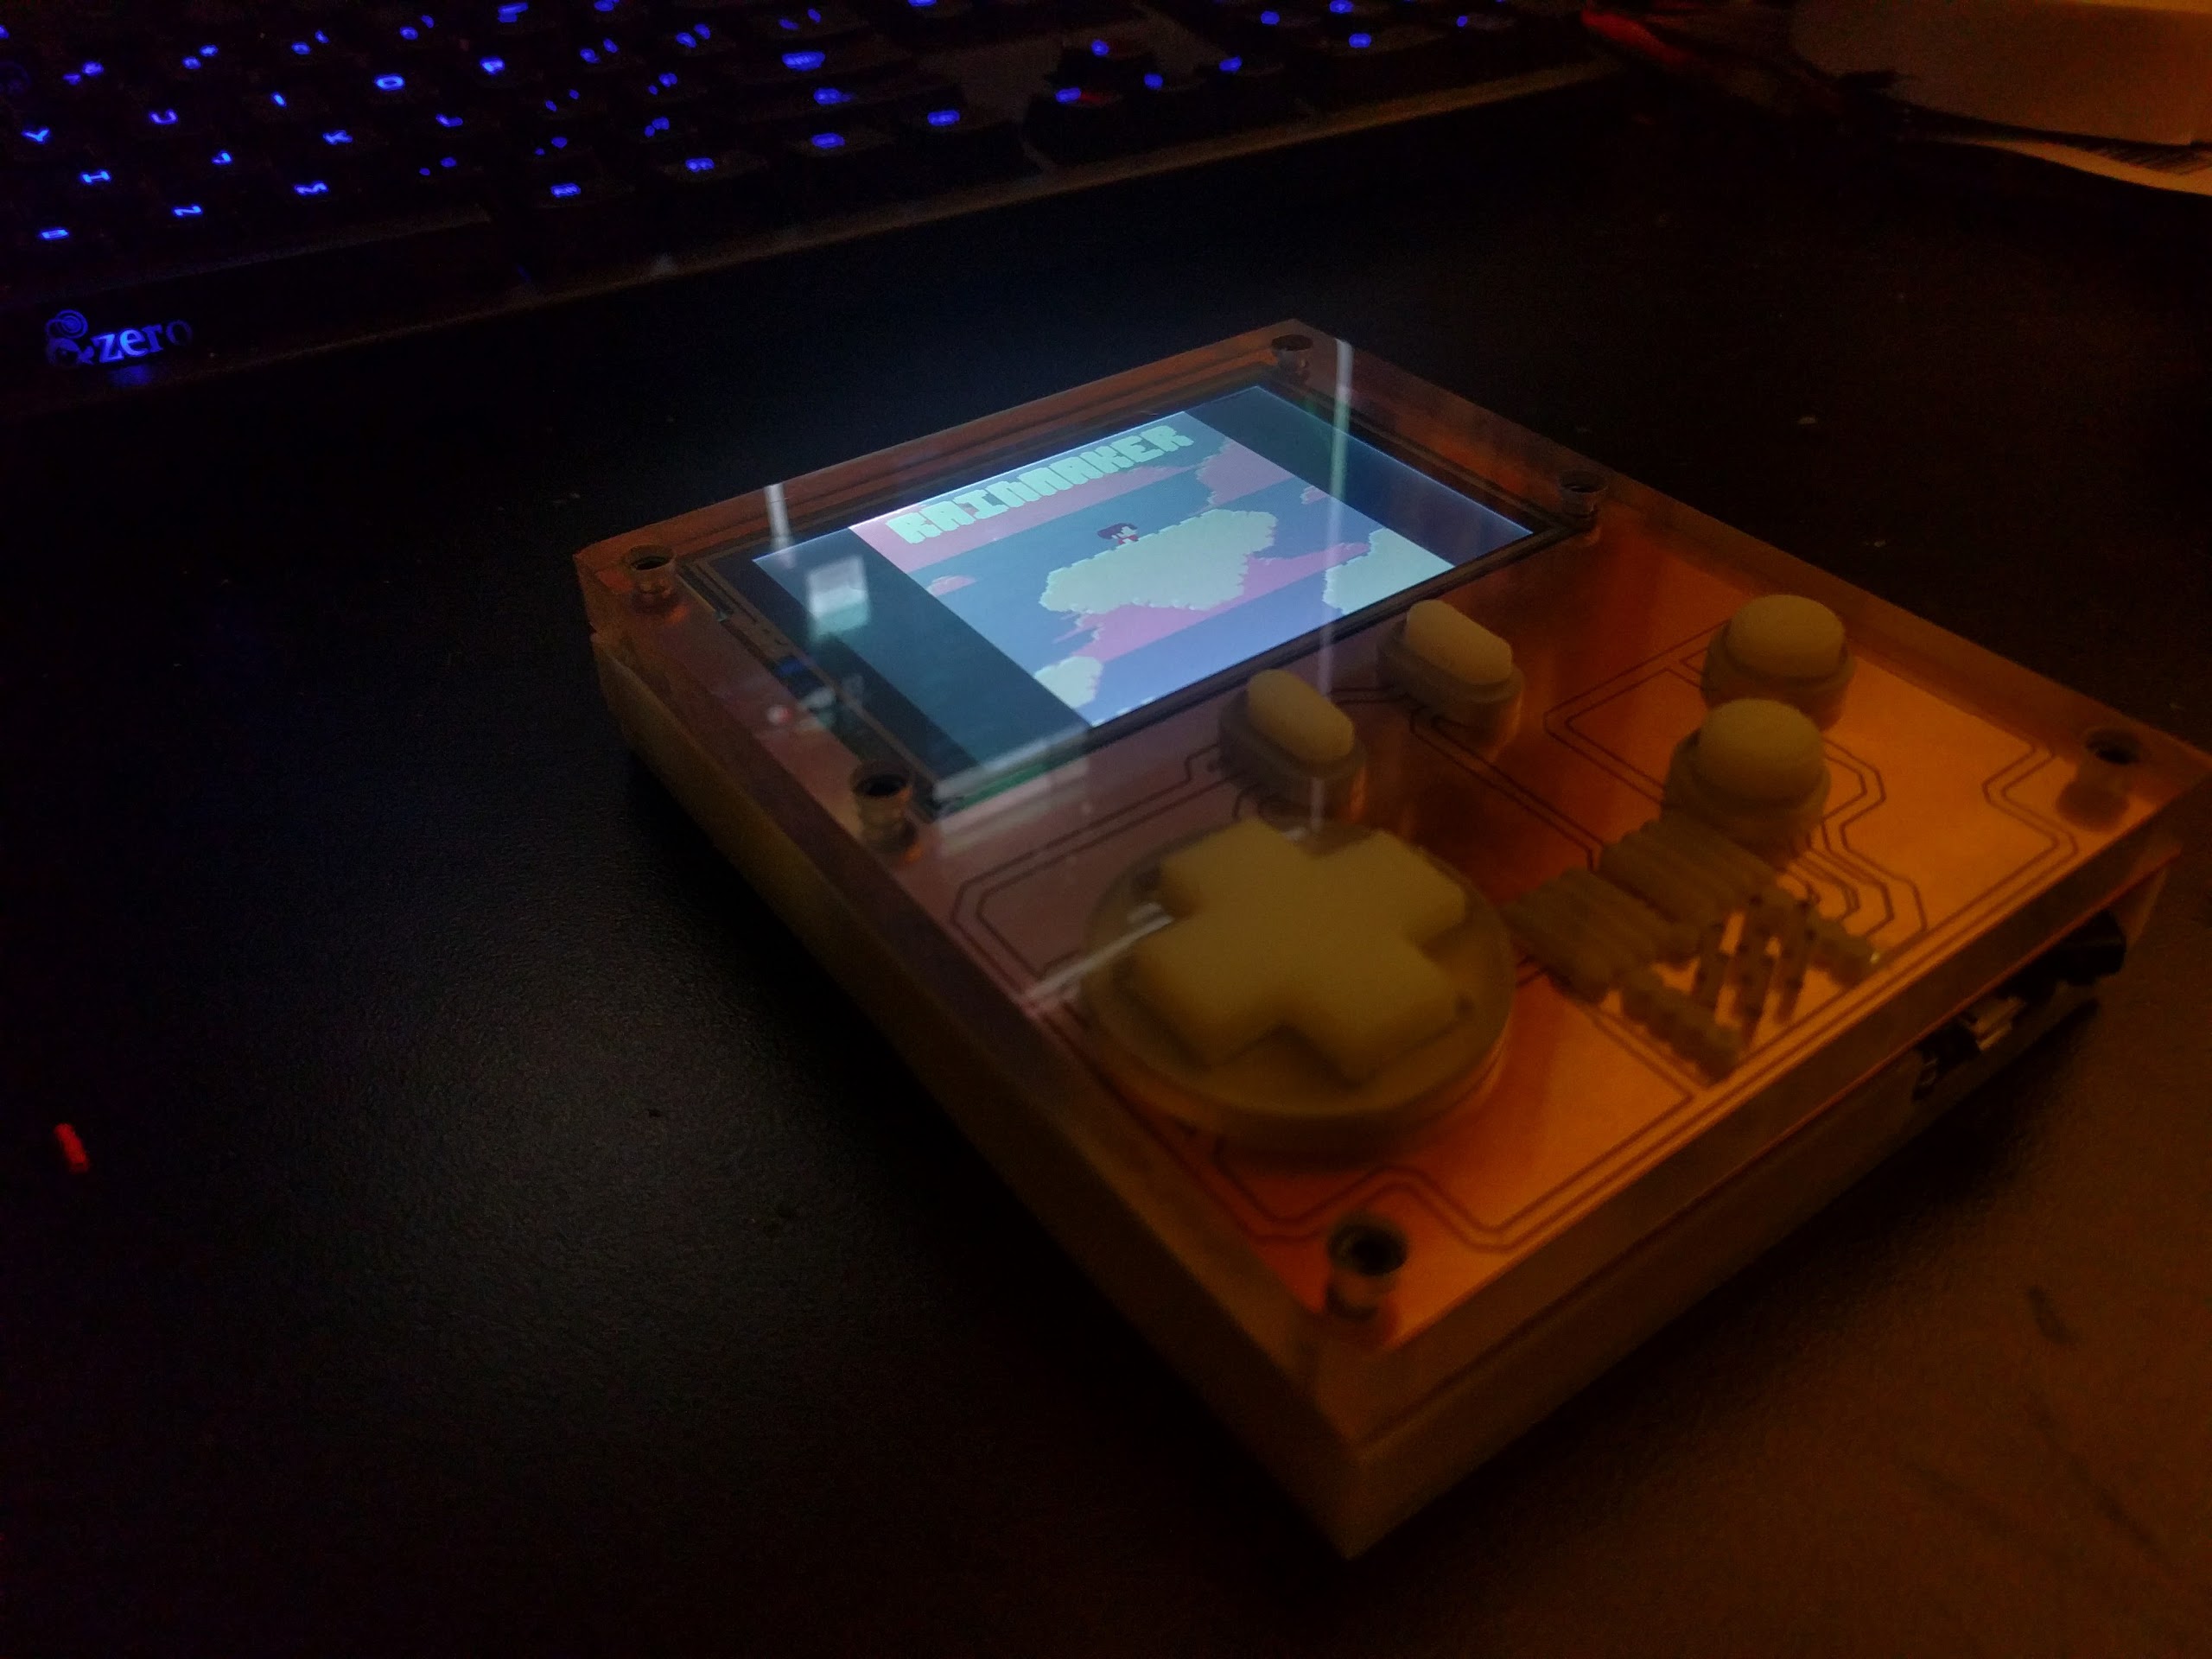
A portable console for [Pico 8] (http://www.lexaloffle.com/pico-8.php).
Picolator is a portable console developed using the Raspberry Pi Zero. It's shell and circuits are made using the Othermill.
Anyone with experience in milling and circuit design should be able to make it from just the files. I'll put together an Instructable soon. Check the notes for design details.
- 1 [Raspberry Zero] (https://www.adafruit.com/product/2885)
- 1 [Teensy 3.2] (https://www.pjrc.com/store/teensy32.html)
- 1 [Adafruit 3.5” PiTFT] (https://www.adafruit.com/products/2097)
- 1 [LM386 Audio Amplifier] (http://www.digikey.com/product-detail/en/texas-instruments/LM386N-4-NOPB/296-43960-5-ND/148192)
- 1 [Adafruit PowerBoost 500c] (https://www.adafruit.com/product/1944)
- 1 [3.7v 2500mAh LiPo battery] (https://www.adafruit.com/products/328)
- 1 [2.5mm headphone jack] (https://www.amazon.com/uxcell-Plastic-Stereo-Socket-Connector/dp/B00GLQAF7A/ref=pd_sim_23_4/151-6327110-2786334?_encoding=UTF8&pd_rd_i=B00GLQAF7A&pd_rd_r=0DZXJB3YZX57Q64PYSKV&pd_rd_w=IB4NA&pd_rd_wg=bLT86&psc=1&refRID=0DZXJB3YZX57Q64PYSKV)
- 1 [sheet of 4” x 3” x .375” polycarbonate] (https://othermachine.co/store/materials/polycarbonate/)
- 2 [sheets of 4” x 3” x .375” HDPE] (https://othermachine.co/store/materials/hdpe/)
- 1 sheet of 4” x 3” copper clad FR-1
- Misc: resistors, capacitors, switch, etc.
A video it it in action can be found here.
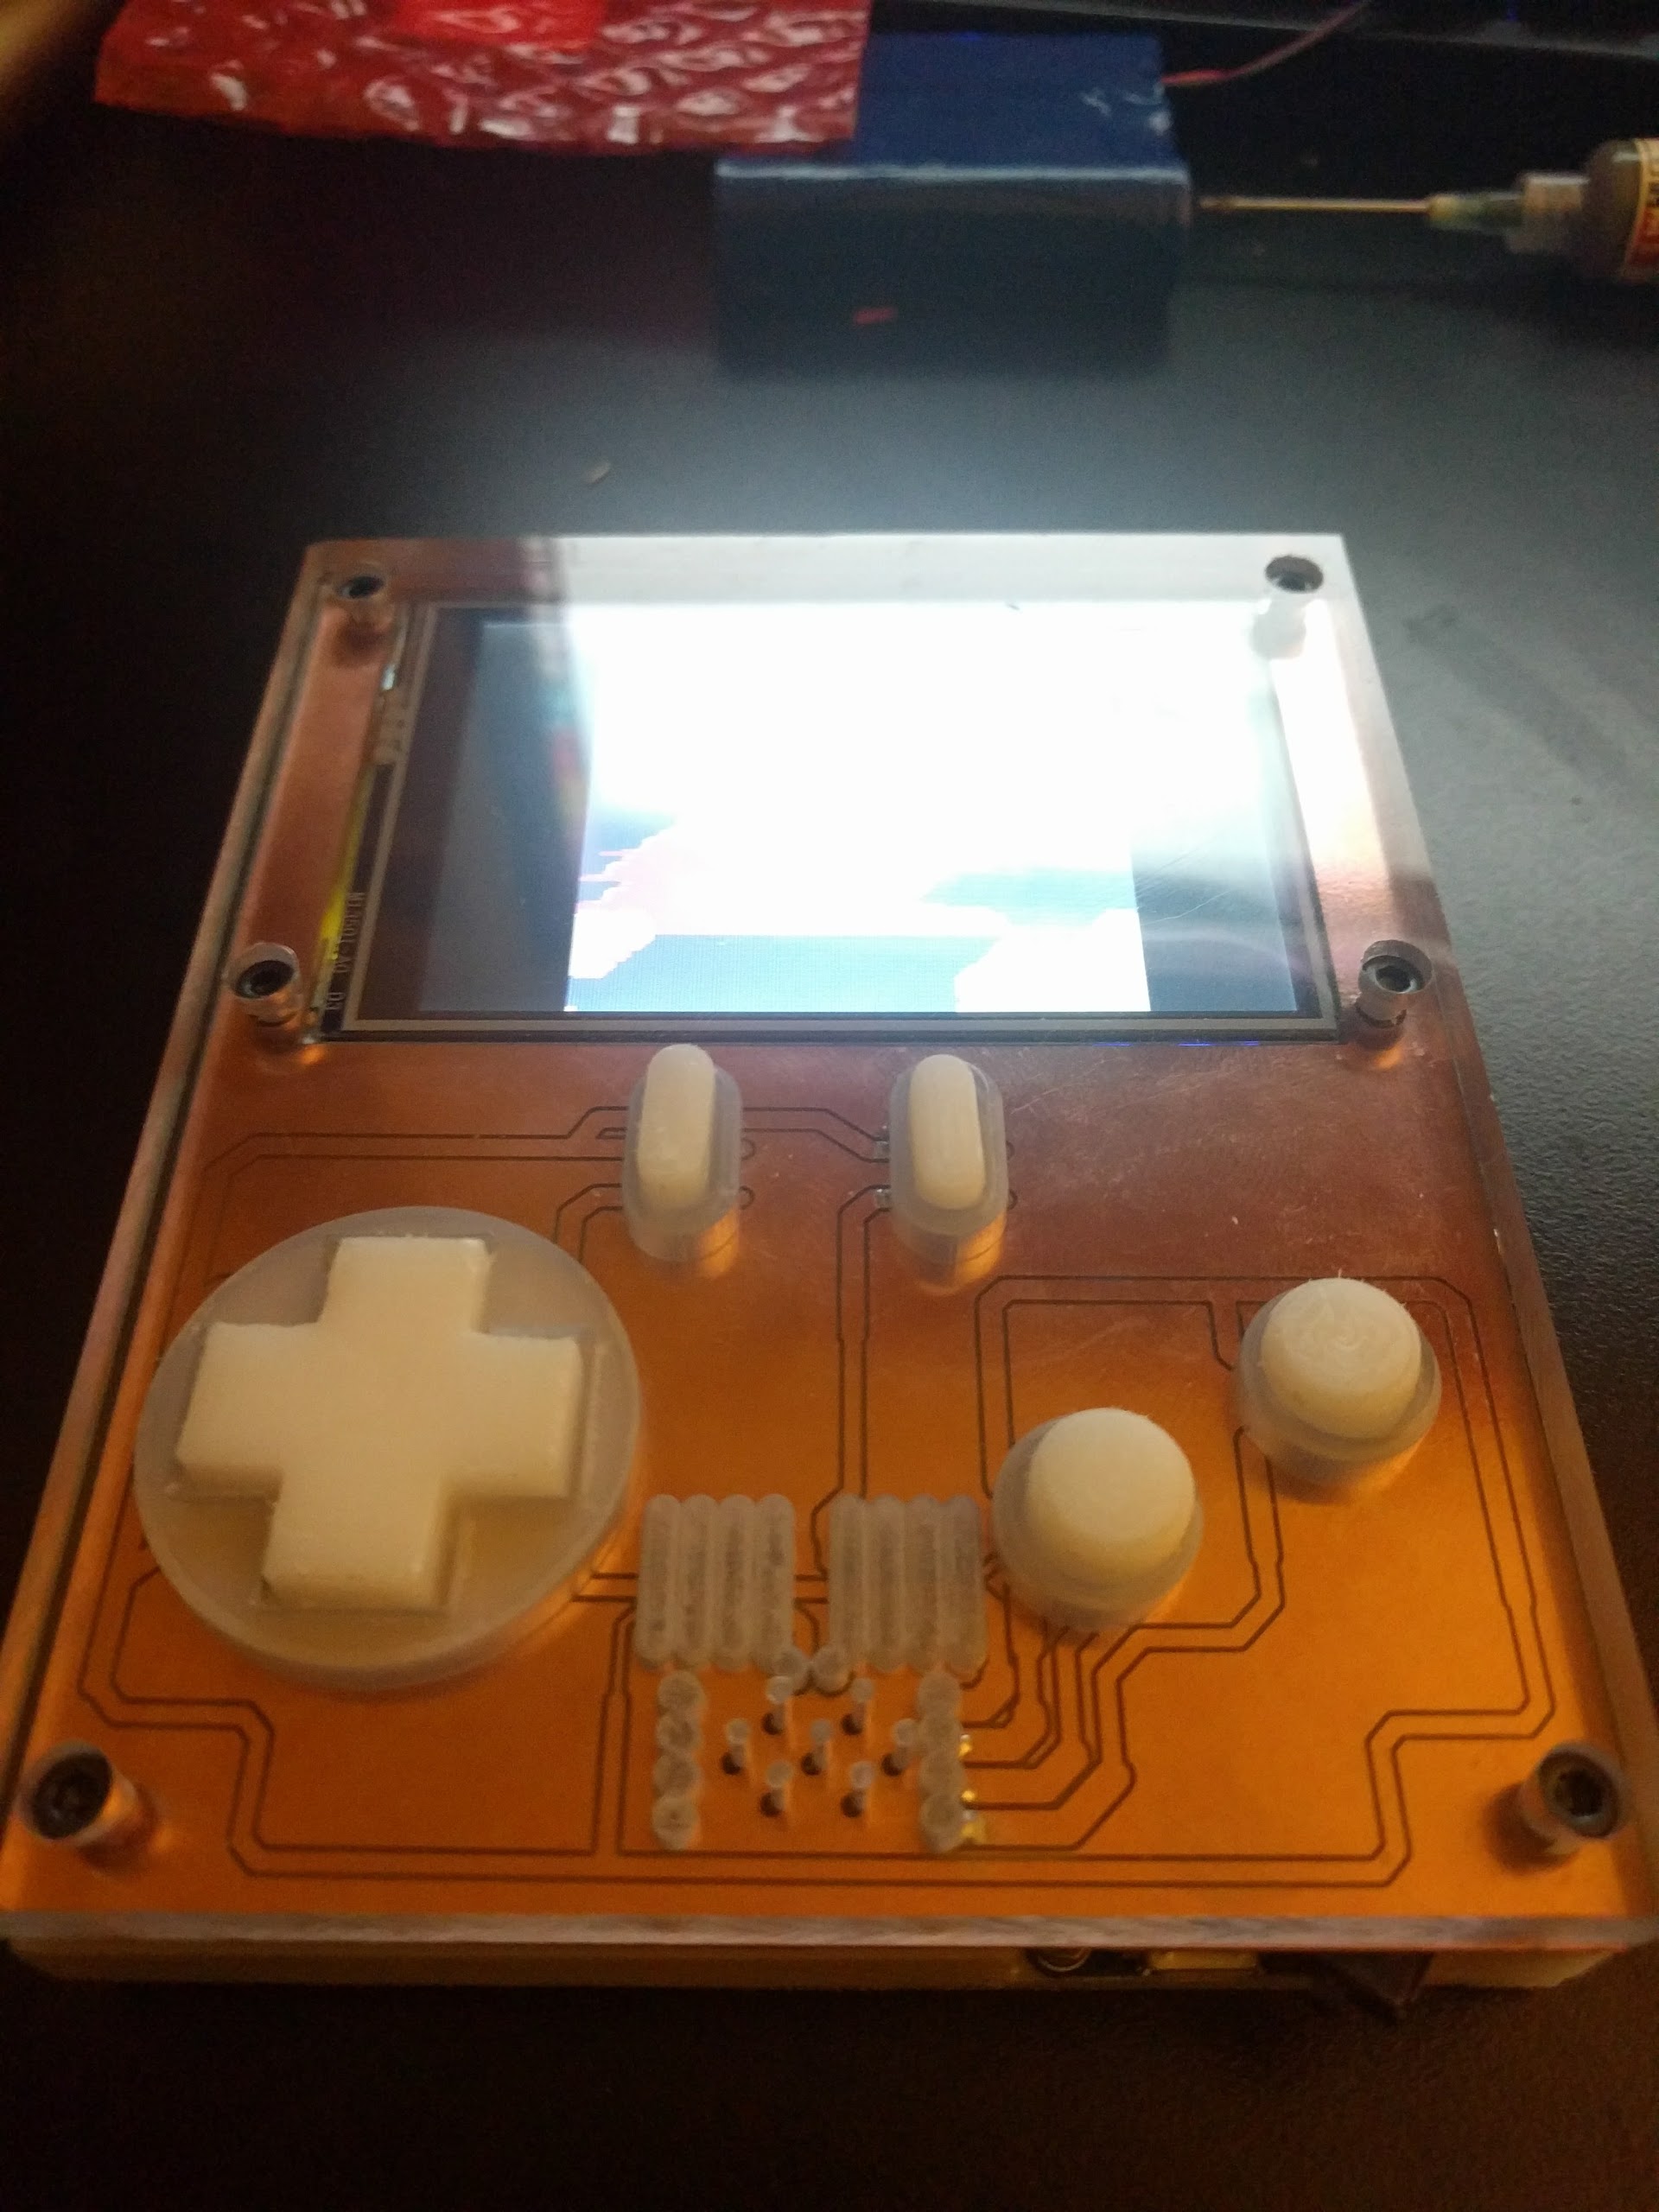
The front.
The back.
I use it all the time.
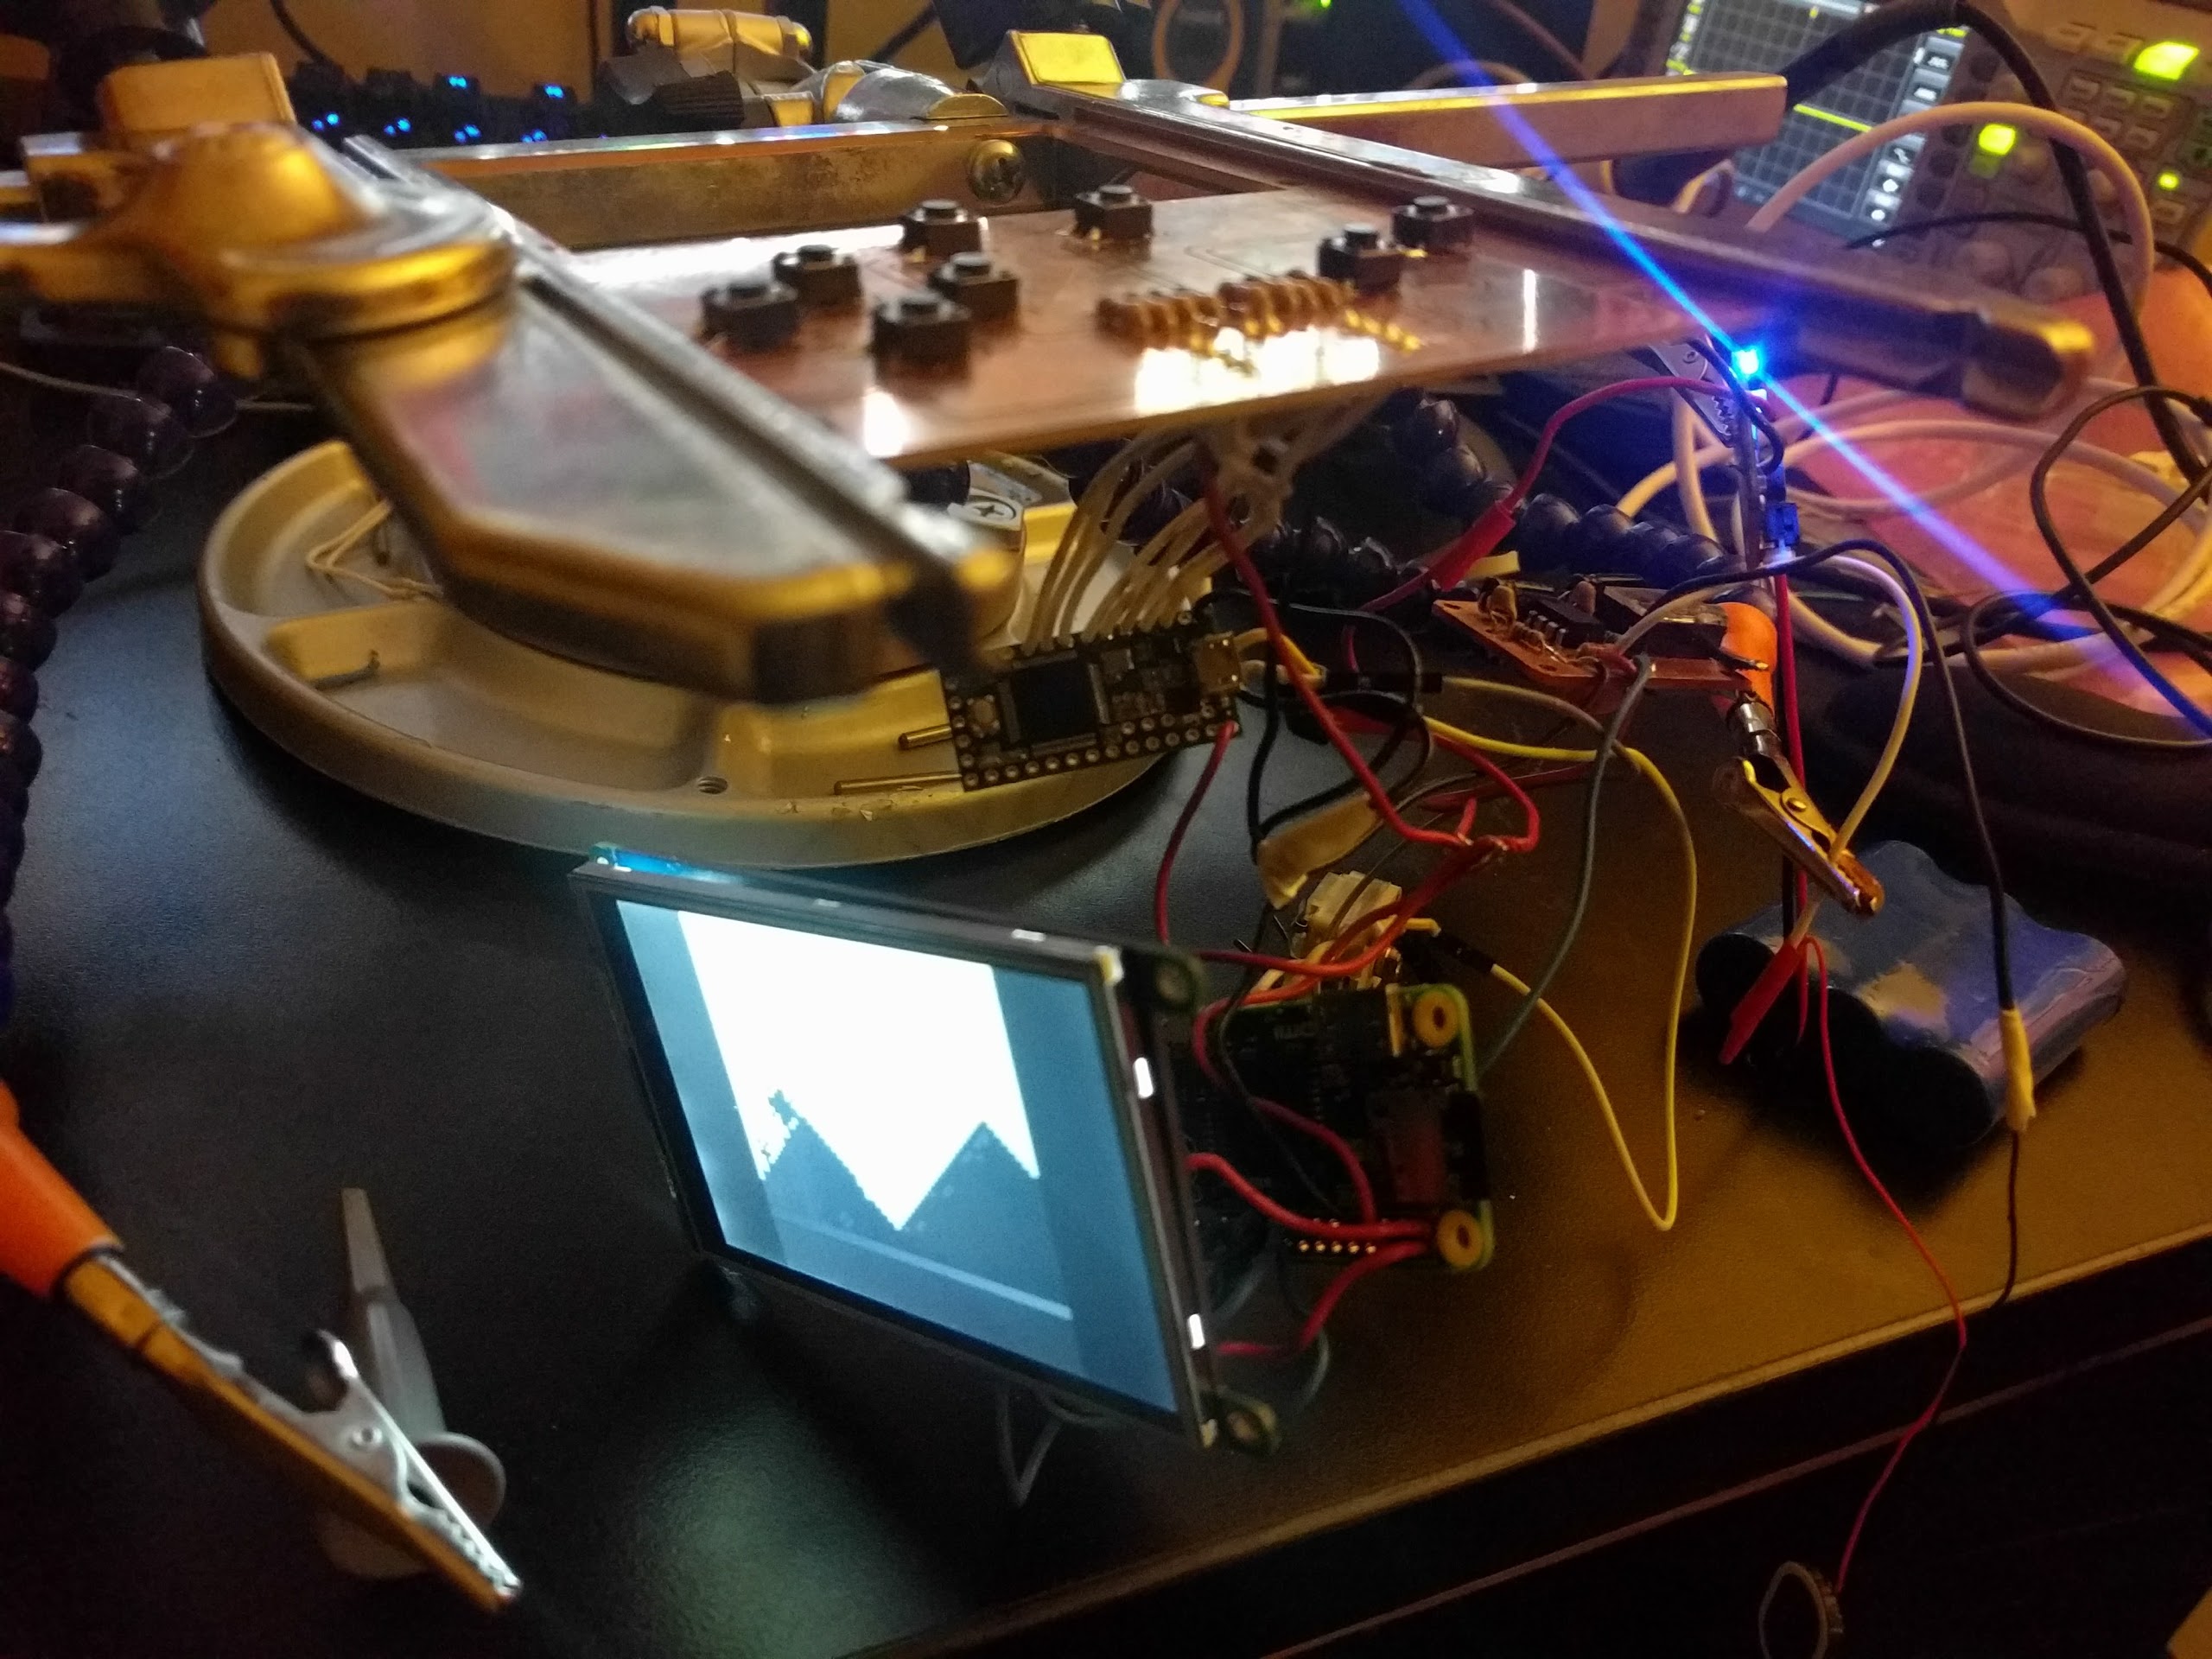
Here are it's insides. I was breadboarding it.
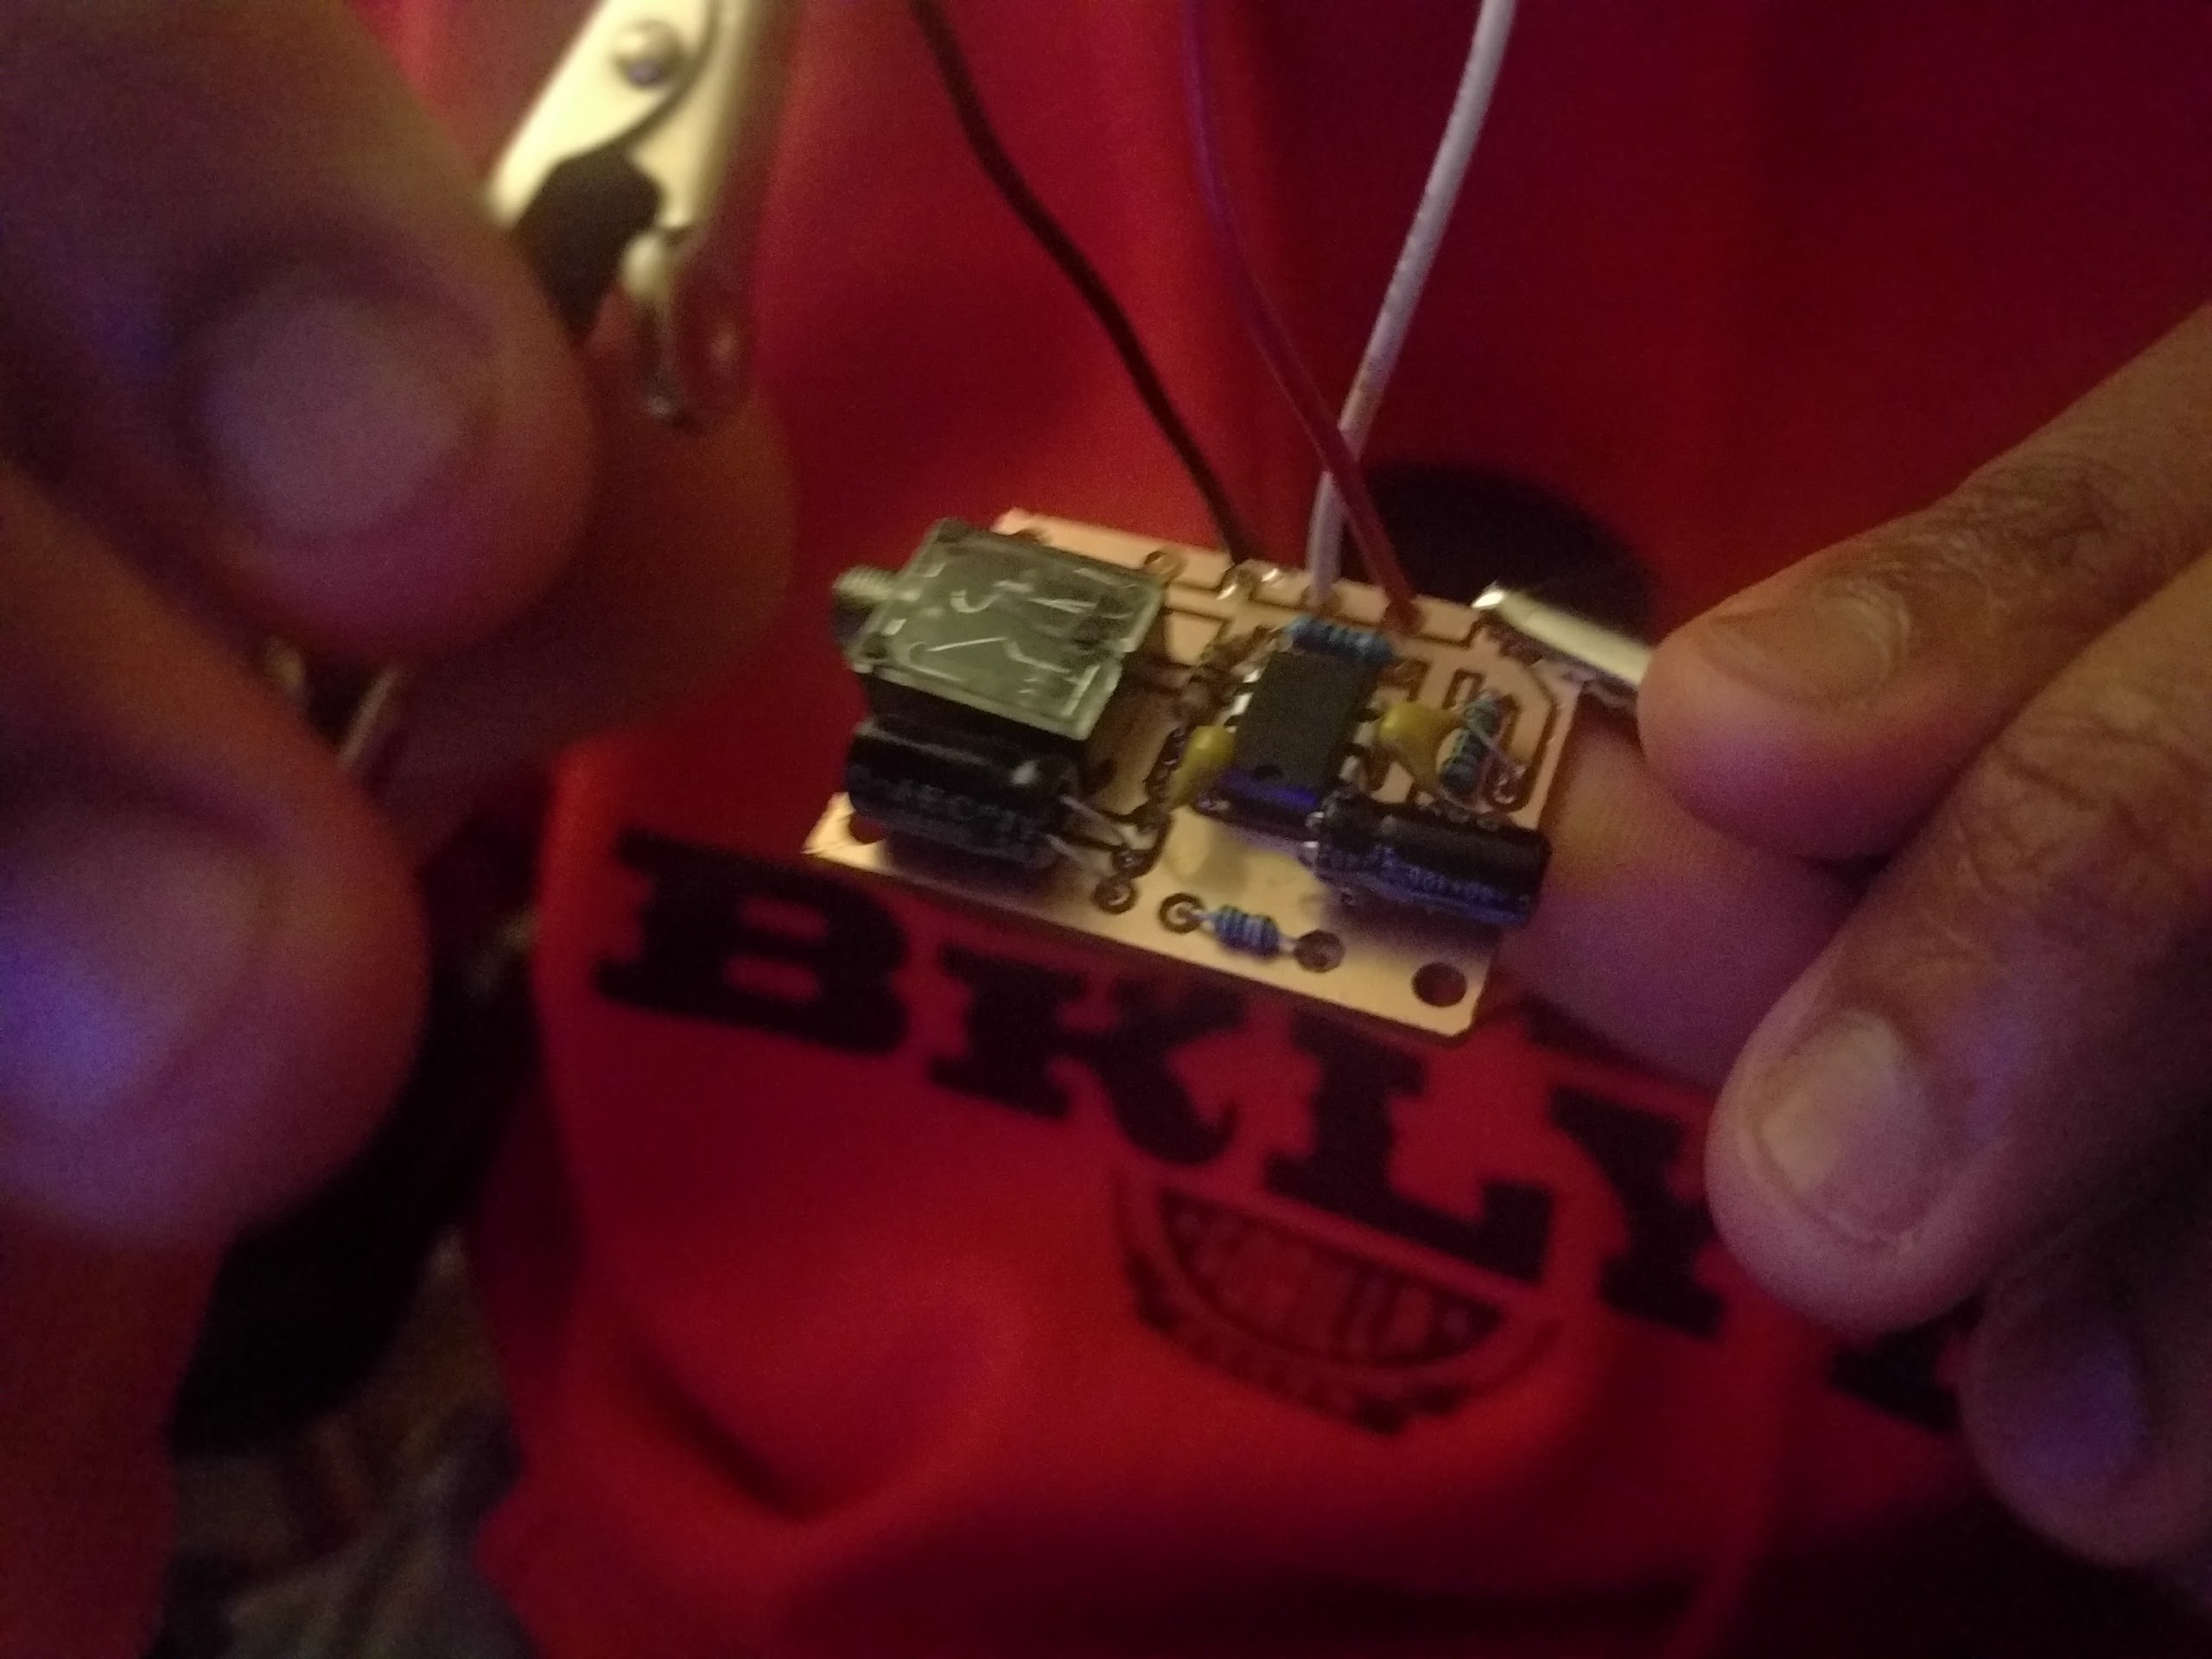
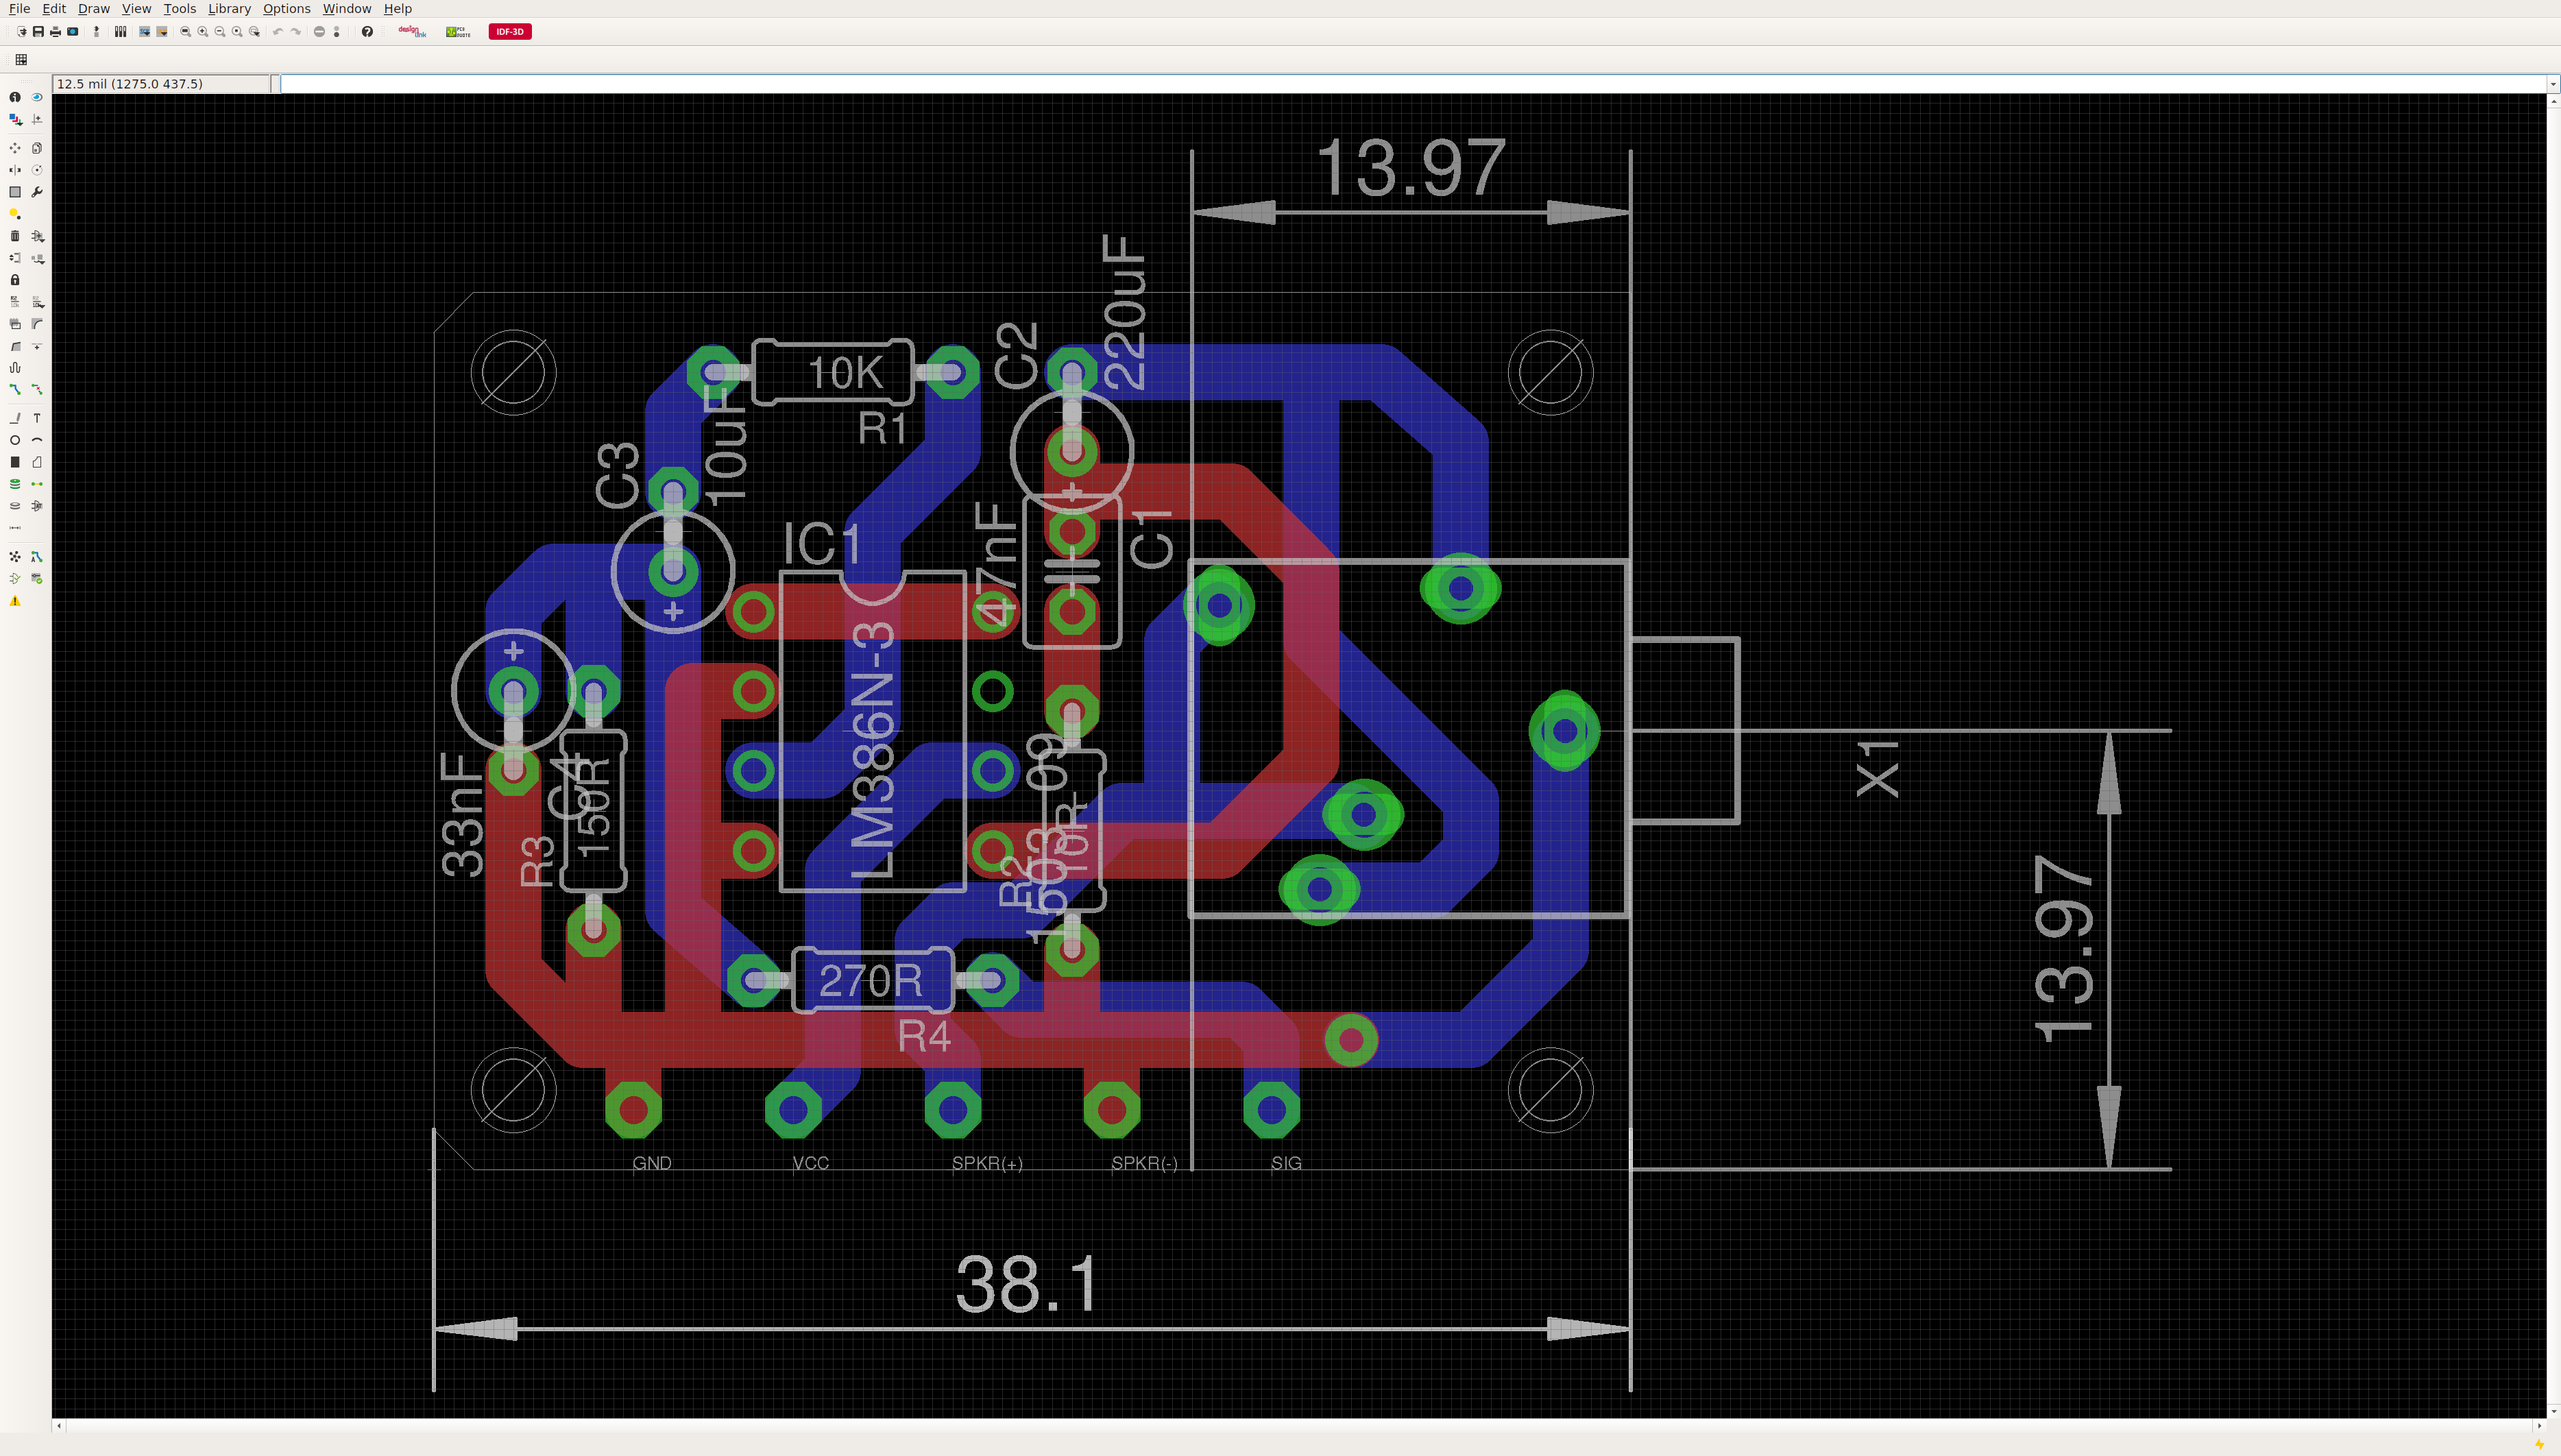
This is the soundboard. It uses an LM386. I designed this circuit for the console, but the Pi Zero audio output instructions can be found here. It's based on that.
The schematic for the soundboard is in the CADs folder, but here's an image of it.
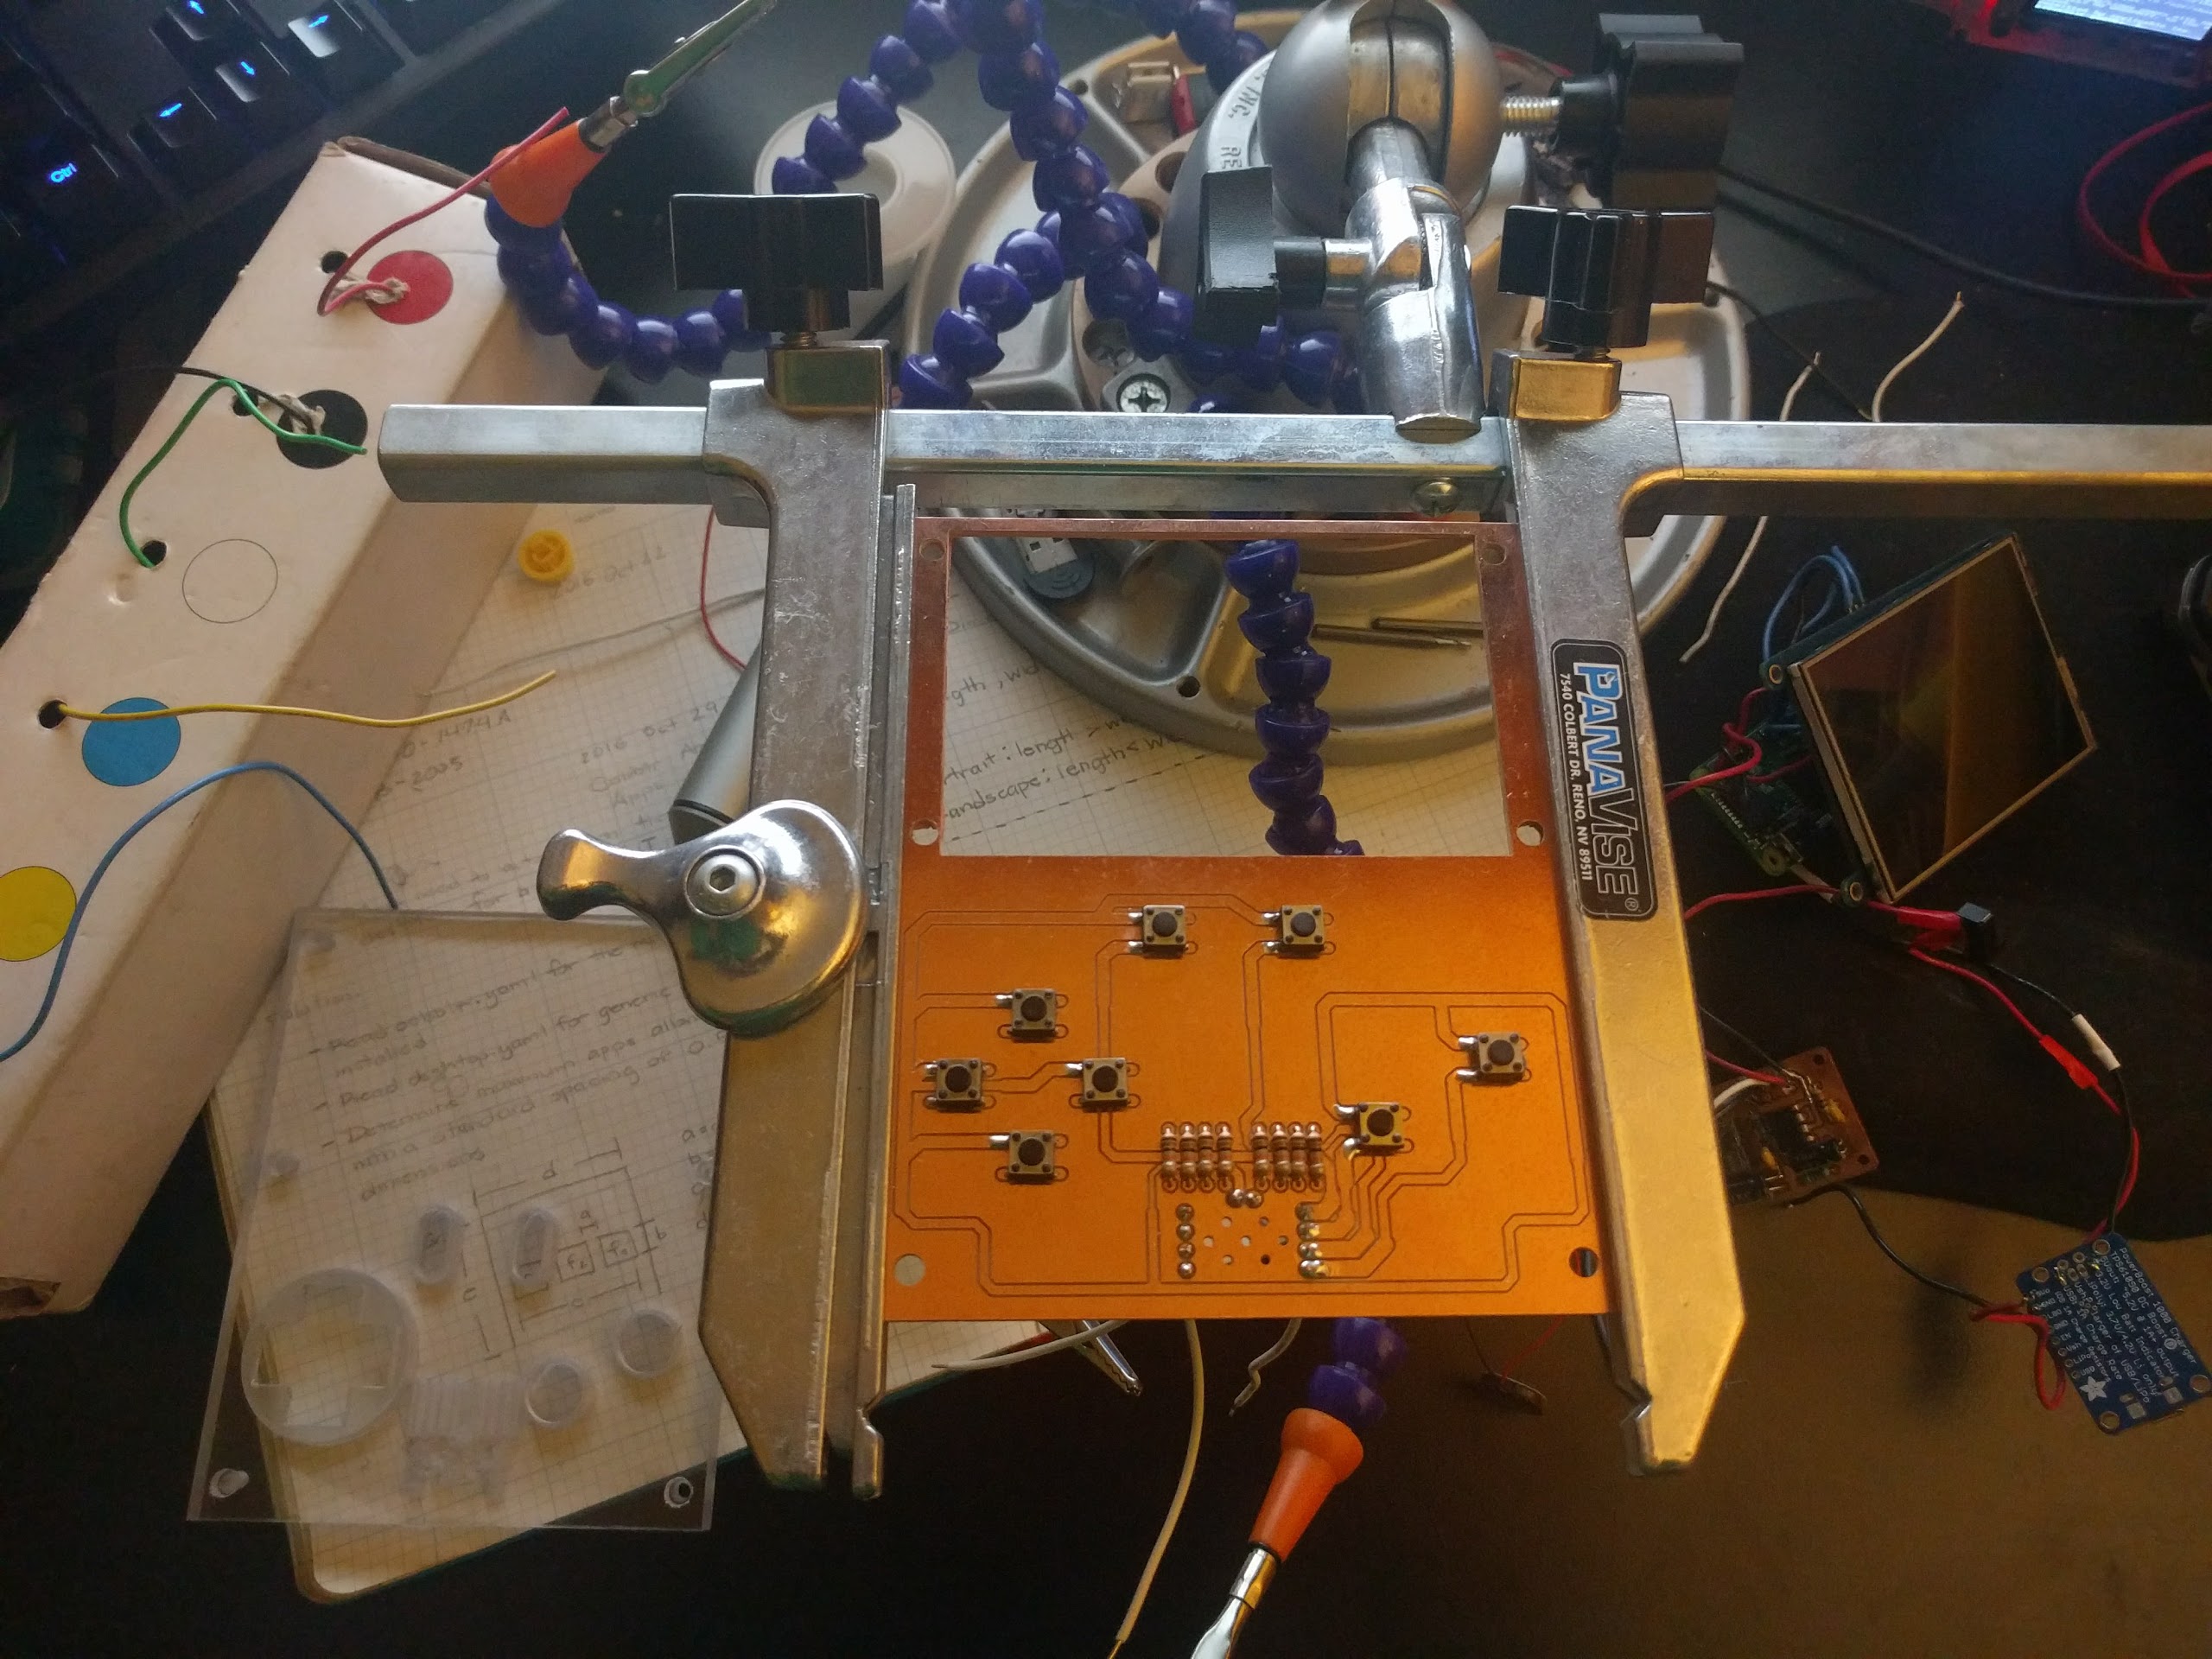
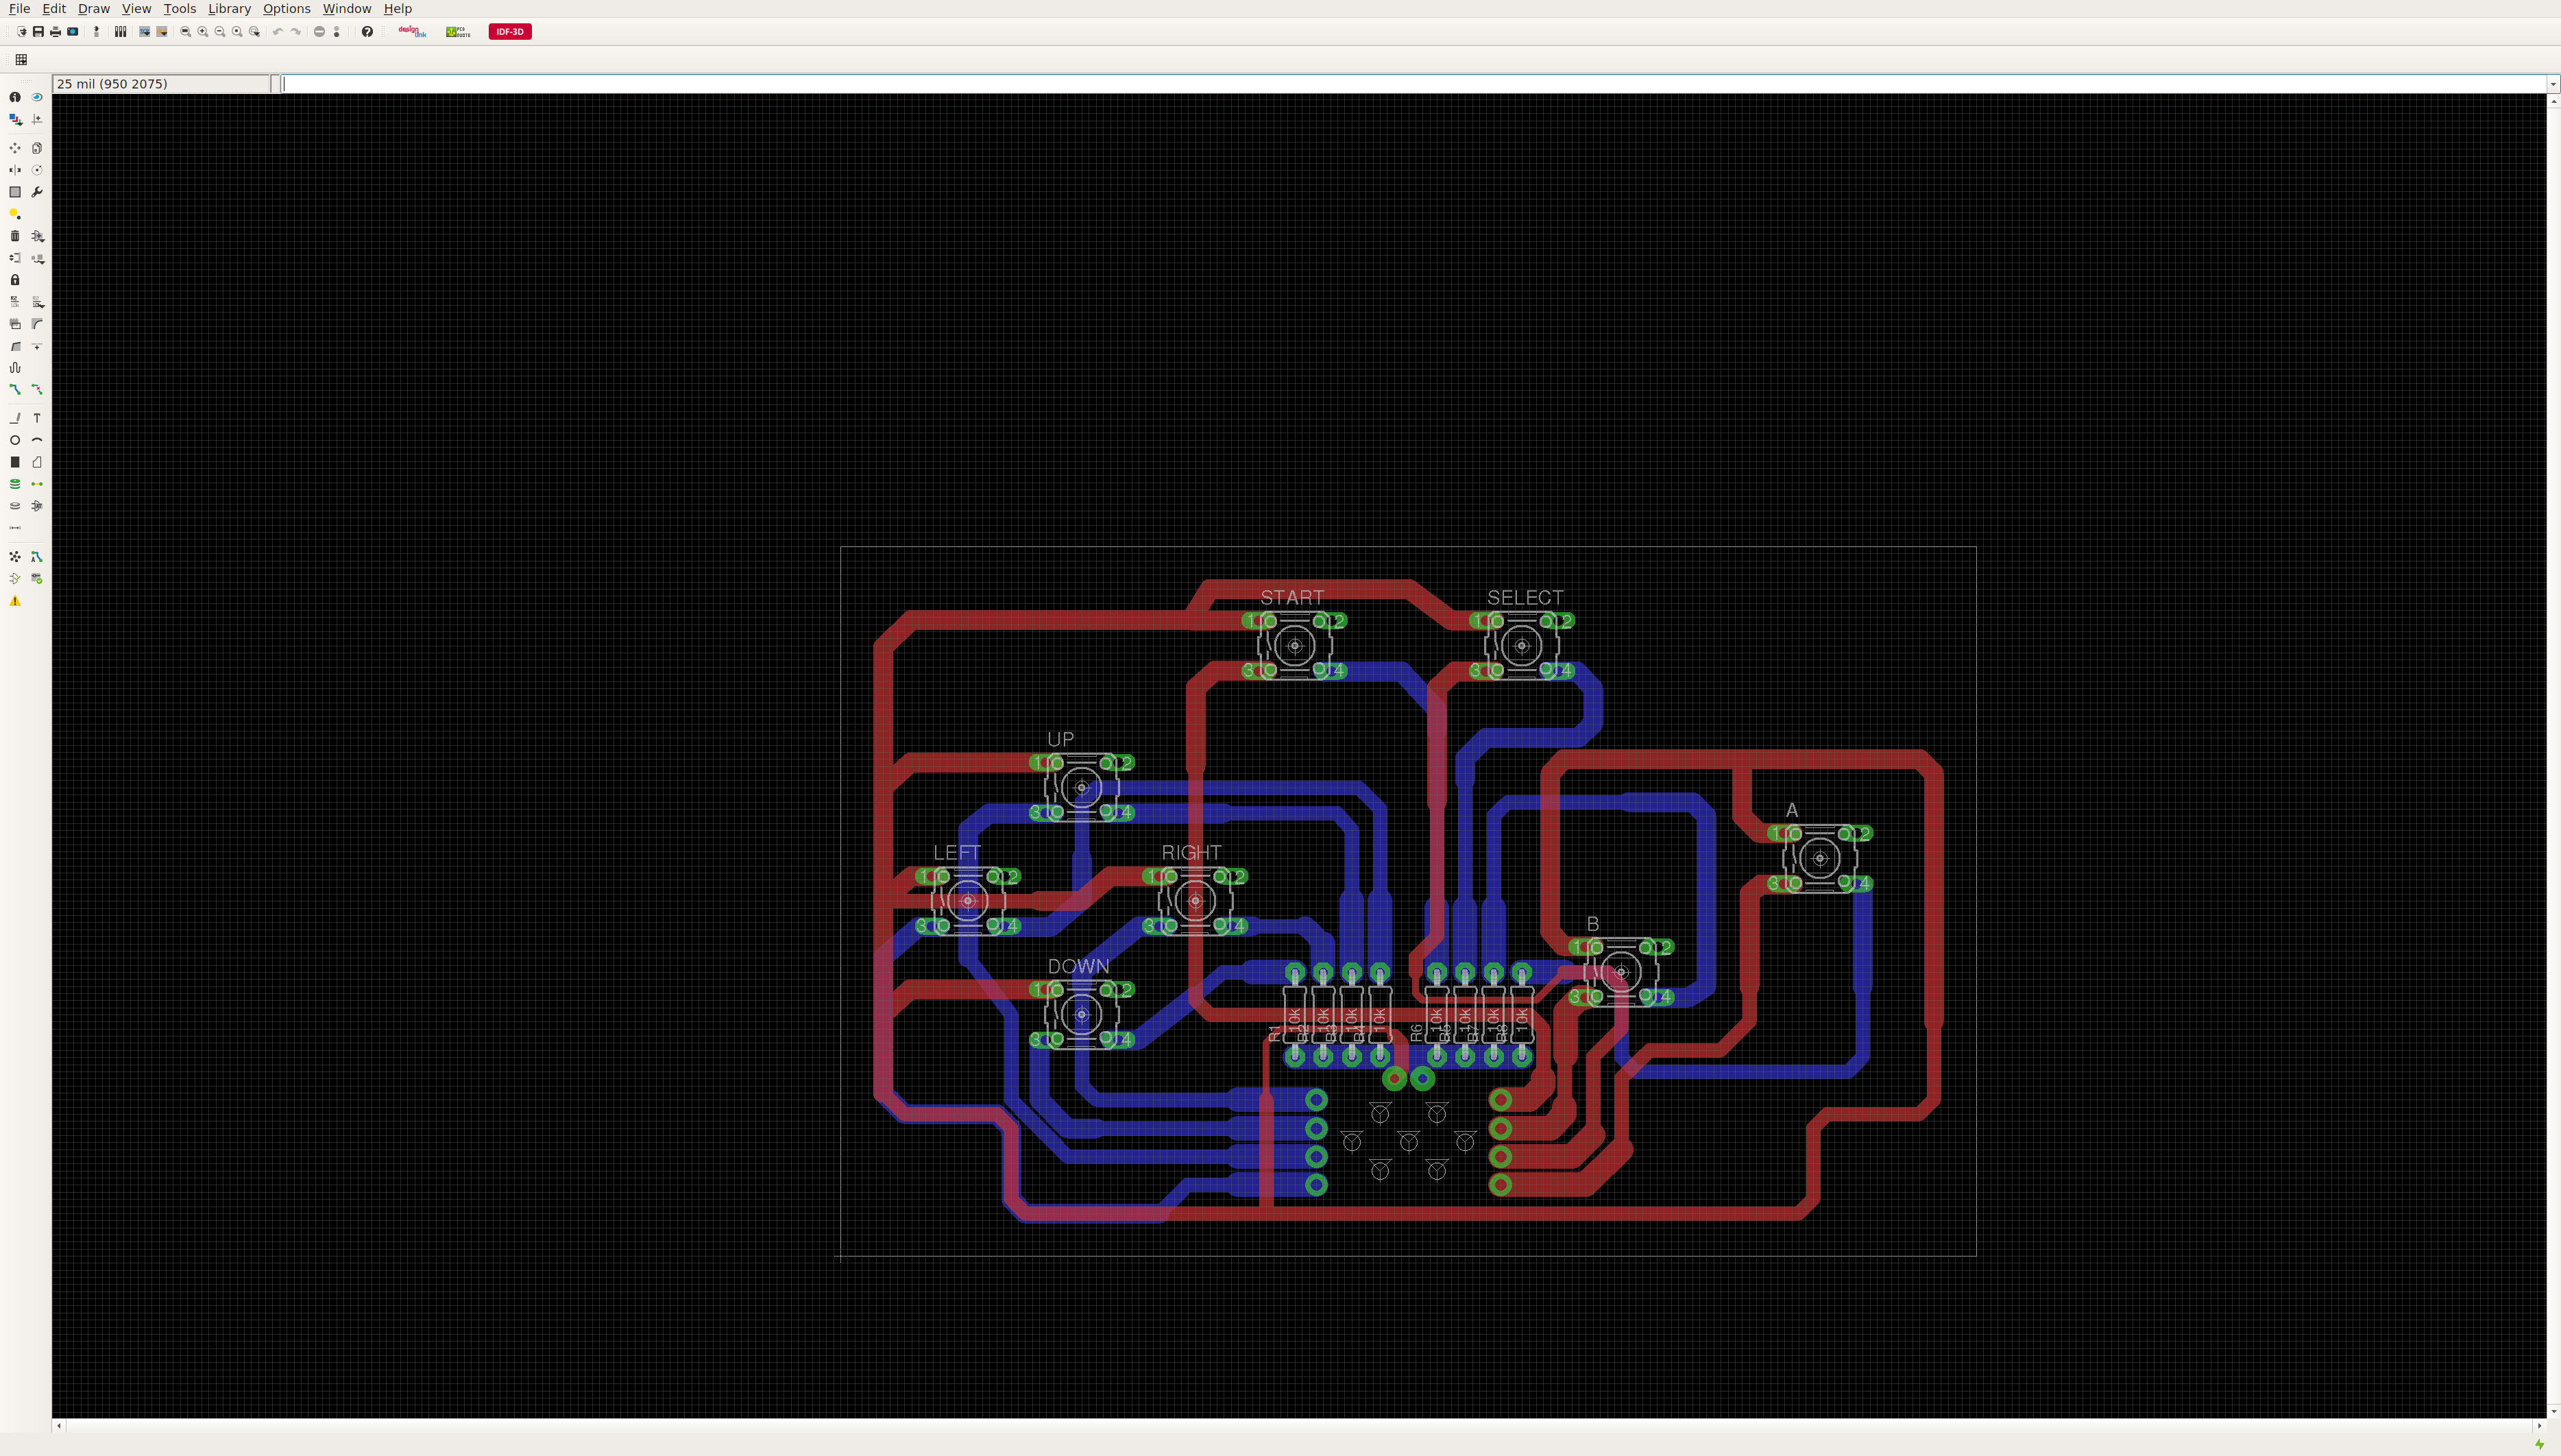
This is the controller. It connects to the Teensy and the Teensy is then connected via USB to the Pi Zero.
This is a screenshot of the controller circuit. It's also in the CADs folder.
The shell is 4 layers. Three HDPE layers and a polycarbonate top layer (to protect the screen). The body was designed in Fusion 360, and the electronics were designed in EagleCAD. All of them were milled using the Othermill. I had to use a Dremel to remove the headers on the PiTFT (risky, but it needed to be thinner). It's not hollow, there are supports and channels to route the wires and mount equipment on the inside (see the CADs).
When I started, I found the PiTFT schematic and tested the pins used for video (SPI). The wires are 28 gauge stranded core. If you look through Google Images for any of those things you'd need, you'll find them. Lady Ada makes the schematics for the PiTFT available on her site. The mappings I found in Google images, and tested using an oscilliscope.
The joystick is milled in two parts. The section for the screen is located in the cads/body directory. The circuit is located in the body/circuits directory. The resistors are 10k pullups. The Teensy code has a mapping of the pins, which are also labeled on the schematic.
The image is Lady Ada's PiTFT image (Raspbian), so the SD Card is 8GB. I couldn't get it booting when I used dd on a 32GB card. If anyone knows why, send me message -- though I don't think that's necessary even if I had every Pico-8 game ever. The games are played in Pico-8. You can place the flags in rc.local so it starts automatically. Pico 8 is available from Lexaloffle Games. All of the games are made by the community using Lua (I guess I'm about to learn Lua!).
That's it for now, until I have time to write an Instructable.
Picolator is available under the MIT license. See the LICENSE file for more info. Make it better!
