FastAPIPydanticSqlAlchemyAlembicSwaggerPytestPostgreSQLRedisDocker (docker-compose)NginxCelery + Flower
Use PREFIX /api/v1 before each endpoint.
The project have the following ENDPOINTS:
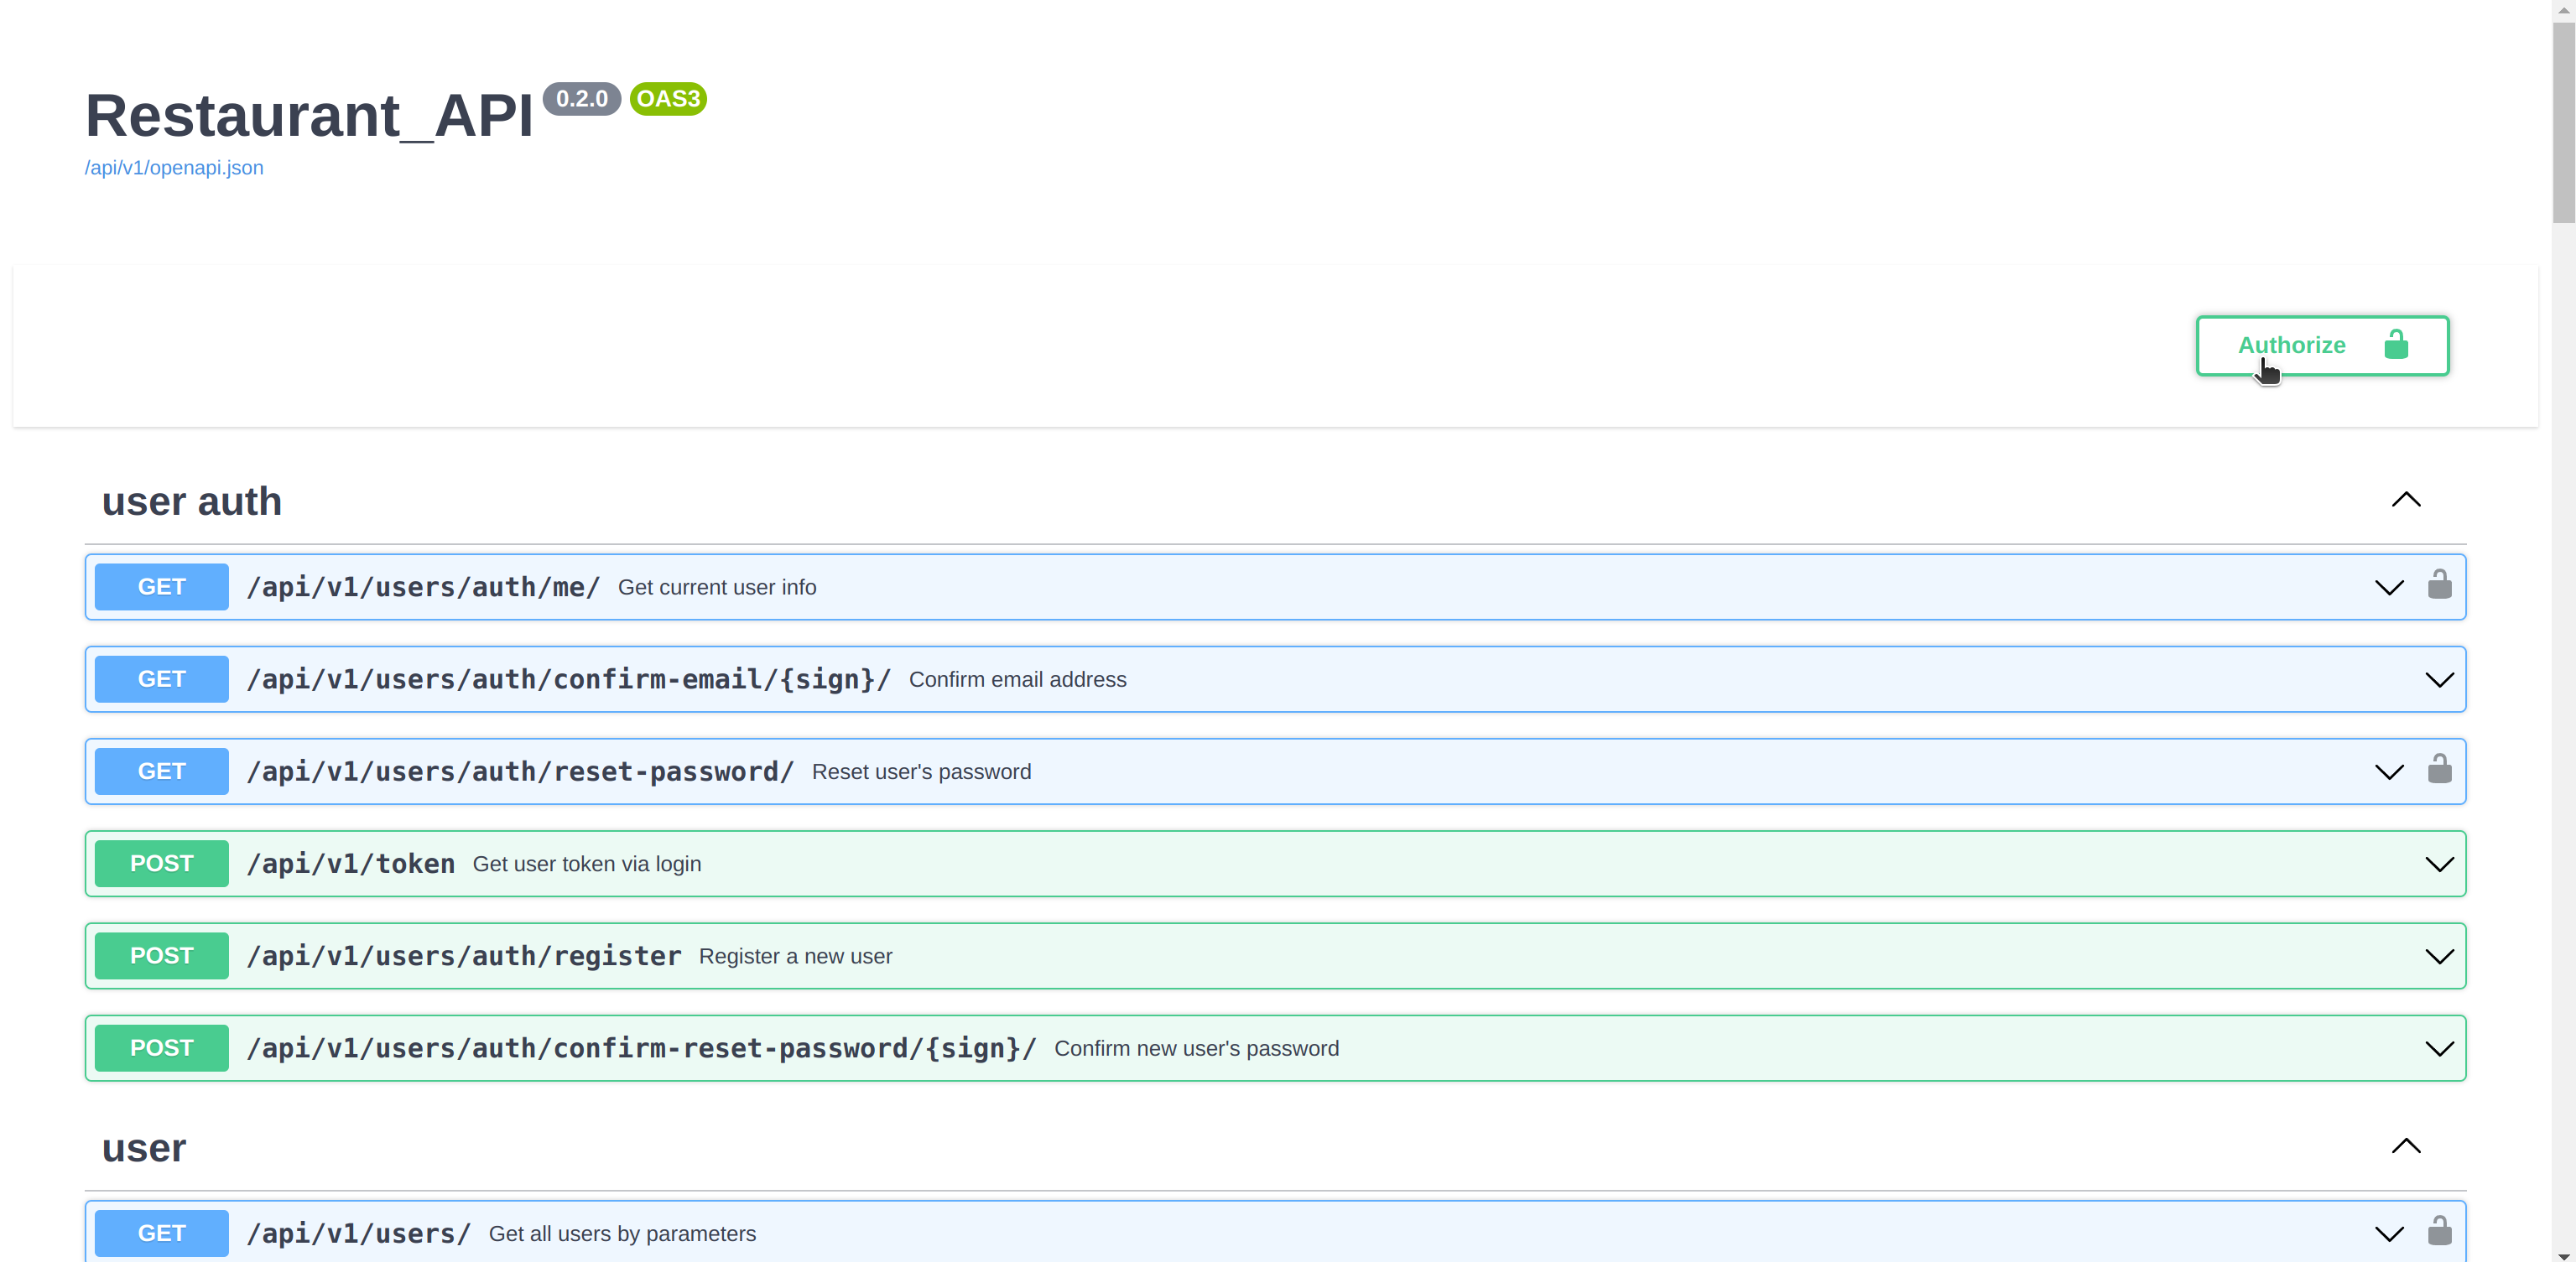
User auth endpoints:
-
GET/users/auth/me/- Get current user info.Description:
Returns current user info. Available to all confirmed users.
{ "username": "string", "email": "[email protected]", "phone": "505050505", "role": "superuser", "id": 0, "status": "confirmed" } -
GET/users/auth/confirm-email/{sign}/- Confirm email address.Description:
Confirms user's email. Accessible to all.
sign: it is encoded user data, such as a username.{ "message": "E-mail has been successfully confirmed." } -
GET/users/auth/reset-password/{sign}/- Reset user's password.Description:
Resets user's password. Available to all confirmed users.
sign: it is encoded user data, such as a username.{ "message": "A password reset email has been sent to your email" } -
POST/token- Get user token via login.Description:
Gets user token by entering your username and password. Accessible to all.
{ "access_token": "string", "token_type": "string" } -
POST/users/auth/register- Register a new user.Description:
Gets new user data and saves it into db. Accessible to all.
{ "username": "string", "email": "[email protected]", "phone": "661880805607310", "role": "superuser", "password": "stringst" } -
POST/users/auth/confirm-reset-password/{sign}- Confirm new user's password.Description:
Gets the user's new password and saves it in the database. Accessible to all.
sign: it is encoded user data, such as a username.{ "password": "stringst", "password_confirm": "stringst" }
User endpoints:
-
GET/users/- Get all users by parameters.Description:
Returns all users from db by parameters. Only available to superuser.
Query params:
- phone
- status (
confirmedorunconfirmed)
[ { "username": "string", "email": "[email protected]", "phone": "918426795719187", "role": "superuser", "id": 0, "status": "confirmed" } ] -
GET/users/{user_id}- Get user by user id.Description:
Returns user from db by user id. Only available to superuser.
[ { "username": "string", "email": "[email protected]", "phone": "918426795719187", "role": "superuser", "id": 0, "status": "confirmed" } ] -
DELETE/users/{user_id}- Delete user by user id.Description:
Deletes user from db by user id. Only available to superuser.
{ "message": "user with id=1 was successfully deleted." } -
PATCH/users/{user_id}- Patch user by user id.Description:
Updates user from db by user id. Only available to superuser.
{ "username": "some_username", "email": "[email protected]", "phone": "123456789", "role": "client", "status": "unconfirmed" } -
POST/users/create- Post user by user id.Description:
Adds new user into db. Only available to superuser.
{
  "username": "some_username",
  "email": "[email protected]",
  "phone": "123456789",
  "role": "client",
  "password": "some_strong_password"
}
Order endpoints:
-
GET/orders/- Get all orders by parameters.Description:
Returns all orders from db by parameters. Available to all confirmed users.
Non-superuser behavior: It will only find orders associated with the user id, else return empty list.
Query params:
- start_datetime (start booking date or datetime)
- end_datetime (end booking date or datetime)
- status (
confirmedorunconfirmed) - cost (Less or equal)
- user_id
- tables (list of table ids)
[ { "start_datetime": "2022-08-23T06:51", "end_datetime": "2022-08-23T07:51", "user_id": 1, "id": 0, "status": "processing", "cost": 0, "tables": [ { "type": "standard", "number_of_seats": 1, "price_per_hour": 0, "id": 1 } ] } ] -
GET/orders/{order_id}- Get order by order id.Description:
Returns order from db by order id. Available to all confirmed users.
Non-superuser behavior: It will return the order only if the order is associated with this user, else return None.
{ "start_datetime": "2022-08-23T06:51", "end_datetime": "2022-08-23T07:51", "user_id": 1, "id": 0, "status": "processing", "cost": 0, "tables": [ { "type": "standard", "number_of_seats": 1, "price_per_hour": 0, "id": 1 } ] } -
DELETE/orders/{order_id}- Delete order by order id.Description:
Deletes order from db by order id. Available to all confirmed users.
Non-superuser behavior: It will delete the order only if the order is associated with this user, else raise exception that there is no such order.
{ "message": "order with id=1 was successfully deleted." } -
PATCH/orders/{order_id}- Patch order by order id.Description:
Updates order from db by order id. Available to all confirmed users.
Non-superuser behavior: It will patch the order only if the order is associated with this user, else raise exception that there is no such order.
Manual validations:
- date or datetime objects (comparison start and end values);
- checks time range within daily schedule;
- checks free time in the orders.
{ "start_datetime": "2022-08-08T10:00", "end_datetime": "2022-08-08T12:59", "user_id": 1, "status": "confirmed", "cost": 5000, "add_tables": [ 1, 2, 3 ], "delete_tables": [ 4 ] } -
POST/orders/create- Add new order.Description:
Adds new order into db. Available to all confirmed users.
Manual validations:
- date or datetime objects (comparison start and end values);
- checks time range within daily schedule;
- checks free time in the orders.
Features:
- automatically calculates the cost of time when rounded to the nearest hour
{
  "start_datetime": "2022-08-10T08:00",
  "end_datetime": "2022-08-10T14:59",
  "user_id": 1,
  "tables": [
    1,
    2,
    3
  ]
}
Schedule endpoints:
-
GET/schedules/- Get all schedules by parameters.Description:
Returns all schedules from db by parameters. Available to all confirmed users.
Query params:
- day (weekday or date)
- open_time (More or equal)
- close_time (Less or equal)
- break_start_time (More or equal)
- break_end_time (Less or equal)
[ { "day": "Monday", "open_time": "06:00", "close_time": "22:00", "break_start_time": "13:00", "break_end_time": "13:59", "id": 0 } ] -
GET/schedules/{schedule_id}- Get schedule by schedule id.Description:
Returns schedule from db by schedule id. Available to all confirmed users.
{ "day": "Monday", "open_time": "06:00", "close_time": "22:00", "break_start_time": "13:00", "break_end_time": "13:59", "id": 0 } -
DELETE/schedules/{schedule_id}- Delete order by order id.Description:
Deletes schedule from db by schedule id. Only available to superuser or admin.
{ "message": "schedule with id=1 was successfully deleted." } -
PATCH/schedules/{schedule_id}- Patch schedule by schedule id.Description:
Updates schedule from db by schedule id. Only available to superuser or admin.
Manual validations:
- date or datetime objects (comparison open and close values);
{ "day": "Monday", "open_time": "08:00", "close_time": "22:00", "break_start_time": "13:00", "break_end_time": "14:00" } -
POST/schedules/create- Add new schedule.Description:
Adds new schedule into db. Only available to superuser or admin.
Manual validations:
- date or datetime objects (comparison start and end values);
{
  "day": "2022-12-25",
  "open_time": "10:00",
  "close_time": "23:00",
  "break_start_time": "14:00",
  "break_end_time": "15:00"
}
Table endpoints:
-
GET/tables/- Get all tables by parameters.Description:
Returns all tables from db by parameters. Available to all confirmed users.
Non-superuser behavior: Instead of a nested full order data, it will only return the start and end datetime.
Query params:
- type (
standard,private,vip_room) - number_of_seats (Less or equal)
- price_per_hour (Less or equal)
- start_datetime (Start booking date or datetime)
- end_datetime (End booking date or datetime)
[ { "type": "standard", "number_of_seats": 1, "price_per_hour": 0, "id": 1, "orders": [ { "start_datetime": "2022-08-23T06:51", "end_datetime": "2022-08-23T07:51", "user_id": 1, "id": 1, "status": "processing", "cost": 0 } ] } ] - type (
-
GET/tables/{table_id}- Get table by table id.Description:
Returns table from db by table id. Available to all confirmed users.
Non-superuser behavior: Instead of a nested full order data, it will only return the start and end datetime.
{ "type": "standard", "number_of_seats": 1, "price_per_hour": 0, "id": 1, "orders": [ { "start_datetime": "2022-08-23T06:51", "end_datetime": "2022-08-23T07:51", "user_id": 1, "id": 1, "status": "processing", "cost": 0 } ] } -
DELETE/tables/{table_id}- Delete table by table id.Description:
Deletes table from db by table id. Only available to superuser or admin.
{ "message": "table with id=1 was successfully deleted." } -
PATCH/tables/{table_id}- Patch table by table id.Description:
Updates table from db by table id. Only available to superuser or admin.
{ "type": "standard", "number_of_seats": 4, "price_per_hour": 5000 } -
POST/tables/create- Add new table.Description:
Adds new table into db. Only available to superuser or admin.
{
  "type": "private",
  "number_of_seats": 2,
  "price_per_hour": 5000
}
First you need to create .env file with environment variables at the root of the project, that contains:
PG_SUPER_DB=superuser_database_name (by default: postgres)
PG_SUPER_USER=superuser_login (by default: postgres)
PG_SUPER_PASSWORD=superuser_password (by default: postgres)
PG_HOST=host_url (by default: localhost)
PG_PORT=postgres_port  (by default: 5432)
PG_USER_DB=your_database_name (by default: restaurant)
PG_USER=your_user_name (example: admin)
PG_USER_PASSWORD=your_user_password
INSERT_PREPARED_DATA=FALSE (`TRUE` if you want to populate the db with test or prepared data)

MAIL_USERNAME=your_email
MAIL_PASSWORD=youe_email_password
MAIL_FROM=your_email
MAIL_PORT=your_port
MAIL_SERVER=your_mail_server
MAIL_FROM_NAME=your_email

REDIS_HOST=redis (`redis` if you using docker-compose)
REDIS_PORT=6379
REDIS_PASSWORD=your_redis_password

FLOWER_USER=your_username
FLOWER_PASSWORD=your_user_password
STEP 1 - Install DOCKER and DOCKER COMPOSE:
For the beginning install docker and docker compose on your machine:
- docker
- docker-compose
- P.S.: Depending on the version use:
Or
docker composedocker-compose
STEP 2 - GIT clone:
- Then
git clonethis project in your folder. - And go to the
managedirectory where are.shscripts are located.
STEP 3 - BUILD and UP project:
Use following command:
- production container:
bash start.sh - or if you want to build development container:
bash start.sh --dev
STEP 4 - Try to get DATA:
curl http://0.0.0.0:8080/api/v1/orders/
After the request, you should get something like that: {"detail":"Not authenticated"}.
That means it's all right.
STEP 5 - Get api docs in your browser:
OR
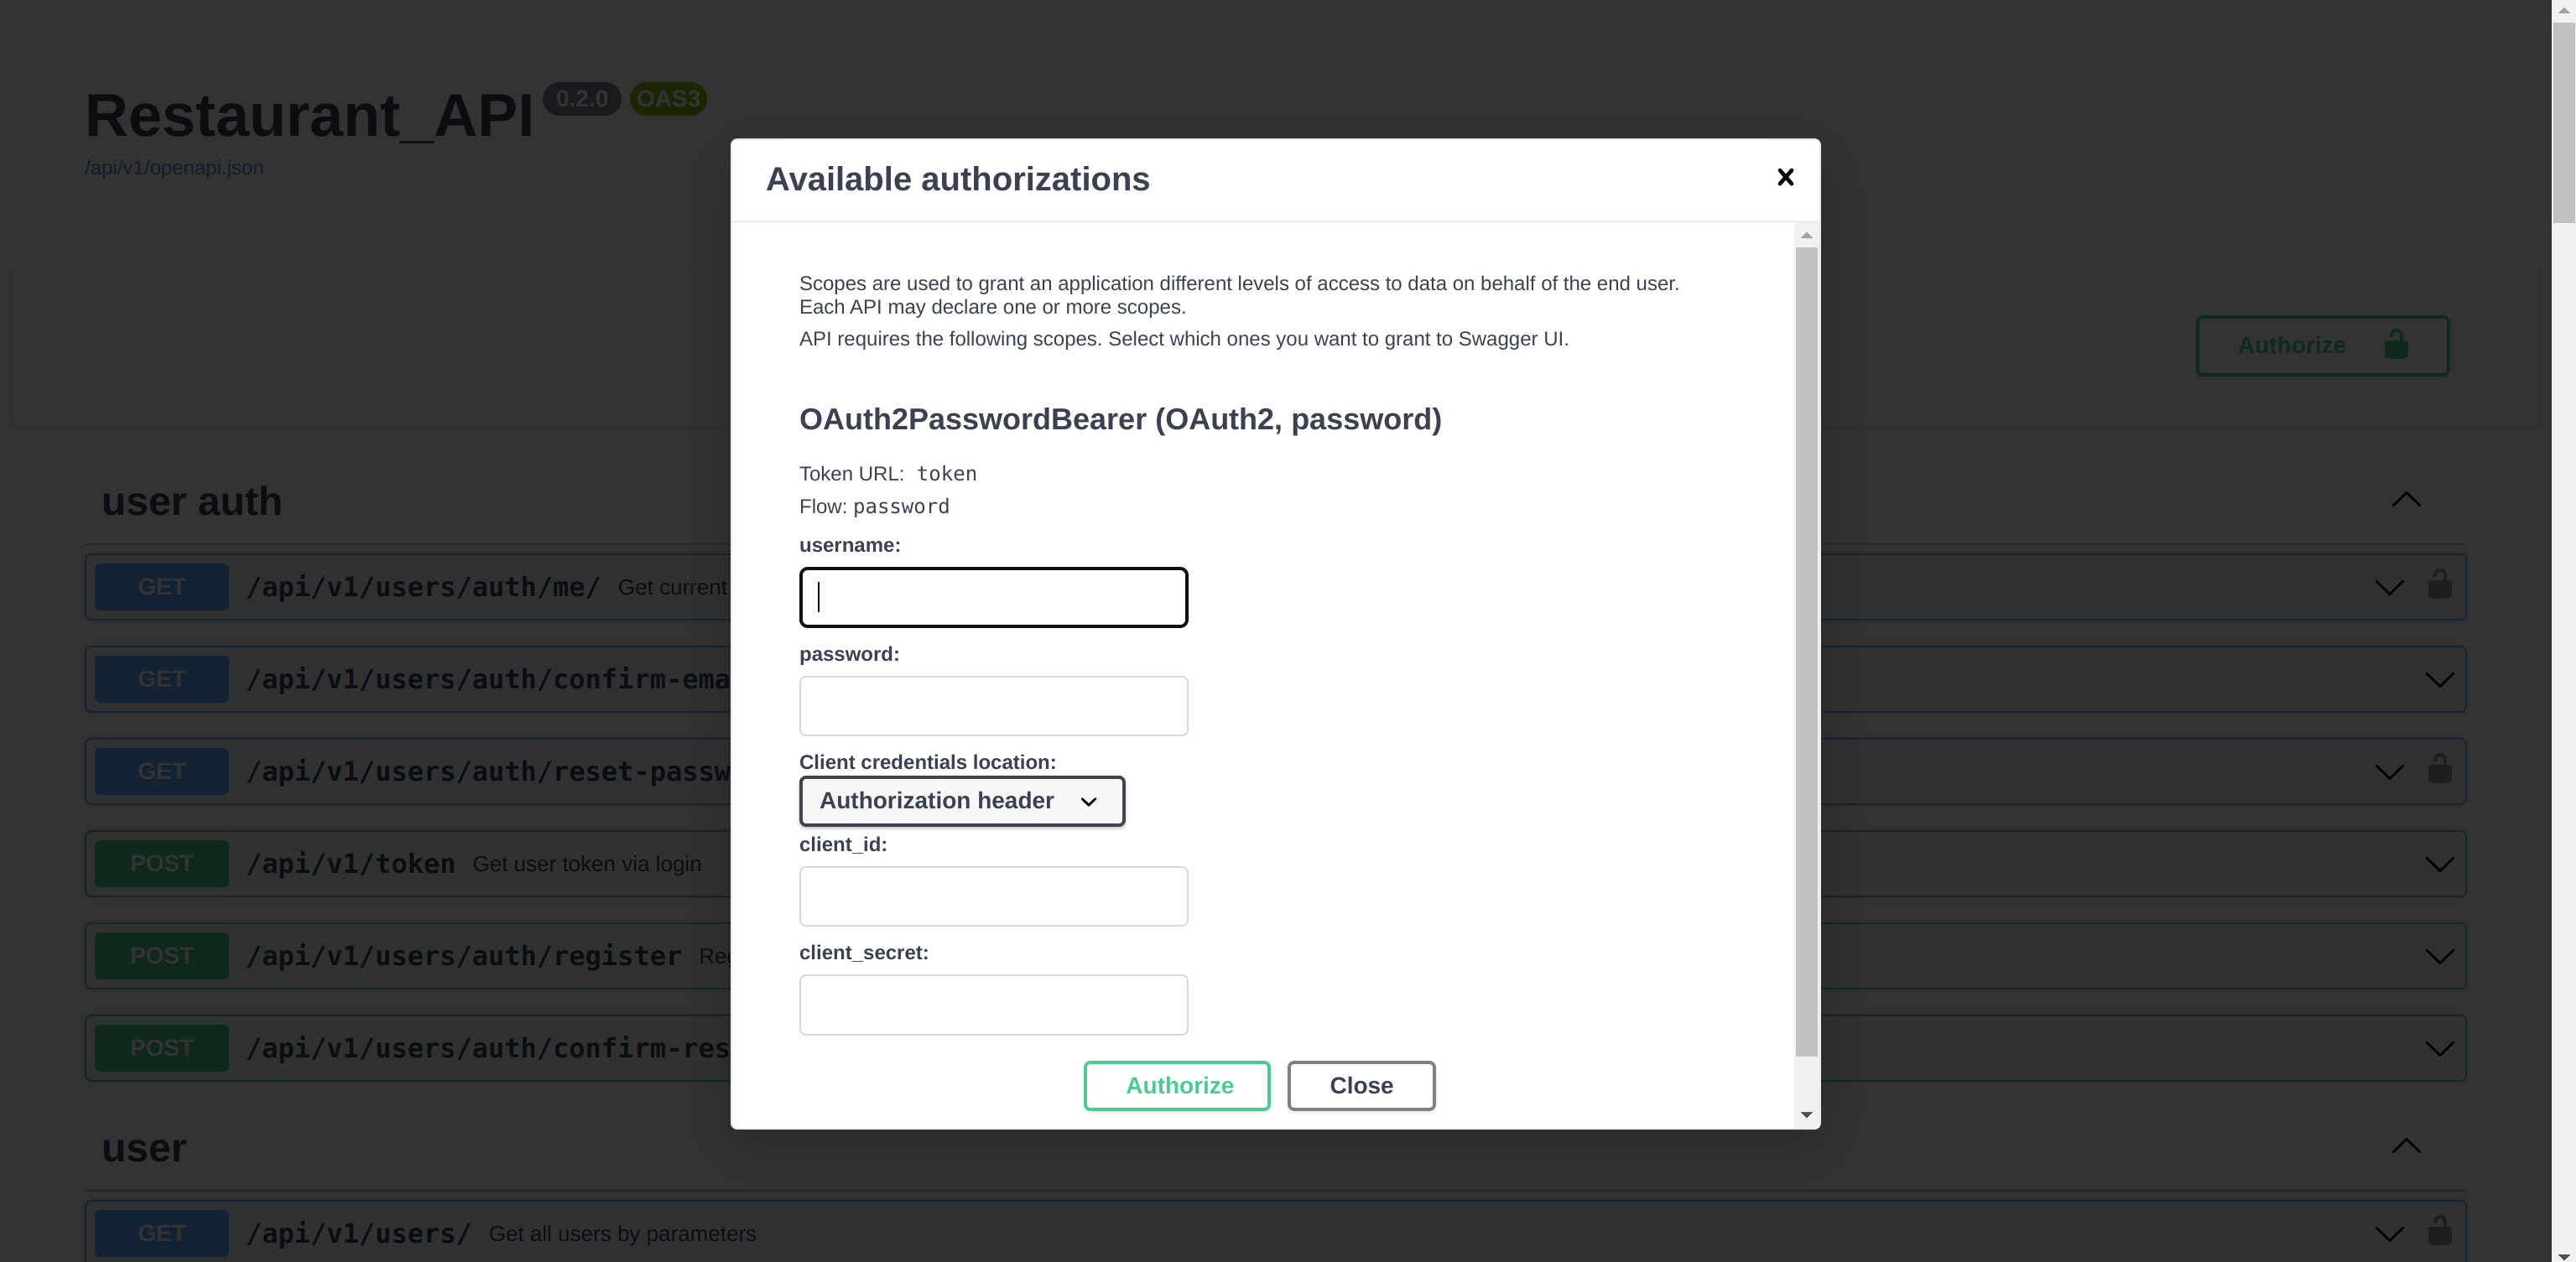
After you got swagger docs, you can log in.
If you set INSERT_PREPARED_DATA to TRUE, just enter following data:
- see work as superuser:
username: superuser password: 12345678 - see work as admin:
username: admin password: 0123456789 - see work as an authorized and confirmed client
username: client1 password: 147852369 - see work as an authorized and unconfirmed client
username: client2
password: 1478523690
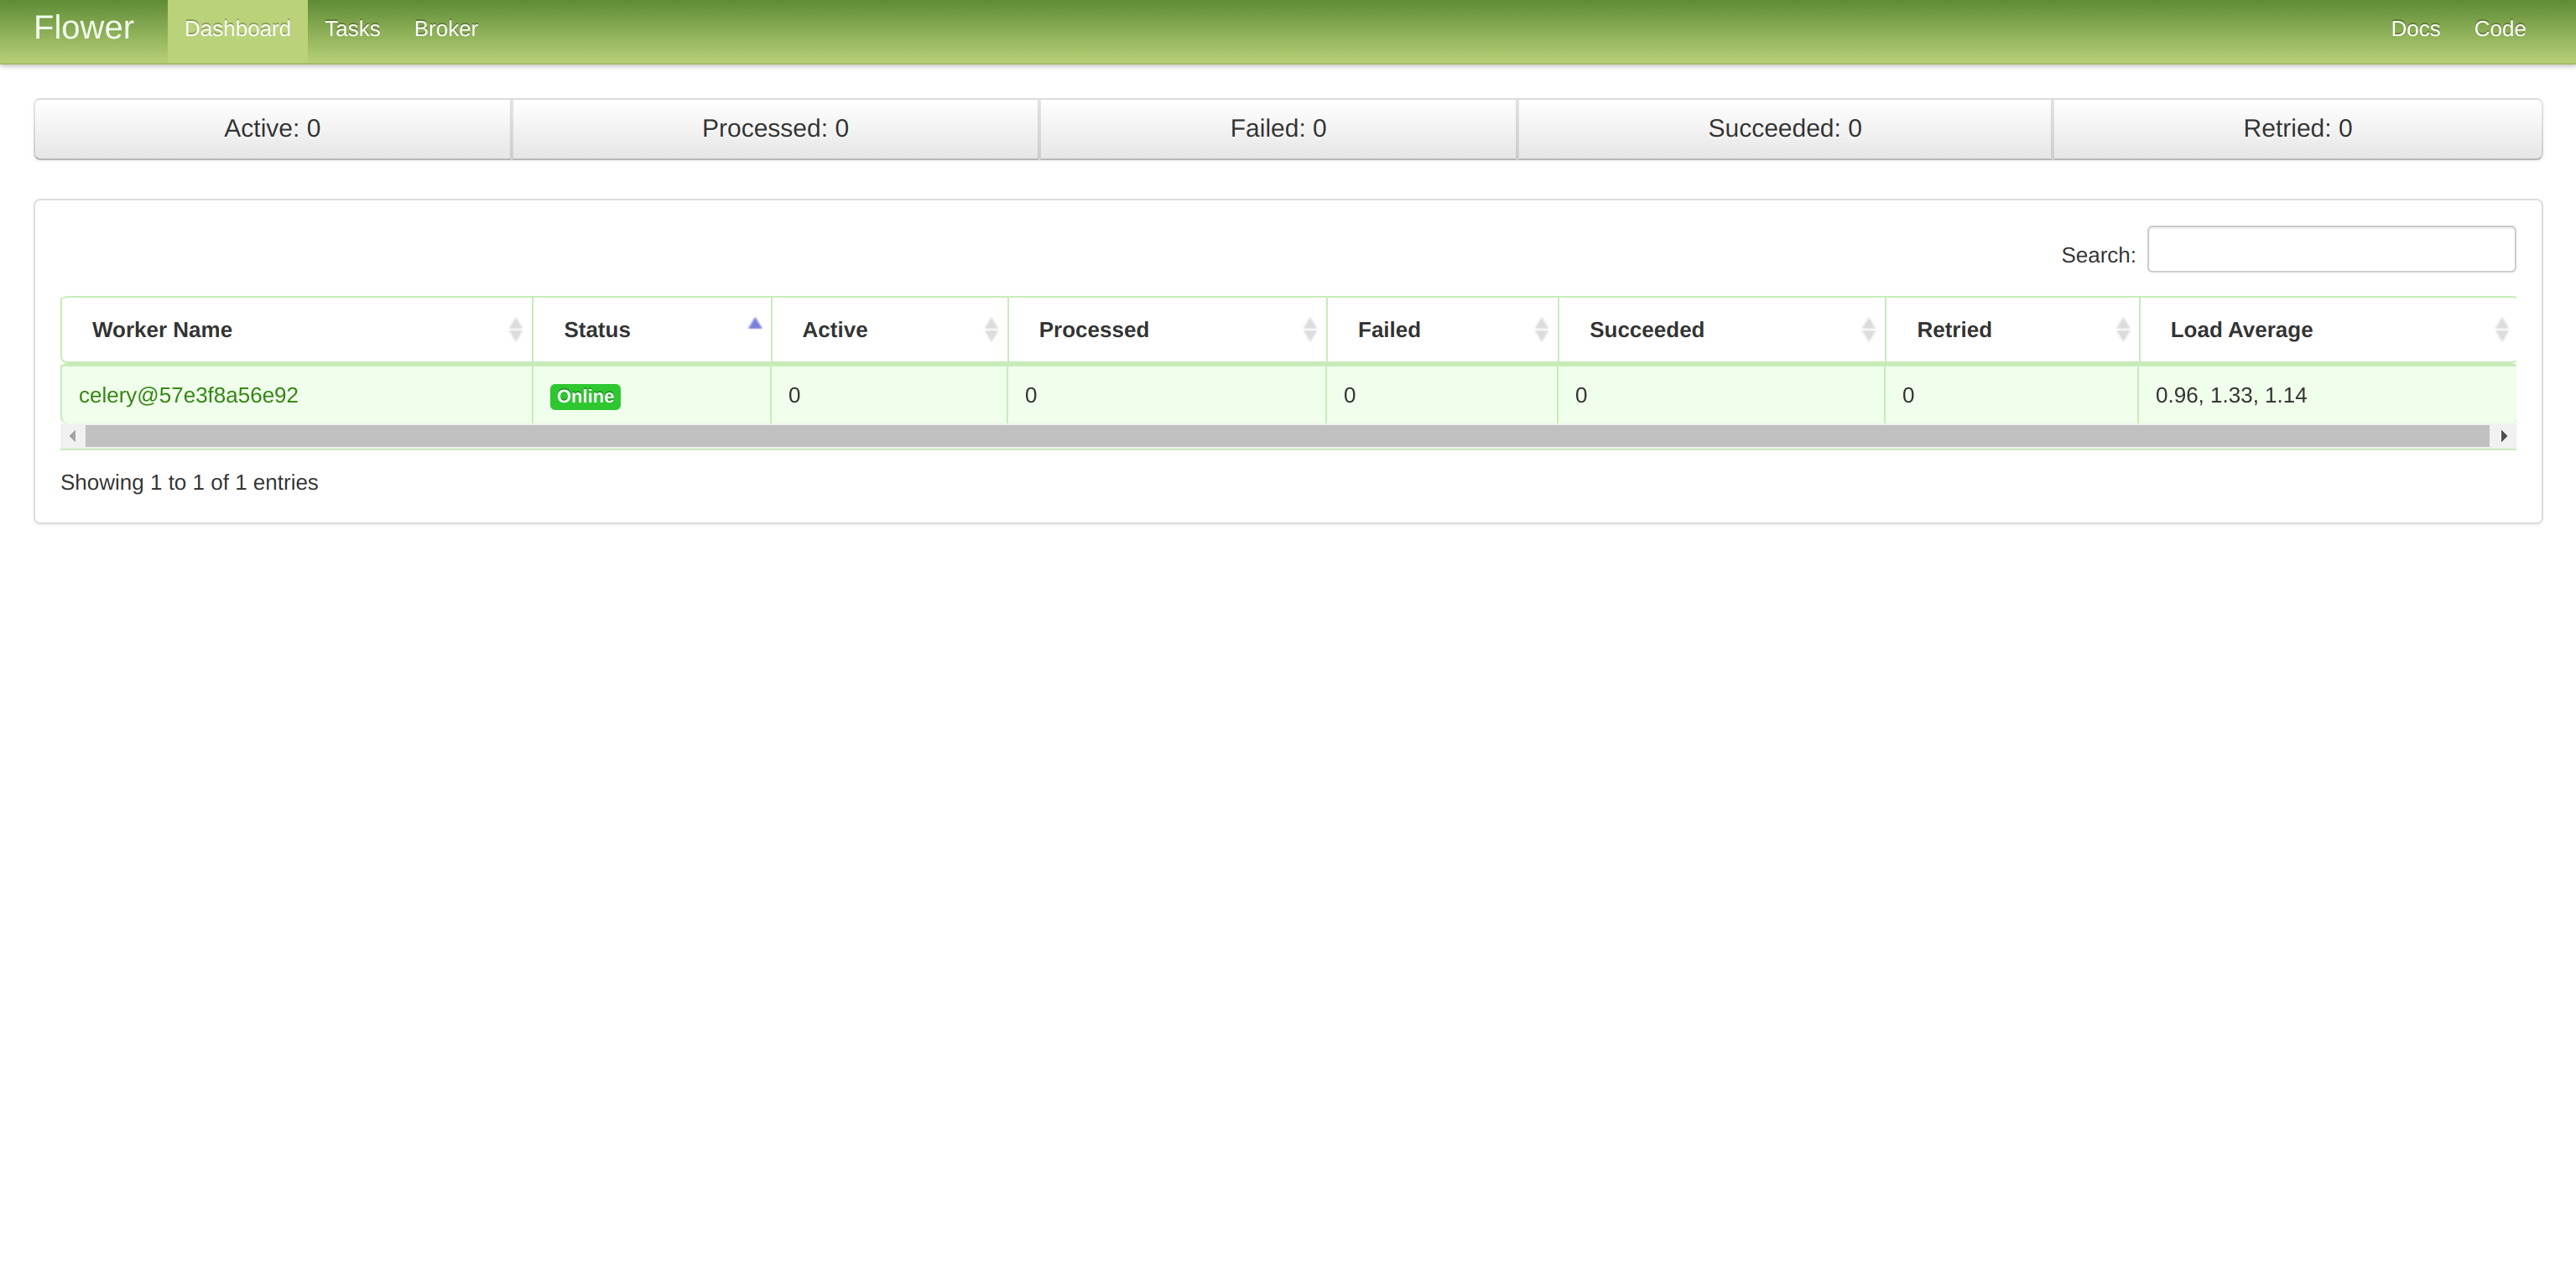
You can also see the flower dashboard.
For this just follow the link http://0.0.0.0:8080/flower/.
If you set FLOWER_USER and FLOWER_PASSWORD before, you will need them now.
STEP 6 - Run pytest:
If you use development mode, you can run pytest:
- First, enter to the container:
docker exec -it restaurant-backend-dev bash - Second, run
pytestcommand:cd tests/ && python -m pytest
STEP 7 - RESTART containers:
- to restart the containers:
bash restart.sh - if you have previously run a development container:
bash restart.sh --dev
STEP 8 - STOP and REMOVE containers:
- to stop and remove the containers:
bash stop.sh - if you have previously run a development container:
bash stop.sh --dev
STEP 9 - REMOVE all containers DATA:
- to remove all containers data:
bash remove.sh - if you have previously run a development container:
bash remove.sh --dev
POSSIBLE ERRORS:
- if you get
postgreswarnings after app started, then you should probably change outer port forpostgresindocker-compose.yml:change to ↓ports: - '5432:5432'
ports:
  - '5632:5432'
- if you got something like this:
Use:
Got permission denied while trying to connect to the Docker daemon socket at unix:///var/run/docker.sock:...sudo chmod 666 /var/run/docker.sock - if you use ubuntu, then you will probably have a problems with psycopg2.
So install this:
sudo apt-get install libpq-dev
STEP 1 - Create env and install packages:
- First, install poetry:
pip install poetry -
poetry shell -
Or
poetry installpoetry install --no-dev
STEP 2 - Start api:
Go to the root project directory.
Ubuntu (Bash):
python -m src.db --create_dbcd src/db && alembic upgrade headuvicorn src.api.app:app --reloadSTEP 3 - Get api docs:
Get docs and data in your browser:
http://localhost/api/v1
Or
http://127.0.0.1:5000/api/v1
Or
http://0.0.0.0:5000/api/v1
If you begin only and have no database and have no migrations folder:
Ubuntu (Bash):
python -m src.db --create_dbcd src/db && alembic init migrationsalembic revision --autogenerate -m "first_migration"alembic upgrade headIf you want update models only:
Ubuntu (Bash):
alembic revision --autogenerate -m "update_model"alembic upgrade headCREATING DATABASE
Simple command line interface, that:
- allows you to create db:
python -m src.db --create_db - allows you to drop db:
python -m src.db --drop_db - And contains optional arguments:
-
-d,--db_name, allows assign db name:python -m src.db --drop_db -d your_db_name -
-u,--user_name, allows assign username:python -m src.db --create_db -u your_user_name -
-r,--role_name, allows assign role name:python -m src.db --create_db -r your_role_name -
-p,--user_password, allows assign user password:python -m src.db --create_db -p your_user_password
-
- Helper:
python -m src.db -h
IMPORTANT: If the arguments is not specified, it is taken from the env variables or set by default.
POPULATING DATABASE
- Populate the empty database with prepared data.:
python -m src.utils.db_populating --populate_db - Helper:
python -m src.utils.db_populating -h


