-
Fork this repository
-
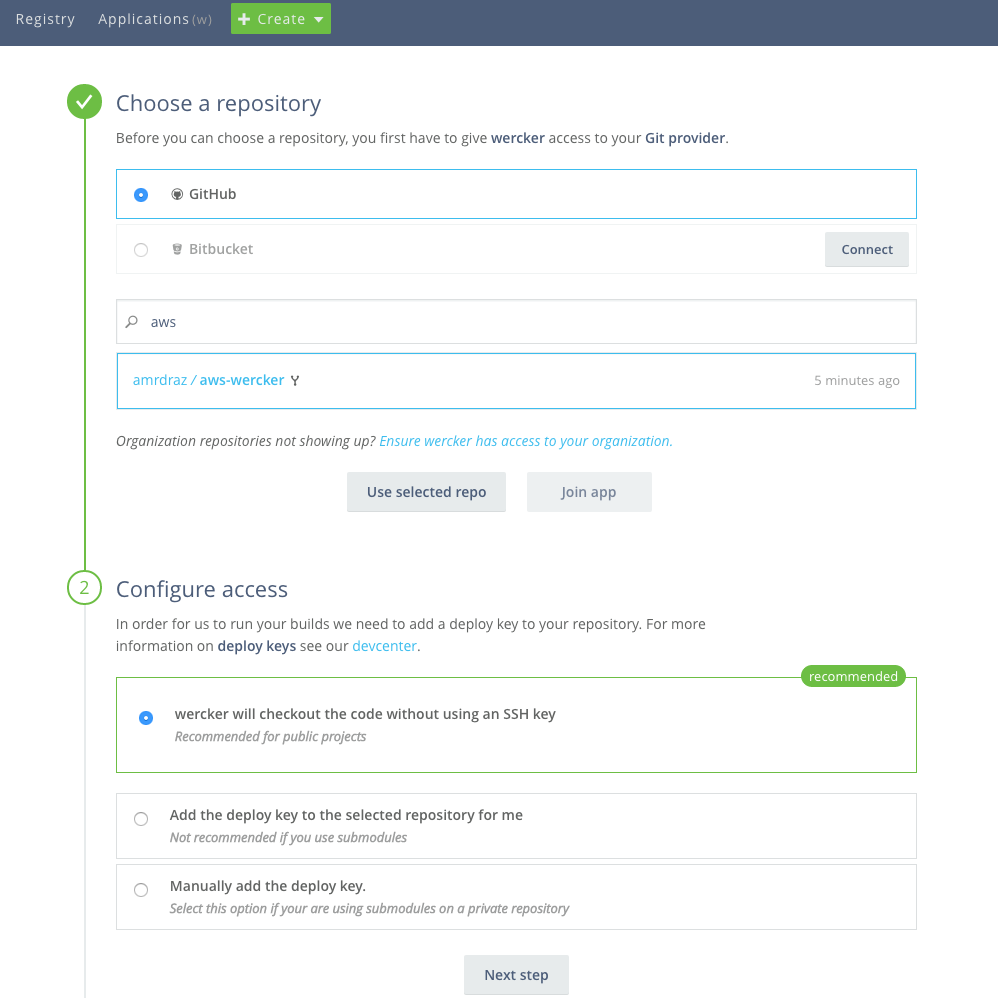
Setup a wercker account and have it point to the repo you just forked
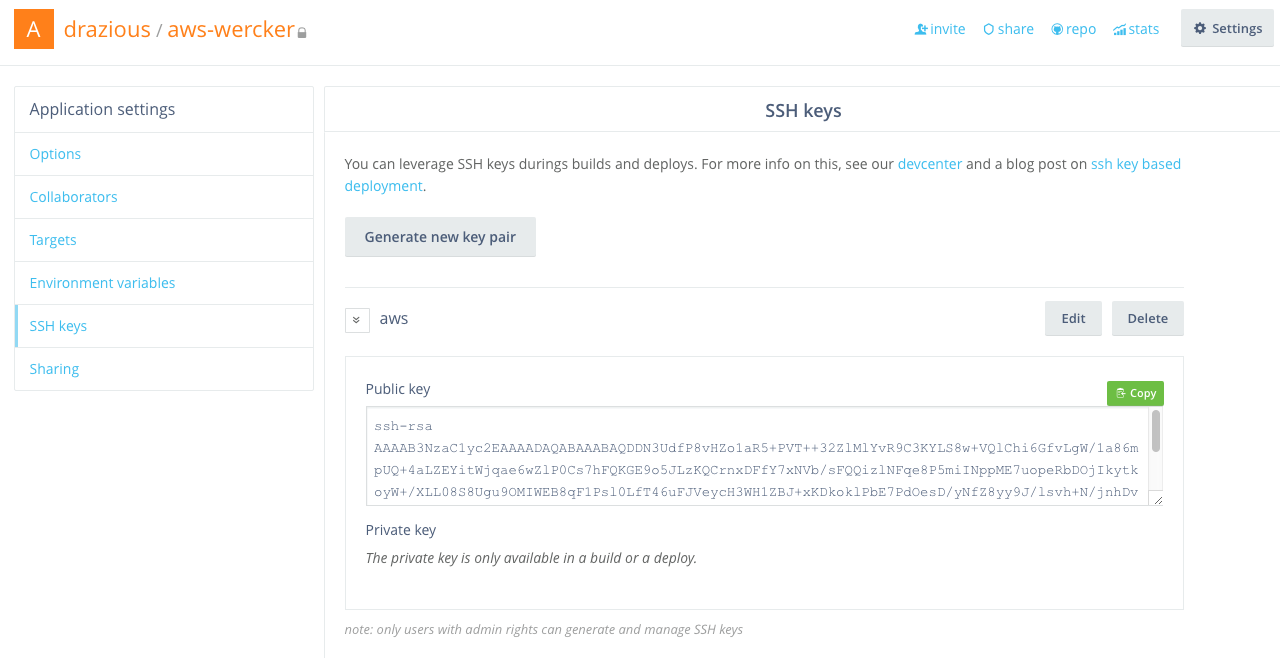
- go to the app settings and create an ssh key
- add your public key in your aws instance's authorized_keys file
$ ssh YOUR_USER@YOUR_SERVER_IP
$ vi ~/.ssh/authorized_keys
past the public key you got from wercker into the next line
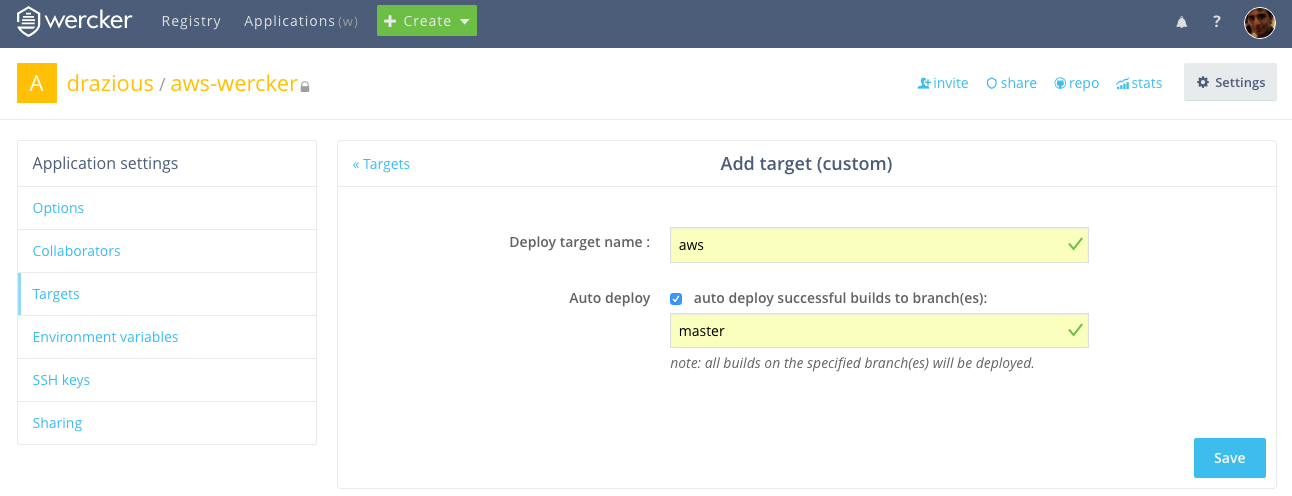
- go back to your wercker settings and create a deployment target called aws (doesn't have to be but we will do that)
-
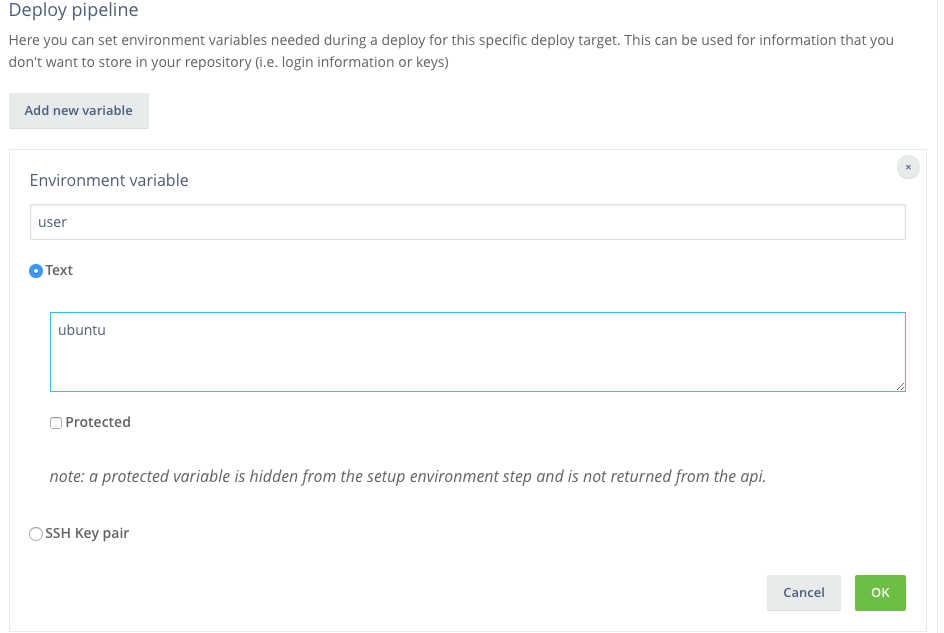
Add variables into your target
-
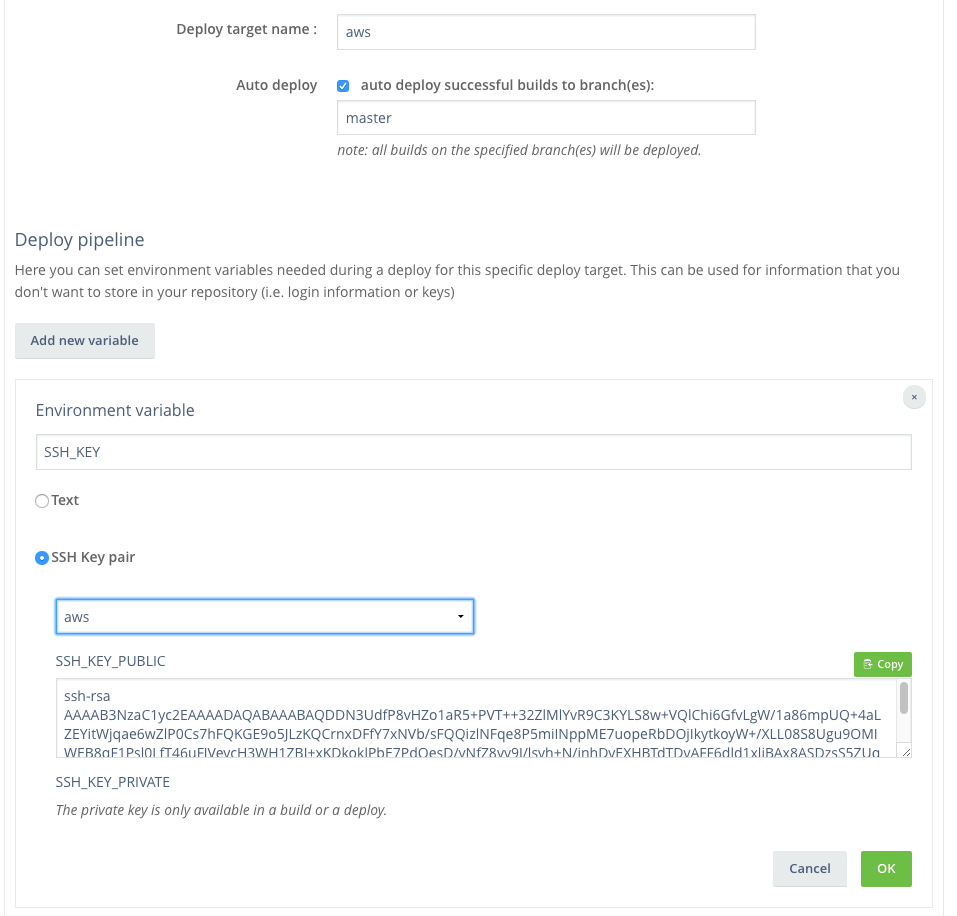
add the ssk key as a variable in your deployment target calling it SSH_KEY
-
add the variable your HOST, your USER, your REPO_URL and the name of your APP as variables as well
You should windup with a target that looks something like this
Don't forget to Save
Add update_server.sh file into your server's home (you already did that if you're coming from the se-tutrial lab)
This file assumes you're using nvm and pm2
#!/bin/bash

[[ -s $HOME/.nvm/nvm.sh ]] && . $HOME/.nvm/nvm.sh
nvm use 5.9
if [ ! -d "$APP" ]; then
   git clone "$REPO_URL" "$APP"
   cd "$APP"
else
   cd "$APP"
   git pull origin master -f
fi

npm install
cd ..
pm2 stop all
pm2 start "$APP"

exit 0
$ chmod u+x update_server.sh
make sure port 80 is open otherwise you should add a port variable to the script and declare it before running the app
sudo iptables -A INPUT -p tcp --dport 80 -j ACCEPT
sudo iptables -A OUTPUT -p tcp --dport 80 -j ACCEPT
sudo apt-get install libcap2-bin
sudo setcap cap_net_bind_service=+ep /usr/local/bin/node
Now your setup should be ready
- To test this out simply clone this repo
- and change in it (say change the welcome message)
- then add commit and push it to master
After that checkout the app on wercker
the wercker.yml file is explained back in the se-tutrial lab
This repo is based off of these tutorials https://botleg.com/stories/build-and-deploy-to-openshift-with-travisci-and-wercker/ http://blog.wercker.com/2013/09/03/ContinuousDelivery-with-wercker-digitalocean-and-nodejs.html
you may use it to figure out if some information is missing.
