$ npm install --save react-hover
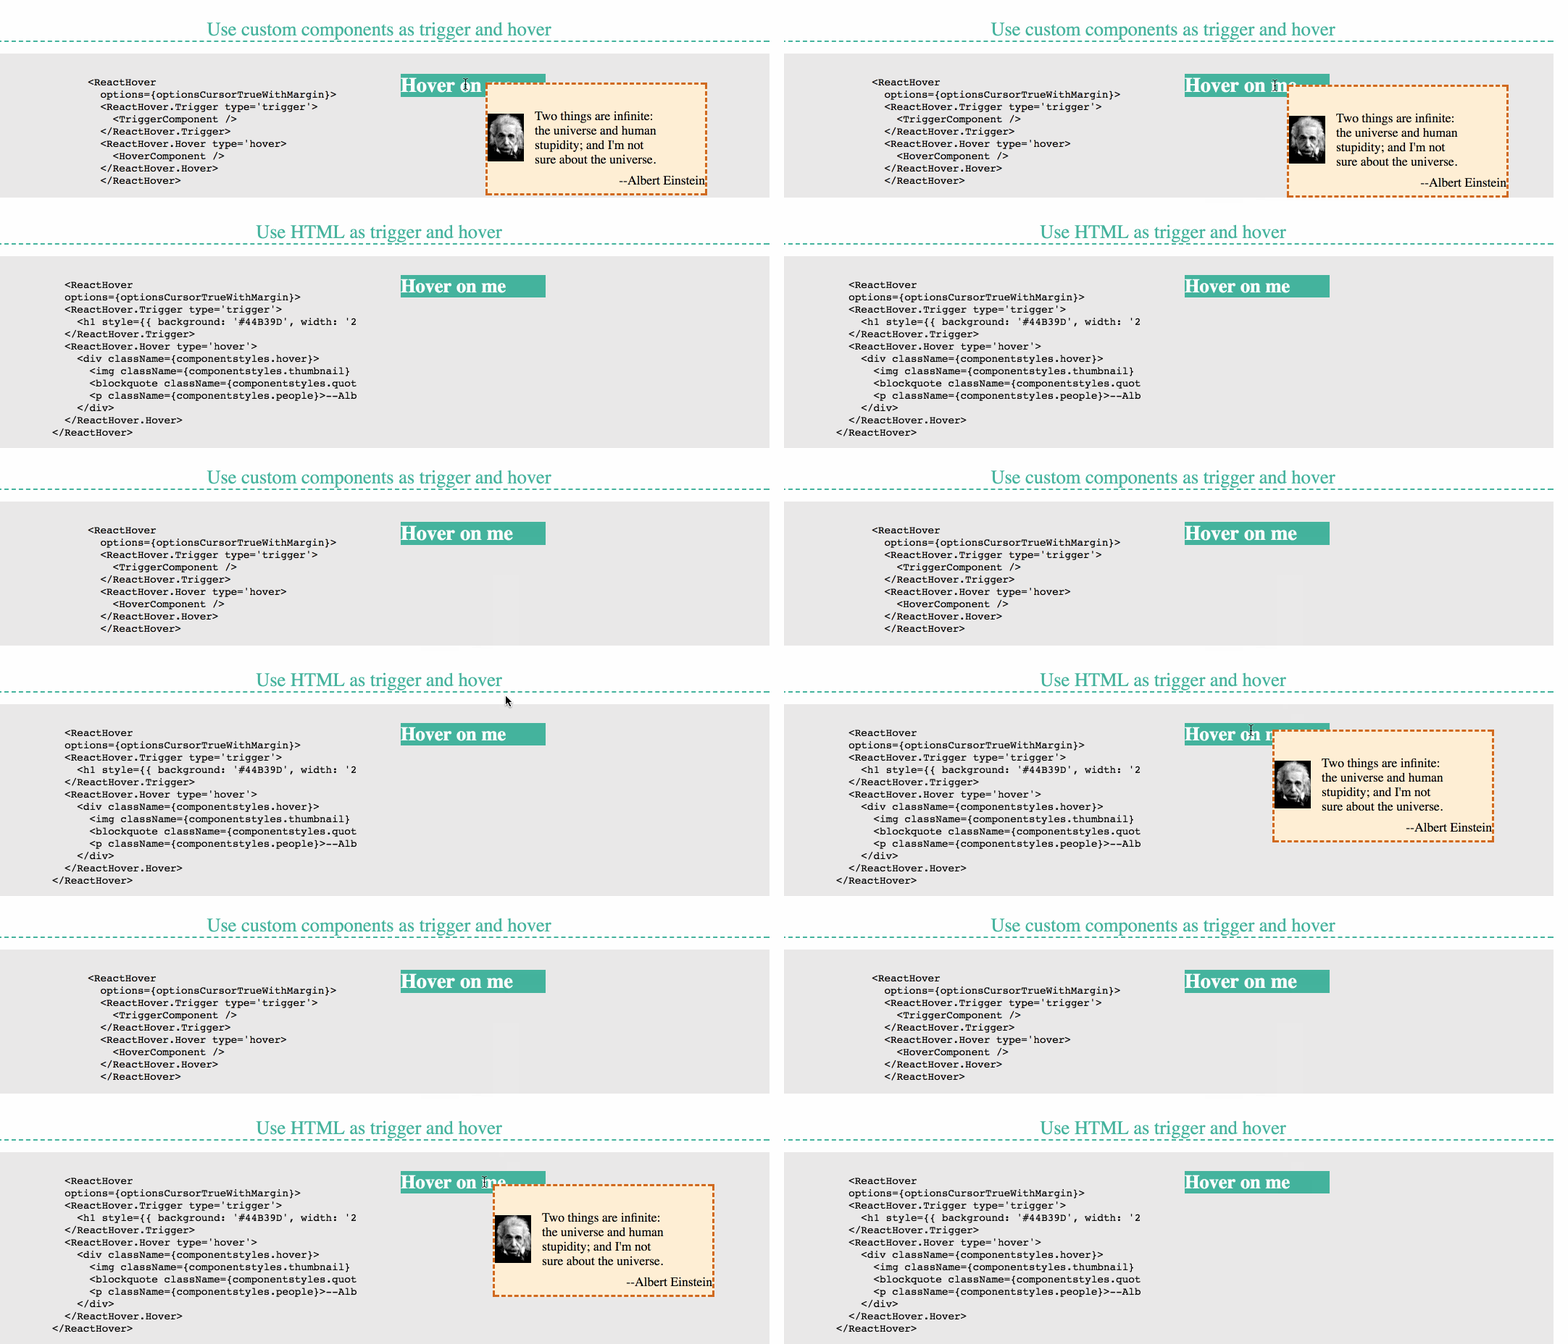
You can turn plain HTML or your custom trigger/hover components in React-hover.
Below is the example of custom components:
<ReactHover
  options={optionsCursorTrueWithMargin}>
  <ReactHover.Trigger type='trigger'>
    <TriggerComponent />
  </ReactHover.Trigger>
  <ReactHover.Hover type='hover'>
    <HoverComponent />
  </ReactHover.Hover>
</ReactHover>
Or plain HTML element:
<ReactHover
  options={optionsCursorTrueWithMargin}>
  <ReactHover.Trigger type='trigger'>
    <h1 style={{background: '#abbcf1', width: '200px'}}> Hover on me </h1>
  </ReactHover.Trigger>
  <ReactHover.Hover type='hover'>
    <h1> I am hover HTML </h1>
  </ReactHover.Hover>
</ReactHover>Set the options.
const options = {
  followCursor:true,
  shiftX: 20,
  shiftY: 0
}followCursor: define if hover object follow mouse cursor
shiftX: left-right shift the hover object to the mouse cursor
shiftY: up-down shift the hover object to the mouse cursor
Set the type.
<ReactHover.Trigger type='trigger'>
<ReactHover.Hover type='hover'>
This prop defines the type name. It must be declared as above if you minify your code in production.
$ git clone [email protected]:cht8687/react-hover.git
$ cd react-hover
$ npm install
$ npm run dev
Then
open http://localhost:8080/webpack-dev-server/
MIT


