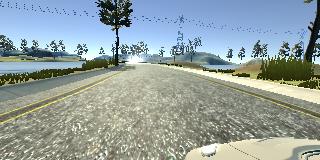
This repository contains starting files for the Behavioral Cloning Project.
In this project, you will use what you've learned about deep neural networks and convolutional neural networks to clone driving behavior. You will train, validate and test a model using Keras. The model will output a steering angle to an autonomous vehicle.
We have provided a simulator where you can steer a car around a track for data collection. You'll use image data and steering angles to train a neural network and then use this model to drive the car autonomously around the track.
We also want you to create a detailed writeup of the project. Check out the writeup template for this project and use it as a starting point for creating your own writeup. The writeup can be either a markdown file or a pdf document.
To meet specifications, the project will require submitting five files:
- model.py (script used to create and train the model)
- drive.py (script to drive the car - feel free to modify this file)
- model.h5 (a trained Keras model)
- a report writeup file (either markdown or pdf)
- video.mp4 (a video recording of your vehicle driving autonomously around the track for at least one full lap)
This README file describes how to output the video in the "Details About Files In This Directory" section.
The goals / steps of this project are the following:
- Use the simulator to collect data of good driving behavior
- Design, train and validate a model that predicts a steering angle from image data
- Use the model to drive the vehicle autonomously around the first track in the simulator. The vehicle should remain on the road for an entire loop around the track.
- Summarize the results with a written report
This lab requires:
The lab enviroment can be created with CarND Term1 Starter Kit. Click here for the details.
The following resources can be found in this github repository:
- drive.py
- video.py
- writeup_template.md
The simulator can be downloaded from the classroom. In the classroom, we have also provided sample data that you can optionally use to help train your model.
Usage of drive.py requires you have saved the trained model as an h5 file, i.e. model.h5. See the Keras documentation for how to create this file using the following command:
model.save(filepath)Once the model has been saved, it can be used with drive.py using this command:
python drive.py model.h5The above command will load the trained model and use the model to make predictions on individual images in real-time and send the predicted angle back to the server via a websocket connection.
Note: There is known local system's setting issue with replacing "," with "." when using drive.py. When this happens it can make predicted steering values clipped to max/min values. If this occurs, a known fix for this is to add "export LANG=en_US.utf8" to the bashrc file.
python drive.py model.h5 run1The fourth argument, run1, is the directory in which to save the images seen by the agent. If the directory already exists, it'll be overwritten.
ls run1

[2017-01-09 16:10:23 EST]  12KiB 2017_01_09_21_10_23_424.jpg
[2017-01-09 16:10:23 EST]  12KiB 2017_01_09_21_10_23_451.jpg
[2017-01-09 16:10:23 EST]  12KiB 2017_01_09_21_10_23_477.jpg
[2017-01-09 16:10:23 EST]  12KiB 2017_01_09_21_10_23_528.jpg
[2017-01-09 16:10:23 EST]  12KiB 2017_01_09_21_10_23_573.jpg
[2017-01-09 16:10:23 EST]  12KiB 2017_01_09_21_10_23_618.jpg
[2017-01-09 16:10:23 EST]  12KiB 2017_01_09_21_10_23_697.jpg
[2017-01-09 16:10:23 EST]  12KiB 2017_01_09_21_10_23_723.jpg
[2017-01-09 16:10:23 EST]  12KiB 2017_01_09_21_10_23_749.jpg
[2017-01-09 16:10:23 EST]  12KiB 2017_01_09_21_10_23_817.jpg
...
The image file name is a timestamp of when the image was seen. This information is used by video.py to create a chronological video of the agent driving.
python video.py run1Creates a video based on images found in the run1 directory. The name of the video will be the name of the directory followed by '.mp4', so, in this case the video will be run1.mp4.
Optionally, one can specify the FPS (frames per second) of the video:
python video.py run1 --fps 48Will run the video at 48 FPS. The default FPS is 60.
The chosen model is the model described in the NVIDIA deep learning self driving cars blog @ https://devblogs.nvidia.com/deep-learning-self-driving-cars/. The NVIDIA model consists of 5 convolution layers and 3 connected layers.
Additionally, to normalize the data, the image value are divided by 255 (with 255 being the maximum value for the color space).
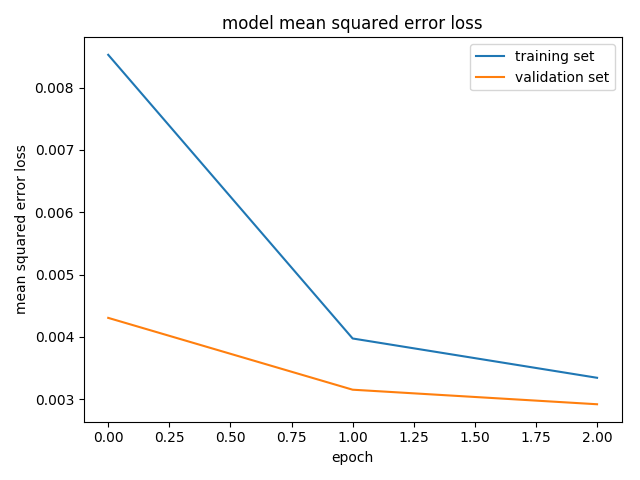
In my experiments, running the model with a low number epochs yield little overfitting. As such, the model was run with 3 epochs. The model loss can be visualized below, illustrating that the model was not overfitting.
After training the model with 3 epochs, the model was tested through the simulator to check that the vehicle could stay within the track.
Additionally tests were ran to reduce overfitting by introducing batch normalization and dropouts with a high epoch. However, this resulted in a worst off model.
As an adam optimizer was used the learning rate and was not tuned manually.
My training data from the simulator included:
- Center driving around the track
- Augmented data by flipping the image and steering measurement:
- Augmented data by applying random brightness to the images
For details about how I created the training data, refer to the next section.
The overall strategy for deriving a model architecture was to experiment with the image recognition models recommended in the course, starting with the LeNet model followed by the NIVIDA model.
The first step was to implement and experiment with the LeNet model.
To evaluate the model, my driving log data was split into a training, validation and testing set.
The LeNet model yield a low mean squared error on the training and validation set.
The next step was the evaluate both models to see how well the car drives around the first track. In my test with the LeNet model, the car fell off the track.
My next step was to increase the number of epochs and modify the batch size. However, the increase in epochs resulted overfitting due to the relatively larger mean squared error on the validation set. Modifications to the batch size did not seem to improve the test in the simulator.
As such the NIVIDIA model was implemented next. Compared to the LeNet model, the NIVIDIA model included 3 additional convolution layers and 1 connected layer.
Once the model have been implemented, I experimented with variations in the epochs and batch size. I found that my optimal epochs and batch size was 3 and 64 respectivelyw which resulted in both the model not overfitting and the vehicle being able to drive around the track without leaving the road.
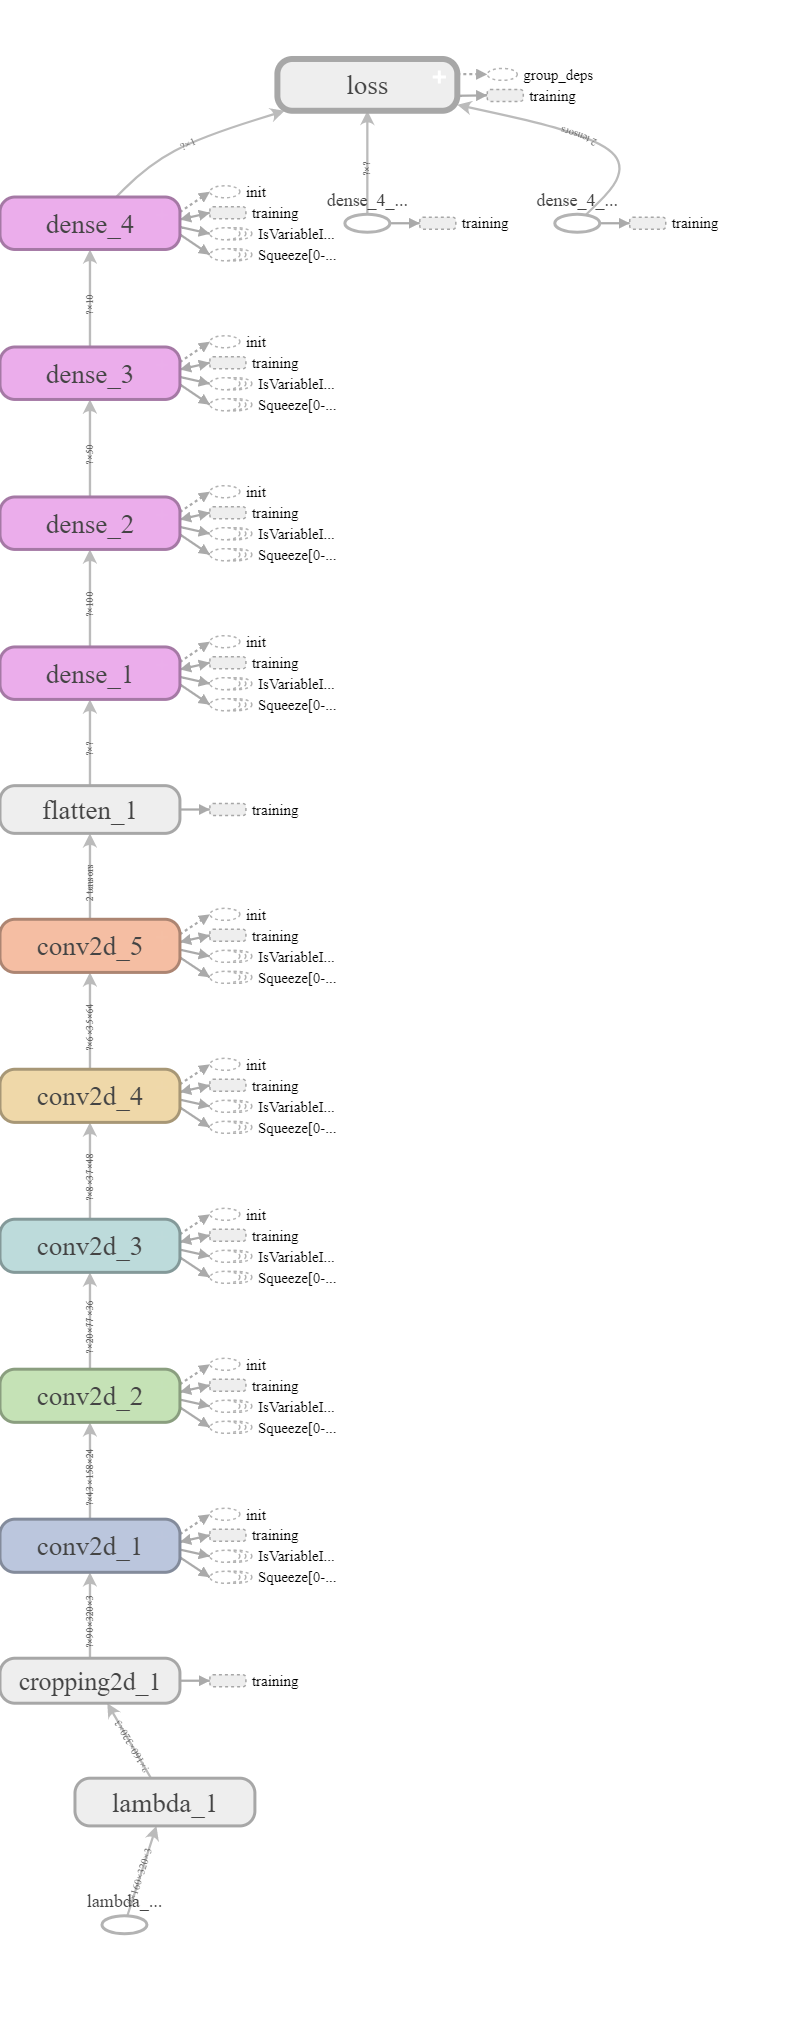
As depicted in the table below, the final model architecture in based on the NIVIDA model.
| Layer (type) | Output Shape | Param # |
|---|---|---|
| lambda_1 (Lambda) | (None, 160, 320, 3) | 0 |
| cropping2d_1 (Cropping2D) | (None, 90, 320, 3) | 0 |
| conv2d_1 (Conv2D) | (None, 43, 158, 24) | 1824 |
| activation_1 (Activation) | (None, 43, 158, 24) | 0 |
| conv2d_2 (Conv2D) | (None, 20, 77, 36) | 21636 |
| activation_2 (Activation) | (None, 20, 77, 36) | 0 |
| conv2d_3 (Conv2D) | (None, 8, 37, 48) | 43248 |
| activation_3 (Activation) | (None, 8, 37, 48) | 0 |
| conv2d_4 (Conv2D) | (None, 6, 35, 64) | 27712 |
| conv2d_5 (Conv2D) | (None, 4, 33, 64) | 36928 |
| flatten_1 (Flatten) | (None, 8448) | 0 |
| dense_1 (Dense) | (None, 100) | 844900 |
| dense_2 (Dense) | (None, 50) | 5050 |
| dense_3 (Dense) | (None, 10) | 510 |
| dense_4 (Dense) | (None, 1) | 11 |
The first layer, lambda_1 is a lambda layer that
- Normalizes the input value between 0 and 1 by dividing the input value by 255.
- Centres the input values by subtracting 0.5 from the normalized value.
As we are focusing on only the road, the second layer, cropping2d_1 crops out the top and bottom of the image.
This is followed by the implementation of the NVIDIA model which includes 5 convolution layers and 3 connected layers.
Finally a single output connected layer, dense_4 is applied as we are only predicting a single steering output value.
Here is a visualization of the architecture
In my experiments with gathering of the training data, I noticed that using a mouse or keyboard ended up with lots of zero steering value even on a curve. To improve my training data, I used a steering wheel with the simulator. This yield much more accurate steering data around the curve roads.
My training data included:
- 3 center lane driving laps around track 1
- 1 lap in reverse around track 1
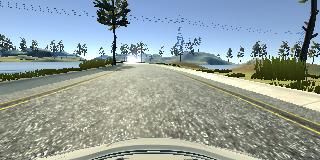
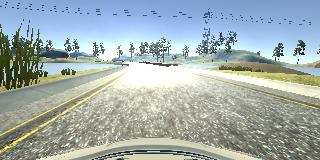
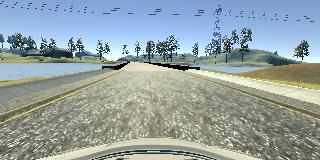
To capture the center land driving, I recorded three laps on track one driving up the center of the road. Here is an example image of center lane driving:
As suggested by the course, I experimented with implemented recovery from the left and right side of the road to the center. However including these image in the data did not change the behavior of the driving in the simulator. Below are images illustrating what a recovery looks like starting from the left:
Then I repeated this process on track two in order to get more data points.
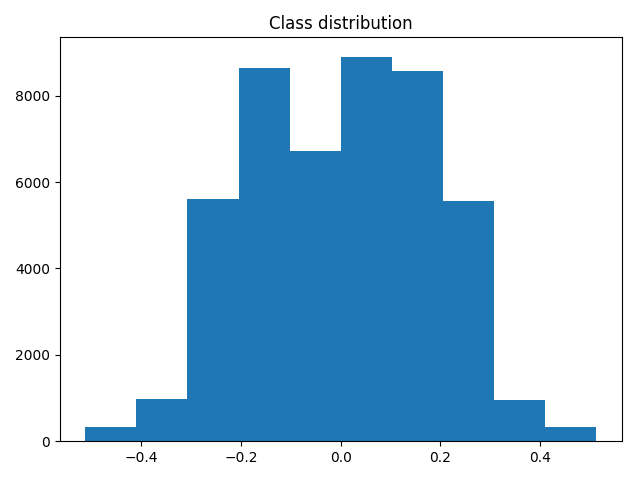
Next, an analysis of the data showed that the track has a bias steering to one side. As such, added augmented data by duplicating the existing data and flipping the images and steering angles and adding it to the training set. This yield a more normalized steering data set as depicted below.
Furthermore, to ensure that the data is more generalized, I added the left and right images obtain from the driving logs and added a steering correction for the left and right image labels.
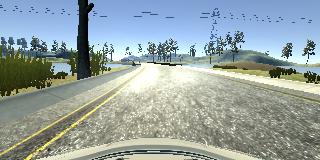
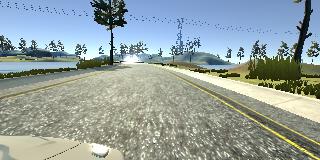
Example of right steering image:
Example of left steering images:
From the image above, we can see that in the right steering image, the car is closer to the right line, thus it requires a steering correction to steer the car more to the left. The inverse logic applies to the left steering image. The calculation for the left and right steering is as follows:
right steering = center steering - steering correction
left steering = center steering + steering correction
I also implemented a random brightness augmentation to the images to make the model more robust.
Including the flipped data, the data set totaled tally was 58230.
The data was then shuffled and split into the following ratio using the train_test_split() function:
- 80% training
- 15% validation
- 5% test
To reduce the memory usage by not storing training data in memory, a generator was implemented. The generator
- Returns the a random samples for a specified batch size
- Applies the data augmentation (flip and random brightness) to the data
Finally, the generator for both the training and validation is passed into the keras fit_generator function to train the model.
In conclusion, my chosen parameters are:
- Epoch: 3
- Batch Size: 64
- Steering correction (for left and right image): 0.2
With the above parameters, I manage to train a model that will drive the car within the road for track 1. A recording of the car driving within the road can be found in the video.mp4 file.
In order to get the model working for track 2, I gather additional data.
- 2 laps around track 2 driving in the right lane
- 1 lap around track 2 in reverse driving in the right lane
- Recovery driving for sections whereby the car drove off the road
I also updated the drive.py speed to 10 as I had an issue with the car getting stuck when going down hill. Seems like there may be a bug with the car stopping permanently if it is going too slow.
A recording of the car driving within the road can be found in video2.mp4.

