Infrastructure as code is one of the five practices that we consider the heart of DevOps. Infrastructure as code provides a significant benefit in terms of creating, deploying, upgrading, and deleting infrastructure. Infrastructure as code make the deployment procedure as simple as pressing a button.
Packer a server templating software written in JSON, will be used to create virtual machine images containing our application for repeatable deployments. Terraform is a provisioning tool that creates infrastructure according to a configuration file that you create. This file can be saved and reused which enables you to safely and predictably create, change, and improve infrastructure.
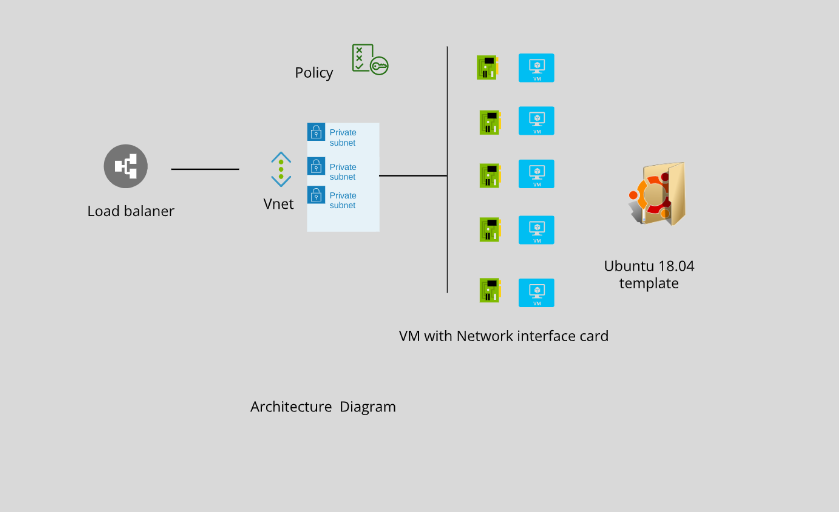
For this project, you will write a Packer template and a Terraform template to deploy a customizable, scalable web server in Azure.
-
Clone this repository
-
Create your infrastructure as code
-
Create your tagging-policy in Azure
-
Create your resource group in Azure
- Create an Azure Account
- Install latest version Azure command line interface
- Install latest version Packer
- Install latest version Terraform
Once you've gathered your dependencies, we'll need the following steps to deploy the scalable web server on Azure:
- Deploy the packer image
- Deploy the infrastructure with Terraform template
Using packer we will deploy virtual machines images. Before that set the environment variable as following
Go to the setEnv.sh script and set the environment variables like below.
export ARM_CLIENT_ID=d12050fc-42aa-4e02-84ed-3b7663b17b6f
export ARM_CLIENT_SECRET=bbR8Q~vWk2Qwg4yrsov2piwWXwaJSwEnlQ~yWc5O
export ARM_SUBSCRIPTION_ID=13e7b74b-ca4b-405f-9015-8032555cec7c
export ARM_TENANT_ID=f958e84a-92b8-439f-a62d-4f45996b6d07
Then run the following command
chmod a+x setEnv.sh
sources setEnv.sh
After you have set the environment variables, use 'printenv ' to ensure that they are correctly configured.
printenv | grep "ARM_CLIENT_ID"- Login into your azure account
- Search and click "Azure Active Directory"
- Click "App registrations" under the Manage tab
- Click the application that you own
- Copy the client ID
- Login into your azure account
- Search and click "Azure Active Directory"
- Click "App registrations" under the Manage tab
- Click the application that you own
- Click the "Certificates & Secrets" under the Manage tab
- Create a client secret as you need.
- Login into your azure account
- Search and click "Subscriptions"
- Choose the subscriptions that are required.
- Click on the overview
- Copy the Subscription Id
Please check the link for more clear visualization a link
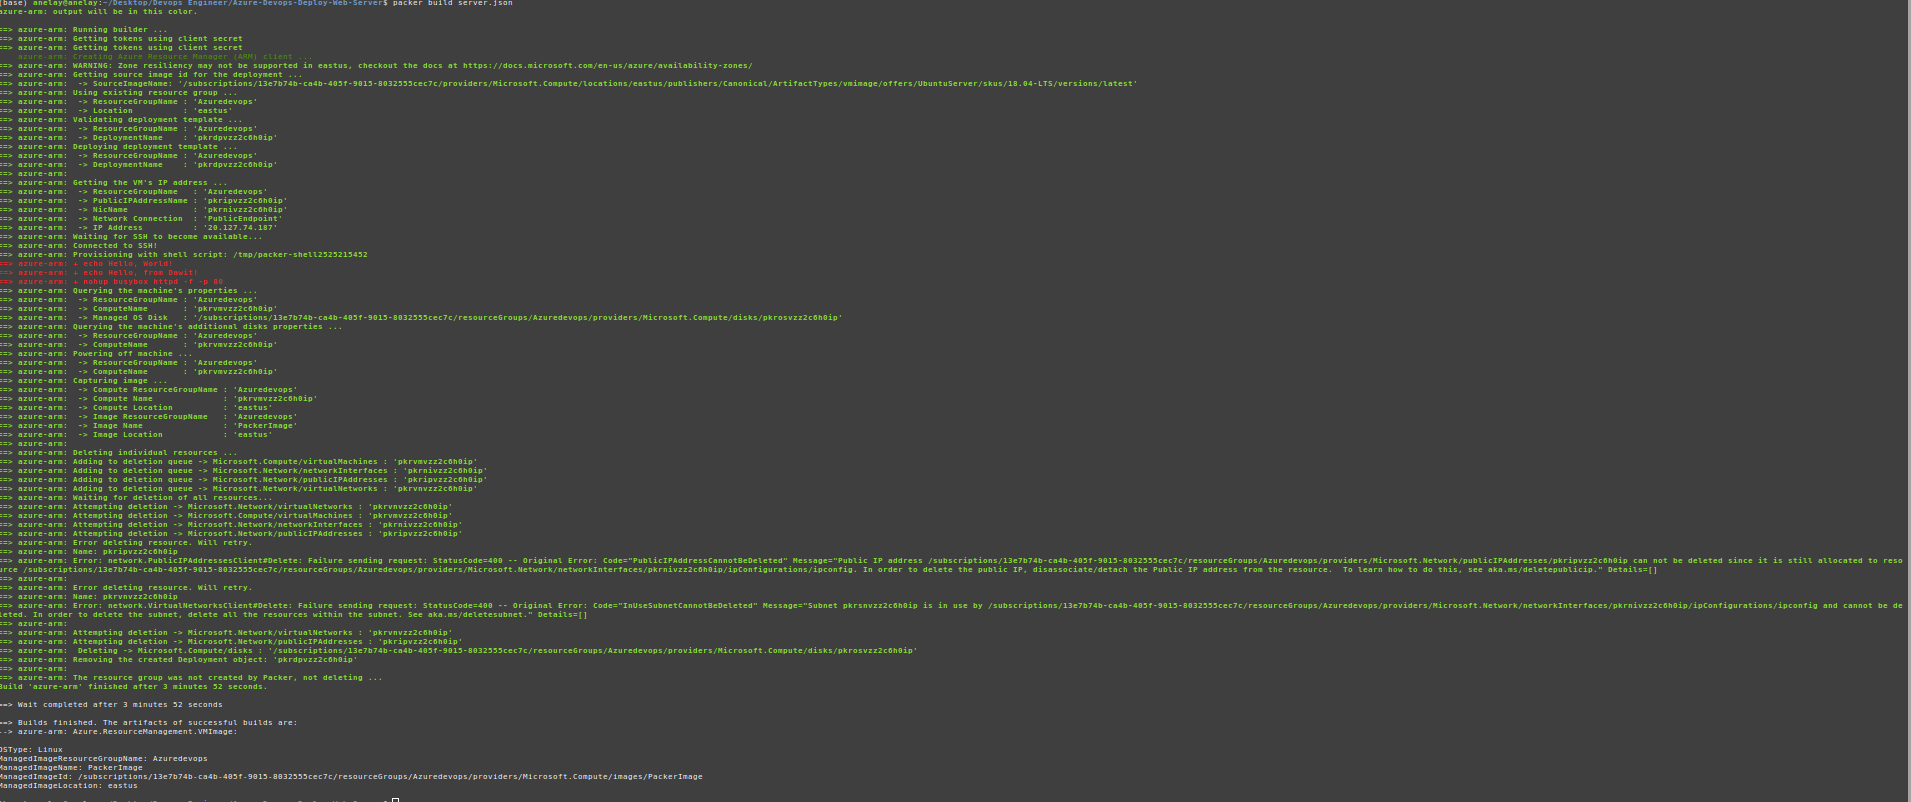
Run the following command to deploy the packer image.
packer build server.jsonThis can take quite a while so feel free to get your self a drink ☕
 Then we can access (i.e. list or delete) this image using the CLI:
To delete image at the end use the following (skip it for our case )
az image list
az image delete -g packer-rg -n myPackerImageTo use variables for your main.tf, you can specify your variables like below in your variables.tf file.
variable "prefix" {
  description = "The prefix which should be used for all resources in this example"
  default = "udacity"
}
And in your main.tf, you can call the variables like
var.prefixWe've previously established the resources group for our PackerImage, hence we can't deploy the same resource group. We must import the existing resource group before it can determine which resource group to install.
cd /terraform-provider-azurerm/web-server
terraform init
terraform import azurerm_resource_group.main /subscriptions/{subsriptionId}/resourceGroups/{resourceGroupName}
az login -u your-user-name -p your-passwordTo deploy our configuration, run the following commands:
cd /terraform-provider-azurerm/web-server

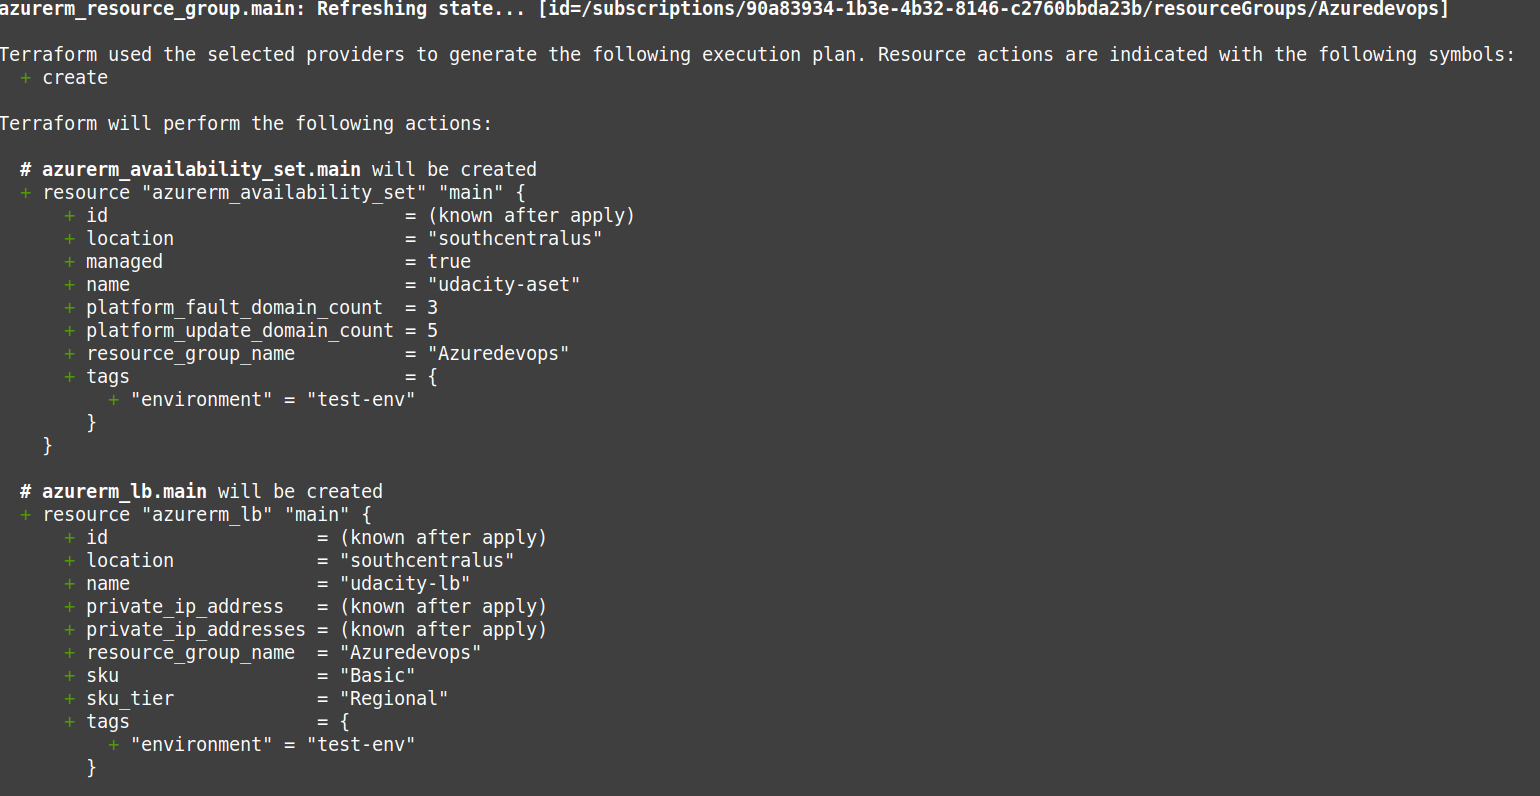
terraform plan -out solution.plan
cd /terraform-provider-azurerm/web-server
terraform applyIf you were successful in deploying the resources, it would look like this:
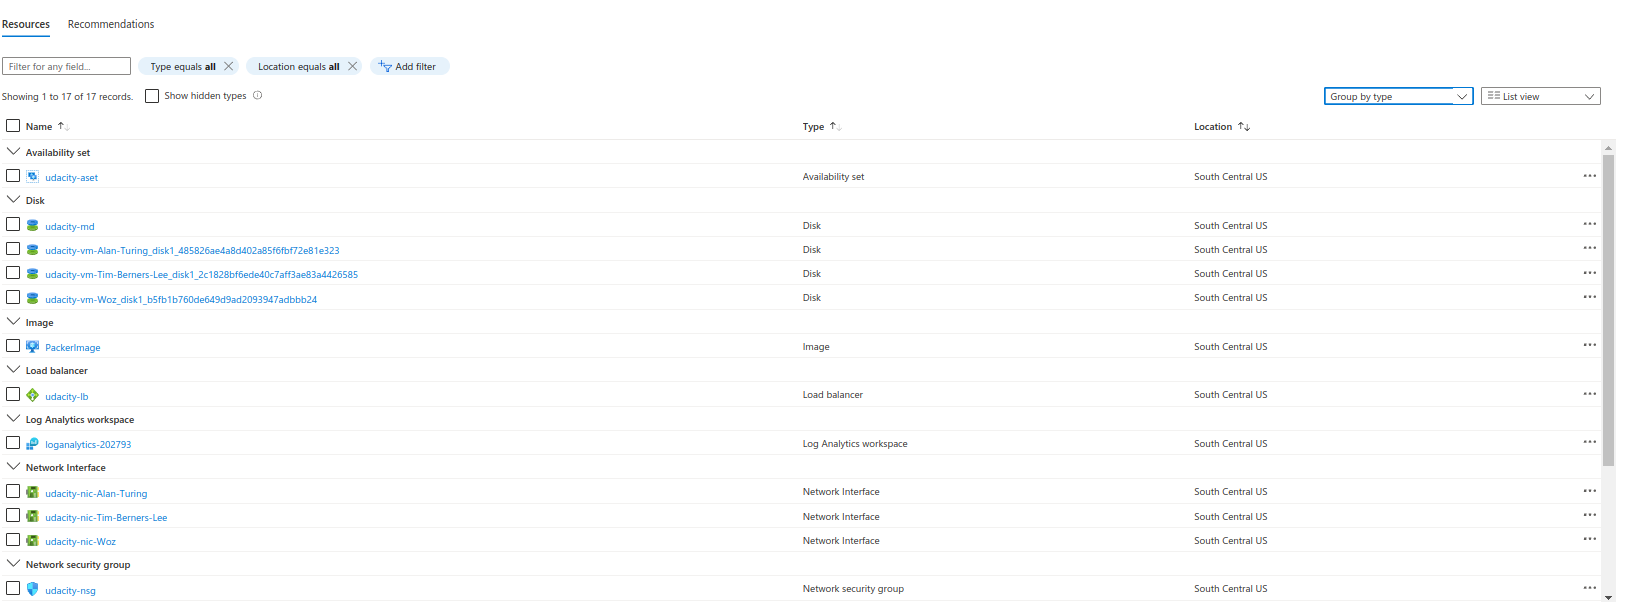
You may also check the Azure site to see if these resources have been delivered. The end outcome will be as follows.
In the terminal, type terraform show to check the resources
cd /terraform-provider-azurerm/web-server
terraform show
After the deployment, remember to destroy the resources.
cd /terraform-provider-azurerm/web-server
terraform destroy
Please see the report for more


