-
Notifications
You must be signed in to change notification settings - Fork 14
jenkins slave
Click on "Manage Jenkins" → "Manage Nodes" → "New Node": We define a name and select "Permanent Agent"

As we can see in the following image, we need to fill in the fields:
-Name: The slave name
-# of executors: The maximum number of concurrent builds that Jenkins may perform on this node. (can be modified later)
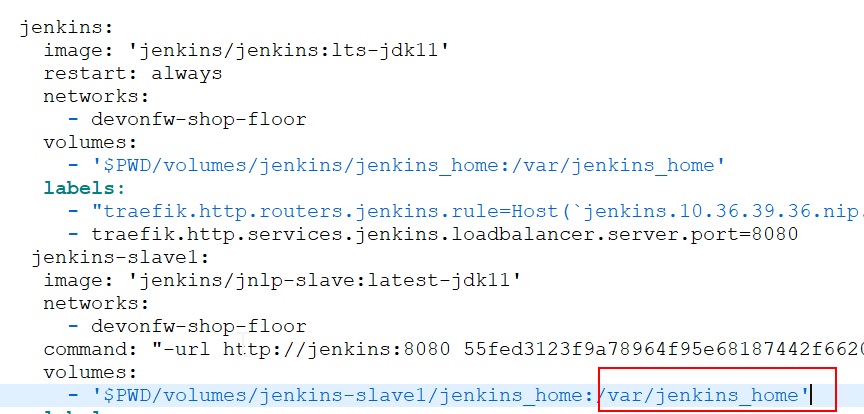
-Remote root directory :An agent needs to have a directory dedicated to Jenkins. Specify the path to this directory on the agent.
We have this path in our docker-compose.yml

-Usage:In this mode, Jenkins uses this node freely. Whenever there is a build that can be done by using this node, Jenkins will use it.
Launch method: Controls how Jenkins starts this agent.

Once is filled, we click on 'save' button and we can see our slave created:

If we click in our slave we can see the 'secret' that we need to add to our docker-compose.yml:

We add it to the docker-compose.yml file:

Once it’s done, we go to the command line and write:
$docker-compose up -d
This documentation is licensed under the Creative Commons License (Attribution-NoDerivatives 4.0 International).
-
cicd configuration
-
Manual configuration
-
Automatic configuration
-
-
Custom Services
-
Azure DevOps
