SC-FEGAN : Face Editing Generative Adversarial Network with User's Sketch and Color
Youngjoo Jo, Jongyoul Park
arXiv: https://arxiv.org/abs/1902.06838
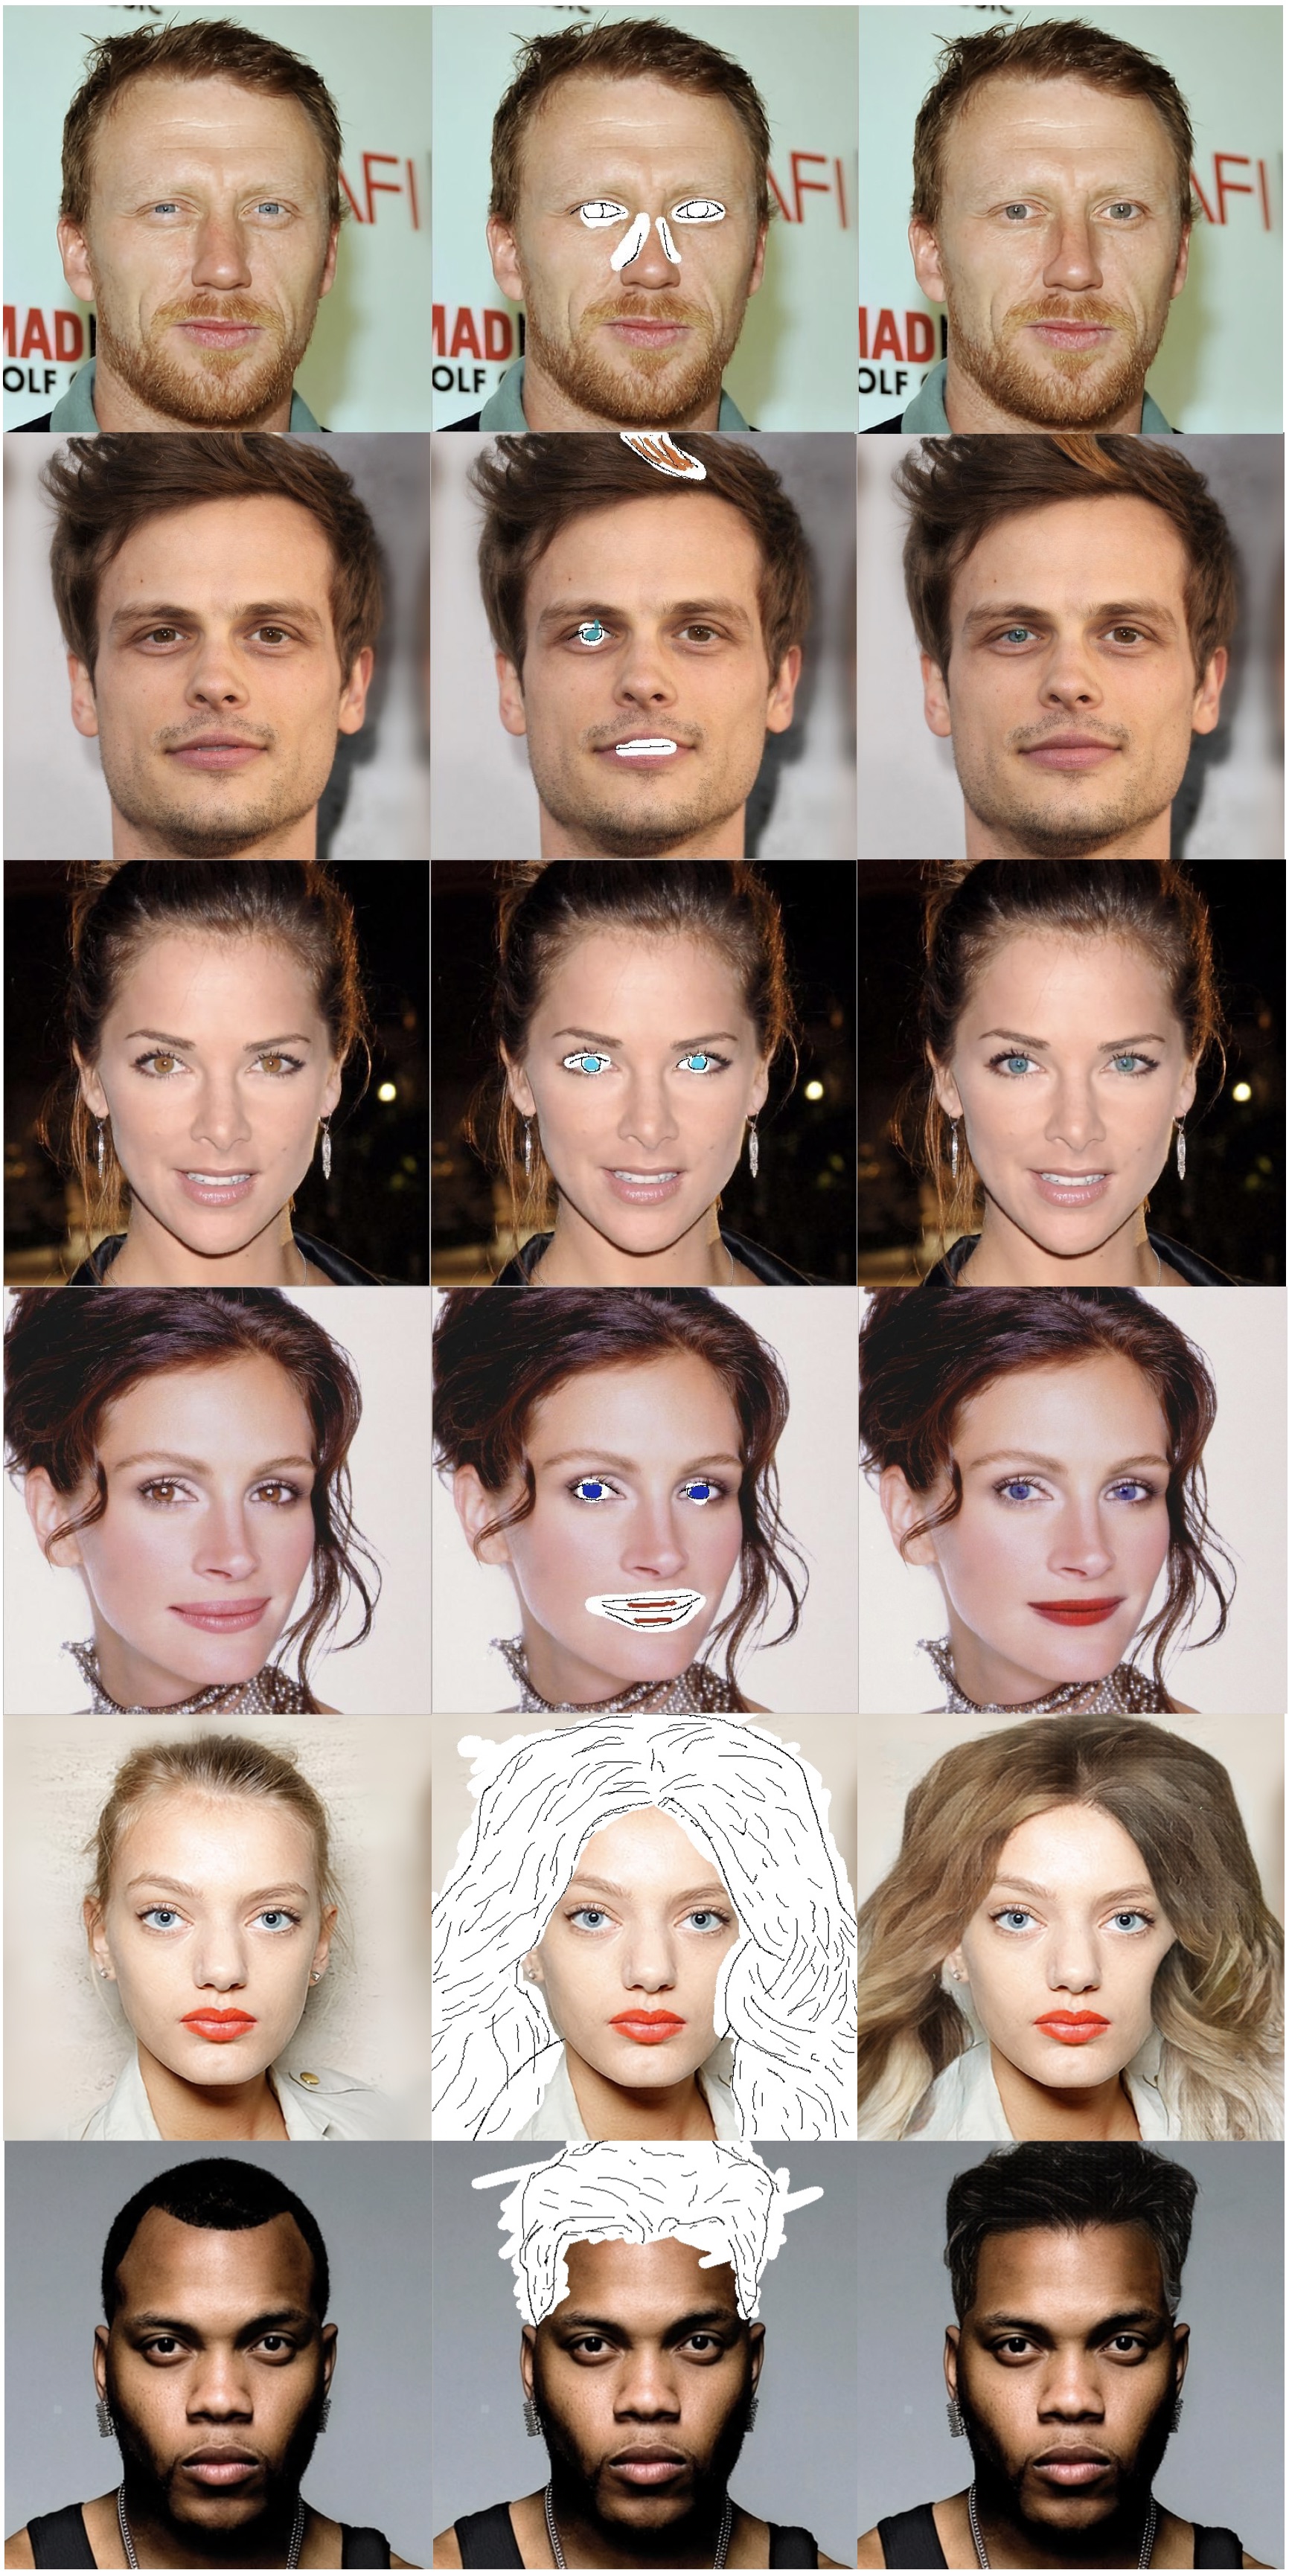
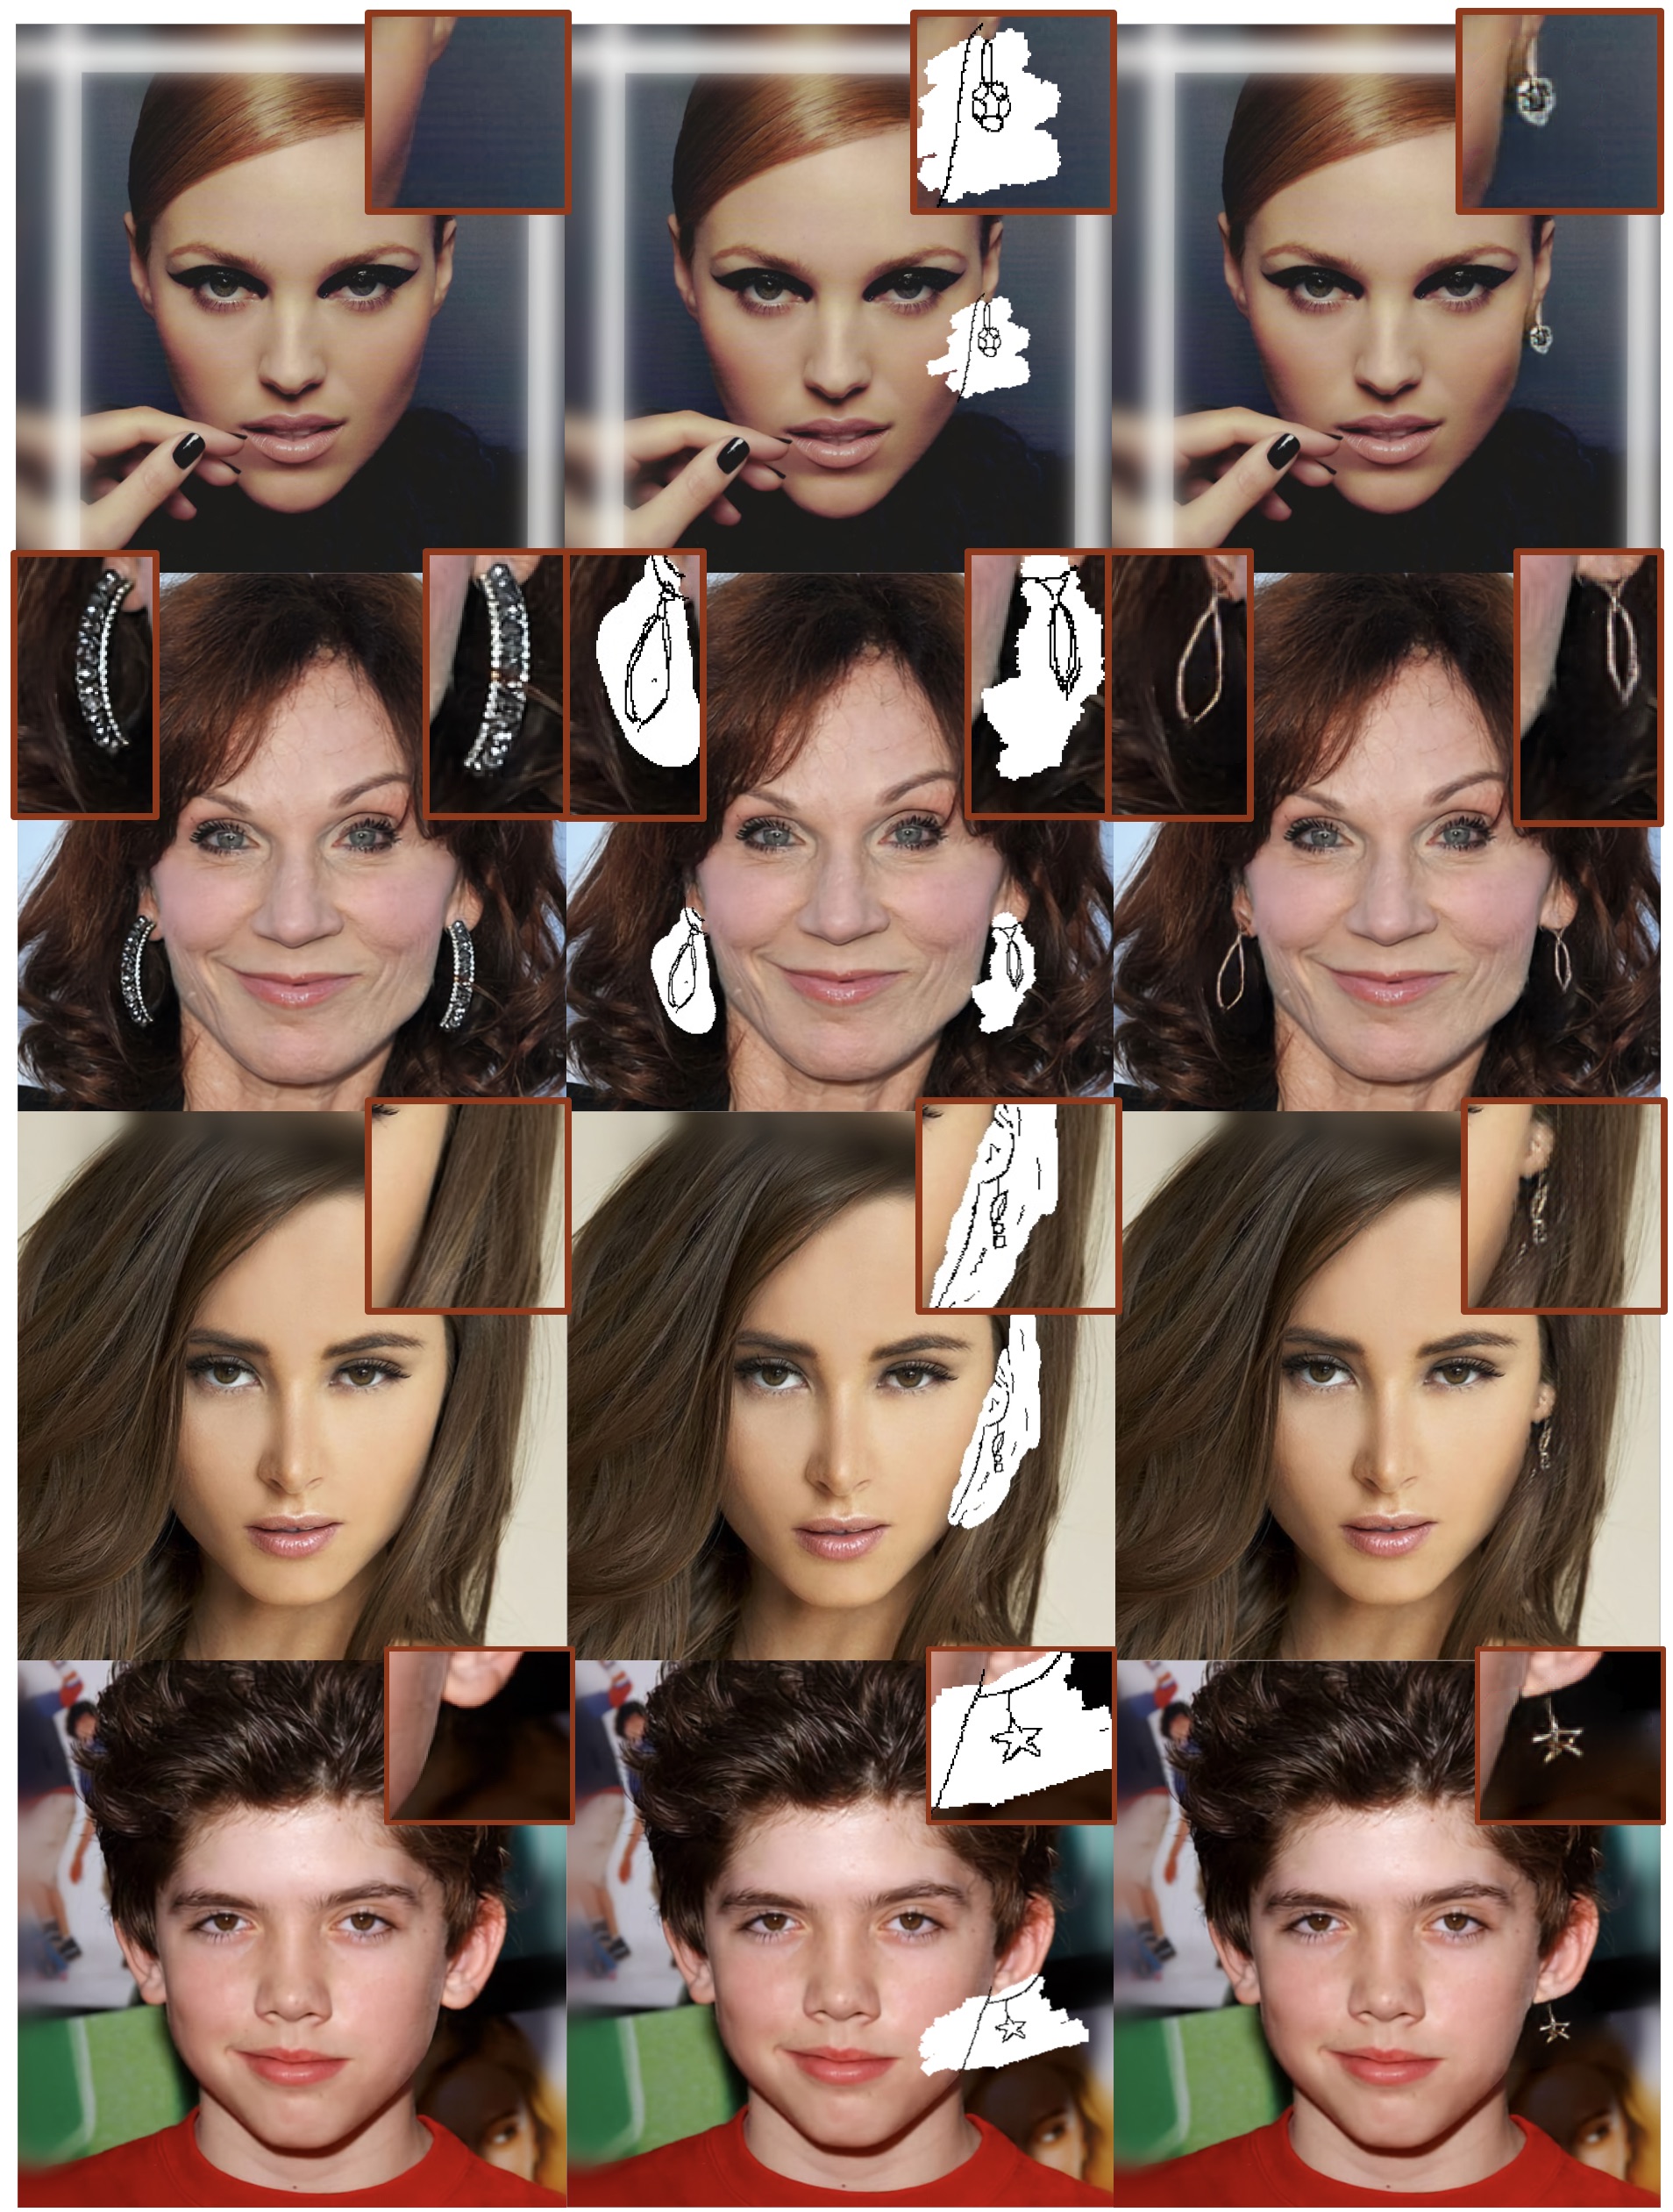
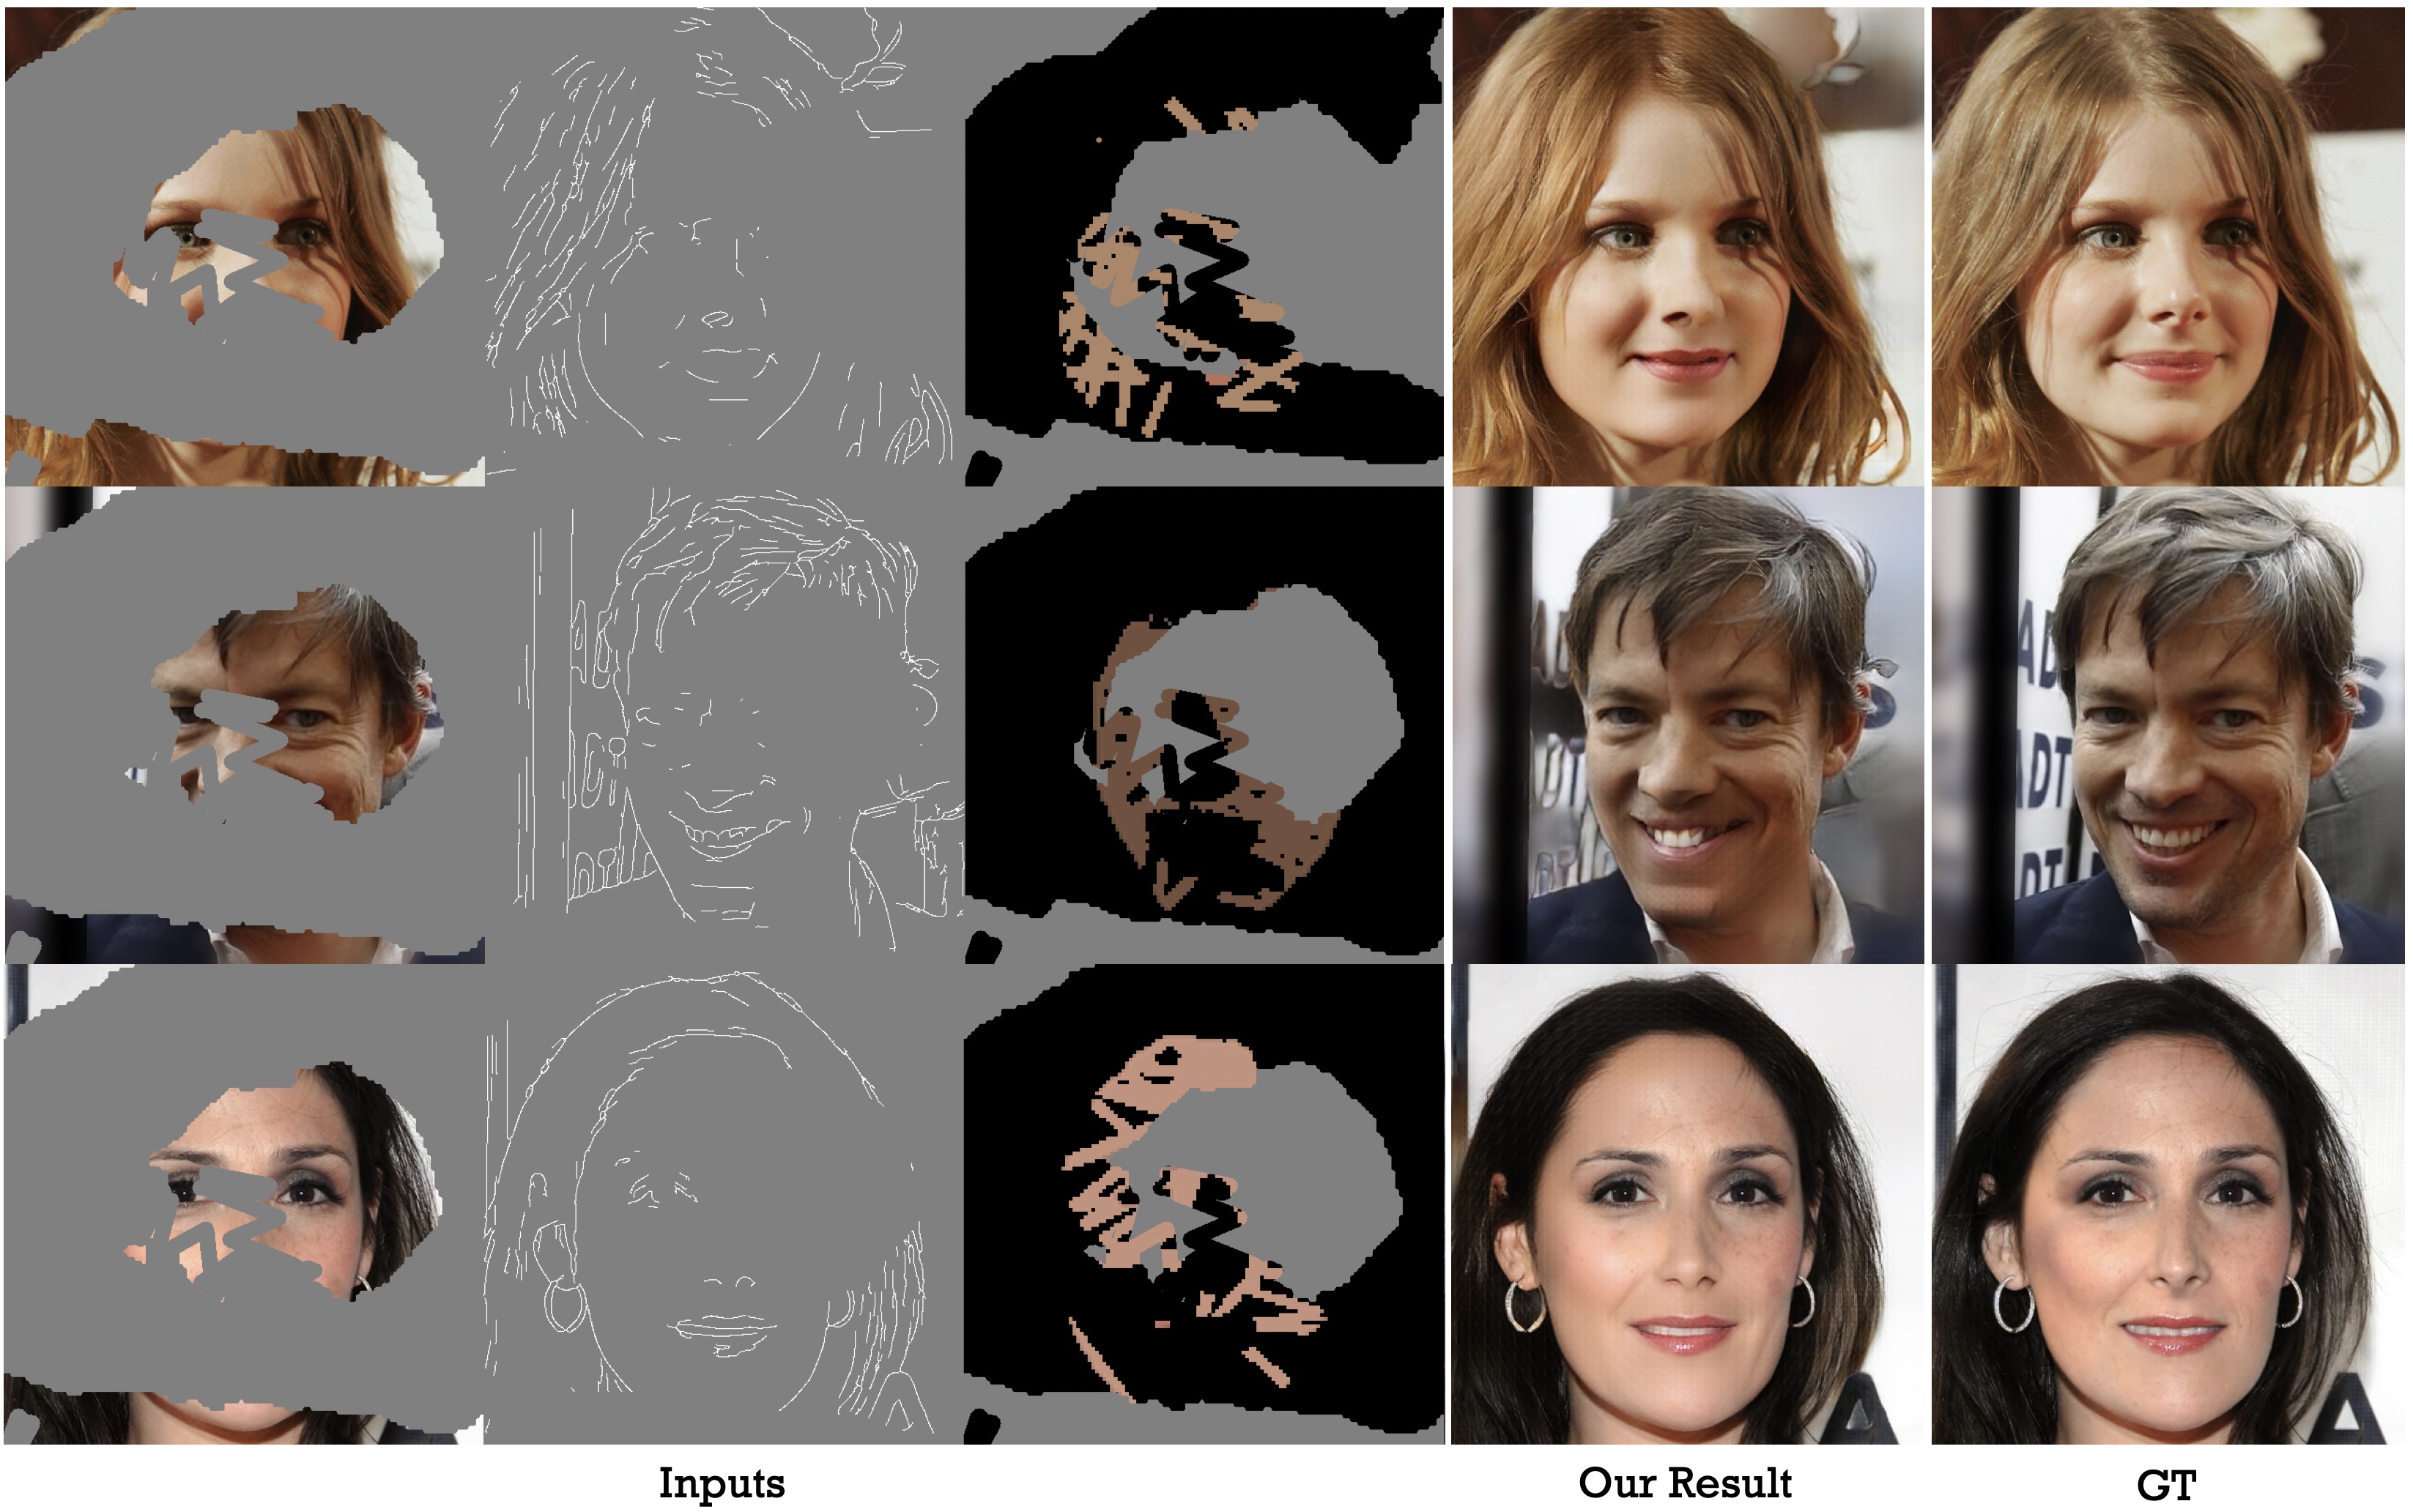
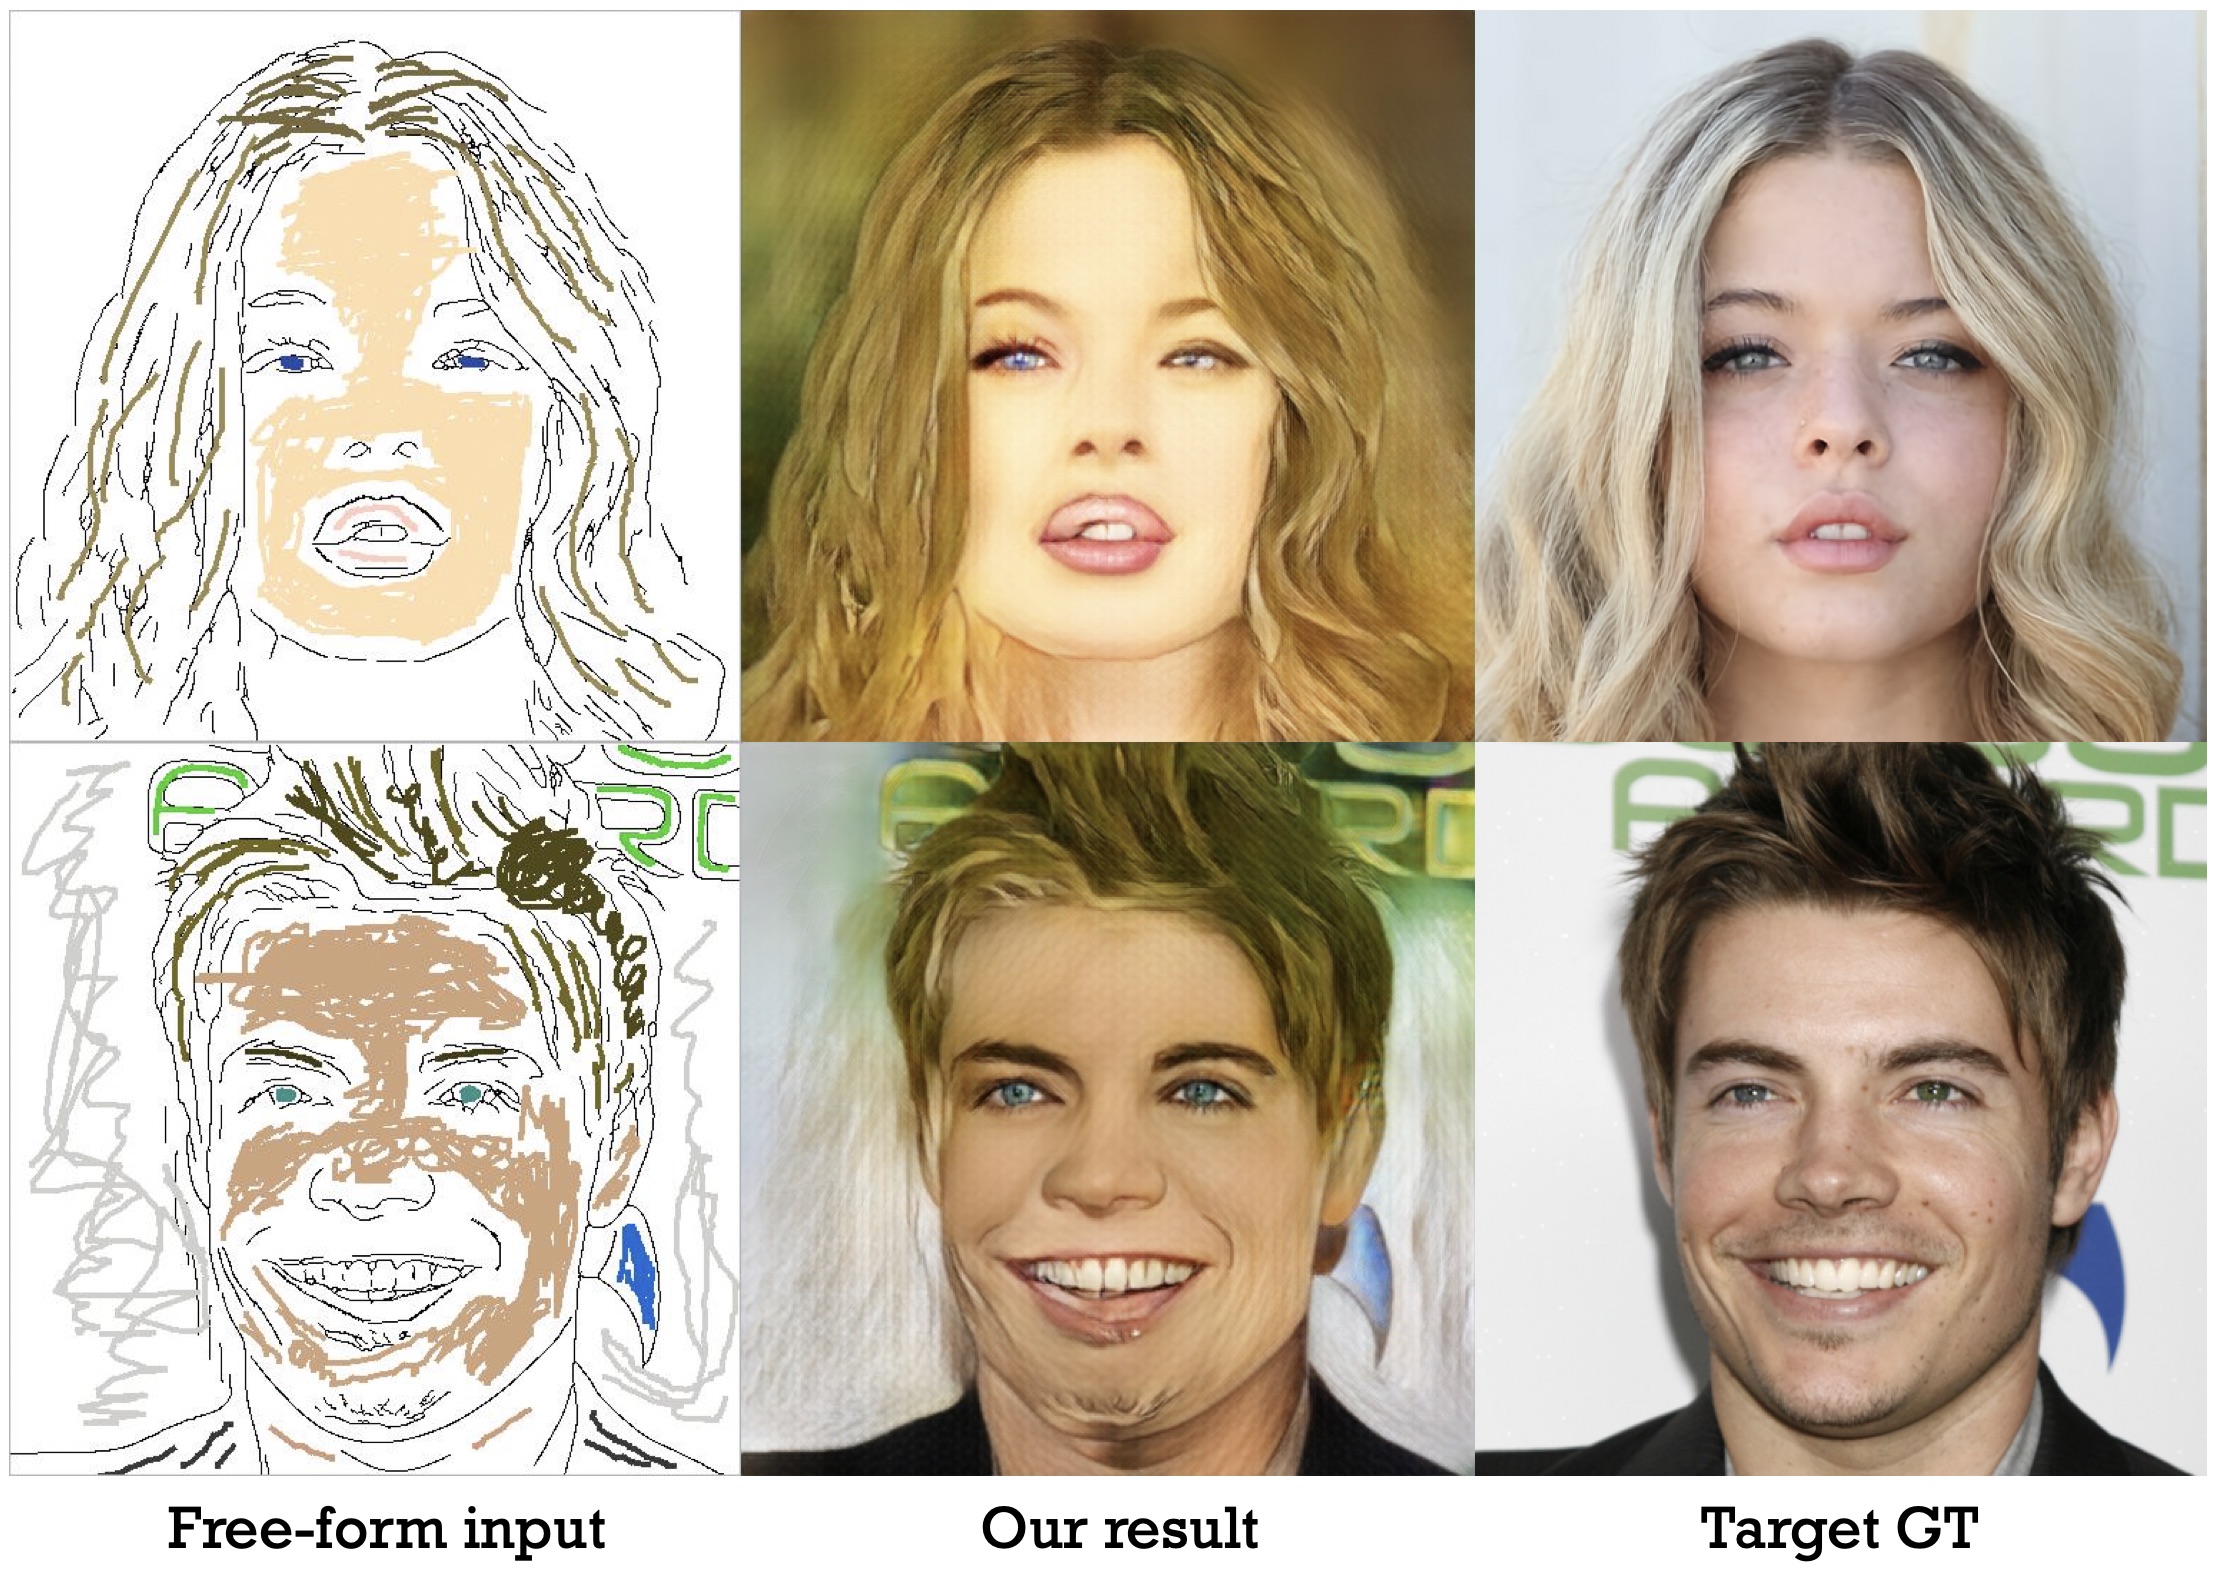
We learn to edit face image with a deep network. Our network SC-FEGAN is well suited to generate high quality synthetic image using intuitive user inputs with sketch and color. We used SN-patchGAN discriminator and Unet-like generator with gated convolutional layers.
- tensorflow
- numpy
- Python3
- PyQt5
First, download the model from Google drive.
Basic usage is:
mv /${HOME}/SC-FEGAN.ckpt.* /${HOME}/ckpt/
python3 demo.py
Select the number of GPU by editing demo.yaml file (not support multi-GPUs).
GPU_NUM: 1 (the number you want to use)
#GPU_NUM: (if you want to use only CPU, erase the number)
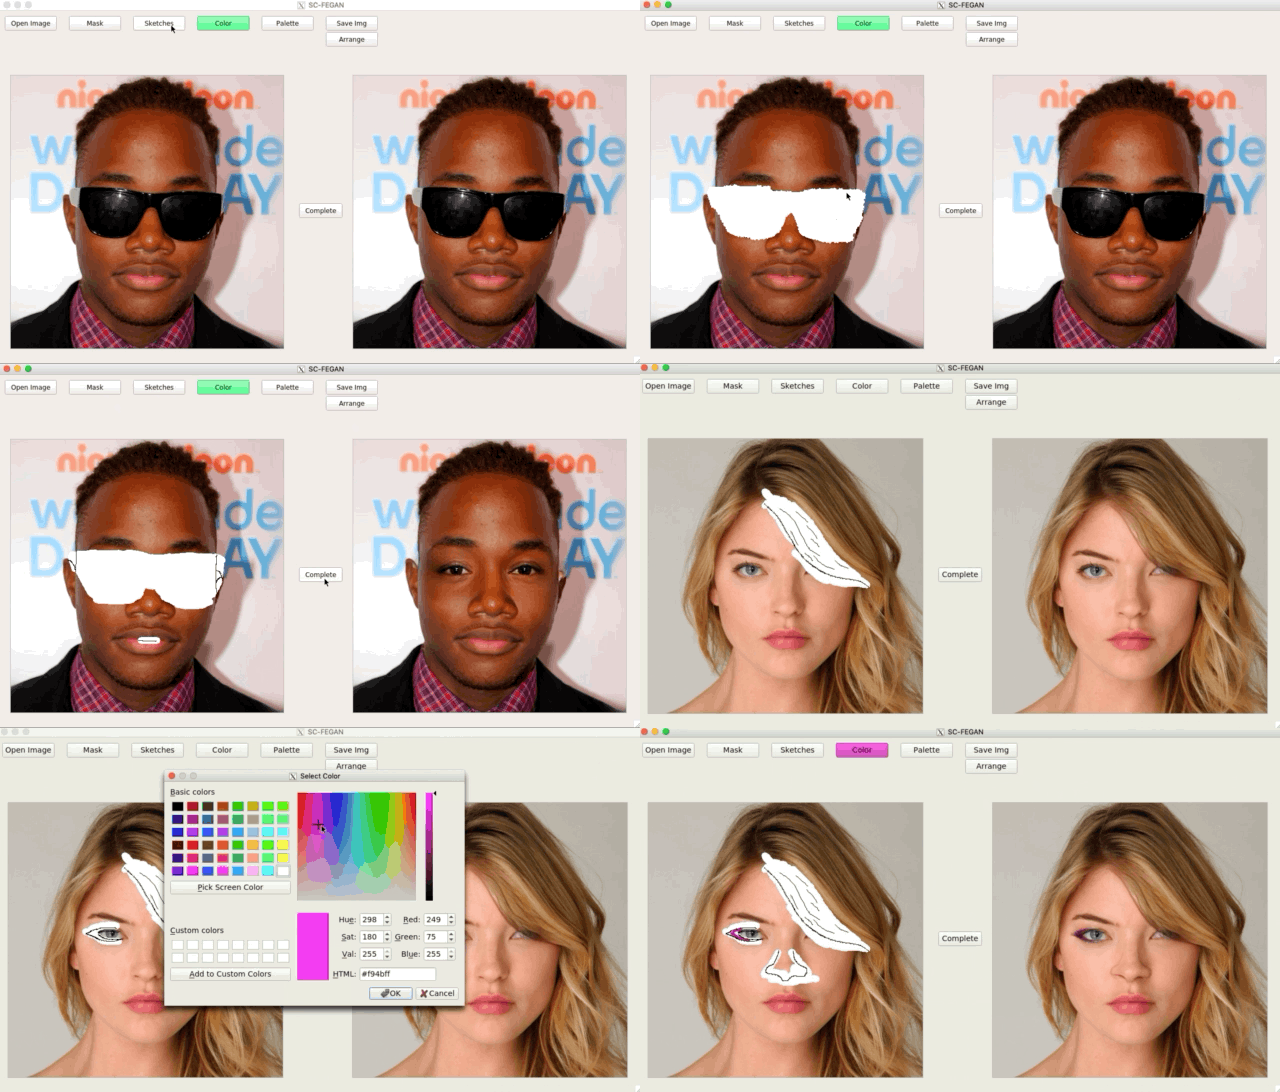
You can use our network with simple GUI. The only erased regions are filled.
The buttons in GUI:
Open Image: Open the image you want to edit and reset sketch and color.Mask: Click this button and draw the mask on the left viewer.Sketches: Click this button and draw the line for sketch on the left viewer.Color: Click this button and draw the line for color. If you click this first time, you have to choose the color from palette.Palette: Click this button to change color. If you choose the color, then click theColorbutton to change.Save Img: Click this button to save results. It is saved as 'name.jpg'.Arrange: Arrange the editing works.Undo: Undo previous editing work.Complete: Complete the image and show it on the right.
We recommend using this in the following steps:
1. Draw the sketch plausibly referring to the original image.
2. Draw the mask on the sketched region.
3. Click the `Arrange` button.
4. Draw the color on the masked region.
5. Click `Complete'.
CC 4.0 Attribution-NonCommercial International
The software is for educaitonal and academic research purpose only.
- This is developed on Linux machine running Ubuntu 18.04.1
- Provided model and sample code is under a non-commercial creative commons license.
- Update training code
