A suite of tools for developing Sakai using Docker Swarm.
Features of the files you will find here:
- Staged development stack.
- All data persisted locally in ./DATA
- Shell-In-A-Box (browser console) maven image
- Dockerfile for building static image from within dev folder
- Swarm stacks designed to be layered
- Proxy + Sakai (No Search) + Mysql + Maven
- Proxy + Sakai (No Search) + Mysql + Maven + PhpMyAdmin + MailCatcher
- Proxy + Sakai (Search Enabled) + Mysql + Maven + PhpMyAdmin + MailCatcher + Cerebro + Kibana
- Proxy + Sakai (Search Enabled) + Mysql + Maven + PhpMyAdmin + MailCatcher + Cerebro + Kibana + Graylog (Aggregation Stack)
Docker provides an installation script for most Linux distributions, With Ubuntu and RHEL/CentOS being the most used. This script is located at https://get.docker.com/ and has the following instructions at the top of the file:
This script is meant for quick & easy install via:
$ curl -fsSL https://get.docker.com -o get-docker.sh
$ sh get-docker.sh
Swarm mode must be enabled to use this Docker Swarm Stack based development environment
$ docker swarm init
The first stage compose file creates Sakai, Mysql, and Maven services. The maven service includes Shell In A Box at http://127.0.0.1:8080/console/ for easy access.
- Deploy the stack using
docker stack deploy -c sakai_dev.yml SakaiStudio - Wait for startup, you can monitor with
docker service logs -f SakaiStudio_sakai - After startup connect to http://127.0.0.1:8080 and click the "Maven Console" tile.
- Login with user:root and password:toor
- You will be in the /source folder, if not
cd /source(This folder is mapped to ./sakai/source) - Clone the code repo
git clone https://github.com/sakaiproject/sakai.git - Enter the code folder
cd sakai - Build the code
mvn clean install sakai:deploy(adding any other preferred build options like -T or -Dmaven.test.skip=true) - After the build completes, tomcat will need to be restarted, from the host (not the maven console) run
docker service update --force SakaiStudio_sakai - Wait for tomcat to startup, it may take a long while while the DB scheme is being created.
- After startup connect to http://127.0.0.1:8080 and click the "Sakai LMS" tile.
Once the sakai source has been built, you can build a sakai:latest static docker image to be used with the examples in ../deploy
- Run
docker build -t sakai .from this folder
The second stage adds MailCatcher and PhpMyAdmin to the stack.
- Update the running stack using the stage 2 compose file
docker stack deploy -c sakai_dev_tools.yml SakaiStudio - Wait for startup, you can monitor with
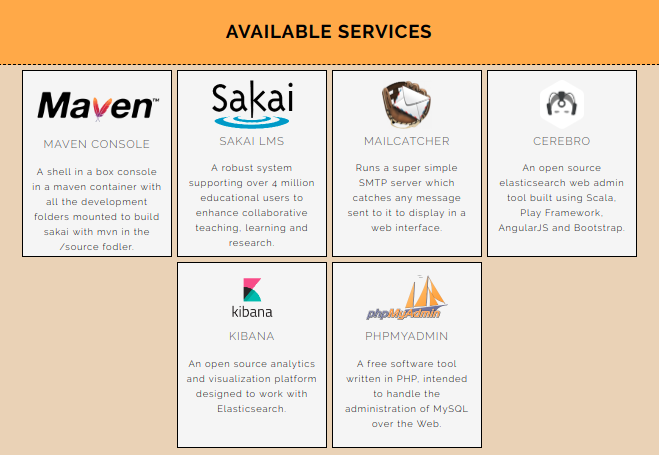
docker service logs -f SakaiStudio_sakai - After startup connect to http://127.0.0.1:8080 to see the list of services
The third stage enables Sakai's built in search, and adds Cerebro and Kibana for working with elasticsearch.
- Update the running stack using the stage 2 compose file
docker stack deploy -c sakai_dev_tools_search.yml SakaiStudio - Wait for startup, you can monitor with
docker service logs -f SakaiStudio_sakai - After startup connect to http://127.0.0.1:8080 to see the list of services
The fourth stage adds full log aggregation via Graylog, and configures everything in the stack to send logs to it via UDP/GELF
- Update the running stack using the stage 2 compose file
docker stack deploy -c sakai_dev_full.yml SakaiStudio - Wait for startup, you can monitor eith Graylog at http://127.0.0.1:8080/graylog/
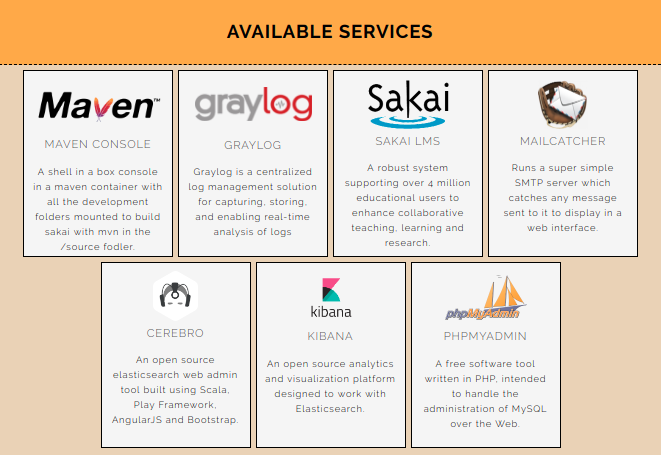
- After startup connect to http://127.0.0.1:8080 to see the list of services


