- IDE (VS Code preffered)
- Installed azcli and
jq - Authenticated
azcli - Set the subscription to the targeted subscription for deployment with azcli
az account set --subscription <mysubscription>
- Enable the Microsoft.Compute and Microsoft.Network providers in Azure
- Create a Wiz service account with the ability to
create:security_scans(use existing one if you have one)- Record secret and key for future use
- From your Github account create a private Github repo
- Make it private
- Import using the url from the
Codebutton on the (source) public repohttps://github.com/mccbryan3/boot_camp_demo.git
- Clone the repo locally into VS Code
- Open a terminal in VS Code inside the cloned repo
- Check that you have an ssh public key
cat ~/.ssh/id_rsa.pub
- If there is no file then run
ssh-keygento generate one
- If there is no file then run
- Create SPN and application for Azure using the script
spn_bucket_create.sh- Be sure you have authenticated with
az login - Run
sed -i -e 's/\r$//' spn_bucket_create.shif you have issue with the interpreter chmod +x spn_bucket_createif required- Record the json output, the subscription and the storage account name
- Be sure you have authenticated with
- Create a new branch in the local repo
git branch azure_pipelines_test_1 - Switch to the new branch
git checkout azure_pipelines_test_1 -
- (optional) Run
curl ifconfig.meand record your ip
- (optional) Overwrite the
my_ipvariable indemo.tfvars
- (optional) Run
- Overwrite the
subscription_idvariable in thebackend.tffile - Overwrite the storage account name in the
backend.tffile - Add the
subscription_id="<yoursub_id>"to theazurermprovider in theproviders.tffile - Add the creds to Github repo actions secrets including the ssh public key

- Push the repo to git hub
- Create a Pull Request
- NOTE: Do not merge!!!
- Verify tests complete successfully and then merge your PR
- Add branch protection if desired

-
Record the public ip frm the pipeline output
- If there is no output then run re-run the pipeline
- NOTE: THIS SEEMS TO BE REQUIRED CURRENTLY
- If there is no output then run re-run the pipeline
-
Log into the instance with
ssh azureuser@<public_ip_address_here>- NOTE: If you recieve access denied.. Go get coffee and try again :-)
-
run
sudo tail -f /var/log/cloud-init-output.log
. Stretch
-
Once the log finishes record the GUID for the Jenkins admin initial password

-
Go to
http://<public_ip_address_here>:8080 -
Unlock Jenkins with GUID

-
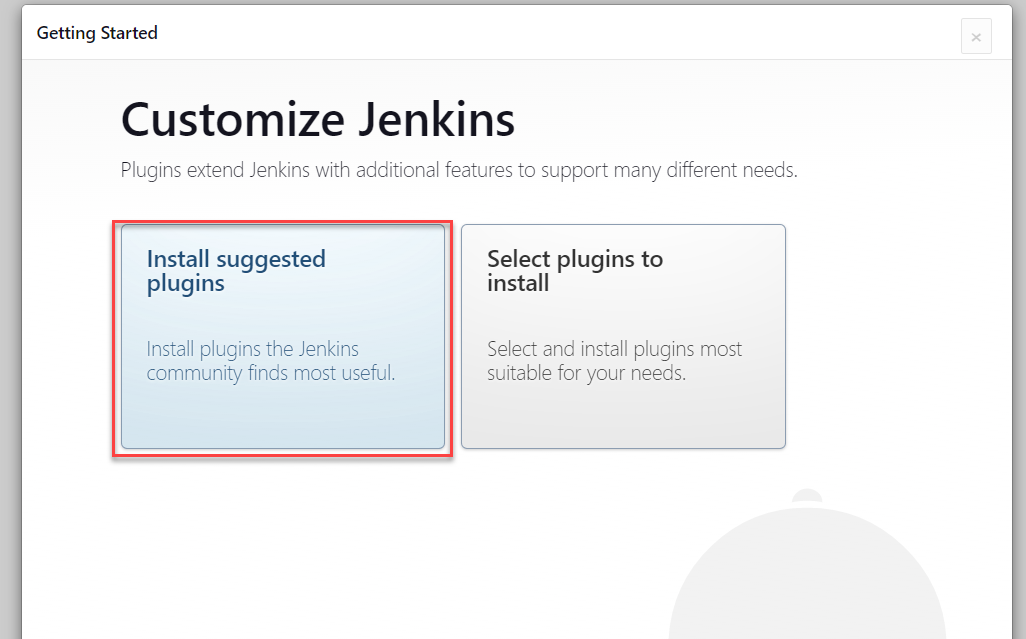
Install suggested plugins
-
Get coffee
-
Skip user creation and continue as admin
-
Select
Not nowfor instance configuration -
Start using Jenkins

-
Restart jenkins from the instance
sudo systemctl restart jenkins -
Log back into Jenkins with admin and the initial password
-
Add the credentials to Jenkins
a. Manage Jenkins

b. Manage Credentials

c. System

d. Global Credentials

e. Add Credentials

f. Addusername and passwordcredentials as shown below.
* NOTE: Be sure to give them the id ofwiz-cli

-
Go back to the Jenkins Dashboard
-
New Item

-
Add pipeline project with name
wiz-demo-pipeline

-
Add the pipeline file data jenkins_pipeline to the pipeline steps
-
Run the pipeline
- If you recieve
Got permission denied while trying to connect to the Docker daemon socketrestart jenkins as shown above
- If you recieve
-
Review output
-
Add Wiz CICD Policies to the pipeline scans to make the pipeline fail for vulns.. then iac
-
Extra credit.. Figure out how to run pipeline steps on previous step failre (step conditons)


