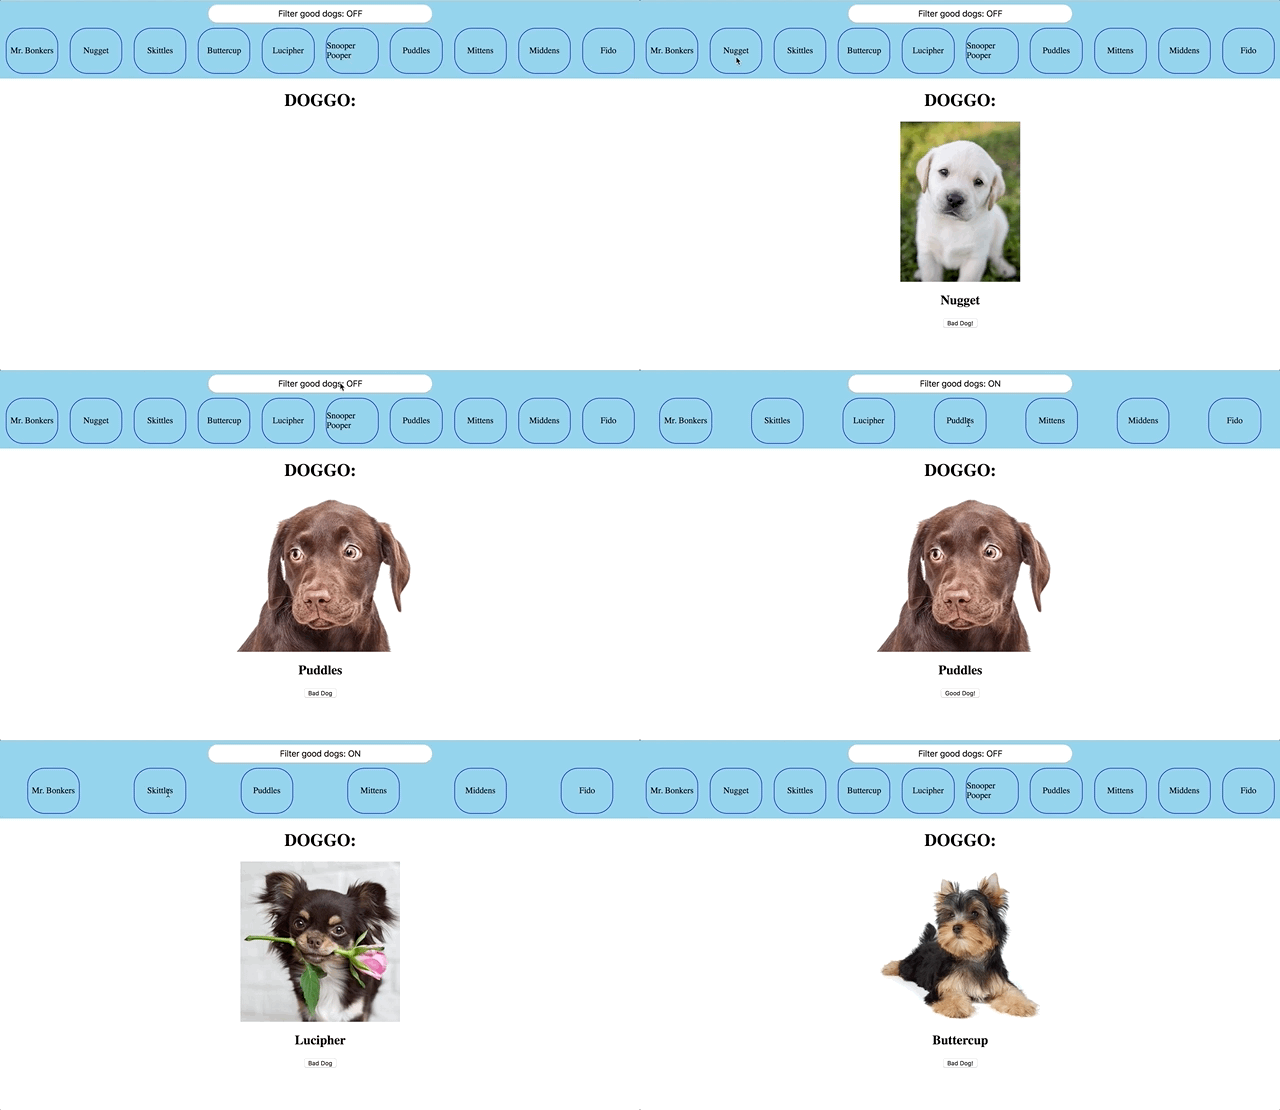
You may remember this from Phase 1!
There's less base code here - use what you know about React to make this application work like your Phase 1 one did.
Think about what components you'll need, what you need to keep in state. Draw
out a quick sketch if it helps! There's a bit of starter code in src/App.js.
What components might we make given that starter code?
Below are the instructions from the vanilla JS readme...how will you need to change it to suit a React Application?
All the doggo data about can be found in the db.json file. We'll
be using json-server to create a RESTful API for our database.
Run npm install to install our dependencies.
Then, run npm run server to start up json-server on http://localhost:3001.
In another tab, run npm start to start up our React app at http://localhost:3000.
Go ahead and head to http://localhost:3001/pups in your browser to view the data.
Familiarize yourself with the attributes for each pup. Try going to /pups/:id
to see an individual pup as well.
User should be able to:
-
CLICK ON DOGS IN THE DOG BAR TO SEE MORE INFO ABOUT THE GOOD PUPPER
- MORE INFO INCLUDES A DOG PIC, A DOG NAME, AND A DOG BUTTON THAT INDICATES WHETHER IT IS A GOOD DOG OR A BAD DOG
-
CLICK ON GOOD DOG/BAD DOG BUTTON IN ORDER TO TOGGLE PUP GOODNESS
-
CLICK ON "FILTER GOOD DOGS" BUTTON IN ORDER TO JUST SEE GOOD DOGS OR SEE ALL DOGS IN DOG BAR
On the page, there is a div with the id of "dog-bar". On page load, make a
fetch to get all of the pup objects. When you have this information, you'll need
to add a span with the pup's name to the dog bar.
<span>Mr. Bonkers</span>When a user clicks on a pup's span in the dog bar, that pup's info (image,
name, and isGoodDog status) should show up in the div with the id of
"dog-info". When you have the pup's information, the dog info div should
have the following children:
- an
imgtag with the pup's image url - an
h2with the pup's name - a
buttonthat says"Good Dog!"or"Bad Dog!"based on whetherisGoodDogis true or false. Ex:
<img src="dog_image_url" alt="Mr. Bonkers" />
<h2>Mr. Bonkers</h2>
<button>Good Dog!</button>When a user clicks the Good Dog/Bad Dog button, two things should happen:
- The button's text should change from Good to Bad or Bad to Good
- The corresponding pup object in the database should be updated to reflect the
new isGoodDog value
- Please note, you can update a dog by making a PATCH request to
/pups/:id
- Please note, you can update a dog by making a PATCH request to
When a user clicks on the Filter Good Dogs button, two things should happen:
- The button's text should change from "Filter good dogs: OFF" to "Filter good dogs: ON", or vice versa.
- If the button now says "ON" (meaning the filter is on), then the Dog Bar should only show pups whose isGoodDog attribute is true. If the filter is off, the Dog Bar should show all pups (like normal).
