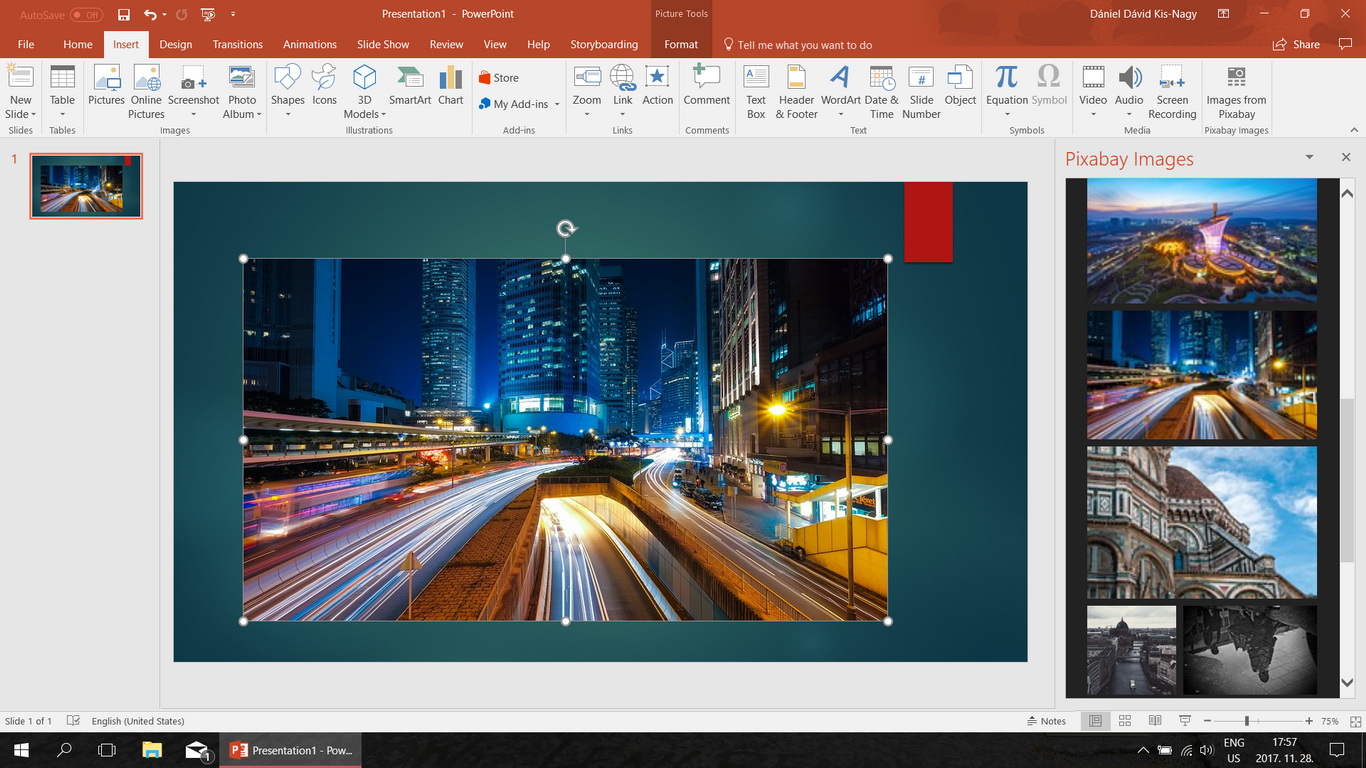
Using this add-in you can search free (Creative Commons CC0 licensed) images on Pixabay right inside Word or PowerPoint – and insert them with one click.
- Open a new document in Word or PowerPoint
- On the Insert tab, click Office Add-ins
- Click Store, and just search for Pixabay
- Click the Add button next to Pixabay images
Alternatively, you can get it from https://appsource.microsoft.com/en-us/product/office/WA104381335?tab=Overview
If you want to load a development version of the add-in, you will need to sideload it. It only takes a few minutes to complete these steps.
You can use the add-in with Office Online, or with the desktop apps on Windows or macOS, or even with iPad.
- Download the manifest file uppp-vs.xml
- Open Word Online or PowerPoint Online. (E.g. open a Word or PowerPoint document on OneDrive in the browser.)
- On the Insert tab of the Ribbon, click Office Add-ins
- Click Upload My Add-in in the upper-right corner
- Select the manifest file you downloaded, click Upload
From now on, the Pixabay Images add-in will be available on the Insert tab, anytime you need it.
The add-in is actually available online, you just need to download the manifest file (see below) and put it in a place where Word / PowerPoint expects to find it. This has to be a network share, even if you install it just for yourself – but don't worry, it's very easy to create one.
- Create a folder called
manifestssomewhere on your computer (e.g.C:\Share\manifests). - Download uppp-vs.xml, and save it to the new
manifestsfolder. - Right-click the
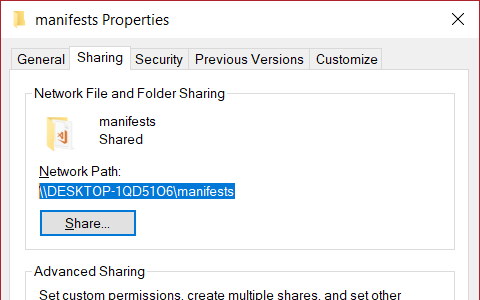
manifestsfolder, click Properties. - On the Sharing tab, click Advanced Sharing, then check the Share this folder box. Click OK.
Your network share is now available. Select and copy its path (e.g. \\COMPUTERNAME\manifests).
Now you need to tell Word / PowerPoint about this location.
- Open Word or PowerPoint, and create a new document
- Select File > Options > Trust Center > Trust Center Settings > Trusted Add-in Catalogs.
- In the Catalog Url field, paste the path of the manifests folder (e.g.
\\COMPUTERNAME\manifests). Click the Add catalog button. It will show up in the list below. - In the list, check the Show in menu box and then click OK.
- On the Ribbon, select the Insert tab, and select My Add-ins. Select the Shared Folder tab.
- Select the Pixabay Images add-in and click Insert. The add-in will load.
From now on, the Pixabay Images add-in will be available on the Insert tab, anytime you need it.
If you complete these steps for one application (e.g. Word), and you want to use the add-in in the other (e.g. PowerPoint), you should be able to start at Step 5., as the catalogs are shared between apps.
Tested in Word 2016 & PowerPoint 2016.
Download the manifest file uppp-vs.xml, and follow these steps.
You can run the add-in in a browser to try most functions, and you can use Visual Studio 2017 Community to enable debugging in Word / PowerPoint as well.
After cloning the repository, run npm install to download dependencies.
Make sure you have the Angular CLI installed so you can run the commands described below.
Run ng serve to start a dev server. Navigate to http://localhost:4200/ to open the app. (Don't run the production build this way, as it waits for Office to initialize before starting the app, and that will never happen in the browser.)
Please note that you need to set your API key for Pixabay in environments\environment.ts, otherwise the API calls will fail.
export const environment = {
  //...
  apiKey: 'XXXXXXXXXXXXXXXXXXXXXXXXXXXXXXXX' //<-- add your key here
}
First, create a production build by running ng build --prod. Then either host it online or on localhost (over HTTPS), and follow the steps above for sideloading, but change all the URLs in the manifest file to your server URLs.
To debug using Visual Studio, install Visual Studio Community 2017 with the Office Tools selected, and clone this branch of the hosted application: https://github.com/madve2/uppp-app/tree/vs. Replace the contents of the uppp-vsWeb/app folder with the production build you created during the previous step, and hit F5 to start debugging.


