This work is licensed under a Creative Commons Attribution-NonCommercial-ShareAlike 4.0 International License.
Table of Contents
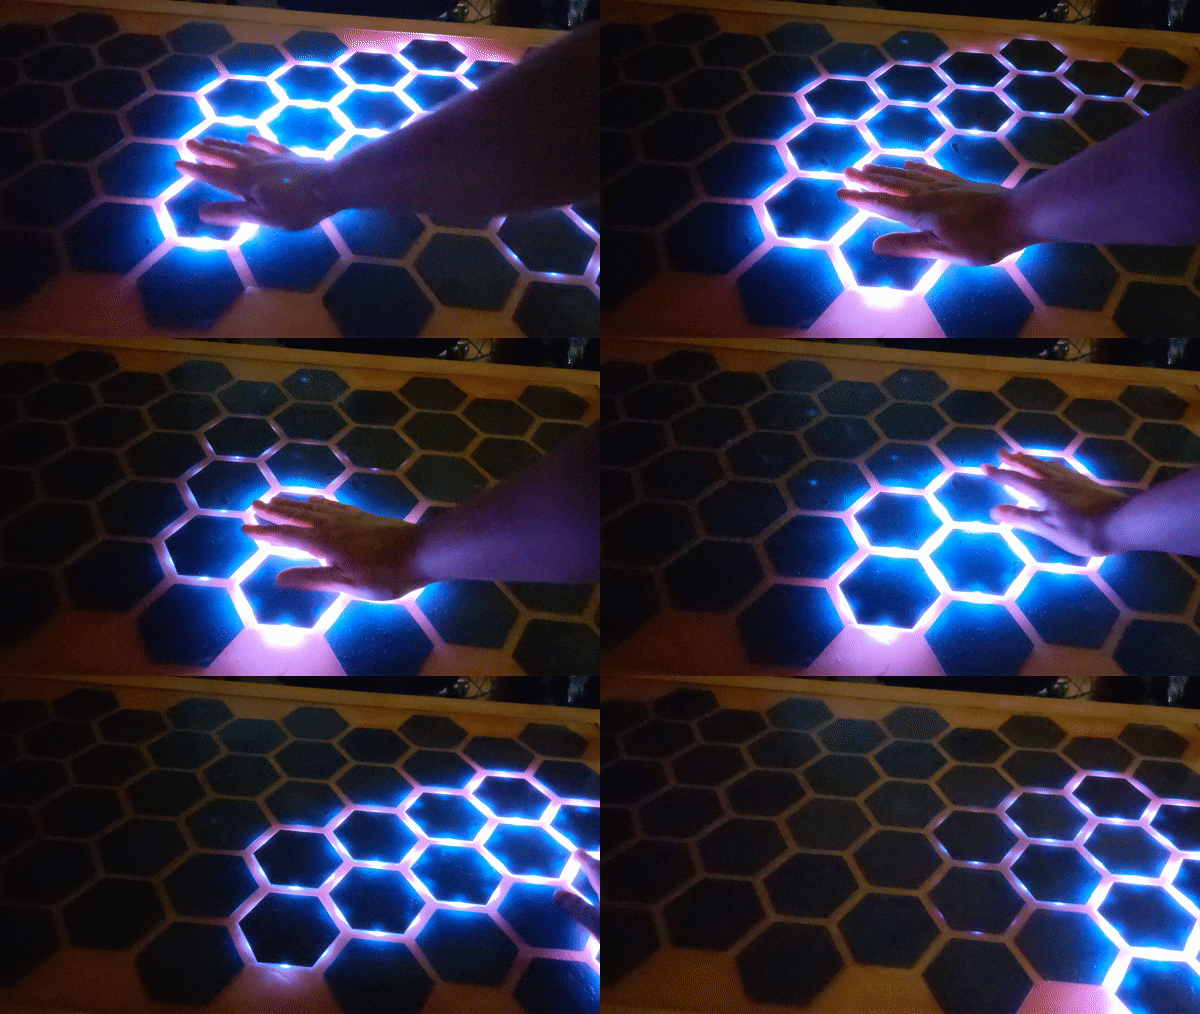
I saw a short TikTok with a led table that lights up when touched and immediately felt like building it myself. So i designed my own Main-PCB and little hexagonal PCBs for the light and touch. Unfortunately, there were a few setbacks due to the availability of some components. So I had to equip the main PCB with self soldered components. I also had to get the touch sensors externally and solder them on. If the whole thing with the chips calms down a bit I will tackle the whole thing again and simplify it.
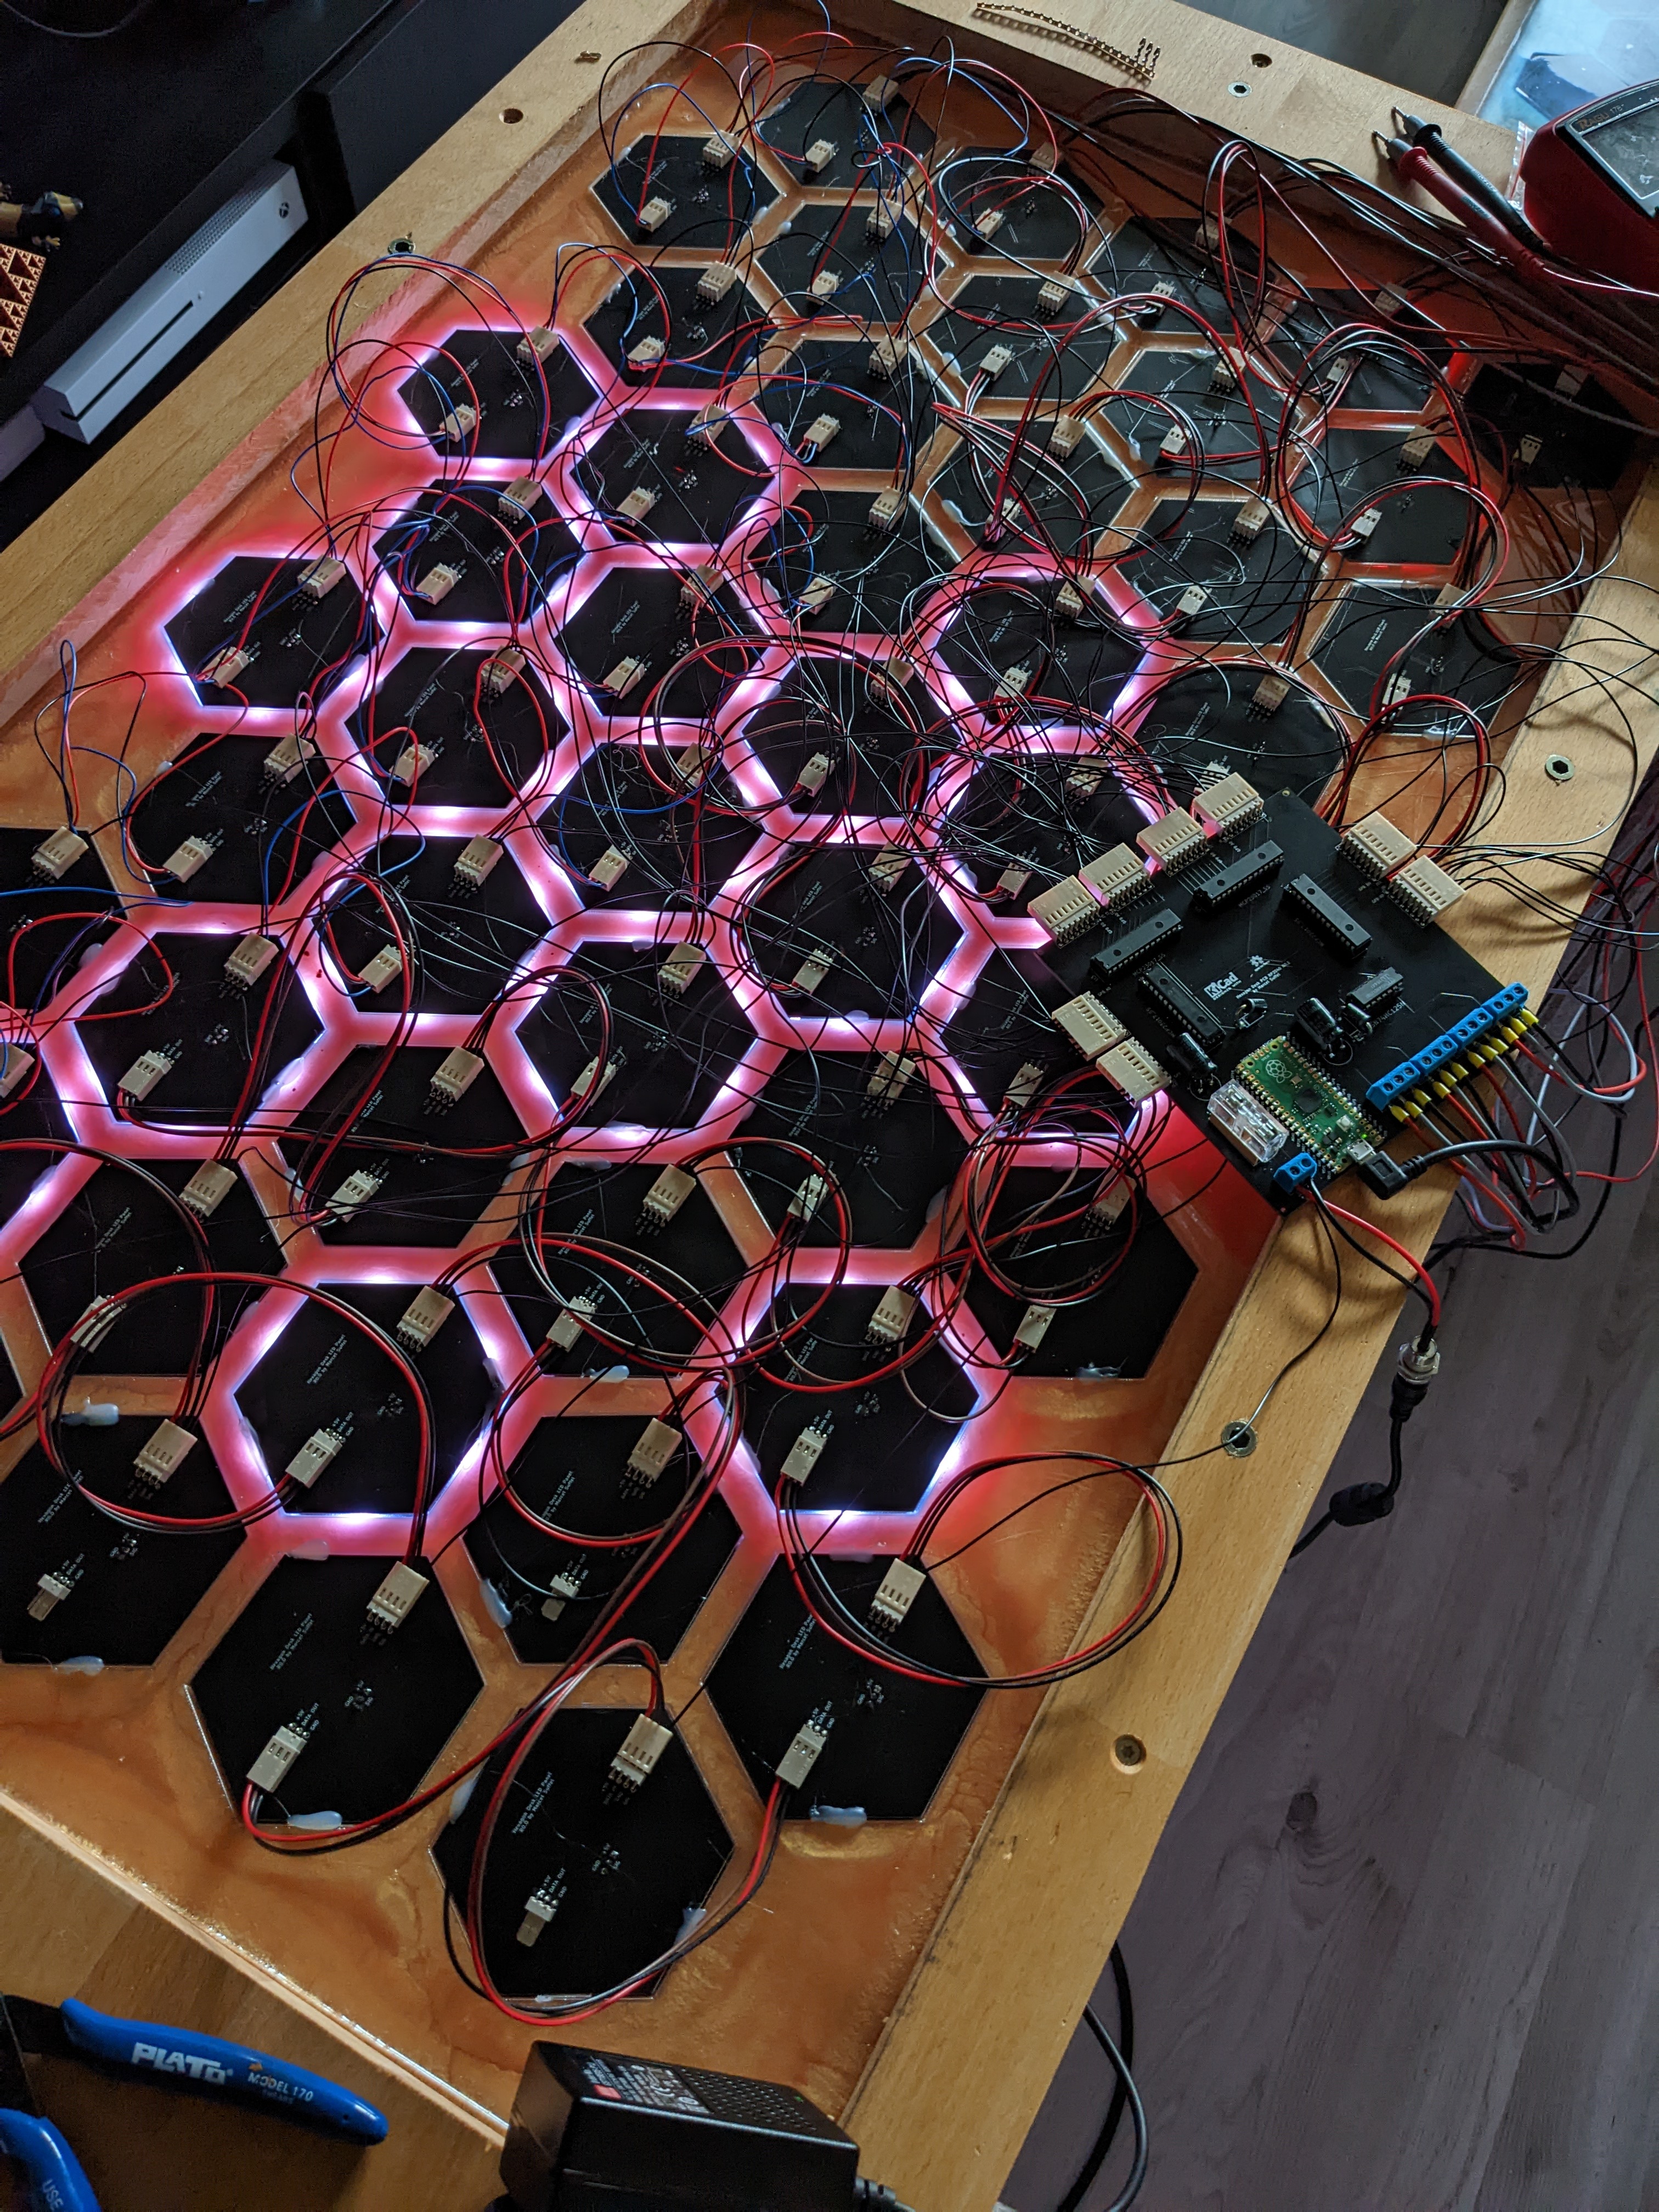
This project still requires a lot of manual work. The main board still has to be assembled by yourself, as well as the touch sensors on the Hexagon boards. Also a lot of wiring has to be done. The touch sensors are individually connected to the main board. The WS2812B on the hexagons are looped through per channel.
I have created a bom and instructions. however, these are still far from good. I am always working on improving these and also on the programme/boards. I have opened the discussions area for questions, suggestions etc.
- Desk_PRG.ino - Is the first version with an ESP32 as main controller
- Desk_PRG_RP2040.ino - Is the current version with a RP2040 as controller.
- Adafruit_MCP23017.cpp/Adafruit_MCP23017.h - Is for the MCP23017 I2C communication
- FastLED - This is a modified Version of FastLED V3.4 to work with the RP2040
Install the RP2040 Board: https://github.com/earlephilhower/arduino-pico
For ESP32 you have to install ESP32 Boards: https://randomnerdtutorials.com/installing-the-esp32-board-in-arduino-ide-windows-instructions/
For RP2040 You have to clone the repo and copy the FastLED folder in your "...\Dokuments\Arduino\libraries\" folder to work with the RP2040
Now you should be able to compile the
Desk_PRG_RP2040.inoIn the header you should config your Setup
Just configure the amount of Hexagon PCBs you have connectet to channel 0-3
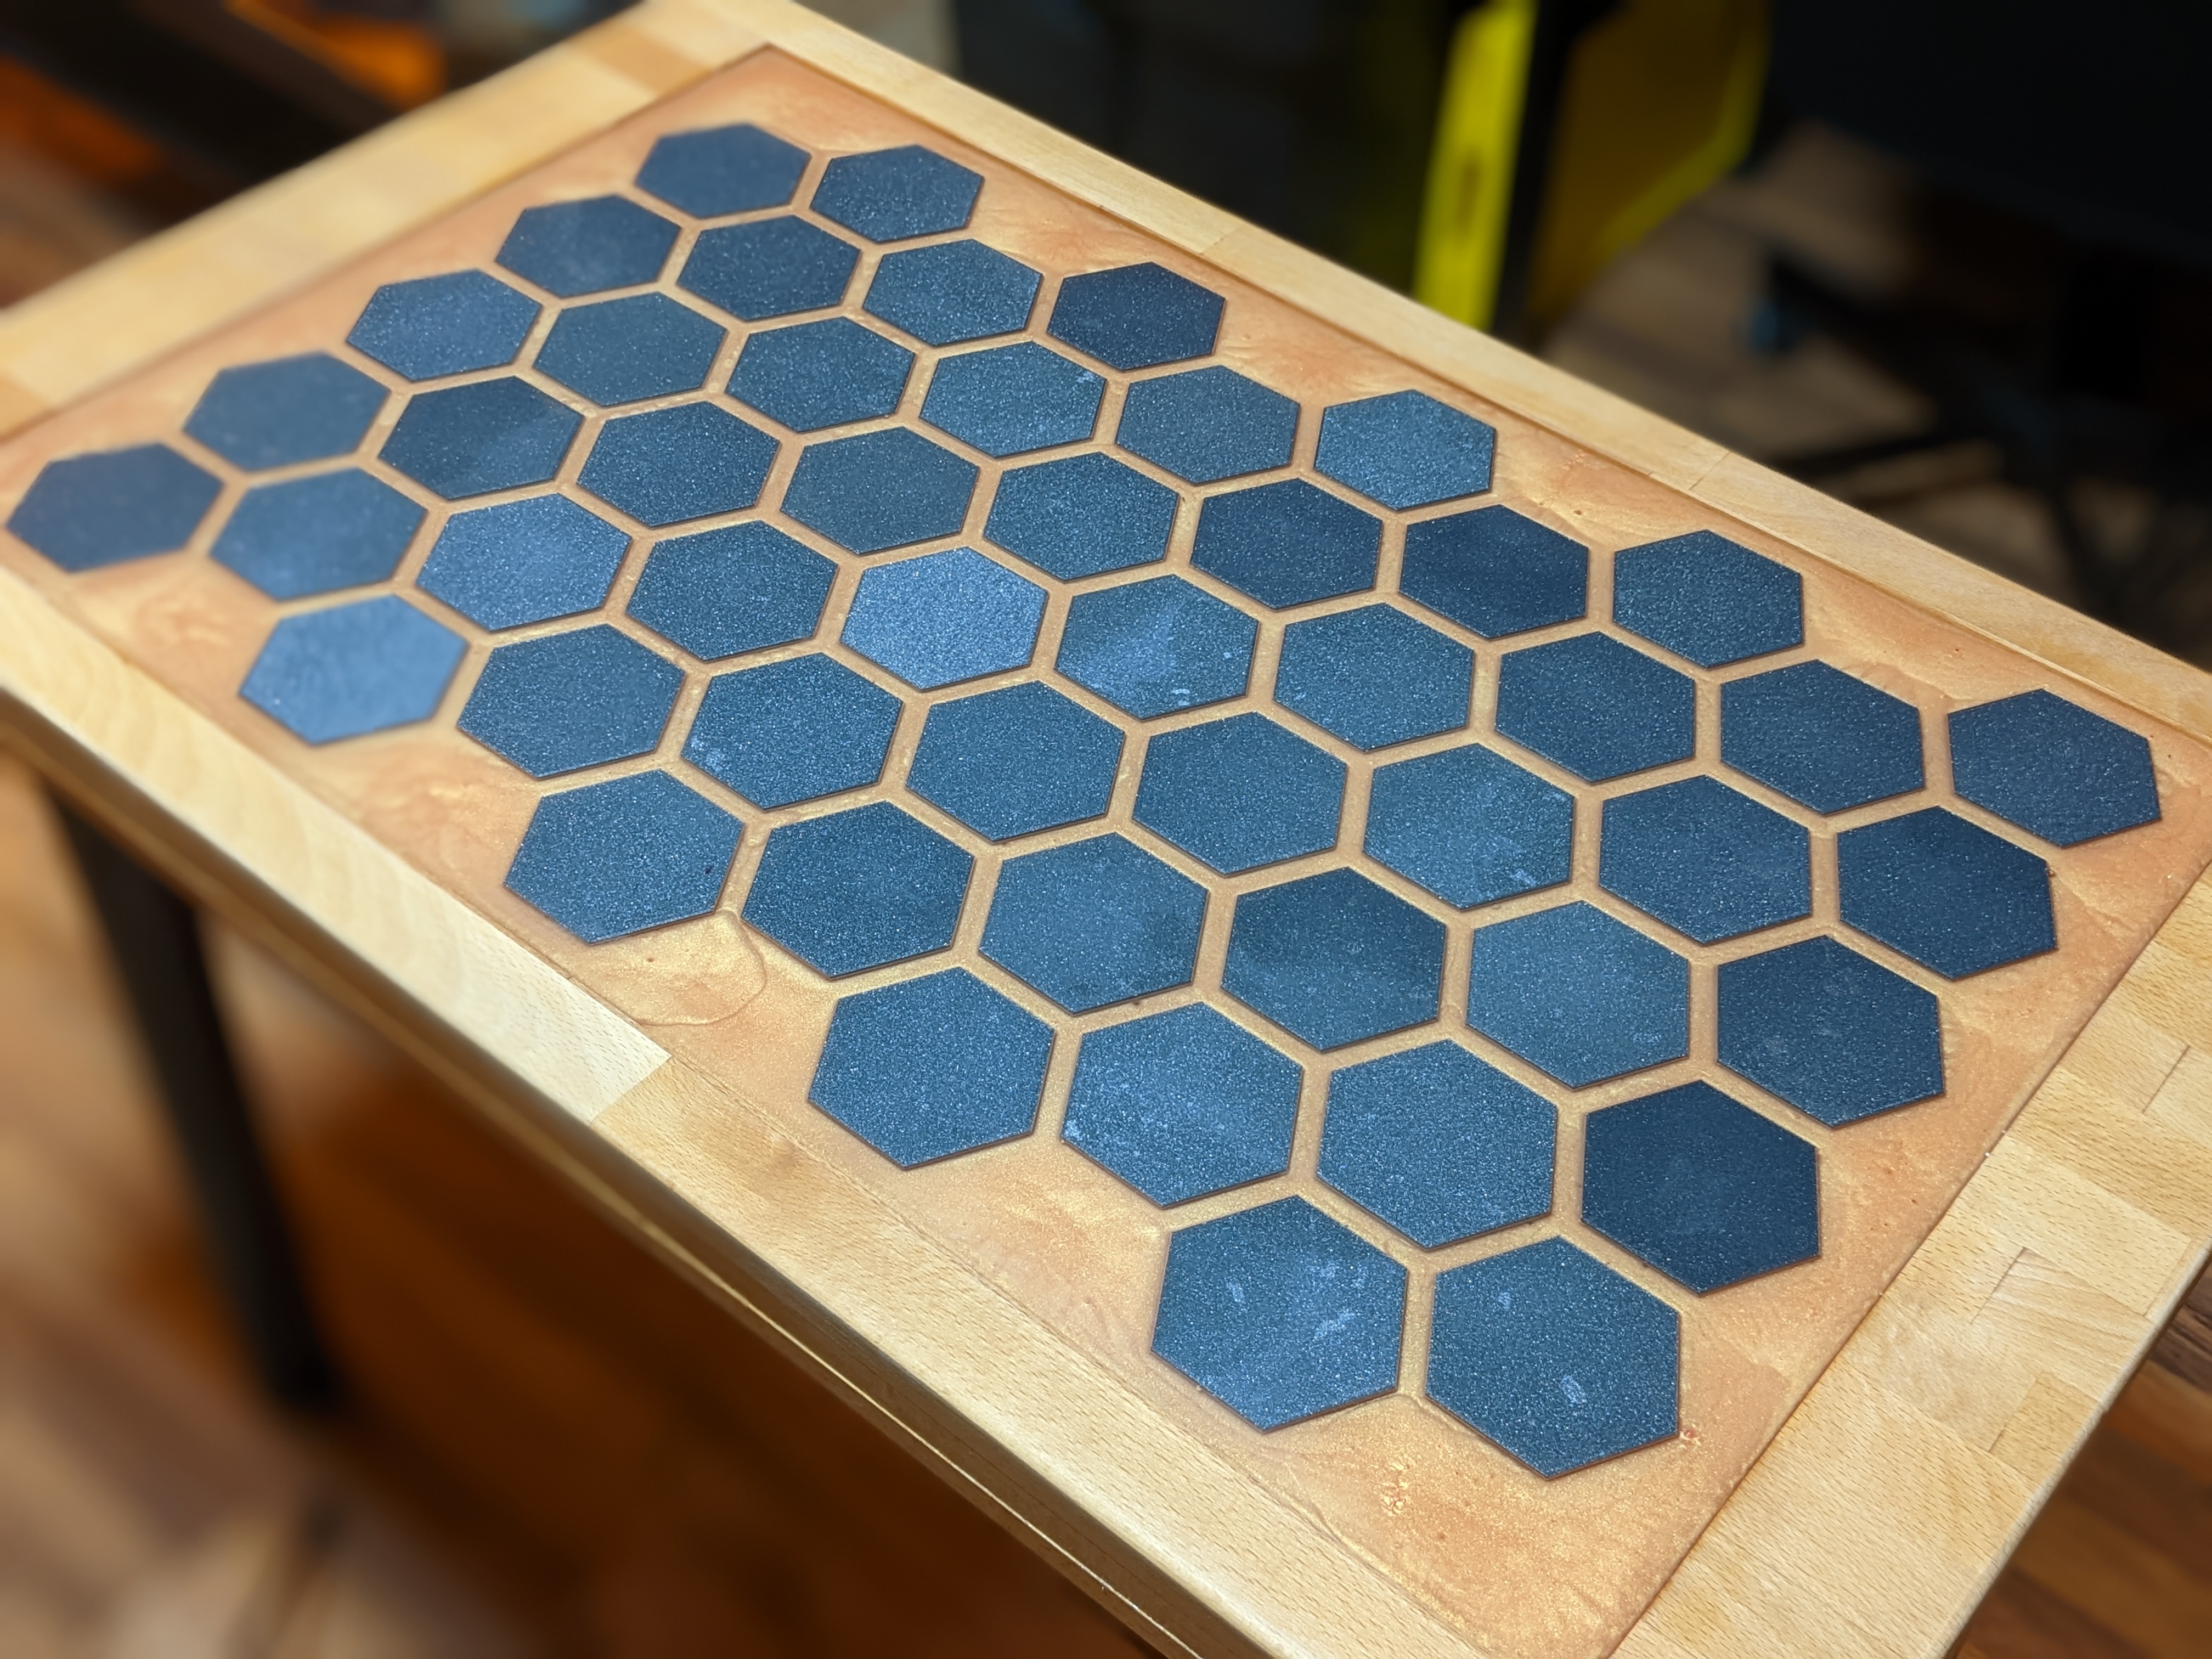
#define Hexagons_channel_0 12#define Hexagons_channel_1 12#define Hexagons_channel_2 12#define Hexagons_channel_3 14In this config i have connectet 12 Hexagon PCBs to channel 0, 12 Hexagon PCBs to channel 1, 12 Hexagon PCBs to channel 2 and 14 Hexagon PCBs to channel 3. The desk was build with 50 Hexagon PCBs. The maximum is 64, but this can be expanded with more MCP23017.
The Main-PCB contains 4x MCP23017, 2x 1500uF Capacitor, 1x Fuse holder, 1x SN74HC125N and one ESP32 Dev Kit C / Raspberry Pi Pico
The MCP23017 are communicating over I2C, every MCP23017 has 16 Inputs/Outputs.
The SN74HC125N is to shift the data channel from 3.3V to 5V so the leds don't glitch.
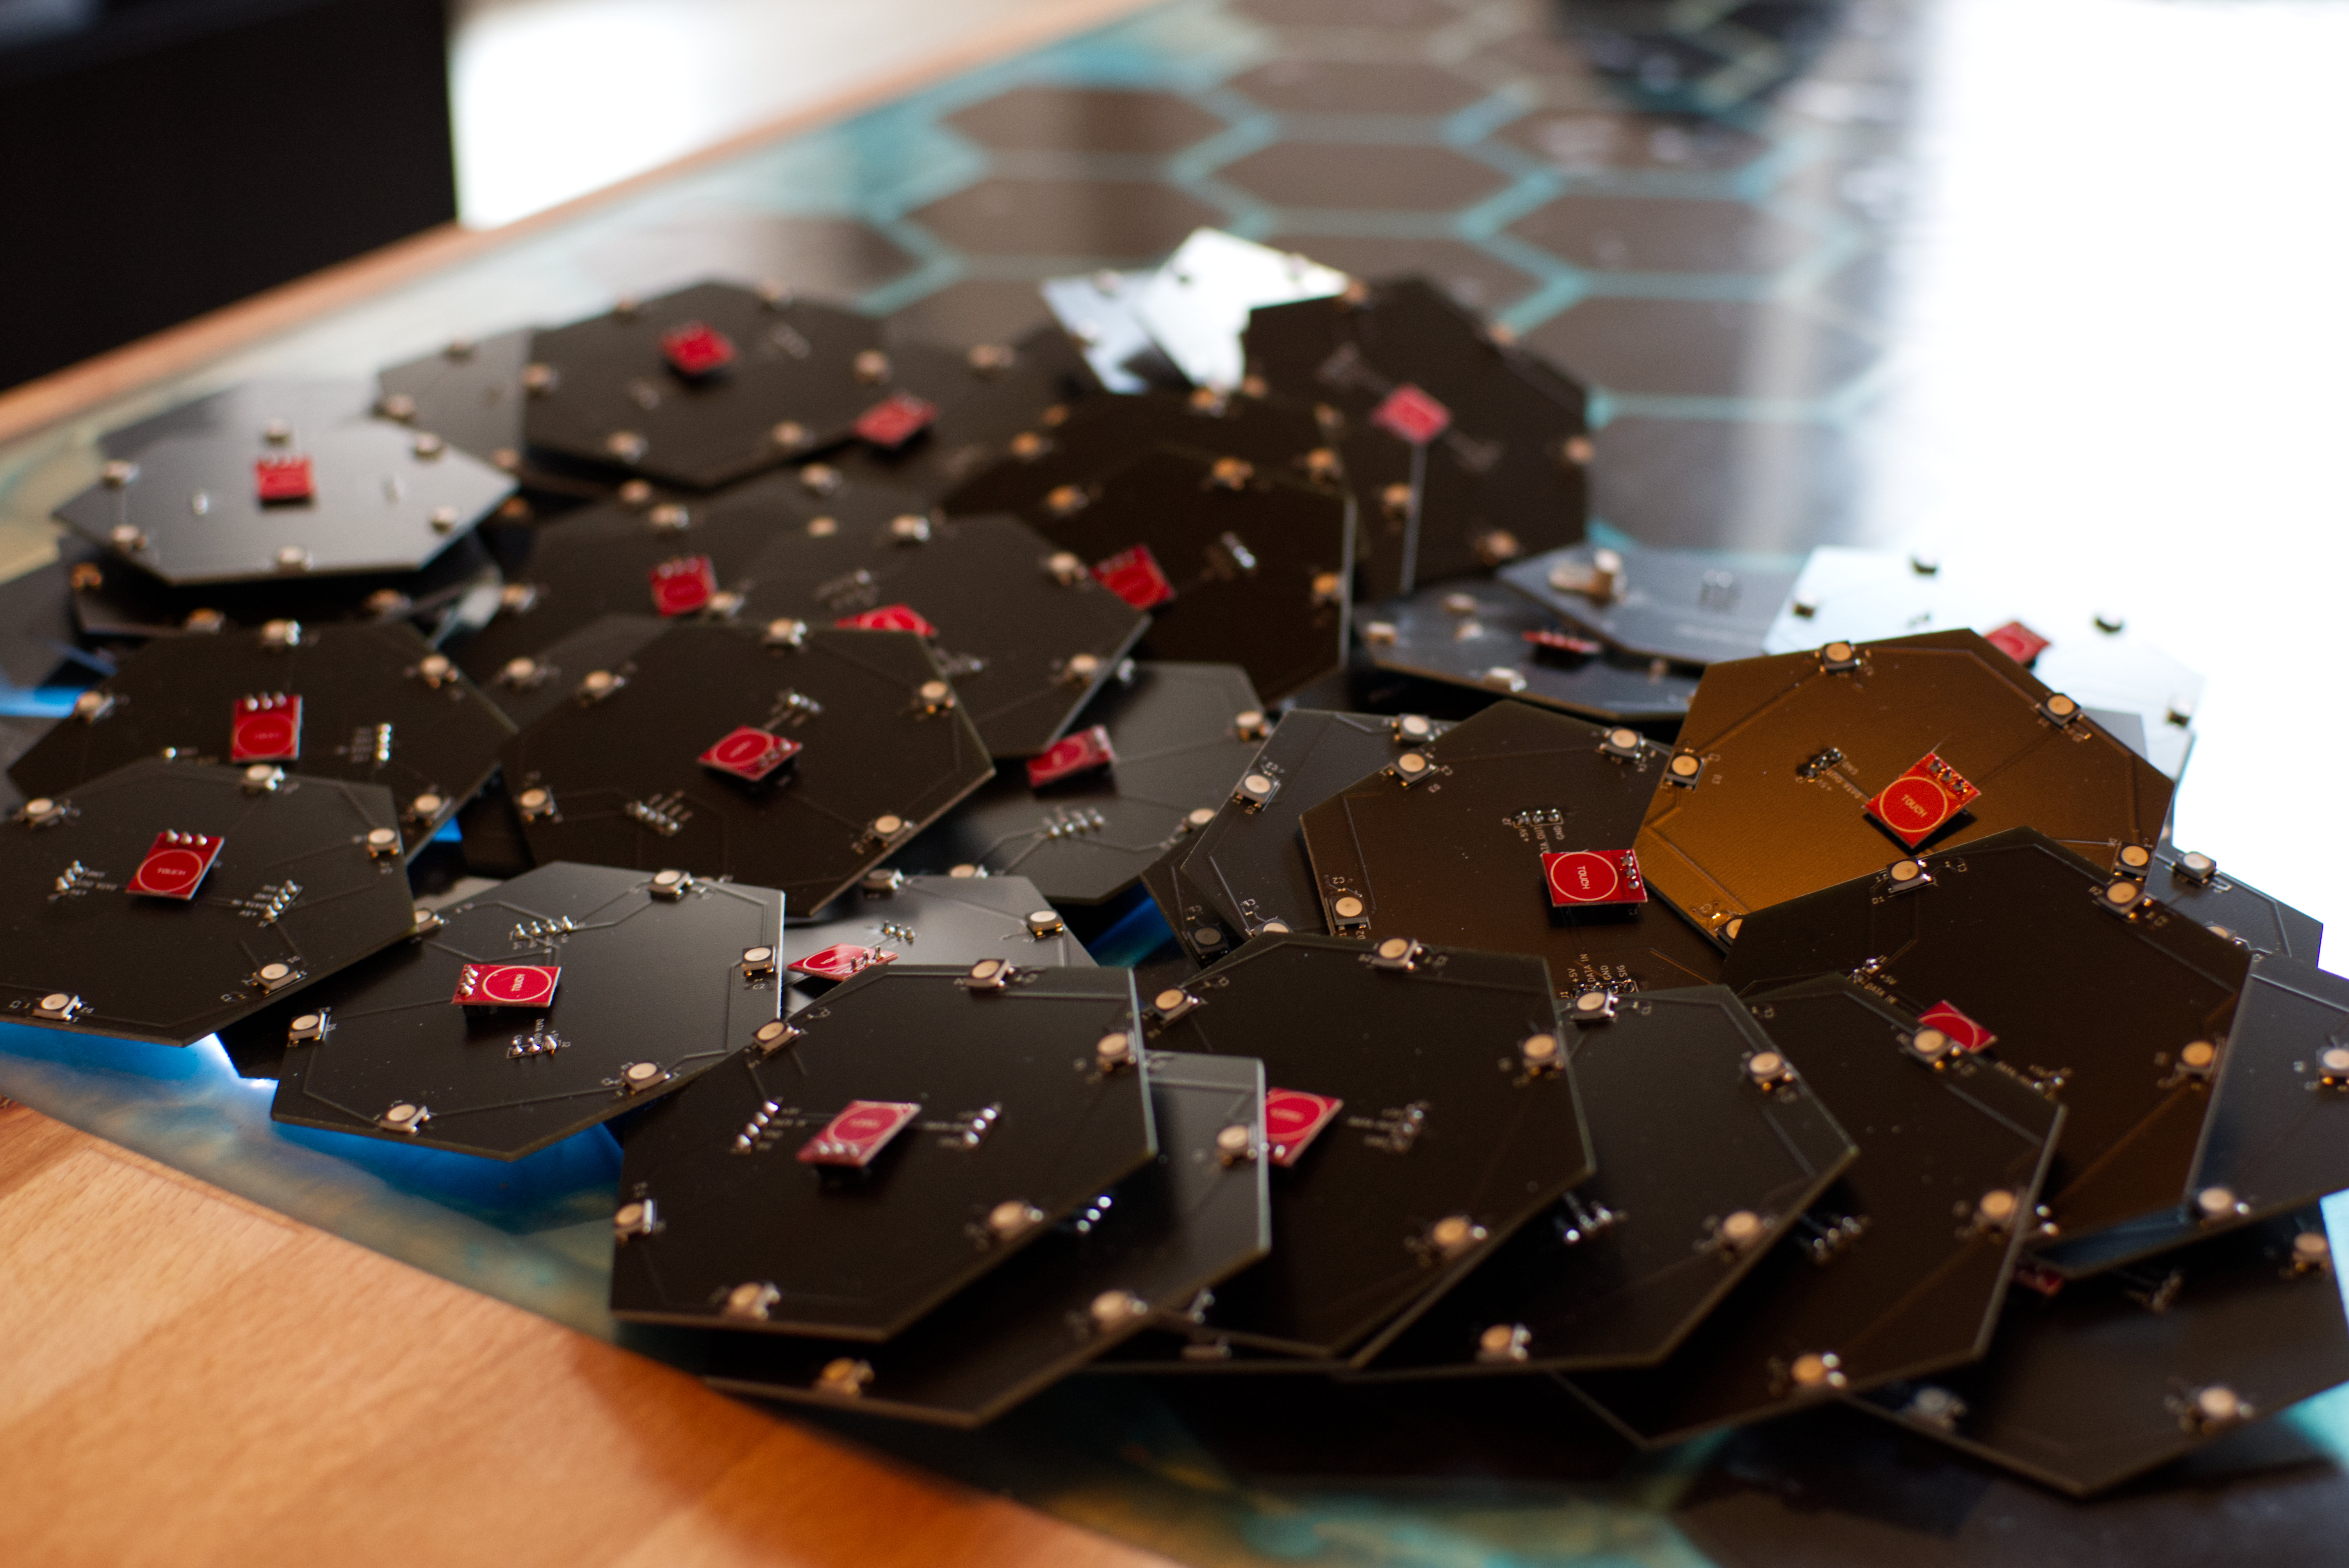
I have designed this PCB to integrate the LEDs and the Touch Sensor.
The PCB has a "Data IN" and "Data OUT" so it is possible to connect multiple PCBs to act as a WS2812B Strip
Every PCB has a "Signal" Pin which connects the signal output from the TTP223 PCB to the Main-PCB
The Input Voltage is 5V for the PCB
I have scraped some varnish from the touch surface of the TTP223 sensors and soldered a cable there, which then functions as a touch sensor.
BOM
[Tisch_BOM.xlsx](https://github.com/mazls/hexagon-desk/blob/main/BOM/Tisch_BOM.xlsx)Schematic Wiring
[Wiring.pdf](https://github.com/mazls/hexagon-desk/files/8800328/Wiring.pdf)Desk Cutout for 50 Hexagons
[Hex_Desk_Ausschnitt.pdf](https://github.com/mazls/hexagon-desk/blob/main/Woodwork/Hex_Desk_Ausschnitt.pdf)Desk Legs
[Table_legs.pdf](https://github.com/mazls/hexagon-desk/blob/main/Woodwork/Table_legs.pdf)Print files can be found here:
https://www.printables.com/model/200964-hexagon-led-coffee-tableDev Kit link:
https://www.az-delivery.de/en/products/esp32-developmentboardVideos
https://youtu.be/I4rWym8PK4shttps://www.youtube.com/watch?v=-OrUfqWGYhM&feature=emb_title
PCBway kindly sponsored a batch of PCBs which you can see pictures of inside the _img folder. The pcbs came in an absolutely outstanding quality and also very fast!Ordering at PCBWay is simple:
Upload the files from the desired folder After submitting your file, a PCBWay engineer will spend a few minutes reviewing your file to make sure everything goes smoothly for production. For high-priority work, it's always good to see how things are progressing. You have the opportunity to check the production status of each step. For assembled PCB, PCBWay will also send you sample photos for preview and confirmation.
