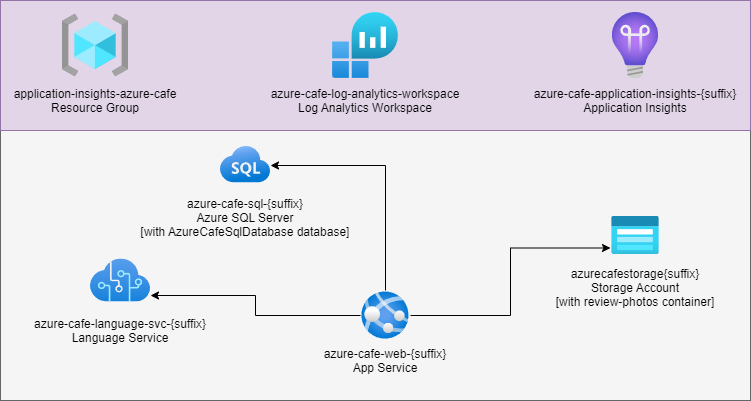
The Azure Cafe sample application demonstrates the implementation of Application Insights in an ASP.NET Core application.
The Azure Cafe application consists of an ASP.NET Core web application that serves information about local cafes including reviews and menu items. A review consists of a name, rating (on a sale of 1-5), a description, and the option to upload an image. Cafe data is stored in an Azure SQL database and review images are stored in Azure Storage. When submitting a review, the application also interfaces with a Language Service to determine the review sentiment through Sentiment Analysis.
- Visual Studio 2022
- Visual Studio Workloads: ASP.NET and web development, Data storage and processing, and Azure development
- Azure subscription and user account (with the ability to create and delete resources)
Deploy the starter application solution when following the Application Insights for ASP.NET Core applications article.
Tip
If you wish to deploy the final version of the source code without running through the steps of the article, proceed with the following steps but utilize the 2 - Completed Application folder instead.
-
Sign into the Azure Portal.
-
In the upper-right of the portal screen, open a cloud shell instance.
-
Choose PowerShell as the language. If prompted, create a cloud shell storage account.
-
Create a user context by issuing the following command. Follow the prompts to authenticate with your Azure Portal credentials.
az login
-
Optionally, set the Azure Subscription using the following command, replacing SUBSCRIPTION_ID with the desired Azure Subscription ID value.
az account set --subscription SUBSCRIPTION_ID -
Clone the sample repository using the following command.
git clone https://github.com/solliancenet/appinsights-azurecafe.git
-
Navigate to the deployment directory with the following command.
cd "appinsights-azurecafe/1 - Starter Application/deployment" -
Execute the following command to initiate the deployment.
terraform init
-
Perform the deployment using the following command.
terraform apply
-
When prompted, enter your IP address. You can retrieve this value by visiting IP Chicken.
-
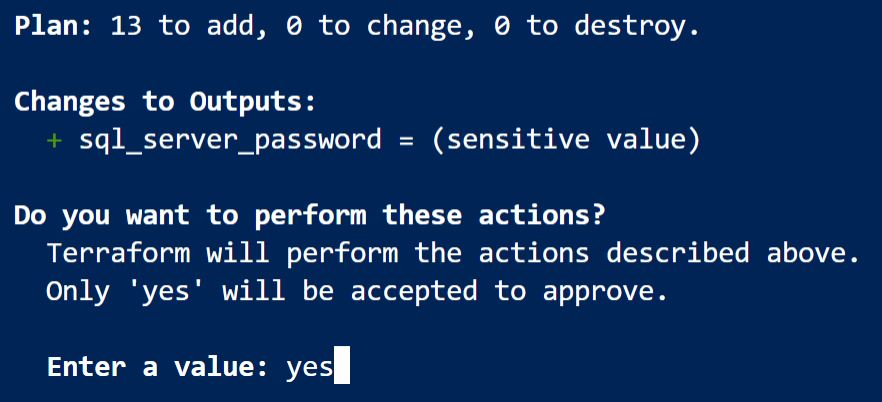
When the list of resources to be deployed displays, type
yesand press Enter to continue. -
Deployment will take up to 5 minutes to complete. Once completed, retrieve the Azure SQL password by executing the following command. Record this value for use when deploying the database project.
terraform output sql_server_password
-
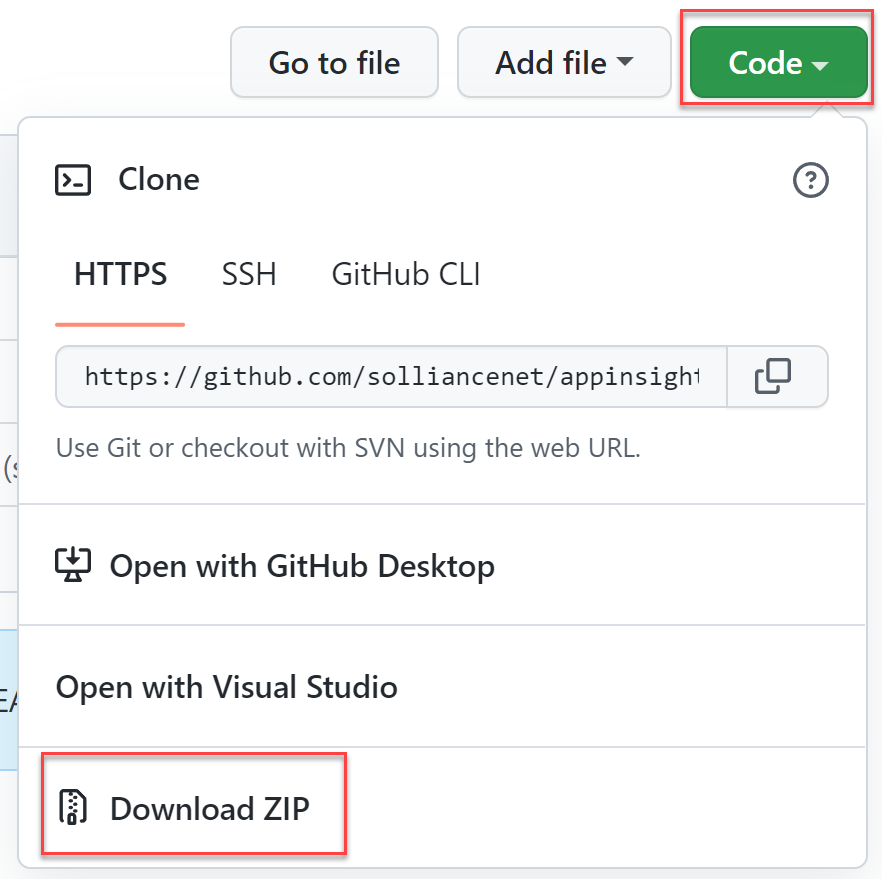
In a web browser, visit the source code repository page on GitHub.
-
Expand the Code button, and select the Download ZIP option.
-
Extract the ZIP archive to the desired working directory.
-
Use Visual Studio to open the
\1 - Starter Application\database\AzureCafeSqlDatabase.slnfile from the extracted ZIP. Ensure you are logged into Visual Studio with the same account as your Azure Portal account. -
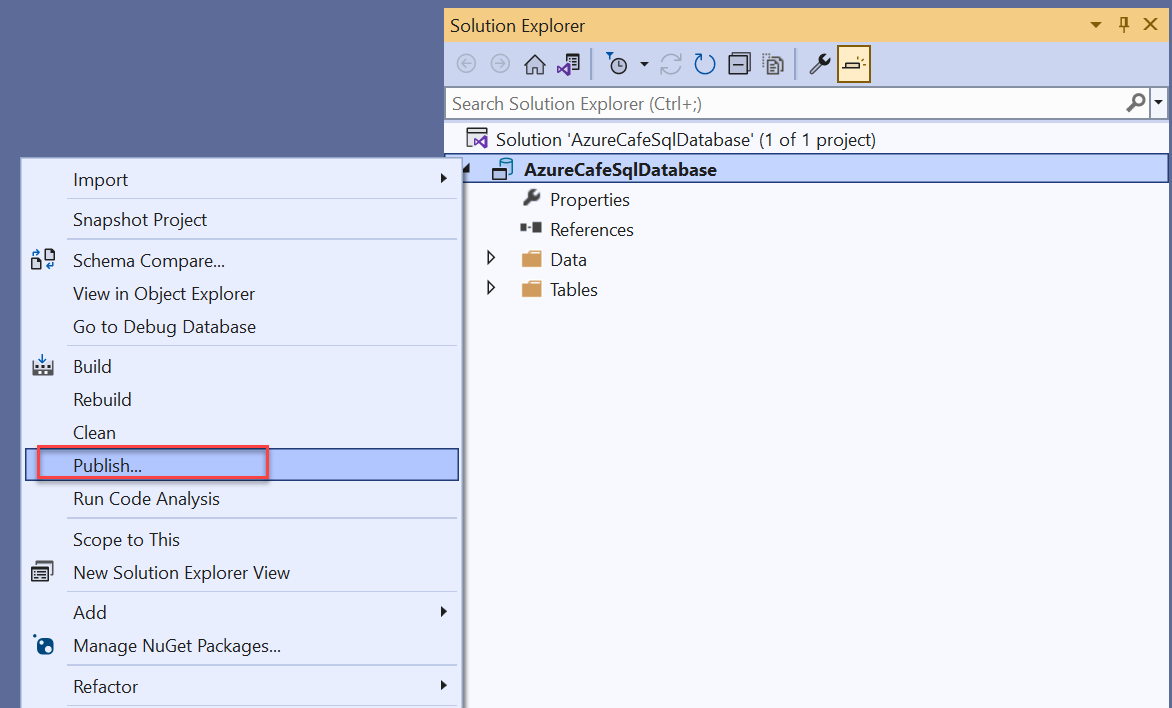
In the Solution Explorer panel, right-click the AzureCafeSqlDatabase project and select Publish.
-
In the Publish Database dialog, select the Edit button next to the Target database connection field.
-
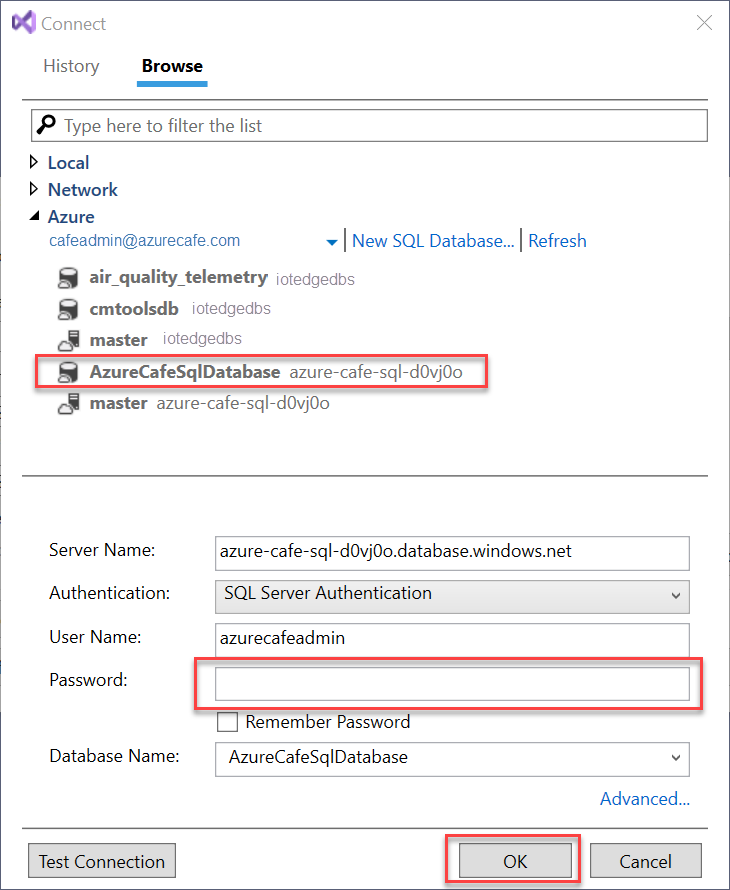
In the Connect dialog, select the Browse tab. Expand the Azure section, and locate and select the AzureCafeSqlDatabase item. In the bottom panel, enter the password that was recorded when deploying the Azure resources. Select OK.
-
On the Publish Database dialog, select the Publish button.
-
Wait a few minutes while the database project is deployed. Once completed, close Visual Studio.
-
Use Visual Studio to open the
\1 - Starter Application\src\AzureCafe.slnfile from the extracted ZIP. Ensure you are logged into Visual Studio with the same account as your Azure Portal account. -
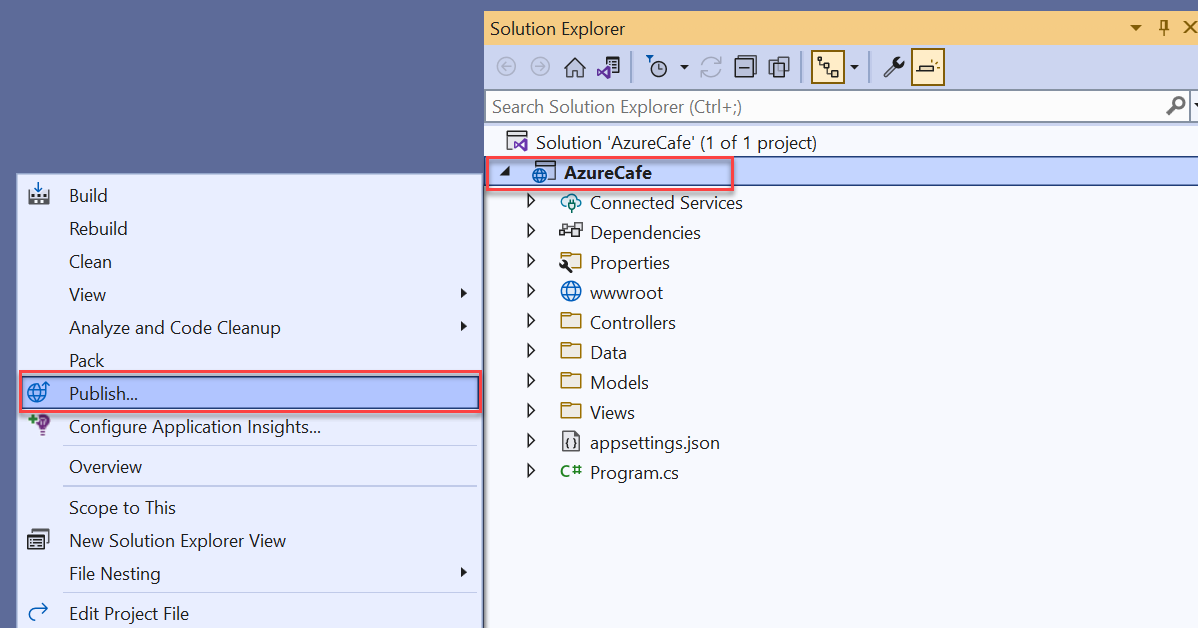
In the Solution Explorer panel, right-click the AzureCafe project and select Publish.
-
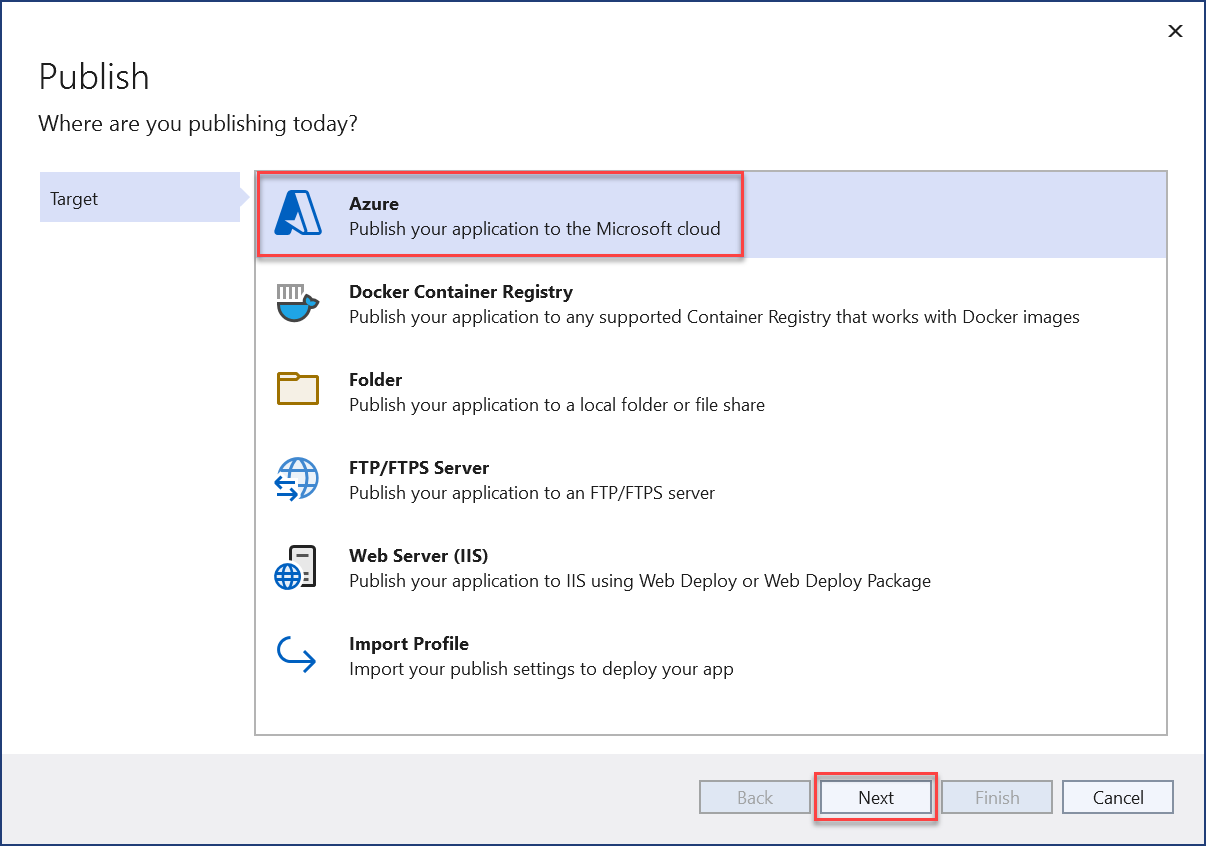
In the Publish dialog Target step, select Azure, then Next.
-
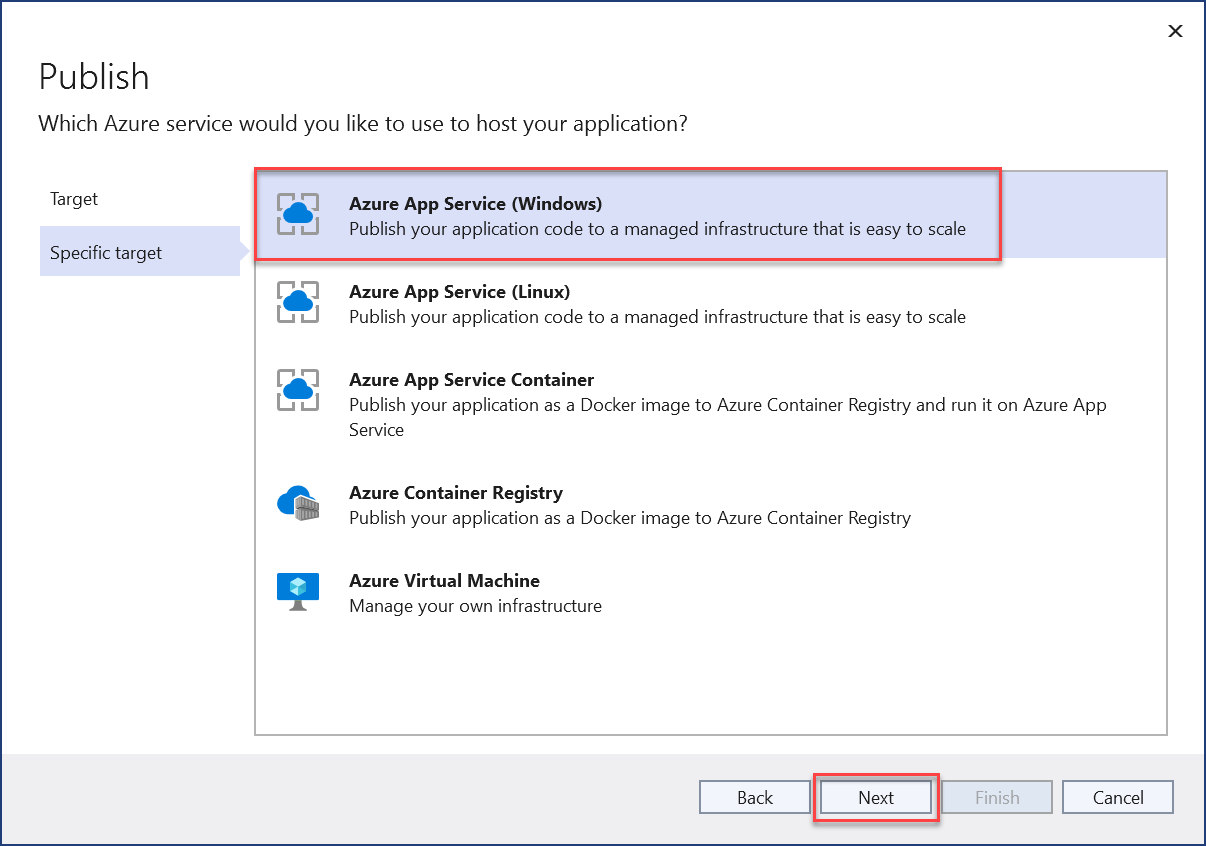
In the Publish dialog Specific target step, select Azure App Service (Windows). Select Next.
-
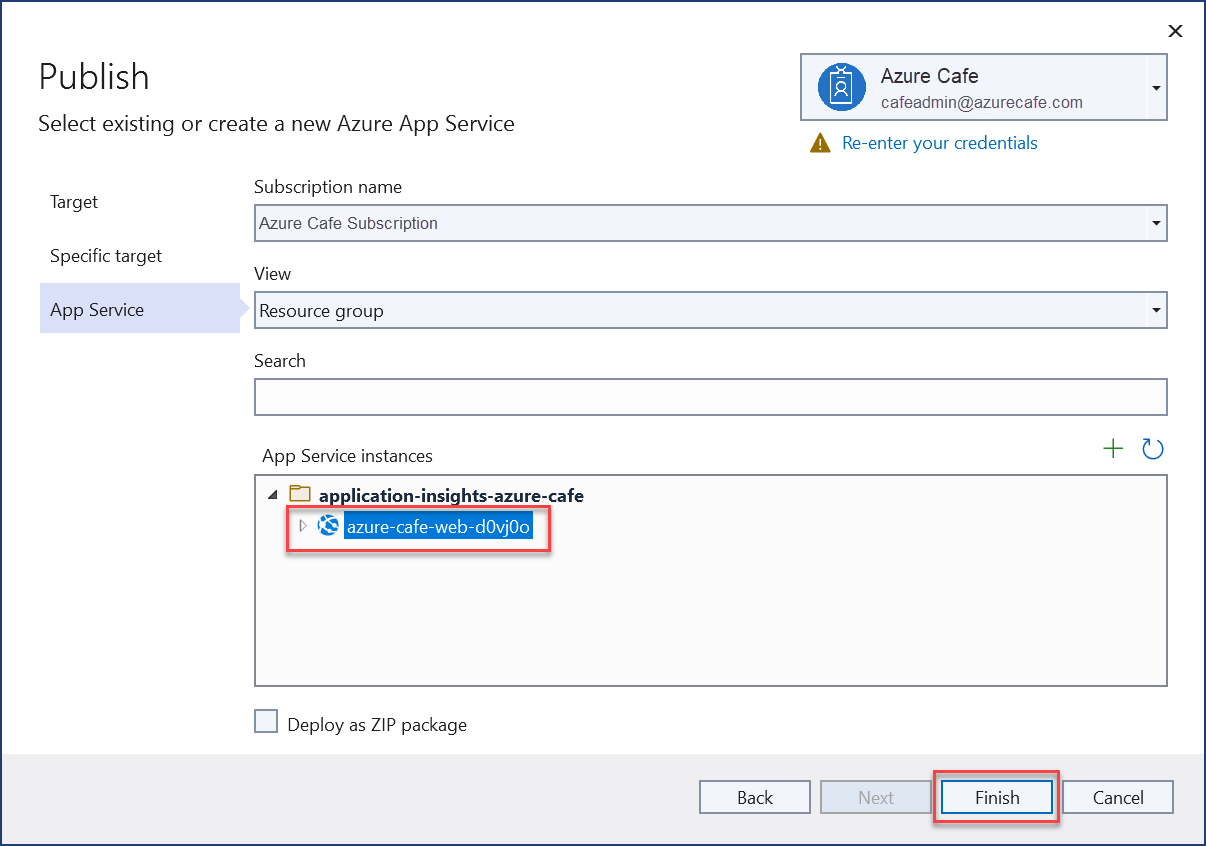
In the Publish dialog App Service step, select the azure-dave-web-{suffix} item, then select Finish.
-
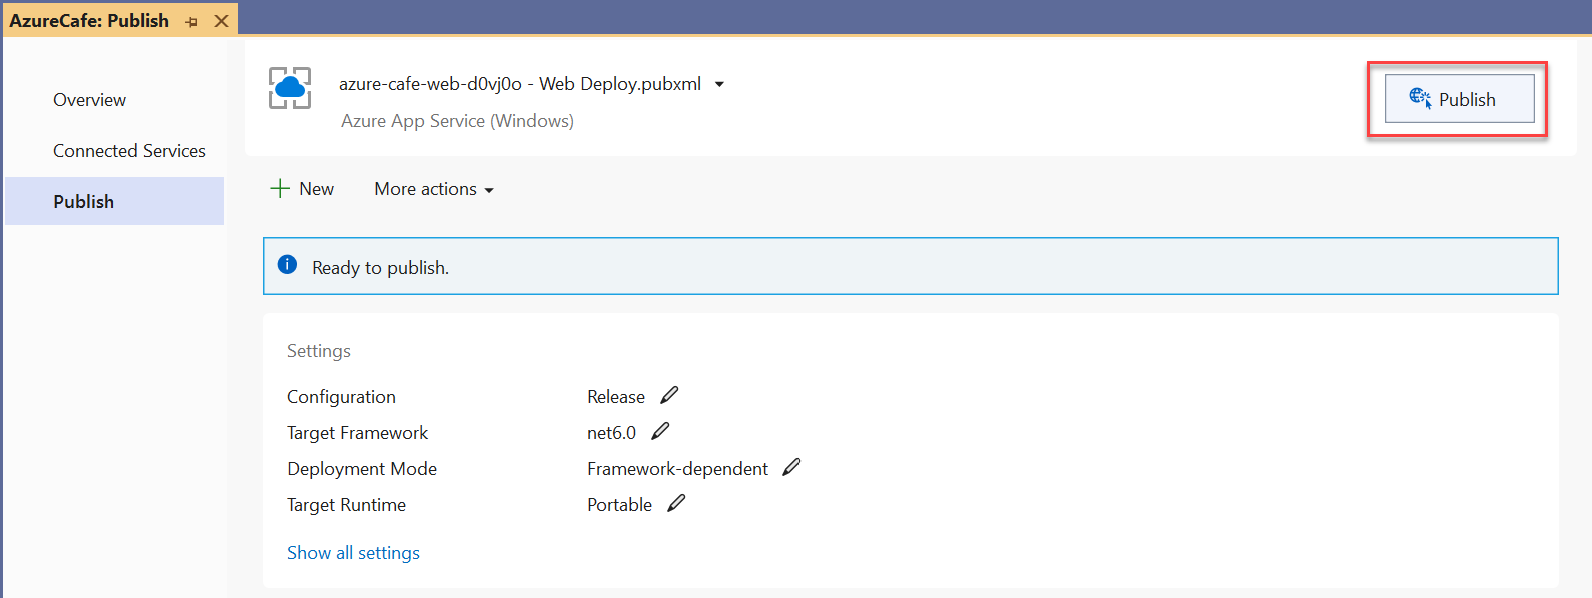
On the created publish profile, select the Publish button.
-
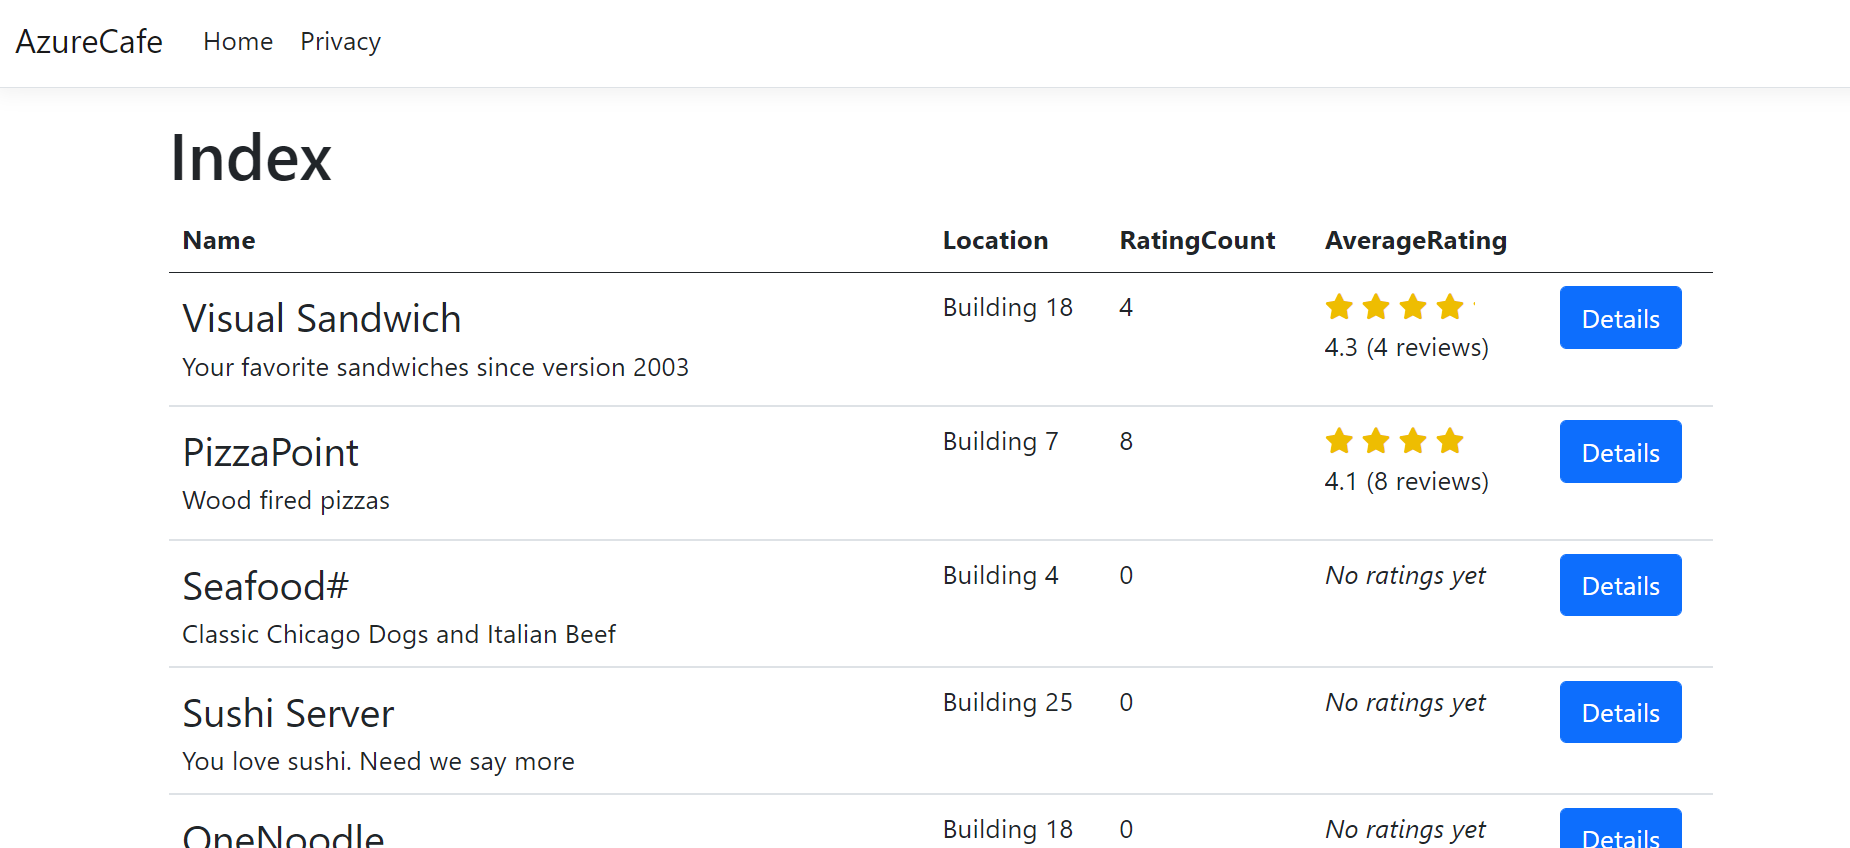
Once publishing has succeeded, a browser window displays with the web application.
-
Return to the Application Insights for ASP.NET Core applications article and learn to implement Application Insights.
When you have completed following along with the article, clean up all deployed resources.
-
Log into the Azure Portal, and open a Cloud Shell instance. Select the PowerShell language.
-
Establish a user context by executing the following command. Follow the prompts to authenticate.
az login
-
Optionally, set the Azure Subscription using the following command, replacing SUBSCRIPTION_ID with the desired Azure Subscription ID value.
az account set --subscription SUBSCRIPTION_ID -
Navigate to the deployment directory with the following command.
cd "appinsights-azurecafe/1 - Starter Application/deployment" -
Remove all deployed resources by executing the following command, when prompted to continue, enter
yes.terraform destroy
-
Once completed. Execute the following command 3 times to return to the user directory.
cd..
-
Remove the cloned git repository by issuing the following command.
Remove-Item appinsights-azurecafe -recurse -force
