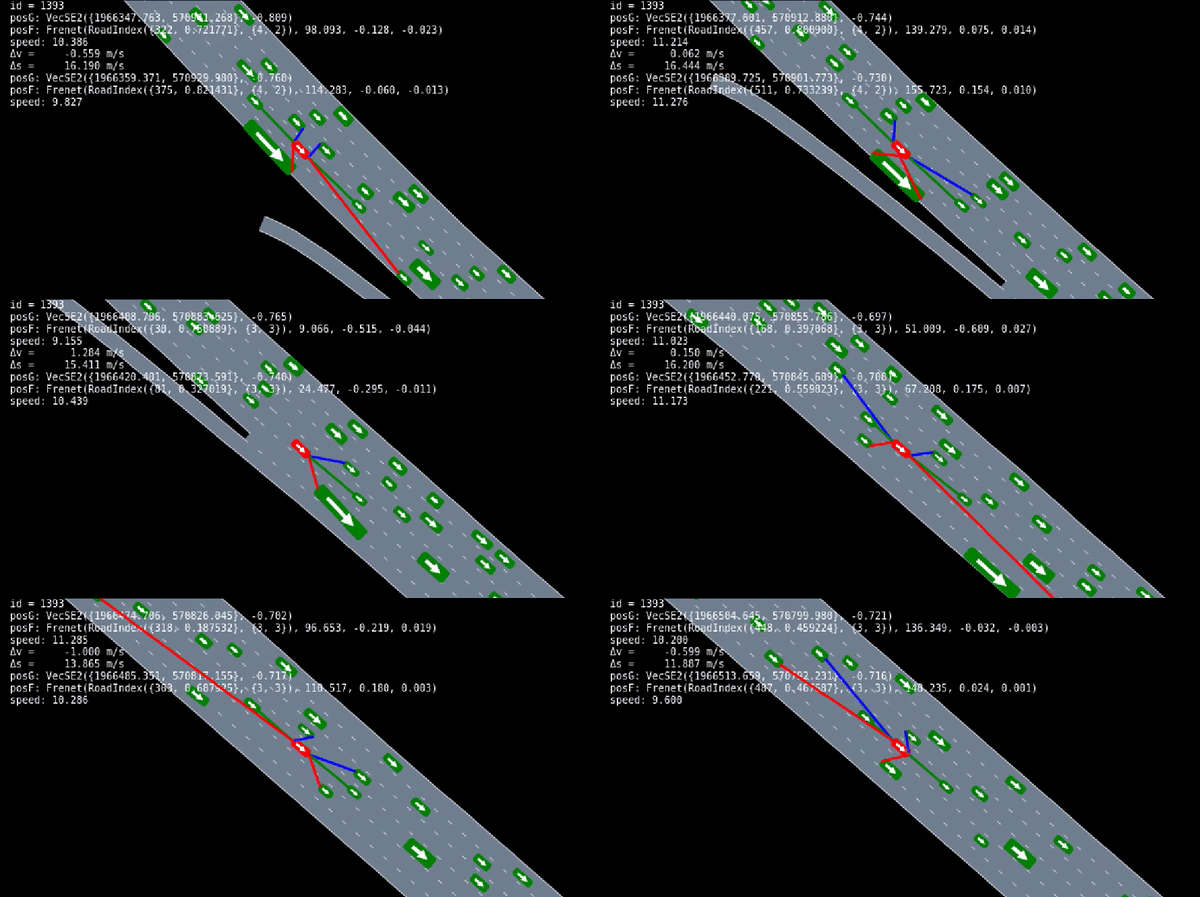
This repository collects a set of tools for extracting, visualizing, and simulating Next Generation Simulation (NGSIM) dataset. The tools are originally developed by Stanford Intelligent Systems Laboratory (SISL).
Please check their github repositories on https://github.com/sisl
If you are working on your research and plan to publish papers, please check the original places of these packages and cite their work there. Thank you. (disclaimer: I am not affiliate with SISL.)
Successfully running the tools for dealing with NGSIM requires packages which are mutually dependent but scattered in different repositories. Since each repository undergoes active development, directly cloning the master branch of the repositories results in version conflicts, which are, trust me, frustrating.
While do not claim any originality, in this repository we make sure you can find all you need to run the tools for dealing with NGSIM dataset. Specifically, the following are included.
-
The packages you will need:
- Records v0.6.0 (branch 0.6_legacy)
- Vec v0.6.0 (branch 0_6)
- AutomotiveDriving v0.6.0
- AutoViz v0.6.0
- NGSIM v1.1.0
The dependency between the packages, base on my understanding, looks like the following diagram.
-
The installation procedure
-
The collection of tutorials on how to using the tools.
However, you do need to download the following files from other repositories. This is because they are too large, I cannot include them here. They are
- Julia v0.6.2
- NGSIM data
I will let you know how to clone or download these files.
If we want to install julia using command line, using the following code. I use Ubuntu 16.04.6.
# Let us install julia in home directory.
cd ~
# Now we install julia-0.6.2
wget https://julialang-s3.julialang.org/bin/linux/x64/0.6/julia-0.6.2-linux-x86_64.tar.gz
tar -xf julia-0.6.2-linux-x86_64.tar.gz
# Clean the installation file.
rm julia-0.6.2-linux-x86_64.tar.gz
# Add the path to the system PATH variable
echo "export PATH=$(pwd)/julia-d386e40c17/bin:\$PATH" >> ~/.bashrc
# Rerun .bashrc to update the changes
source ~/.bashrcInstall some packages to ubuntu 16.04 in case they are not there already. In the terminal, do the following.
sudo apt-get install libavcodec-ffmpeg56
sudo apt-get install libavformat-ffmpeg56
sudo apt-get install libavfilter-ffmpeg5
sudo apt-get install libavdevice-ffmpeg56
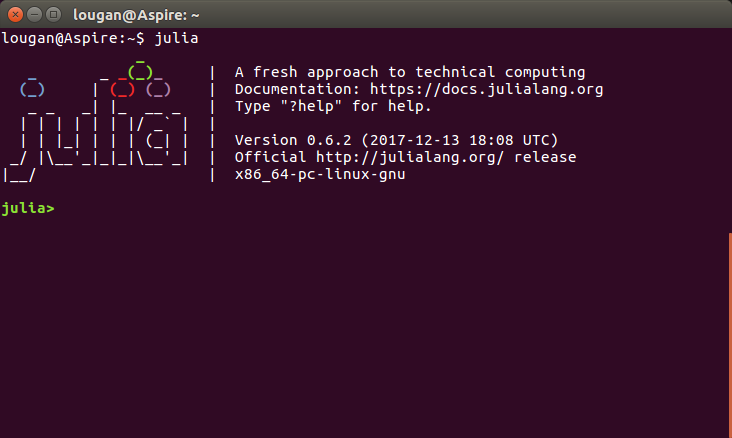
Open julia by typing julia in your terminal. Make sure the version of julia should be v0.6.2.
julia
>> Pkg.add("StaticArrays")
>> Pkg.add("Reexport")
>> Pkg.add("Colors")
>> Pkg.add("DataFrames")
>> Pkg.add("Parameters")
>> Pkg.add("ElectronDisplay")
>> Pkg.add("Distributions")
>> quit()
These commands will automatically create a new directory: ~/.julia/v0.6/ This directory is important. It is where all your packages are saved.
When adding the above packages, their dependencies are automatically downloaded. Hence, it may take a longer time. Be patient.
The following steps are not as elegent. I want to install julia packages from specific branches or tags of certain github repositories, and I do not know how to make it happen in julia v0.6 by using Pkg.clone(url). I did try Pkg.clone(url, packagename); Pkg.checkout(packagename, branch) and it did not work for me.
Instead, as a work around, I will show you how to download the zip files of the packages and install the zip files locally into julia v0.6.
Download the NGSIM-tools.zip from the website to your ~/Downloads/ folder. If you prefer command lines, use the following.
cd ~/Downloads/
git clone https://github.com/LongshengJiang/NGSIM-tools.git
Open the downloaded NGSIM-tools/zipped_packages folder.
cd ~/Downloads/NGSIM-tools/zipped_packagesRecall when we used Pkg.add() in julia, julia automatically created a directory ~/.julia/v0.6/ to place the packages. We will unzip the newly downloaded files directly to that directory. In your terminal, type
# unzip Vec.zip
unzip ~/Downloads/NGSIM-tools/zipped_packages/Vec.zip -d ~/.julia/v0.6/
# unzip Records.zip
unzip ~/Downloads/NGSIM-tools/zipped_packages/Records.zip -d ~/.julia/v0.6/
# unzip AutomotiveDrivingModels.zip
unzip ~/Downloads/NGSIM-tools/zipped_packages/AutomotiveDrivingModels.zip -d ~/.julia/v0.6/
# unzip AutoViz.zip
unzip ~/Downloads/NGSIM-tools/zipped_packages/AutoViz.zip -d ~/.julia/v0.6/
# unzip NGSIM.zip
unzip ~/Downloads/NGSIM-tools/zipped_packages/NGSIM.zip -d ~/.julia/v0.6/
The above commands work like Pkg.add() in julia, I guess but not sure.
Go to directory ~/.julia/v0.6/
cd ~/.julia/v0.6/Check if the module name has version extensions, for example, Vec.jl-0.6.0. This should be change to Vec.
If such version extension exists, we need manual remove it by using the following
mv Vec.jl-0_6/ Vec/
mv Records.jl-0.6-legacy/ Records/
mv AutomotiveDrivingModels.jl-0.6.0/ AutomotiveDrivingModels/
mv AutoViz.jl-0.6.0/ AutoViz/
mv NGSIM.jl-1.1.0/ NGSIM/Go to the directory where the data should be placed.
cd ~/.julia/v0.6/NGSIM/data/Download and unzip the data
wget https://github.com/sisl/NGSIM.jl/releases/download/v1.0.0/data.zip
unzip data.zip
# Answer yes to any that ask to be replaced.
Please remember to create trajectories from the raw data.
# Create trajectories from the data
julia
  >> using NGSIM
  >> convert_raw_ngsim_to_trajdatas()
  >> quit()
# This may take very long time. Be patient.
Check if the five packages are successfully installed.
>> using Vec
# Wait to see any errors pop up.
>> using Records
# Wait to see any errors pop up.
>> using AutomotiveDrivingModels
# Wait to see any errors pop up.
>> using AutoViz
# Wait to see any errors pop up.
>> using NGSIM
# Wait to see any errors pop up.
Furthermore, you can run tests on these packages.
>> Pkg.test("Vec")
# Wait to see any errors pop up.
>> Pkg.test("Records")
# Wait to see any errors pop up.
>> Pkg.test("AutomotiveDrivingModels")
# Wait to see any errors pop up.
>> Pkg.test("AutoViz")
# Wait to see any errors pop up.
>> Pkg.test("NGSIM")
# Wait to see any errors pop up.
If all the tests passed, you can now start to follow the tutorials to learn the tools.
I assume you use your julia terminal (REPL) to practice on the tutorials. You need to go to your julia by typing
juliain the terminal. Then, on this webpage you go to the folder \tutorials\ and start your learning from there. I hope your learning journey is much smoother than mine.
I personally don't think working with Julia in the terminal is convenient and cool. I prefer using an color coded editor or, if possible, a full functioning IDE. While the latest version of Julia has these tools available, people who are stuck with Julia v0.6 are not so lucky. We have to use OLD versions of editors and so far I have not find a debugger for Julia v0.6. If you know one, please email me at [email protected]. I really appreciate your help. Here is my selection of tools after much research on the internet.
I use Atom v1.27.0. You can find this old version here: https://github.com/atom/atom/releases/tag/v1.27.0. I use ubuntu 16.04, hence, I downloaded atom-amd64.deb. You can choose the files according to your platform.
I then install the packages of Atom for using julia. I use uber-juno, but we need to be careful about the versions. We cannot directly use the latest version. To add the juno packages, go toEdit--> Preference. Here among a column of items, select Install. In the search box, input [email protected]. Find this result and click on install. This step would install several packages, but you might have an error regarding installing julia-client. We cannot use the default version of this package. I tried several versions and settle at [email protected]. You put this string in the search box. Find this result and install. So far you would be set. I attach a summary of the packages here for your convenience:
- atom v1.27.0
- [email protected]
- [email protected]
- [email protected]
- [email protected]
- [email protected]
You can manage the atom packages using apm command. For example, if you want to install [email protected], in your terminal, you type:
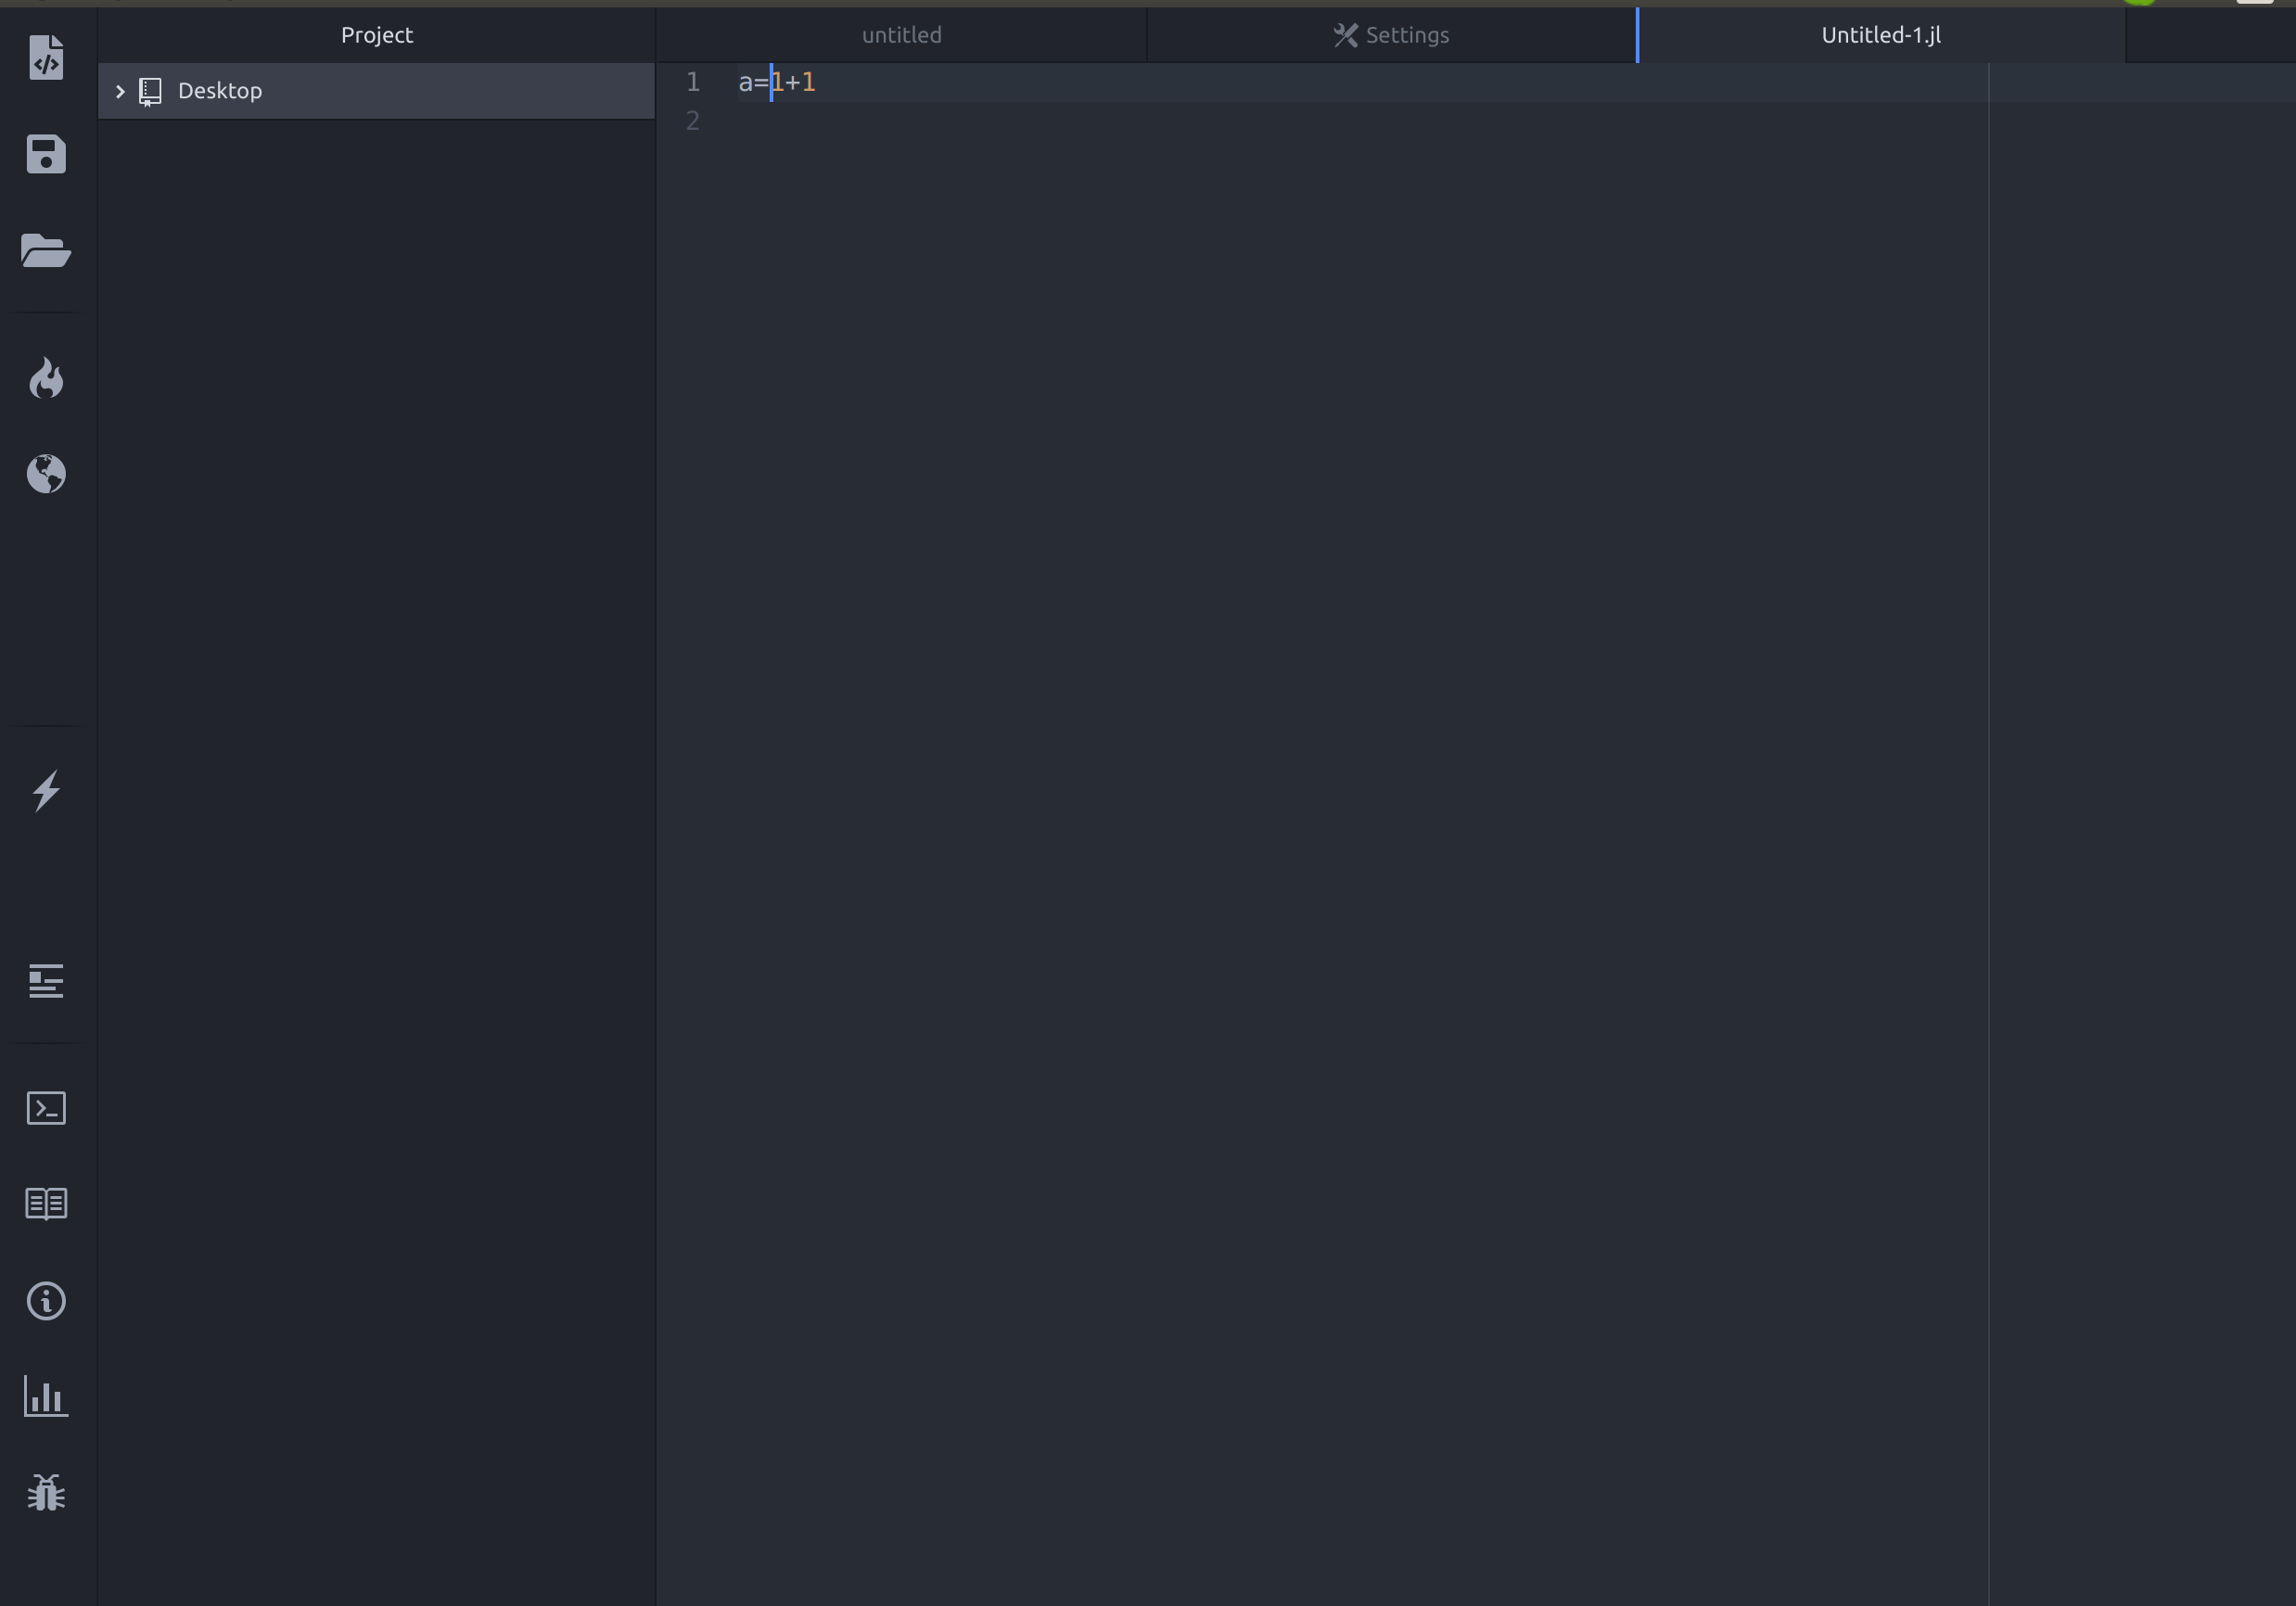
apm install [email protected]Hopefully, you will see an interface like this when you open Atom

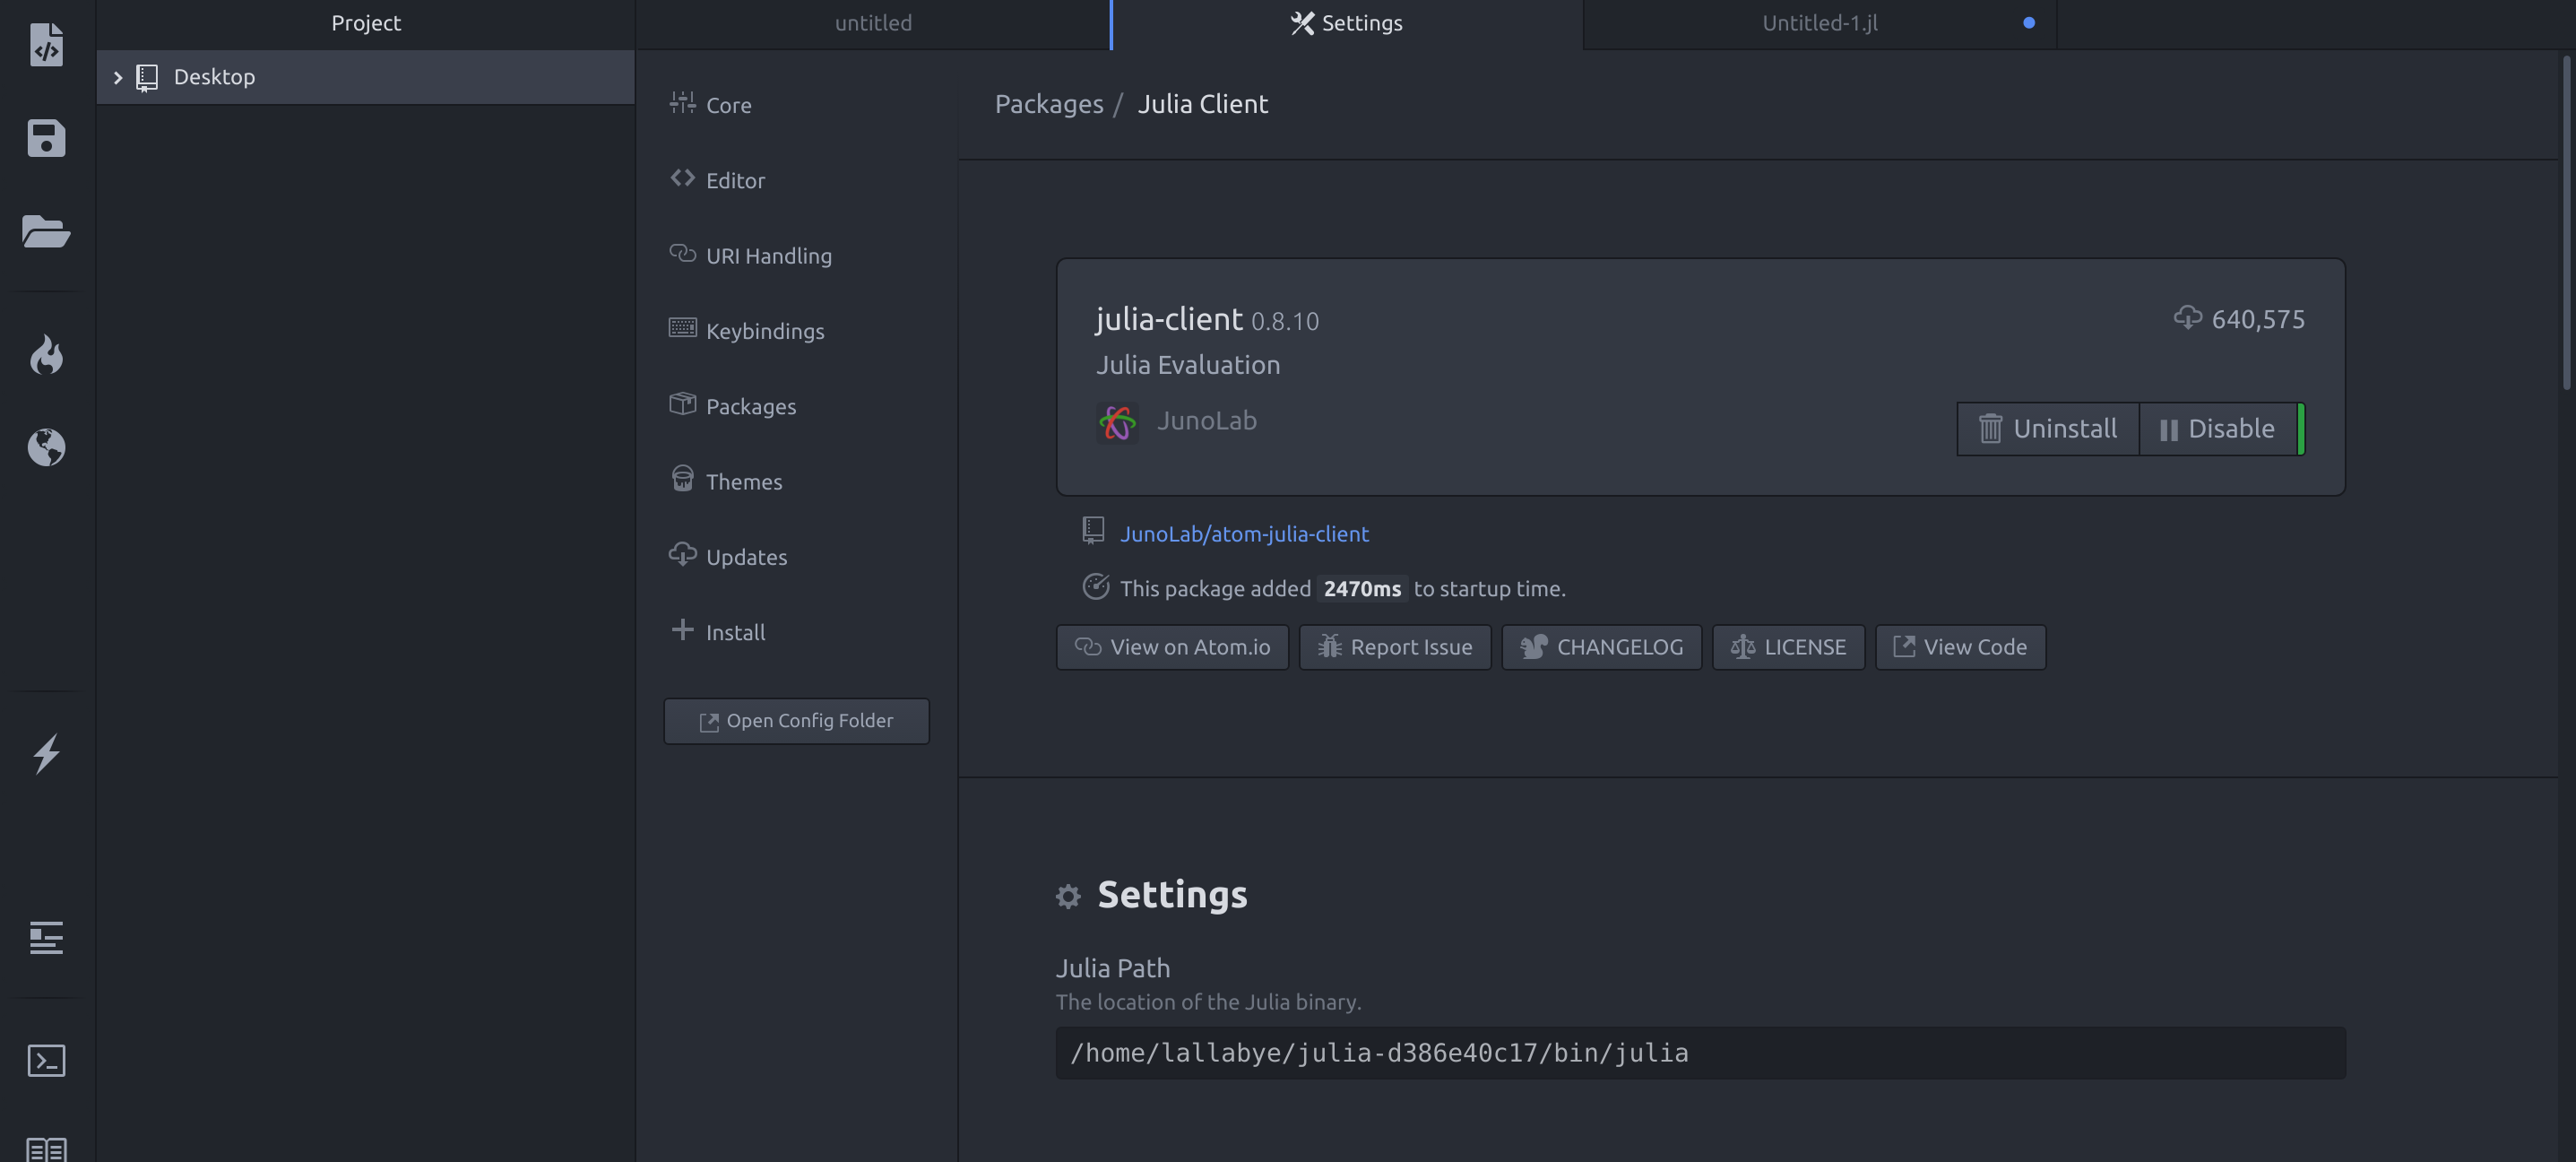
Last step, don't forget to change the path to julia binary in julia-client. We want want the path to be the julia v0.6 we have downloaded previously. We need to find the setting of julia-client by Edit --> Preference --> packages. Then go find julia-client, and presss the setting icon (a gear). You would see the screen looking like this.

I think having a debugger to work with would be perfect. However, currently, I could not get the native debugger in Juno to work with Julia v0.6.2. But I do find a less clean and powerful debugger online. Please refer to https://tnctsi.uthsc.edu/2019/01/03/julia-debugging-basics-by-gregory-farage/


