- Our implementation has been tested on the Windows, Intel®Core™i7-1165G7 CPU @ 2.80GHz, 16GBs RAM memory.
- IntelliJ IDEA, which is available here
- Java 11 SDK
- Download JavaFX SDK (Version: 17.0.10, Type: SDK)
- z3 solver (Version >= 4.12.2)
- Extract the downloaded file
- Add the path to the
binfolder to the system environment variablePATHorPath
- Clone and Open the project in IntelliJ IDEA
- Add JavaFX SDK to the project (File -> Project Structure -> Libraries -> Add -> Java -> Select the lib folder of JavaFX SDK)
- Edit Configuration
- New Configuration -> Application
- Main class:
gui.Main - Modify options -> Add VM options:
--module-path <path-to-lib-folder-of-javafx-sdk> --add-modules javafx.controls,javafx.fxml(TODO: Change the path to your JavaFX SDK lib folder)
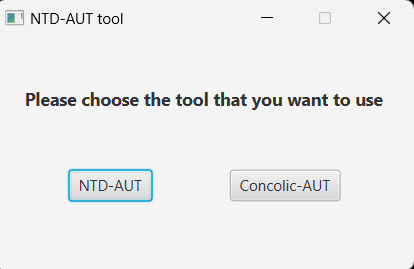
- Run the project, the tool will ask you to choose between two options:
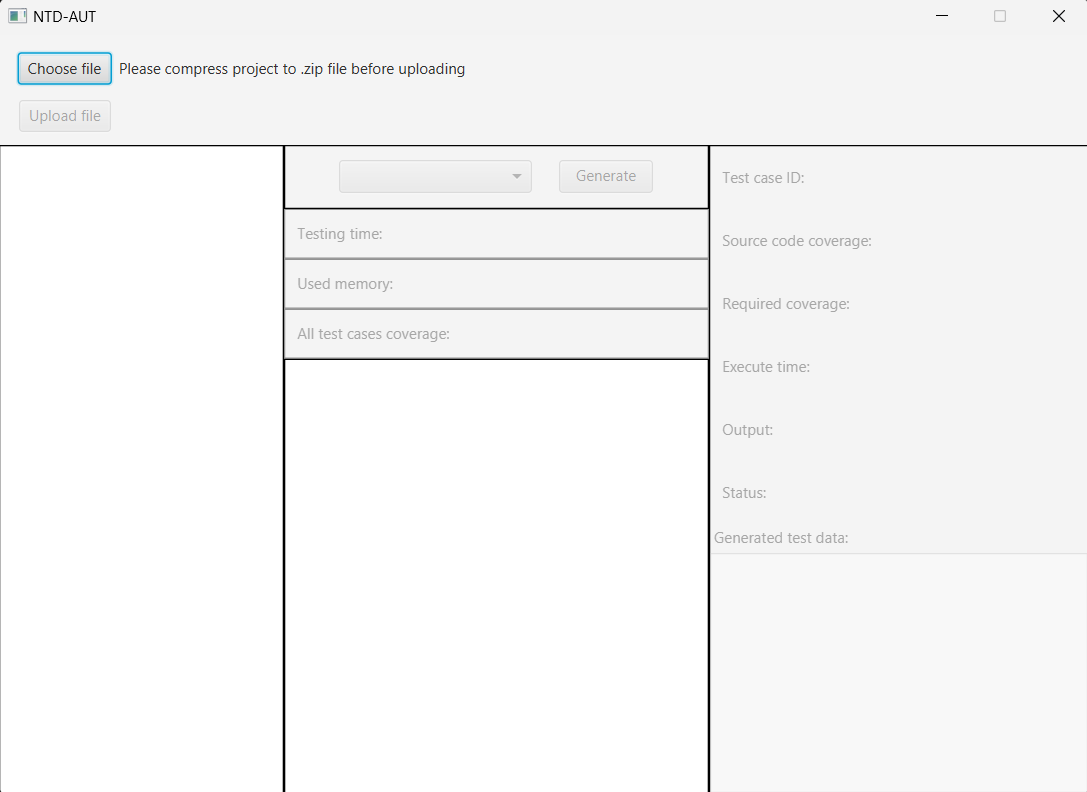
- After choosing the method, the main screen looks like this:

- Upload the project by clicking the
Choose filebutton, then select the project folder.
Note:- We have provided some sample projects in the
samplefolder. - The project should be compressed into a zip file.
- The project should contain the
javafolder, which contains the source code.
- We have provided some sample projects in the
- After the project is uploaded, choose the unit and then choose the coverage criteria.
- Click the
Generatebutton to start the testing process. The result will be displayed and you can click on each test case to see the details as well as below:
