Please check PHP and WordPress versions compatibility here before you proceed.
- PHP 8.3.14
- WordPress 6.4.3
- WooCommerce 8.6.1
- Pagado 2.1.2
- Dokan 3.10.1
- Have WordPress installed and running.
- Install and activate WooCommerce.
- Install and activate Pagado Payment Processor plugin.
-
Go to
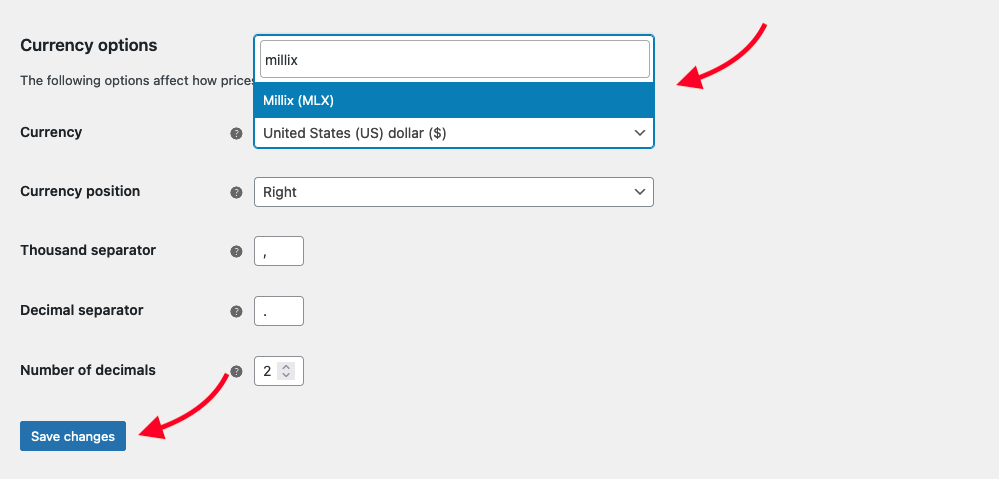
WooCommerce->Settings->Generaltab -
From
Currency options->Currency, select Millix (MLX). -
Use Save changes button to save the configuration.
-
From
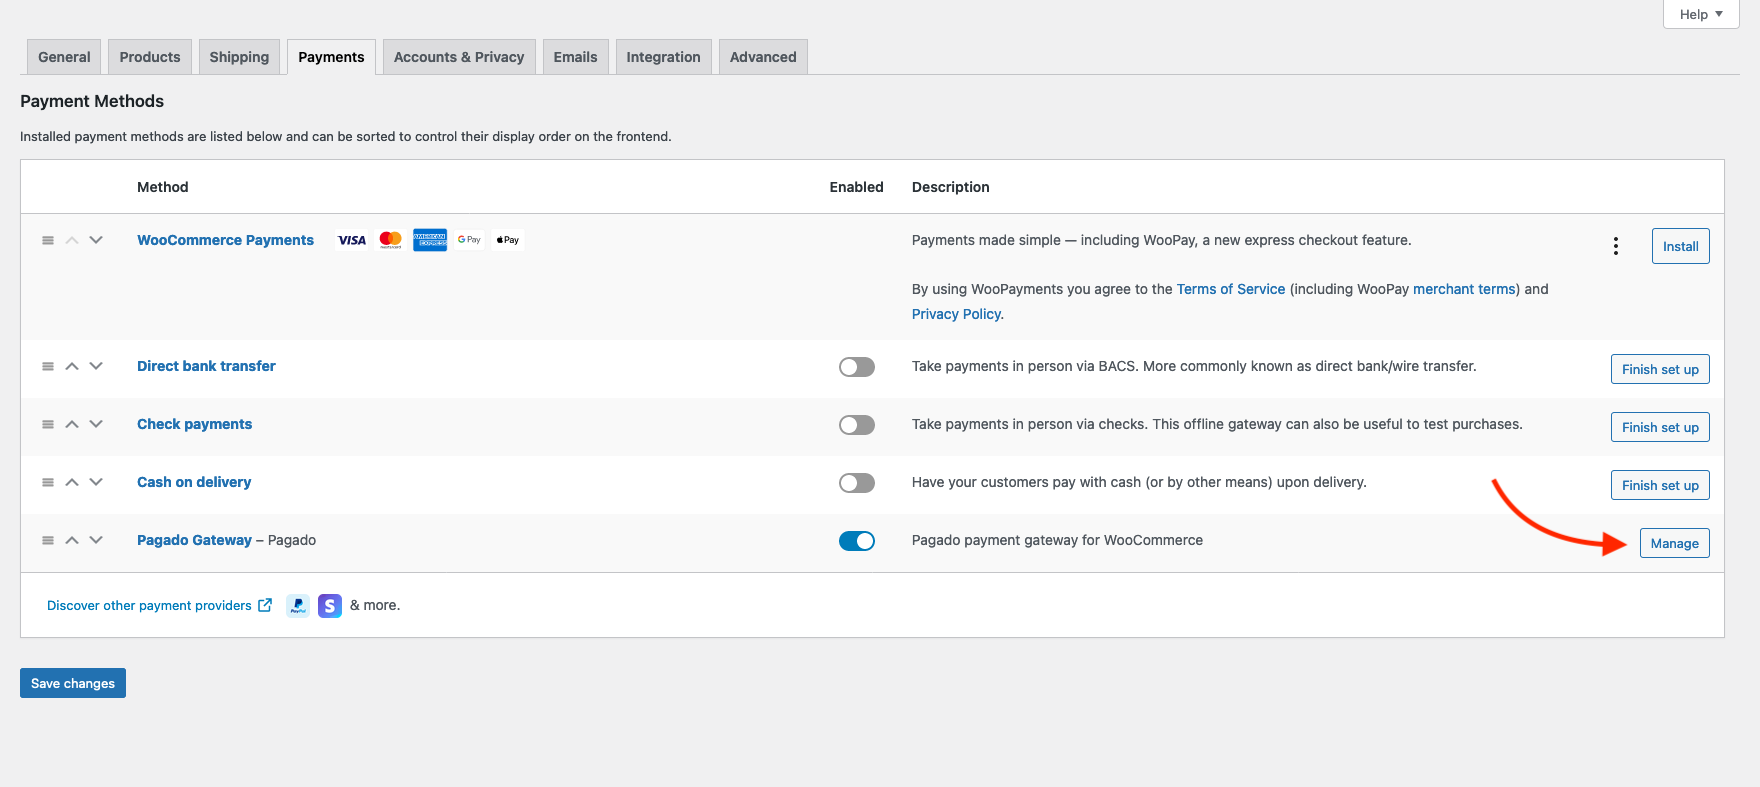
WooCommerce->Settings->Paymenttab, you should see Pagado Gateway is activated by default. If not make sure it's activated. -
Click on Manage button.
-
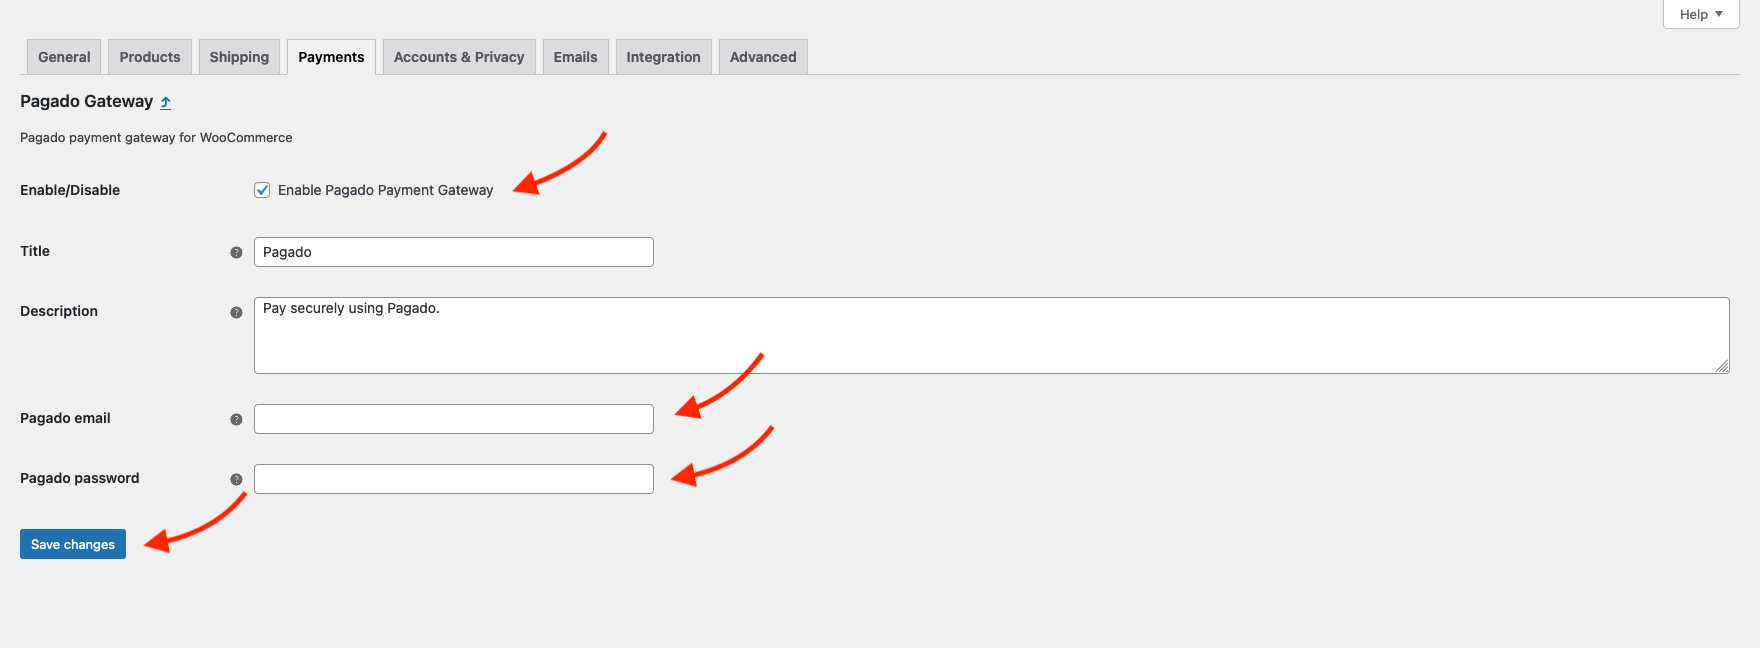
Check Enable Pagado Payment Gateway.
-
Insert your pagado email and password into the respective fields.
-
Use Save changes button to save the configuration.
Starting from Pagado version 2.0.0, Dokan multi-vendor support has been added. It allows seamless integration with Pagado payment gateway. While is has full support for Dokan, it also supports some additional features like instant automatic payment to vendor.
Note: Dokan features and documentation can be found here.
Pagado API Direct allows it's user to use supported features through it's API with API Direct key (logging into account is not necessary).
-
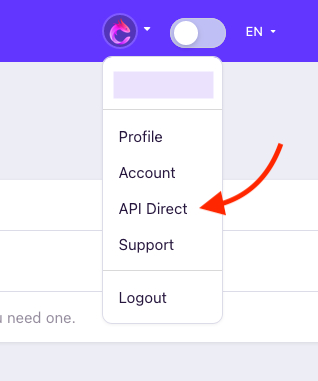
Login to pagado.
-
Select API Direct from menu.
-
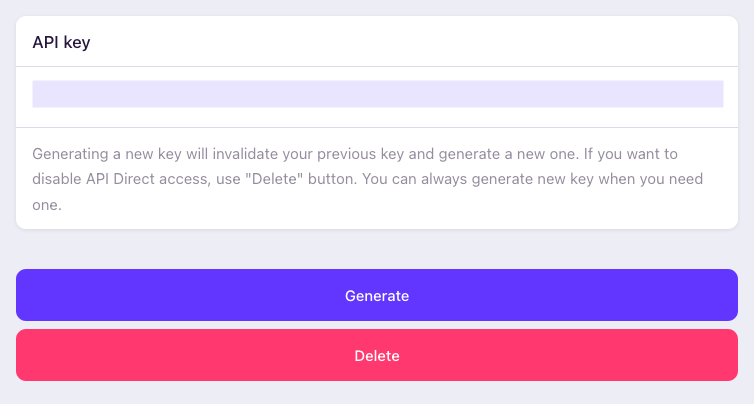
Generate new key if you haven't already. You can
Generatenew one if you already have one. UseDeleteif you want to disable API Direct access to your account. -
You should get that key from here for use. You can always come back and get your existing key from here.
-
Login into WordPress as Admin.
-
From dashboard menu (on the left) go to
WooCommerce->Settings. -
Select
Paymentstab. -
Click on
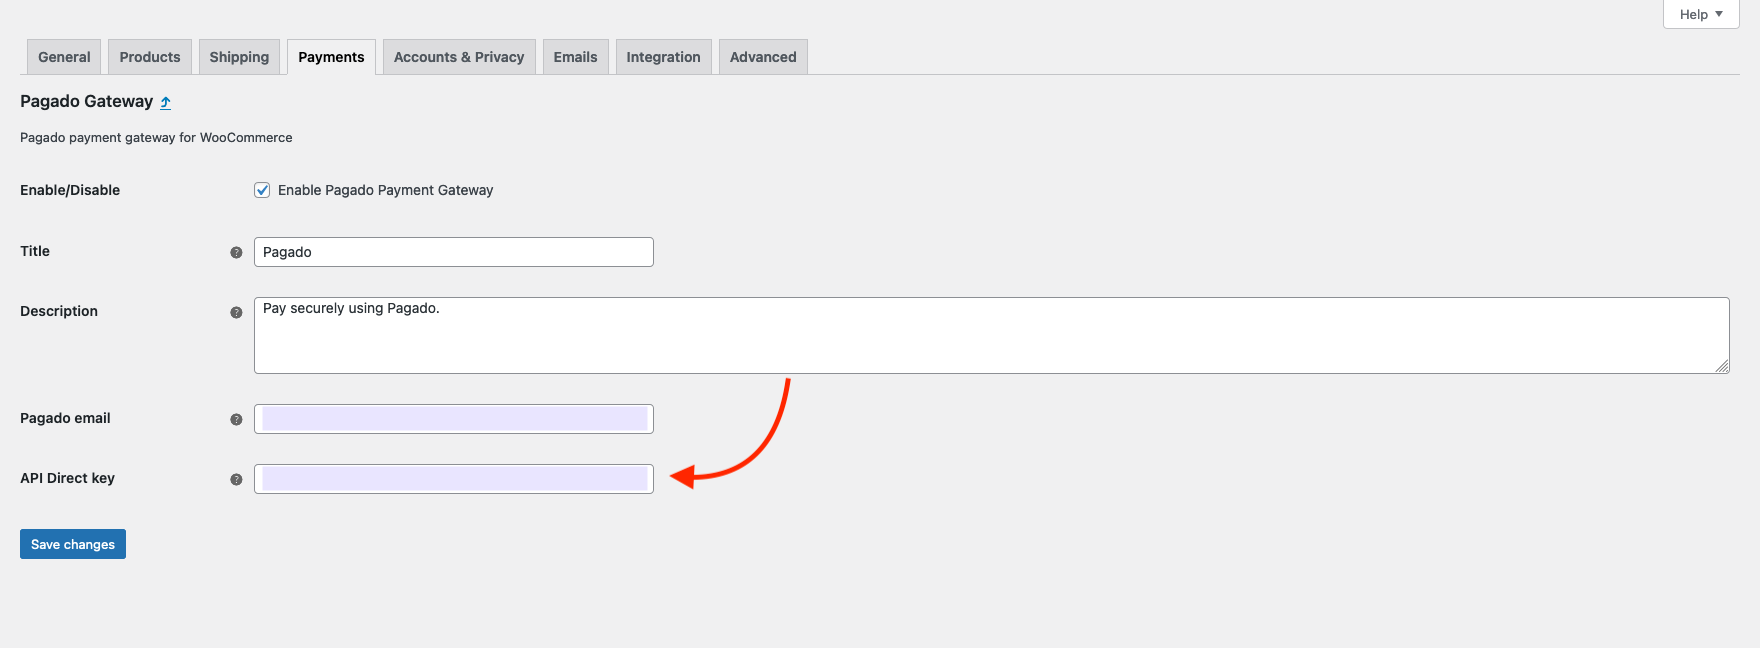
Pagado Gateway->Managebutton. -
Enter the API Direct key that we previously collected from Pagado API Direct page (Add email as well if you haven't already) and
save changes.
-
Visit you vendor dashboard from navigation.
-
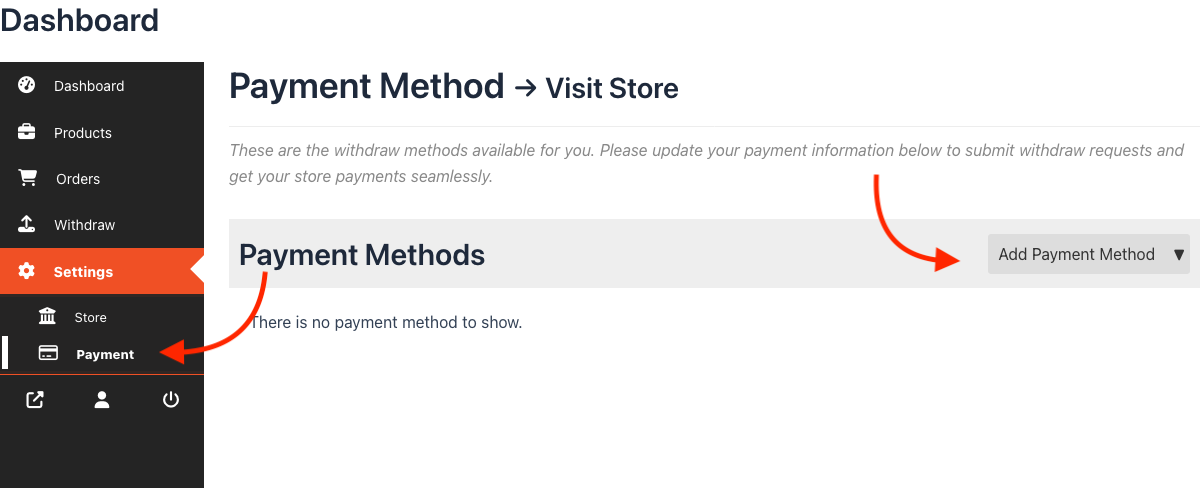
Go to
Settings->Payment. -
Click on
Add Payment Methodand selectPagado. -
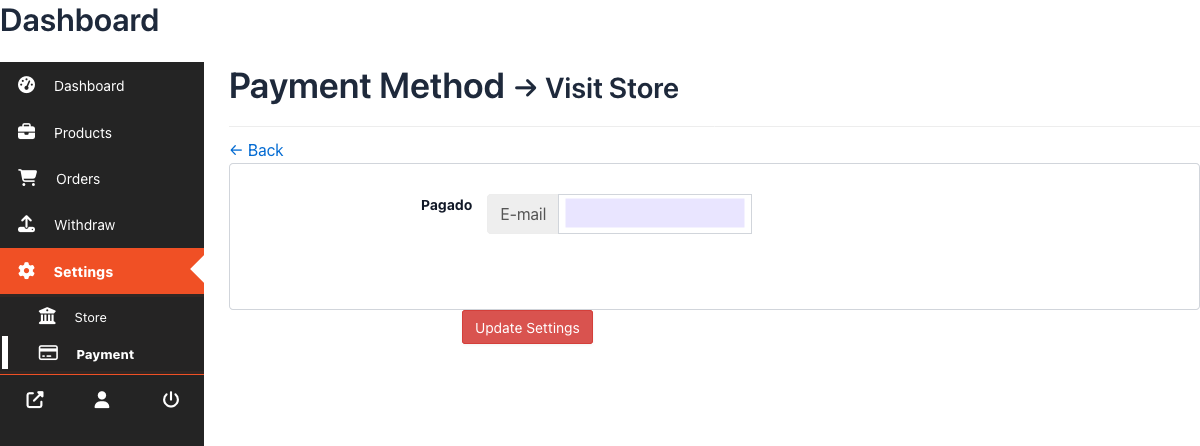
Add your Pagado E-mail and
Update Settings. -
Now, when a customer purchases your product, you should get your share instantly on order completion.
-
In the admin dashboard admin can check vendor payments. To do so, visit admin dashboard
Dokan->Withdraw. You should see withdraws with their details and a transaction ID on success, in the withdraw note.
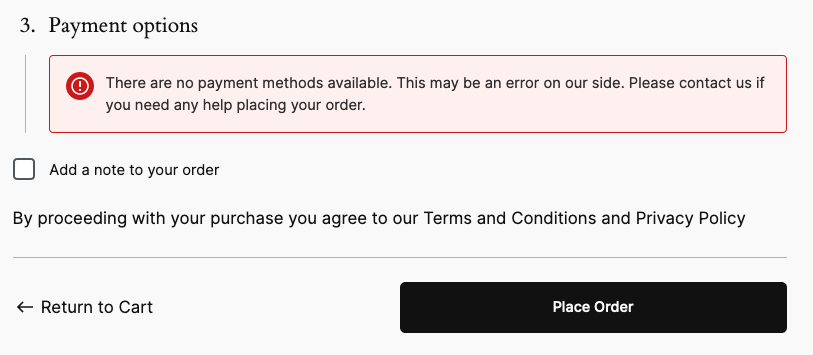
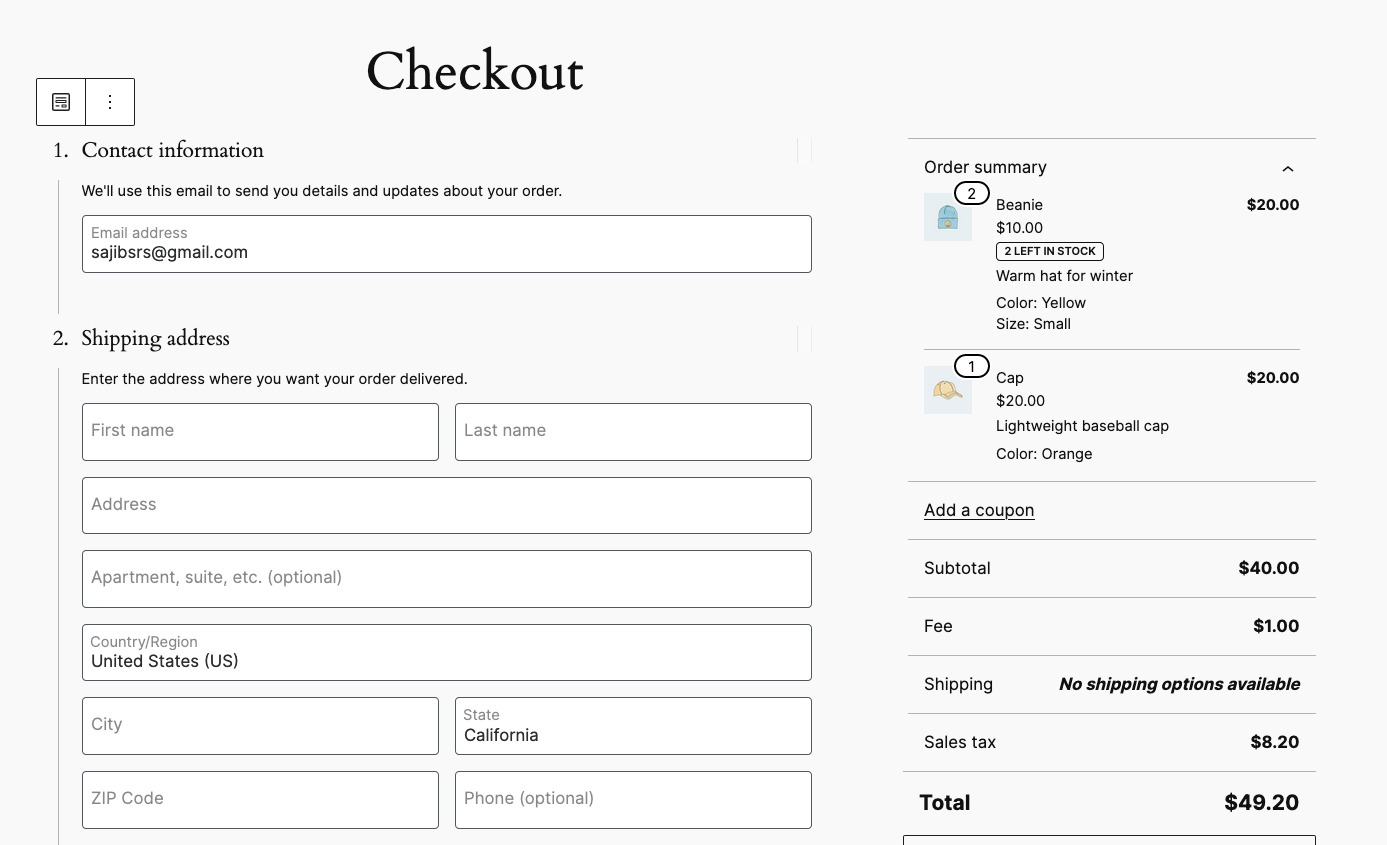
Starting with WooCommerce version 8.3, WooCommerce Cart and Checkout Blocks are the default for new installation. Unfortunately, Pagado Payment Gateway doesn't support block yet as it's in its very early stage of development. That's why it's not available in Block editor mode.
To get Pagado Payment method working, you have to switch to Classic Editor mode. To do that
-
Login to your WordPress site as admin.
-
Edit your checkout page by going to
Pages->Checkoutor simply vising checkout page and click on the Edit from the top right on the screen. -
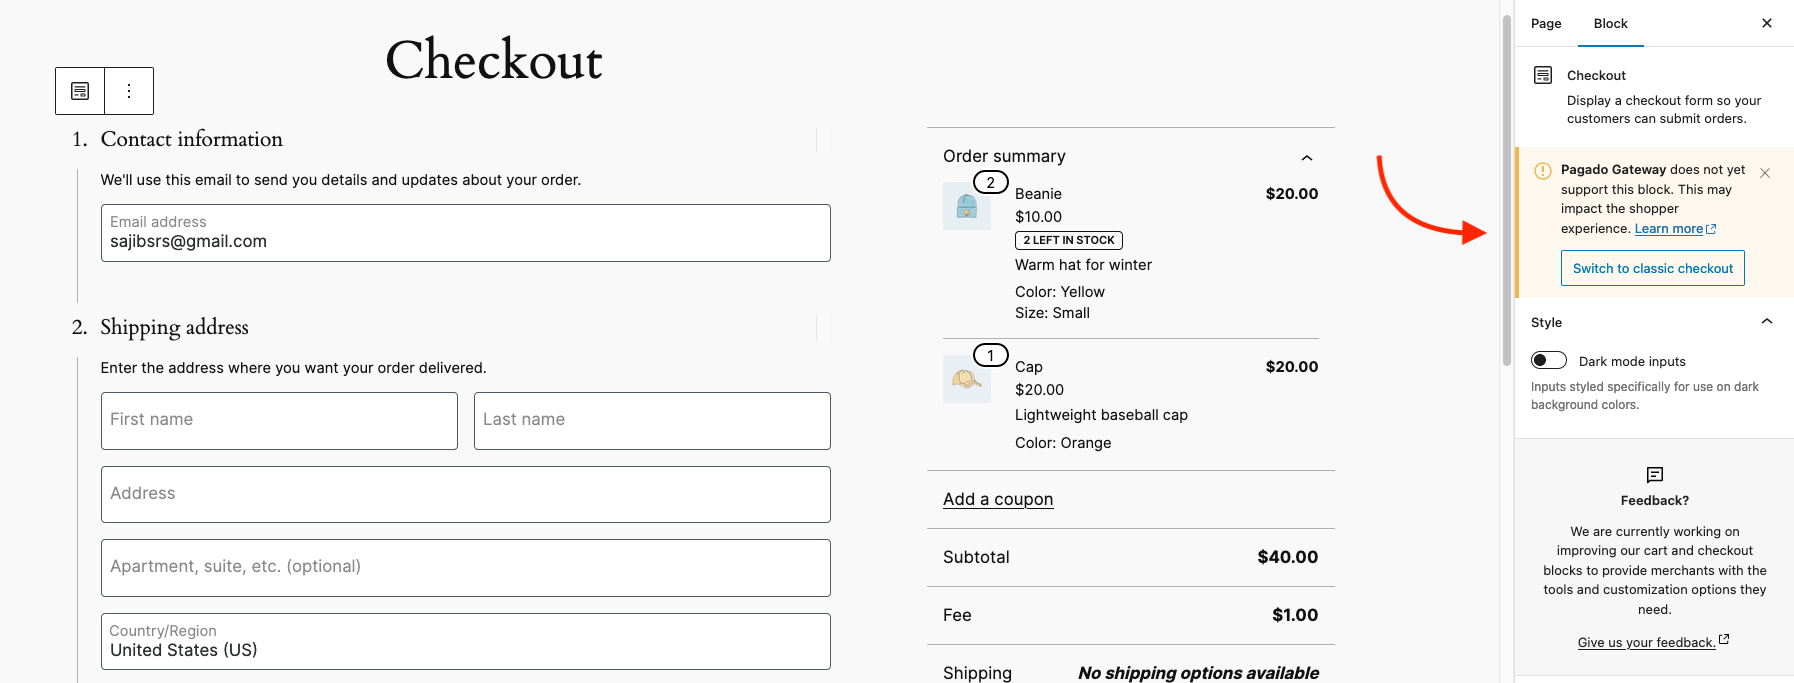
When in the edit checkout page click any content from the left side.
-
You'll see a Pagado Gateway warning.
-
Click on the Switch to classic checkout button.
-
You should see a warning. Click on Switch.
-
Finally Update the page.
Note: You can simply switch to classic editor as well.
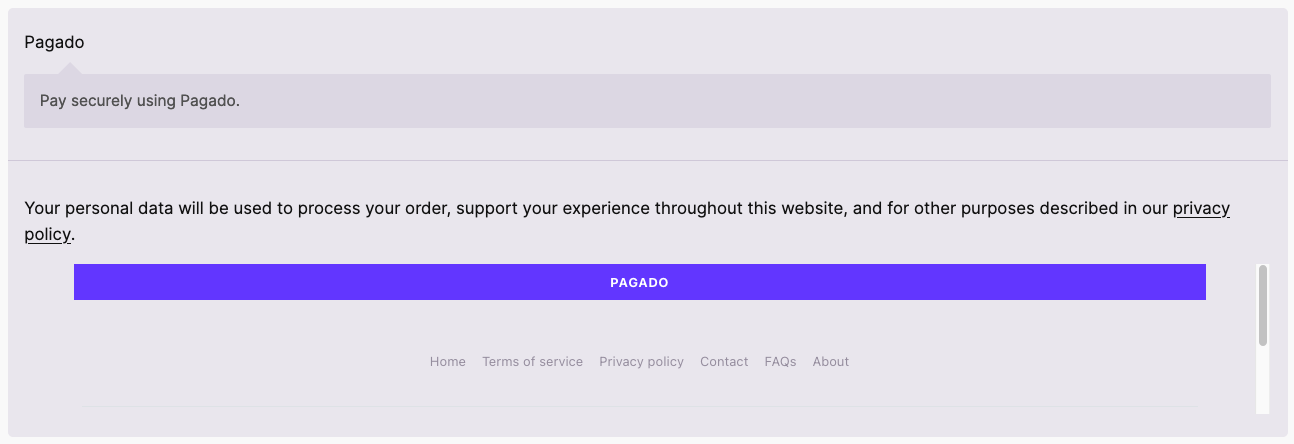
Now you should be able to see Pagado as a payment option on the checkout page.
