Implement a simple RESTful API app on Django using the following tech stack: Python, Django Rest Framework, and AWS DynamoDB
>>> git clone https://github.com/pbarjoueian/Django-Restful-API-Challenge
>>> cd Django-Restful-API-Challenge- install python 3.10.3 from here
>>> python -m venv venv
>>> venv\Scripts\activate
On Linux
python -m venv venv
. venv/bin/activate
>>> cd .\config\
>>> pip install -r requirements.txt-
Download AWS Cli from here and install it.
-
On aws cli terminal:
>>> aws configure- Enter your IAM informations:
AWS Access Key ID [None]: ENTER YOUR ACCESSKEY
AWS Secret Access Key [None]: ENTER YOUR SECRETKEY
Default region name [None]: ENTER YOUR REGION
Default output format [None]: jsonNote: You can skip this section if the table already exists in dynmaoDB
After entering the AWS Secret variables, we can use dynamodb migrator to create our nosql database.
>>> python aws_dynamodb_migrator.pyAfter this, on AWS Dynamodb, we will see our database with the name "Device_DB", you can check it. You can see it in the list of tables.
>>> aws dynamodb list-tables- in settings.py : config/config/settings.py
You can also use online tools for django secret key generator.
# SECURITY WARNING: keep the secret key used in production secret!
SECRET_KEY = os.getenv("YOUR_DJANGO_SECRET_KEY")- in device_app/api/views.py
# Get the dynamodb using boto3
dynamodb = boto3.resource(
    "dynamodb",
    aws_access_key_id = "YOUR_AWS_ACCESS_KEY_ID",
    aws_secret_access_key = "YOUR_AWS_SECRET_ACCESS_KEY",
    region_name = "YOUR_AWS_REGION_NAME",
)>>> cd .\config
>>> python .\manage.py runserver| HTTP Method | URL | Functionality |
|---|---|---|
| POST | bjqutkwcyj.execute-api.us-east-1.amazonaws.com/dev/api/v1/devices/ | Create new Device |
| GET | bjqutkwcyj.execute-api.us-east-1.amazonaws.com/dev/api/v1/devices/id1 | Get Device by id |
| GET | bjqutkwcyj.execute-api.us-east-1.amazonaws.com/dev/api/v1/devices/all | Get all Devices |
| HTTP Method | URL |
|---|---|
| POST | bjqutkwcyj.execute-api.us-east-1.amazonaws.com/dev/api/v1/devices/ |
Body (application/json):
{
  "id": "/devices/id1",
  "deviceModel": "/devicemodels/id1",
  "name": "Sensor",
  "note": "Testing a sensor.",
  "serial": "A020000102"
}- HTTP 201 Created
- HTTP 400 Bad Request
If any of the payload fields are missing. Response body should have a descriptive error message for the client to be able to detect the problem.
- HTTP 409 Conflict Error
If Item was already exists with this id.
| HTTP Method | URL |
|---|---|
| GET | bjqutkwcyj.execute-api.us-east-1.amazonaws.com/dev/api/v1/devices/id1 |
- HTTP 200 OK
- HTTP 404 Not Found
If the request id does not exist.
| HTTP Method | URL |
|---|---|
| GET | bjqutkwcyj.execute-api.us-east-1.amazonaws.com/dev/api/v1/devices/all |
- HTTP 200 OK
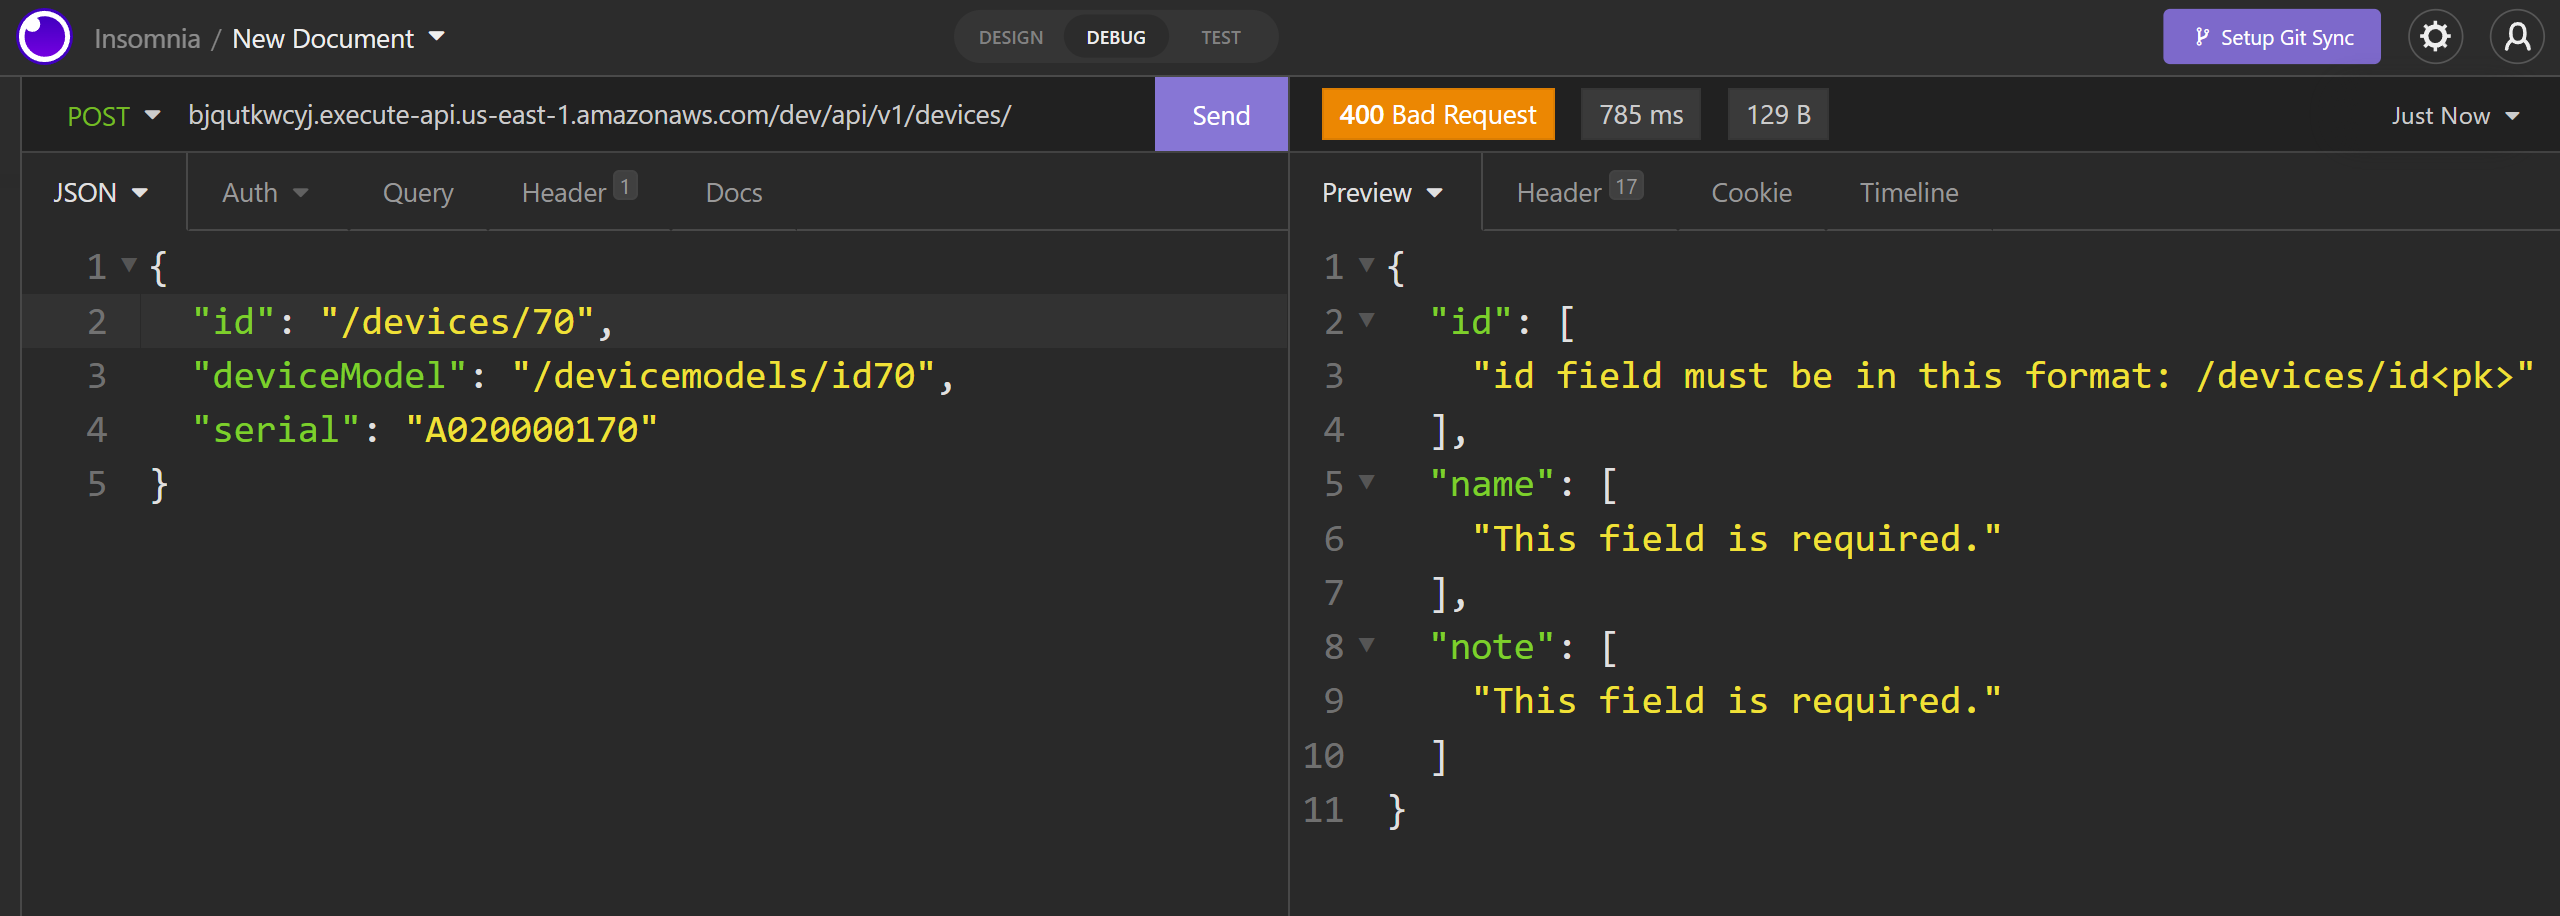
This project is completely TestCase oriented and you can add other tests in the device_app/tests.py file. the six important and key test cases requested in the challenge have been successfully passed. You can use these endpoints with API platforms like postman or insomnia. You can also run test cases with the following command.
- Tests Directory
.\config\device_app\tests.py- you can see the tests and add your test cases in this file
from django.urls import reverse
from rest_framework import status
from rest_framework.test import APIClient, APISimpleTestCase


client = APIClient()

class TestGetDevice_API(APISimpleTestCase):
    """Test class for GetDevice_API endpoint view"""

    def test_case1_get_device_valid(self):
        response = client.get("http://127.0.0.1:8000/api/v1/devices/id1/")
        self.assertEqual(response.status_code, status.HTTP_200_OK)

    def test_case2_get_device_invalid(self):
        response = client.get("http://127.0.0.1:8000/api/v1/devices/id567/")
        self.assertEqual(response.status_code, status.HTTP_404_NOT_FOUND)


class Test_CreateDevice_API(APISimpleTestCase):
    """Test class for create a new Device using CreateDevice_API endpoint view"""

    def setUp(self):
        self.payload1_valid = {
            "id": "/devices/id5",
            "deviceModel": "/devicemodels/id5",
            "name": "Sensor5",
            "note": "Testing a sensor5.",
            "serial": "A020000105",
        }

        self.payload2_invalid = {
            "id": "", # id required field
            "deviceModel": "/devicemodels/id2",
            "name": "", # name required field
            "note": "Testing a sensor2.",
            # serial required field
        }

        self.payload3_invalid = {
            "id": "4", # id format is invalid : must be in this format => /devices/id<pk>
            "deviceModel": "/devicemodels/id4",
            "name": "Sensor4",
            "note": "Testing a sensor4.",
            "serial": "A020000104",
        }

    def test_case1_create_device_valid(self):
        response = client.post("http://127.0.0.1:8000/api/v1/devices/", self.payload1_valid)
        self.assertEqual(response.status_code, status.HTTP_201_CREATED)

    def test_case2_create_device_invalid(self):
        response = client.post("http://127.0.0.1:8000/api/v1/devices/", self.payload2_invalid)
        self.assertEqual(response.status_code, status.HTTP_400_BAD_REQUEST)

    def test_case3_create_device_invalid(self):
        response = client.post("http://127.0.0.1:8000/api/v1/devices/", self.payload3_invalid)
        self.assertEqual(response.status_code, status.HTTP_400_BAD_REQUEST)

    def test_case4_create_device_invalide(self):
        response = client.post("http://127.0.0.1:8000/api/v1/devices/", self.payload1_valid)
self.assertEqual(response.status_code, status.HTTP_409_CONFLICT) # item already exist- run the tests
>>> cd .\config
>>> python .\manage.py test - Tests Outputs
Found 6 test(s).
System check identified no issues (0 silenced).
......
----------------------------------------------------------------------
Ran 6 tests in 2.456s

OKZappa makes it super easy to build and deploy server-less, event-driven Python applications (Django or Flask) on AWS Lambda + API Gateway + S3.
We can deploy our python project on lambda and S3 buckets using zappa in the following three steps :)
pip install zappa
zappa init
zappa deploy


