Solution for migrating Canvas Apps and their related resources like Flows between environments. It includes simple Canvas App with supporting Cloud Flows and Custom Connector to do the migration by automating Power Platform legacy export/import functionality
As this solution uses Custom Connector, all the users need to have standalone Power Apps license Power Apps Premium or Power Apps per App
- Source and target environments are listed using "PowerAppsforMakers.GetEnvironments()" which might return environments where user of the tool does not have necessary permissions. We need to make sure that users have Environment Maker permissions in the target environments
Solution uses Power Platform BAP API to export and import packages, so we need to create Microsoft Entra ID application registration for the user authentication. Follow the steps below to register new Entra ID application. Depending of your tenant settings, you might need Global Administrator permissions to be able to register new application.
-
Open the application blade in Microsoft Entra portal Entra ID App Registrations
-
Click New registration

-
Provide a name for the app and click Register

-
Copy Application (client) ID and Directory (tenant) ID from the Overview page to notepad for example

-
Browse to Certificates & Secrets blade anc click + New client secret

-
Define description for the secret and select expiration time

-
Copy client secret value to notepad

-
Browse to API permissions blade and click + Add a permission

-
Select APIs my organization uses, then search for PowerApps and select PowerApps Service

-
Select Delegated permissions, then select User permission and click Add permissions

-
(optional) Grant admin consent for the application. If you do not do this then all users need to grant consent in the first use of the Canvas App migration tool

This Power Platform solution installs Custom Connector
-
Open the environment to where you want to install the solution
-
Select Solutions from the menu and click Import solution

-
Click Browse and select the MigrateCanvasAppsPrerequisites_x_x_x_x_managed.zip solution then click Next

-
Fill-in Client ID and Tenant ID you copied to notepad and click Import. NOTE! Current version support now only plaintext client secret which need to be set after solution import

-
After solution is imported, select Custom Connectors from the menu and click the pencil icon of the Migrate Canvas Apps custom connector to open it in edit mode

-
Select 2. Security and click Edit

-
Copy-paste the Client Secret and click Update connector

-
When connector is updated, scroll down to bottom of the page and copy Redirect URL

-
Move back to Entra ID application registration we did in the first step and in the Overview page click Add Redirect URI

- Click +Add a platform

-
Select Web

-
Paste URL to the Redirect URIs field and click Configure

-
Go back to custom connector configuration, select 5. Test and click

-
Create new connection by cliking Create and login with your account

-
(optional) You can test the connector by defining EnvironmentID and use the following body with your own application ID which you can find from the Canvas App details page. If you get response 200 and can see the application details in the response body, then custom connector is configured correctly
{
   "baseResourceIds": [
      "/providers/Microsoft.PowerApps/apps/REPLACE-WITH-YOUR-APPID"
   ]
}
-
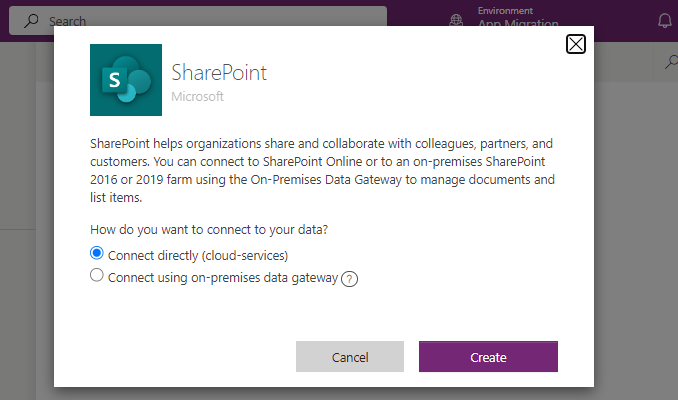
Browse to Solutions of the environment and click Import solution

-
Click Browse and select the MigrateCanvasApps_x_x_x_x_managed.zip solution then click Next

-
Verify that all the connection are created. If not then click three dots next to connector to create new connection

-
With Target Environment Types environment variable we can control which type of environments are allowed as target environment for the migration

- Click Import
App migration status is saved to Migration Job Dataverse table and users need to have read-write permissions to this table. Solution contains own security role Canvas Apps Migration Users which grant Create, Read and Write permissions to the table as well as Read permissions to Process (workflows) system table, so add this security role to app app users

-
Run the Migrate Canvas Apps app

-
Consent all connection by clicking Allow

-
Tool support canvas apps migration and app permission migration between apps. Select Migrate Canvas App

-
Select source environment


-
Select the app you want to migrate. This will run GetPacjageResources flow to fetch all related resources of the app like flows and connections

NOTE! If app is using cloud flows then tool will notify that user has to reconnect (remove/add) all the flows to the app after the migration

-
Select target environment


-
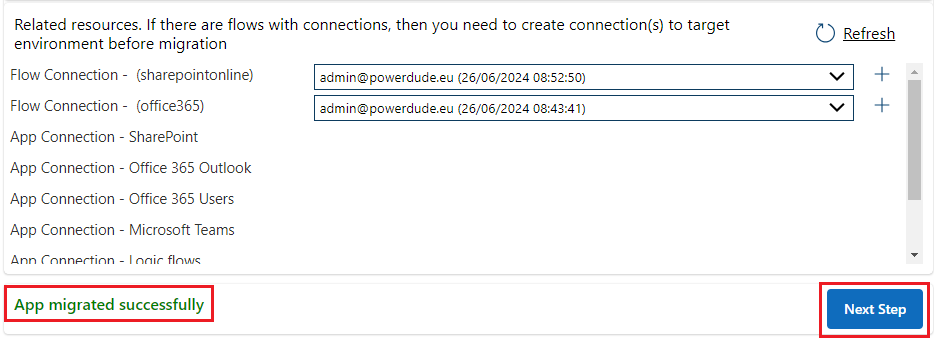
If there are flows included in the app having any connections, then you need to create all the connections before migration.
You can select existing connection or create new connection by clicking the "+" icon. This will open connection creation to new browser tab for target environment. Remember to click Refresh to see the new connection(s) you created

NOTE! Browser pop-up blocker might block opening new browser tab. If that is the case then one option is to open target environment in make.powerapps.com and manually create connections


-
After connections are created, click Refresh to fetch connections. You can still select connection you want using the dropdown control if there are multiple connections

-
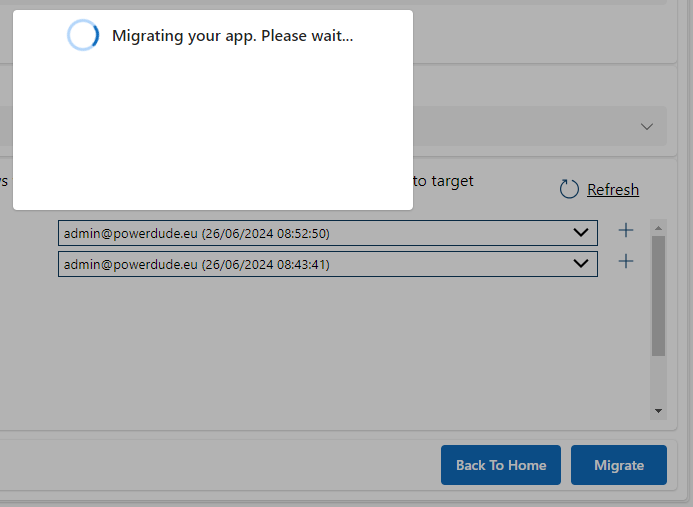
Click Migrate to start the app migration. It takes few minutes depending how many related resources there are in the app

-
If migration was succefull then click Next Step to move to the next step of the process

-
In this step you can see all the permissions (if any) of the app in source environment and if you want you can share the migrated app in target environment with same users and groups. There is an option for you to select should the users be notified after app is shared with them. So, either click Share App with desired sharing notification setting or just click Next Step if you do not want to share the app for now

If you shared the app then when sharing is completed you should see the green success icon for each permission like below


-
In the last step you have following options
-
Rename app in source environment by appending " - MIGRATED" to the end of the app display name
-
Remove all the other permissions except your own (if app is shared)
-
Send email notification to users and groups of the app about the change (if app is shared). You can change the recipients, subject and the email body but tool will add a link to the migrated app in target environment to the end of the email

-
