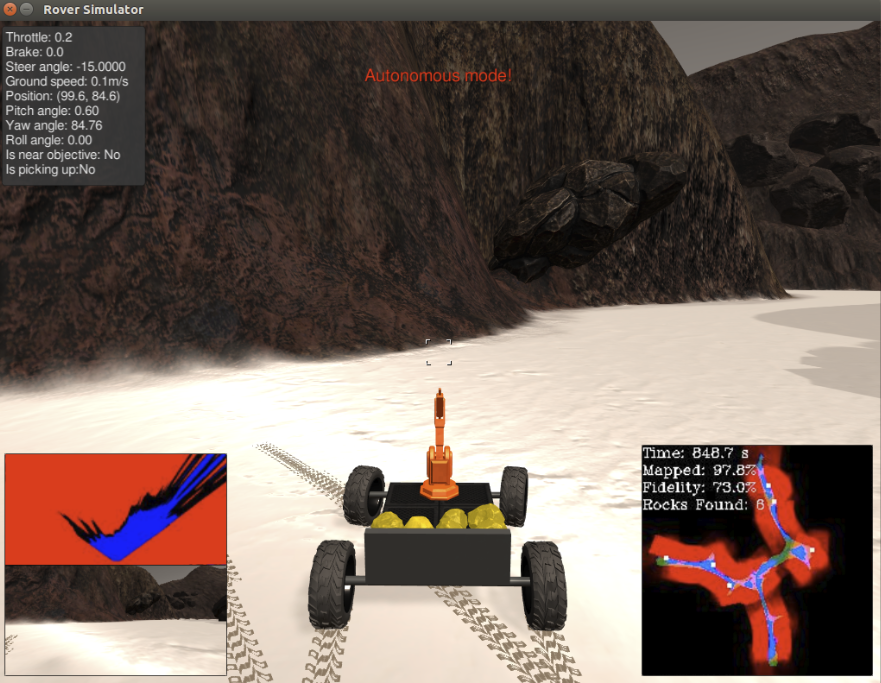
This search and sample return project was based after the NASA sample return challenge, and it provides experience with the three essential elements of robotics, which are perception, decision making and actuation. This specific project uses the Unity game engine to simulate the environment.
The simulator can be downloaded here:
The included code requires Python 3 and many dependencies. Using Anaconda is the easiest way to get things working. View the instructions at the RoboND Python Starterkit.
You can test out the simulator by opening it up and choosing "Training Mode."
To run the automated code included in this repository:
- Activate the conda environment with
source activate RoboND(setup by following the instructions here) - Run
python ./code/drive_rover.pyto start the automation logic (this communicates with the simulator directly) - Start the simulator (double click
Roversim.x86_64orRoversim.x86) and choose "Autonomous Mode."
This Jupyter Notebook includes all of the major functions, which are broken out into individual sections. I will describe the unique functions below:
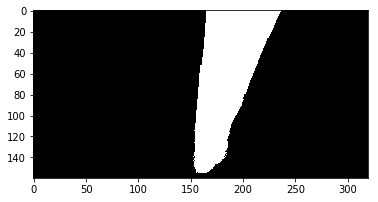
The rover relies on a single camera feed for determining its actions. To find the navigable path, I use a RGB threshold of (160, 160, 160) where any pixels above those values is considered navigable terrain. Logically, anything that not considered navigable terrain is an obstacle. Thus, reversing the threshold will provide an array of obstacles.
Here is what the navigable color threshold looks like. The rover is able to drive through any area in white.
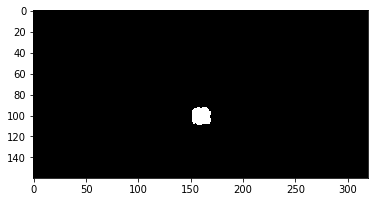
The final color threshold used finds the sample rocks. These sample rocks are yellow. I used a HSV filter range of [20, 150, 100] and [50, 255, 255] to pull out yello-ish objects. OpenCV has a function called inRange that handles the color range threshold. It requires an HSV image (via a converted RGB image) and the lower and upper range. Any time a sample rock is seen in the rover's camera, a mask with values will be returned. This mask is used to guide the rover over to the sample rock.
Here is what that rock sample color threshold looks like.
The process_image function contains all the functionality for taking a raw image and determining where the rover is able to navigate and if a sample rock is nearby. This function also populates the world map with features identified as the rover moves around.
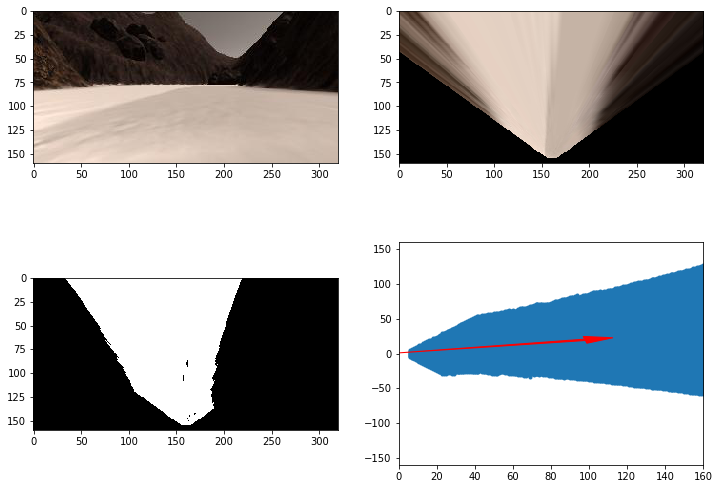
The first step in the pipeline is to change the image from the rover's vantage point to a top down view. This is done with a perspective transformation that takes a predetermined trapezoidal shape and converts it into a square shape. I used OpenCV's getPerspectiveTransform and warpPerspective functions to perform this transformation.
This transformed image is then run through the three color threshold functions I discussed above. This will identify the navigable area, the obstacles and any sample rocks in the frame.
An important next step is to change the image arrays to be relative to the front of the rover. This is done by flipping the image so it's centered along the x-axis of the rover's grid.
The image below shows the main steps to go from the rover's camera to the rover-centric navigable image.
In order to fill out the world map, the image's rover-centric coordinates must be transformed into world coordinates. Each image type (navigable, obstacle, rock sample) is first rotated and then translated. These changes are based on the rover's current position and direction in relation to the world map. It is now possible to map each object to the world map by coloring each world map pixel location with each type's color (navigable=blue; obstacle=red; sample rock=yellow).
By performing a perspective transformation and color threshold, it is possible to calculate a suitable path the rover can use to drive forward.
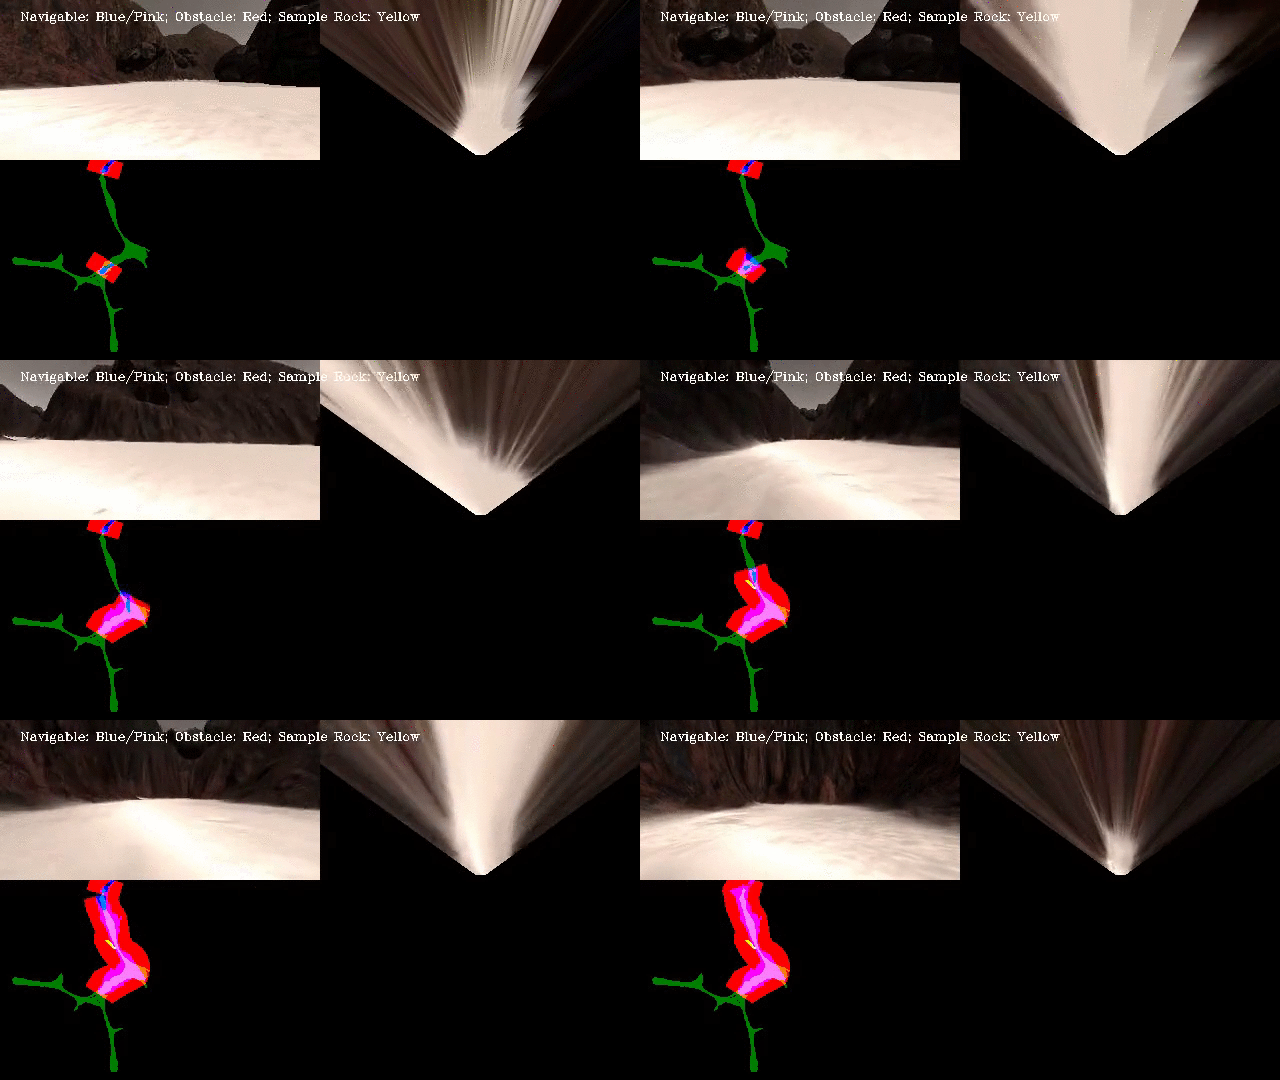
Here is a video of the rover navigating through the simulation while populating the world map.
The Python files within this repository hook into the simulation and allow the rover to be fully autonomous in its goal of mapping the environment and collecting all the sample rocks before returning back to the starting position. The two main functions are perception_step in perception.py and decision_step in decision.py. I will discuss each of these functions below:
The perception.py file includes all of the code used to identify where the rover is and what is around it. It is predominately based on image processing of the rover's camera feed.
The perception_step function is similar to the process_image function mentioned above, however, perception_step includes a restriction on what values are added to the world map. This is done to improve the fidelity of the data captured. I restrict the data based on the pitch and roll of the rover, where each can only be 0.5 degrees off the axis. Through normal driving, the rover can experience changes of +/- 2 degrees off the axis. This restriction does limit the amount of area mapped, but the improvement in fidelity is worth the trade off.
Another difference is that the perception_step function is the inclusion of the navigable area polar coordinate calculation. This process changes the rover-centric pixel positions to polar coordinates (based on distances and angles from the root). The polar coordinates are needed by the rover because this allows it to find a suitable path for driving around.
Finally, the perception_step function includes code for identifying if a sample rock is seen from the image. This information is also converted into polar coordinates that the rover uses to determine how best to approach the sample rock.
The decision.py file includes all of the code used by the rover for decision making. It takes the sensor data from perception.py and tries to determine what actions it should make.
The main areas within the file are the forward, stop and stuck sections.
The forward section includes logic for calculating where the rover should drive forward. I used the average angle of the potential navigable area. If there are more than 50 values in the angles list, then throttle up to the max speed and go the average navigable angle. Otherwise, change the mode to stop. This would mean the rover has nowhere to go forward.
The forward section also contains the logic for approaching sample rocks. The perception_step function flags that a sample has been seen. This tells the rover a sample rock is nearby, and that it should:
- Navigate directly to the sample rock (if it's within +/- 15 degrees of the rover's x-axis)
- Rotate sharply near the sample rock for a better approach angle (if it's more than 15 degrees and less than 50 degrees off the rover's x-axis)
- Continue it's search since it lost the sample rock or it took too long trying to approach the sample rock
Once the rover is close to the sample rock, it will stop, the arm will pick up the rock, and it will continue it's search for more samples.
The stop section is important for making the rover rotate to a new direction. This often occurs when the rover is up against an obstacle, where the only navigable option is to turn around. Once the rover has a clear path ahead of it, it changes back to the forward mode.
I included multiple sections for identifying and reacting to a stuck rover. The three sections include:
- Stuck on an obstacle (rover given throttle but velocity remains 0)
- Caught in a circle (rover continually steers in a circle)
- Trying to approach a sample rock for too long (maybe mistakenly saw a sample rock)
Each of these sections uses a combination of either changing the velocity or direction of the rover, or switching a rover flag.
The code I built has good performance mapping and navigating the simulation. It most runs, it is able to map 90% of the area while maintaining a fidelity of around 70%. The code is often able to collect two to four rocks, depending on where the rocks are located. If a rock is in a side nook, the rover will have trouble finding it.
Here are some of the improvements I think need to be made in order for this system to perform at its best.
- Smoothing function for steering. Currently, the rover gyrates when driving forward. This gyration causes the camera to roll, affecting the navigable color threshold and world map fidelity.
- More efficient process for approaching sample rocks. The code does not do a good job of approaching sample rocks that are greater than 15 degrees off the rover's x-axis.
- Better navigation of all nooks within the environment. The current code bypasses most small areas along the valleys.
- Improved obstacle identification. Many of the small rocks and boulders are not correctly flagged as obstacles, causing the rover to crash into them. This should just be an issue with the color threshold.
- Actual path planning back to the start position. Once all rock samples are collected, the rover navigates back to the start position. Currently, however, it just randomly drives around until its current position gets close to the start position. A path planning algorithm could handle this much more efficiently.
I ran the simulator using the screen resolution of 1024 x 768 with the graphics quality set to Fantastic. Using these settings, I averaged about 25 fps. Most of the goals are meet after about 800 seconds.

