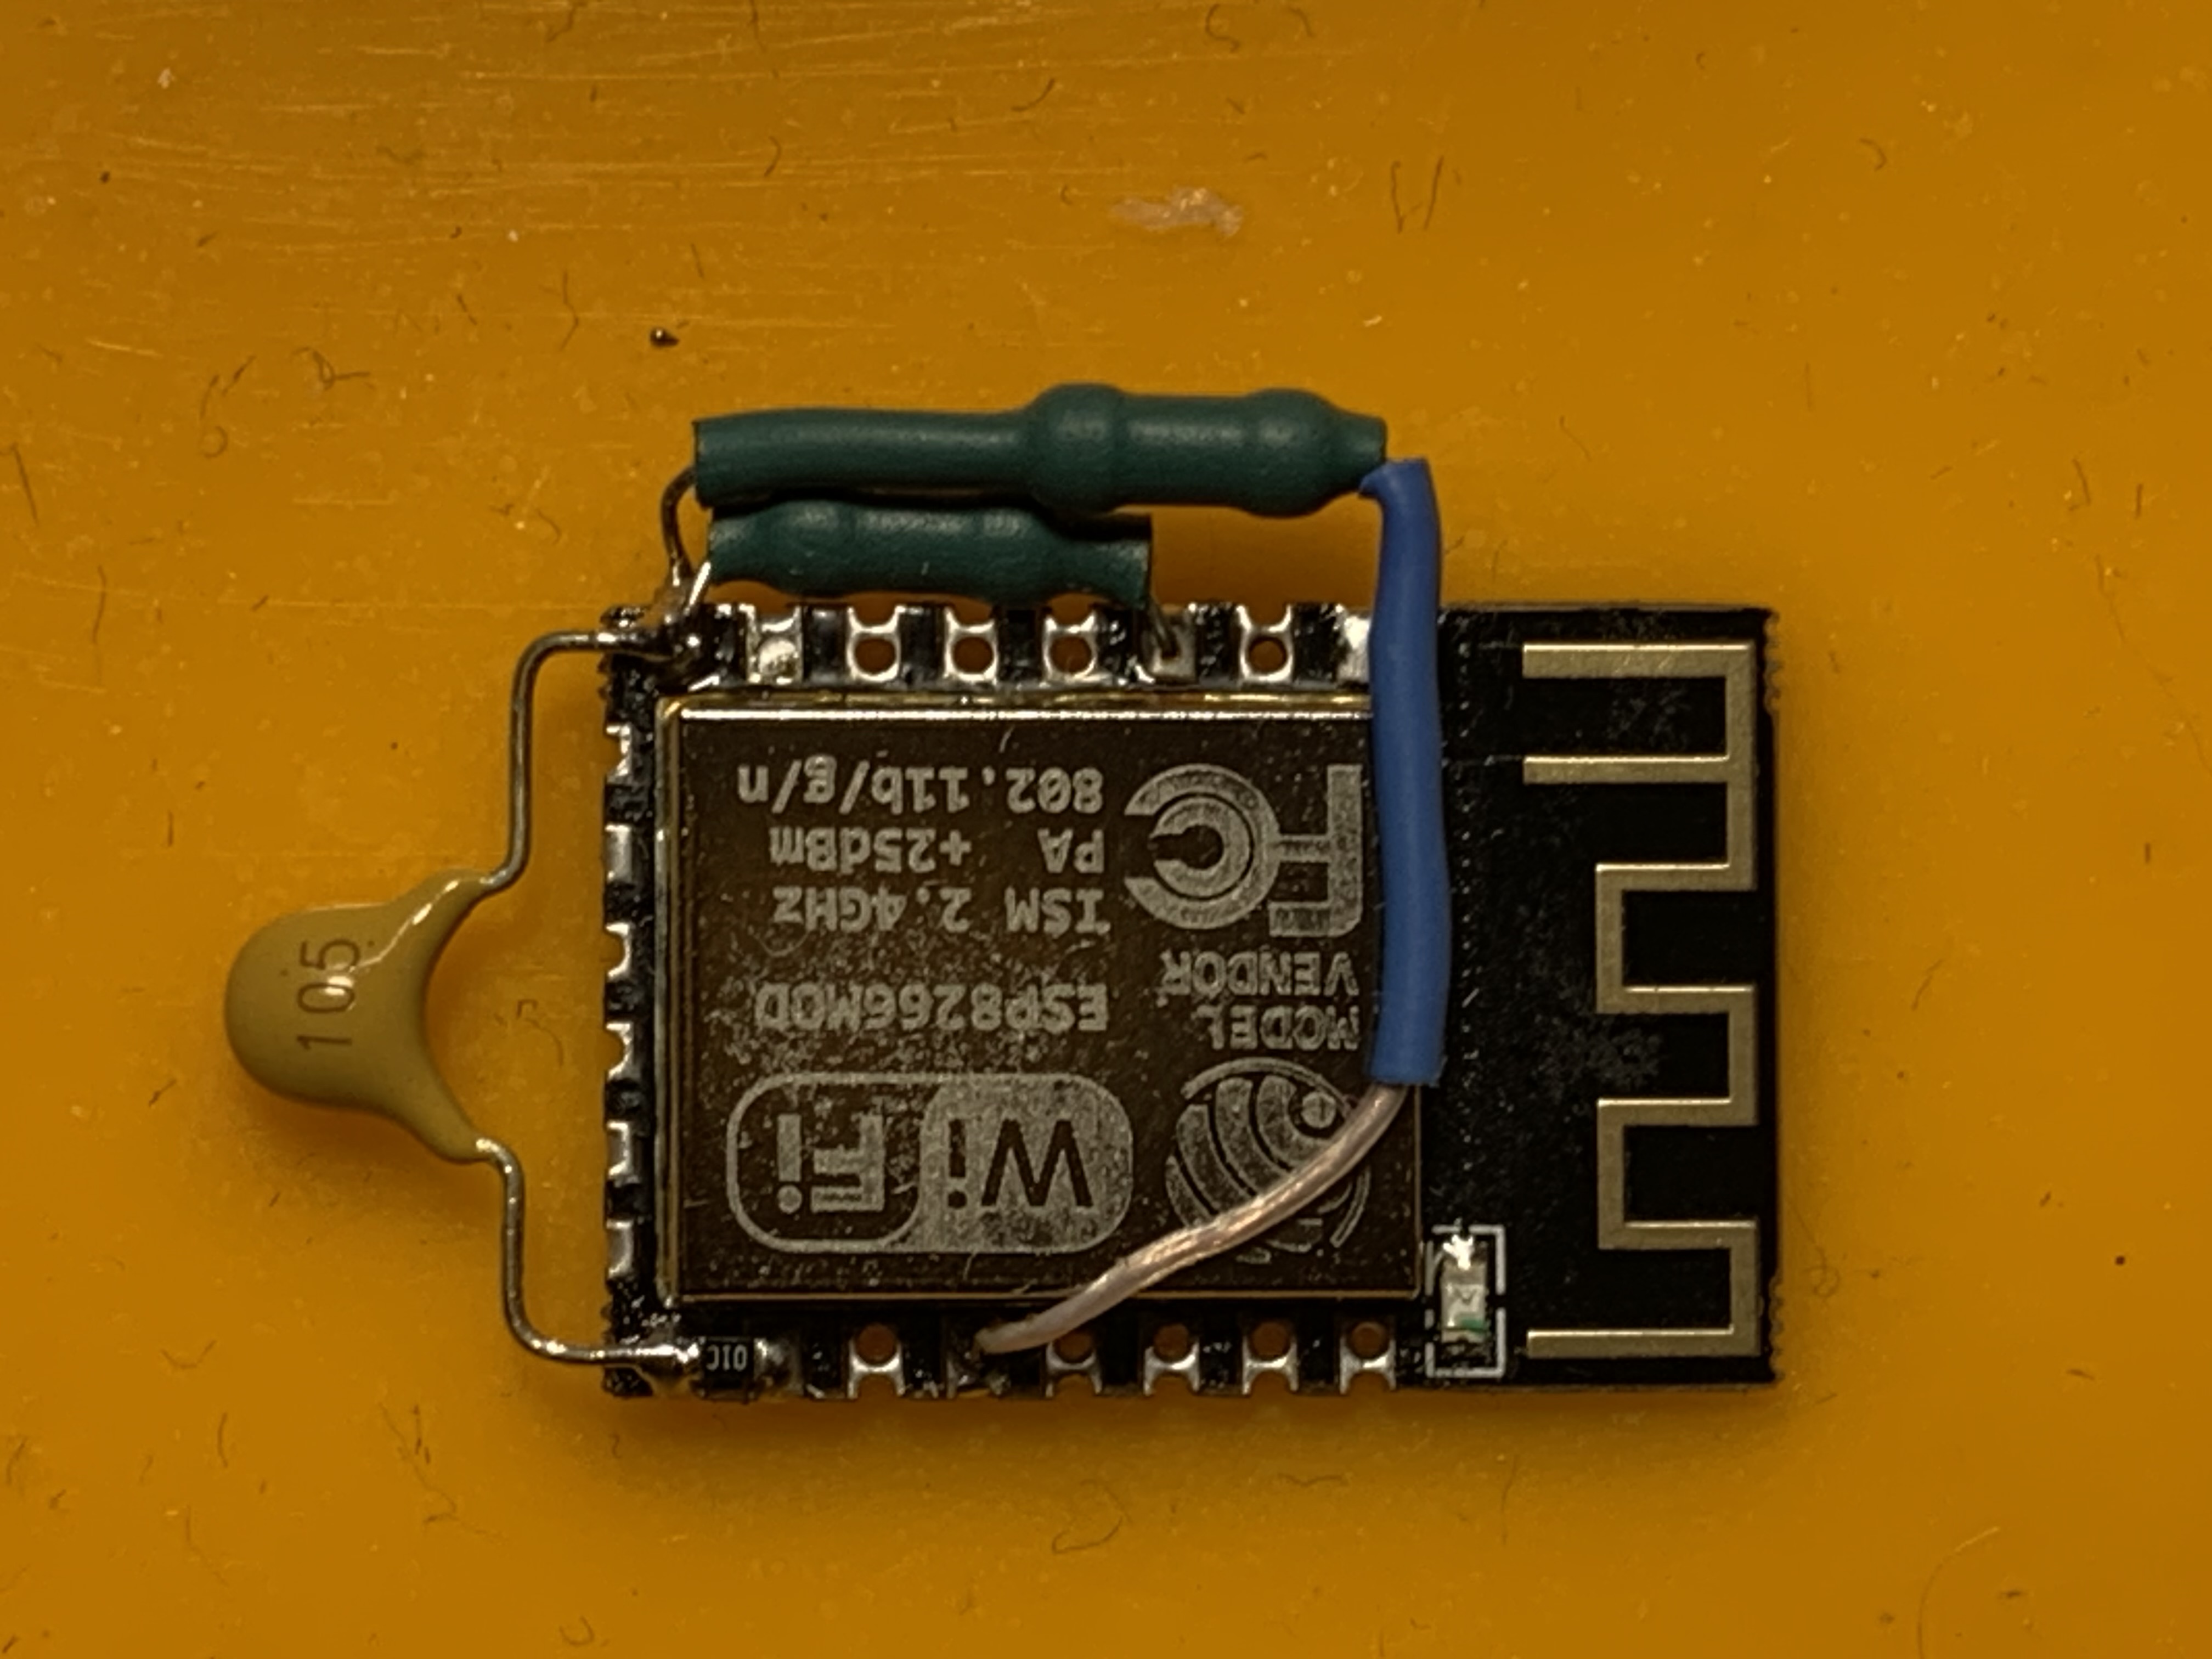
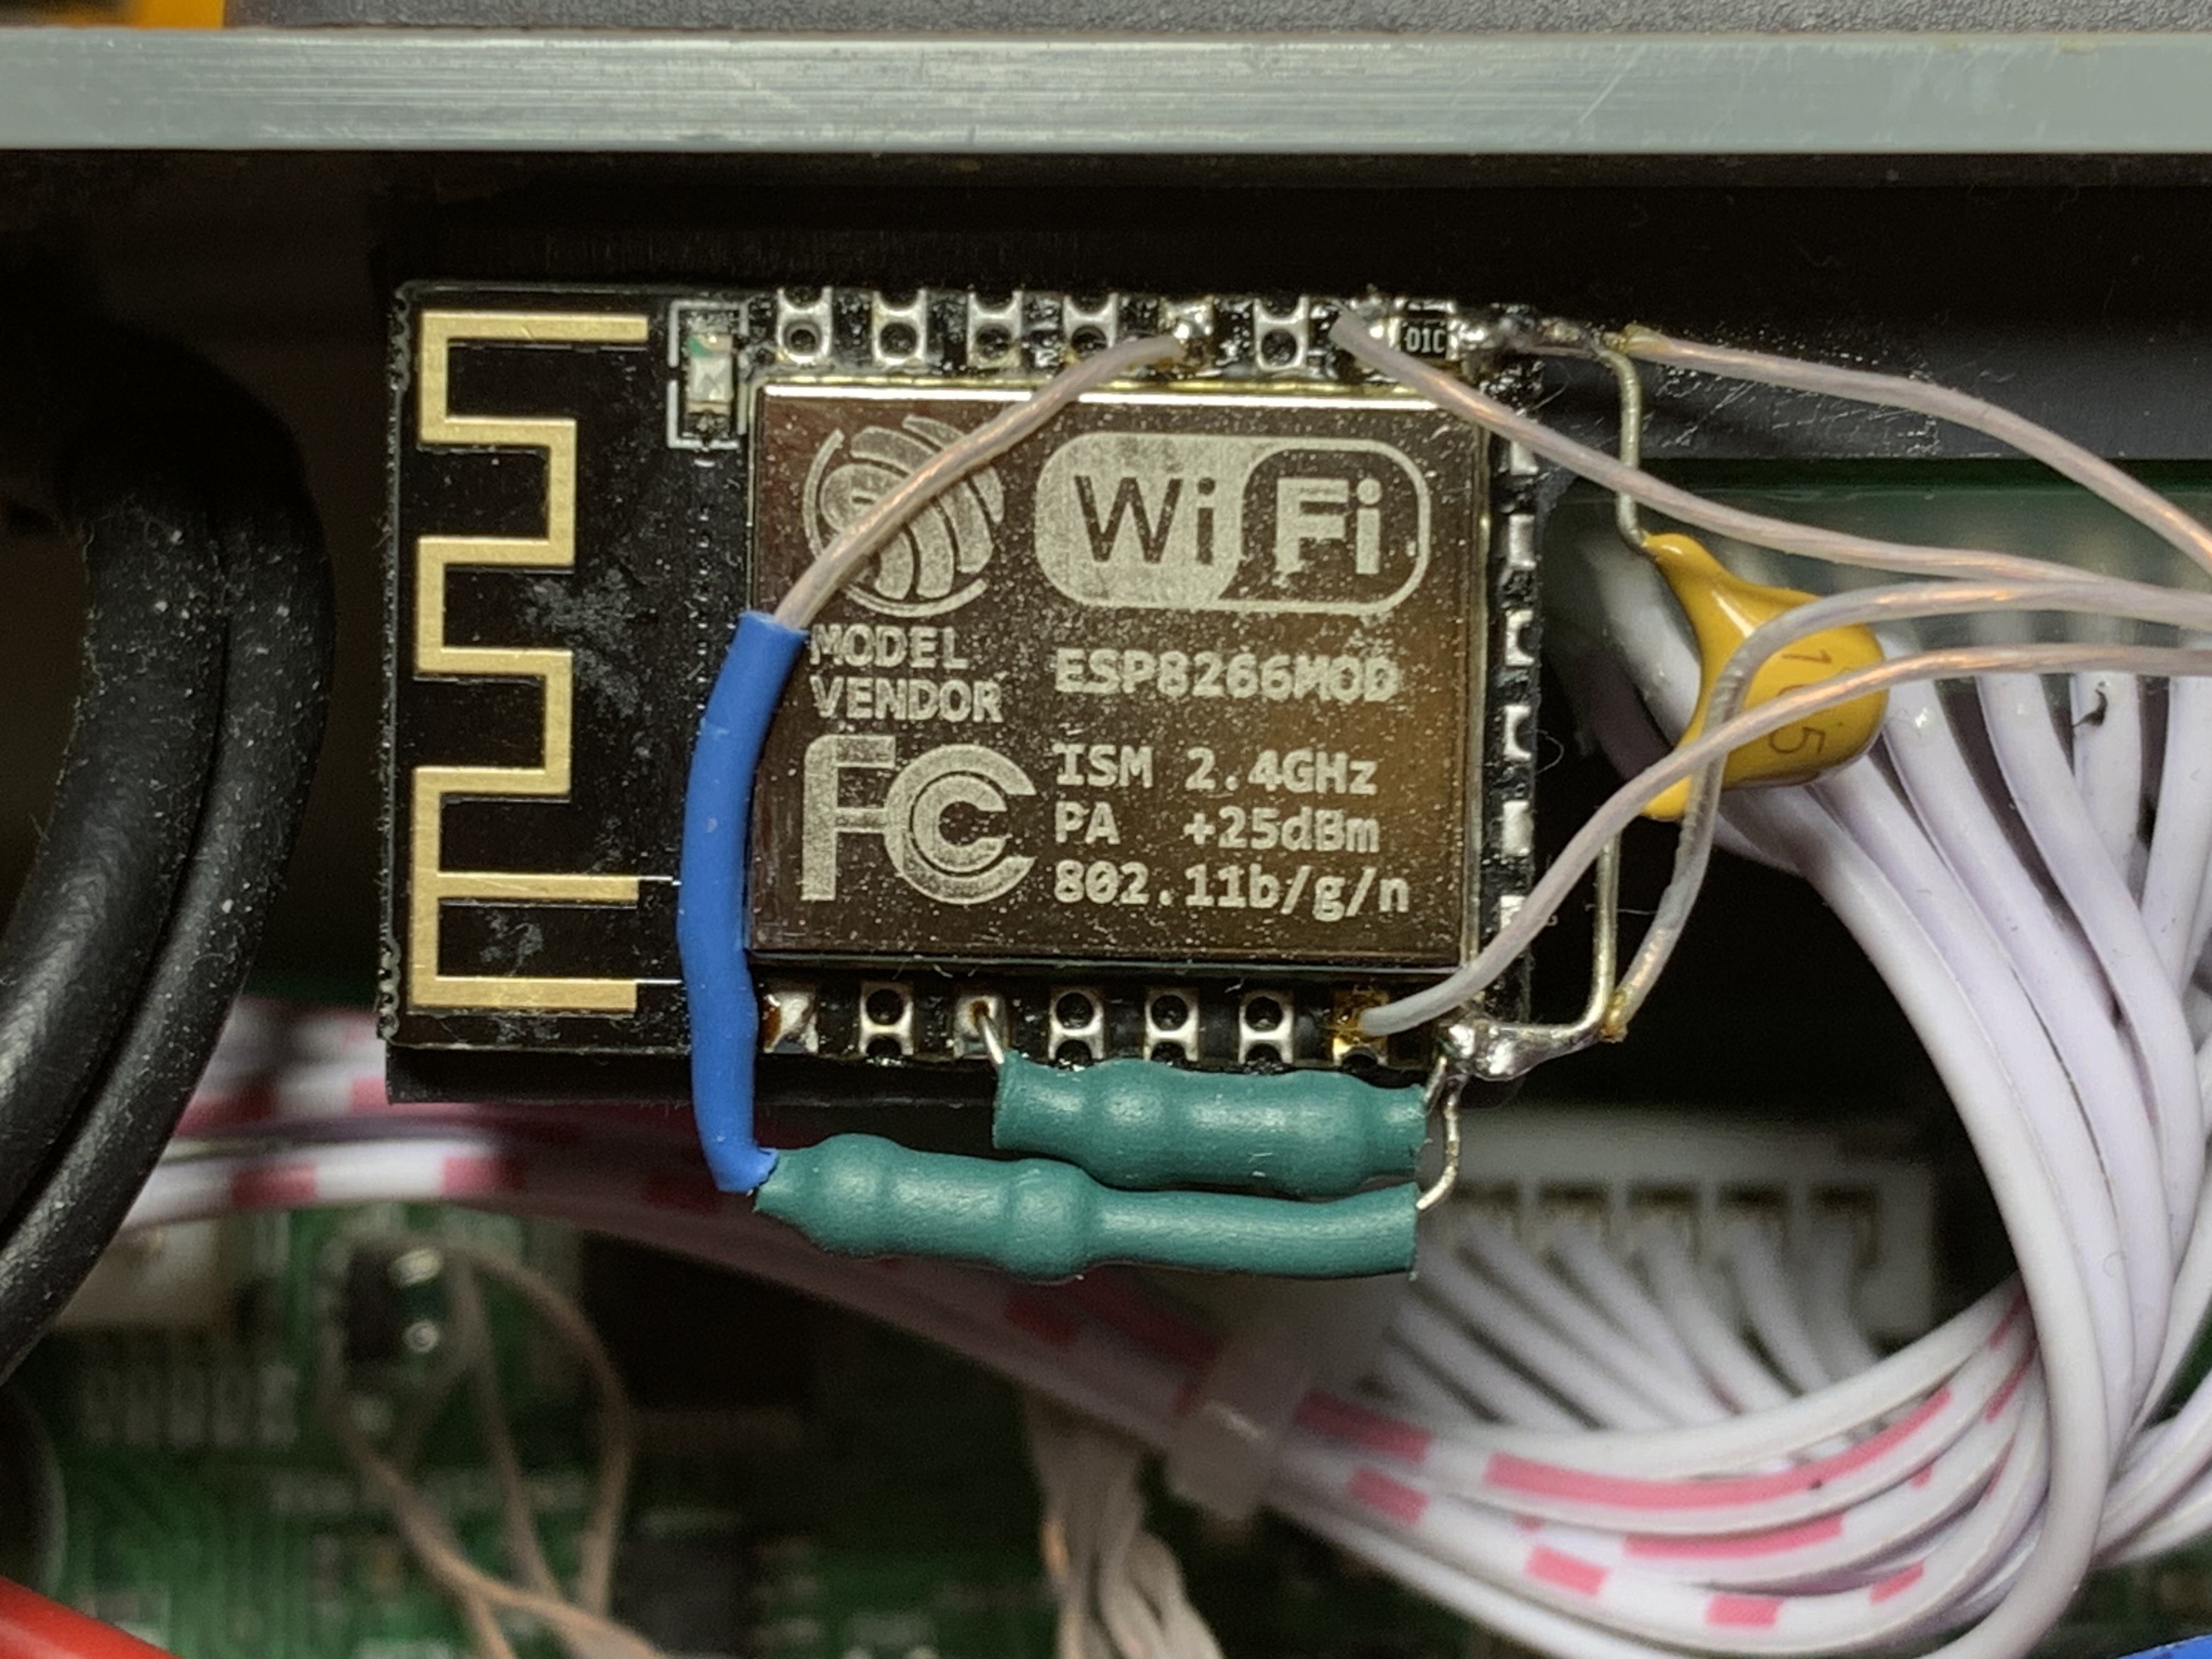
Based on the ESP8266 (ESP-12) module for communicate over Wifi with RD (Riden) power supplies: DPS5020 DPS5015 DPS5005 DPS8005 DPS3012 DPS3005 DPS3003 Supported both stock Chinese and alternative firmware.
Allow you control your wifi communication.
https://profimaxblog.ru/dps_update/

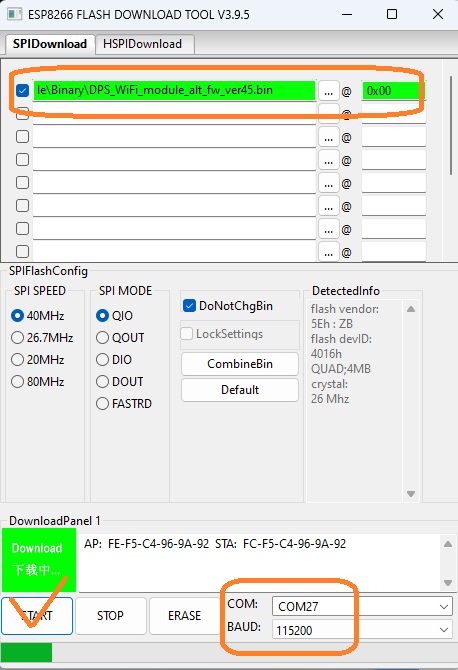
- Use finished firmware files from the folder Binary. Upload Flash Download Tools from official page: https://www.espressif.com/en/support/download/other-tools Connect USB cable to your development board, run the application, select COM port and bin-file. When download is completed push "RST" (Reset) button to restart your dev board.
- Use Arduino IDE. Open the sketch from Arduino folder. Select NodeMCU 1.0 board. Install WiFiManager by tzapu library. Compile and upload the sketch to your dev board.
- Use Visual Studio Code + Platformio. Open project from VSCode folder. Build and upload the project.
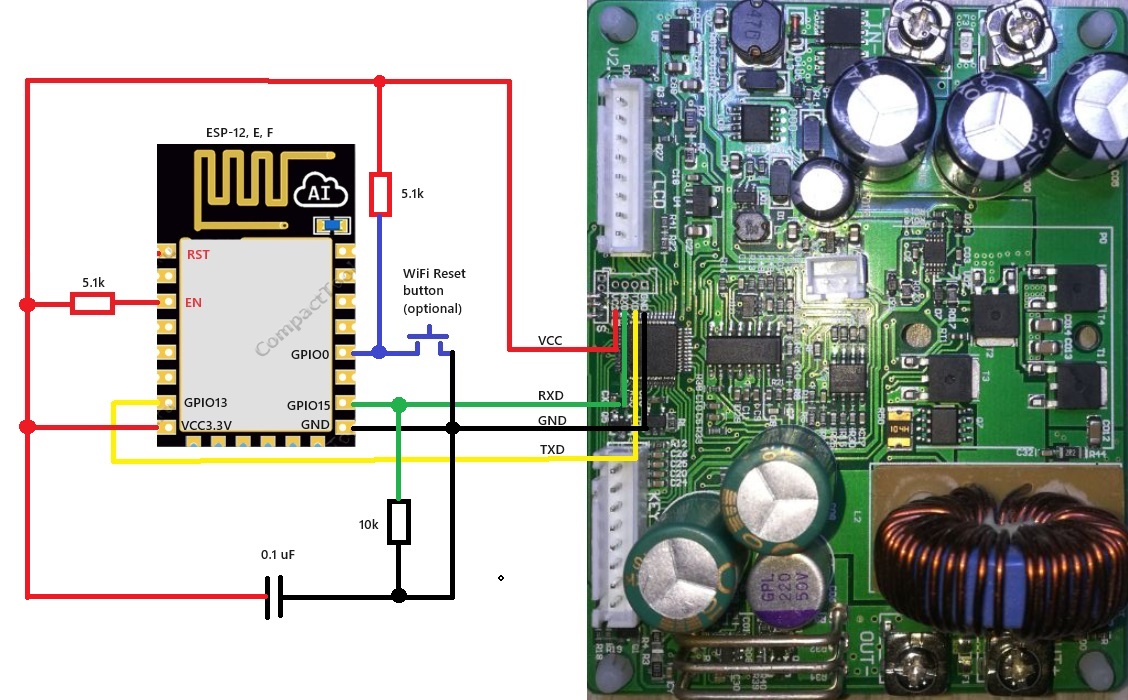
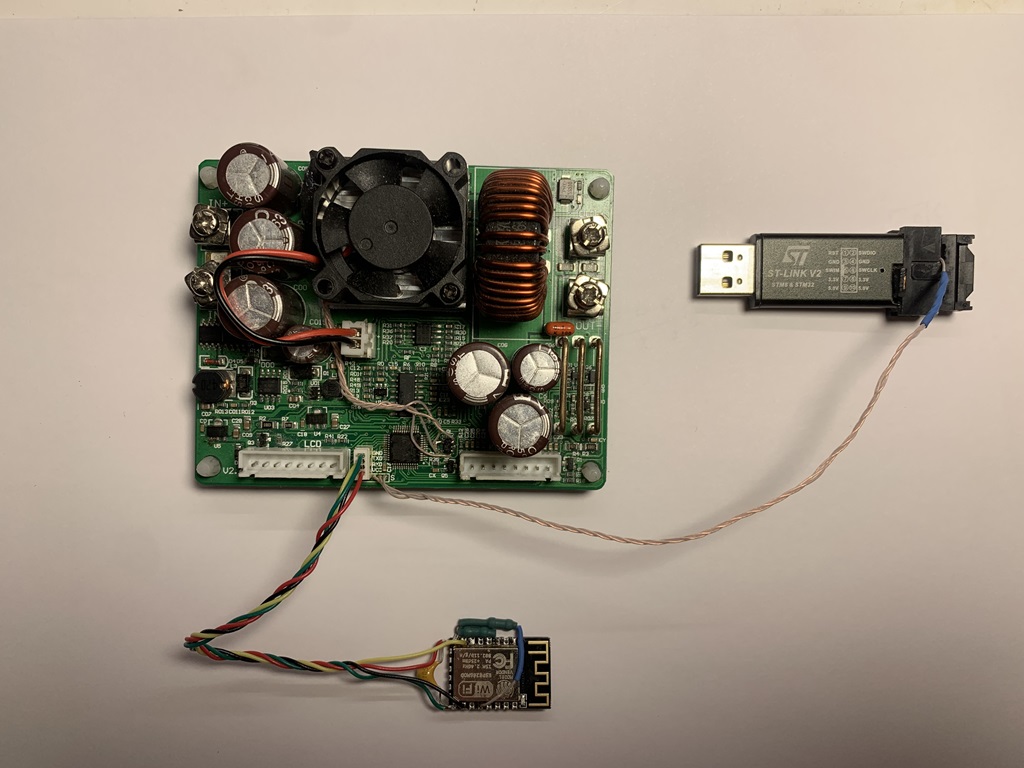
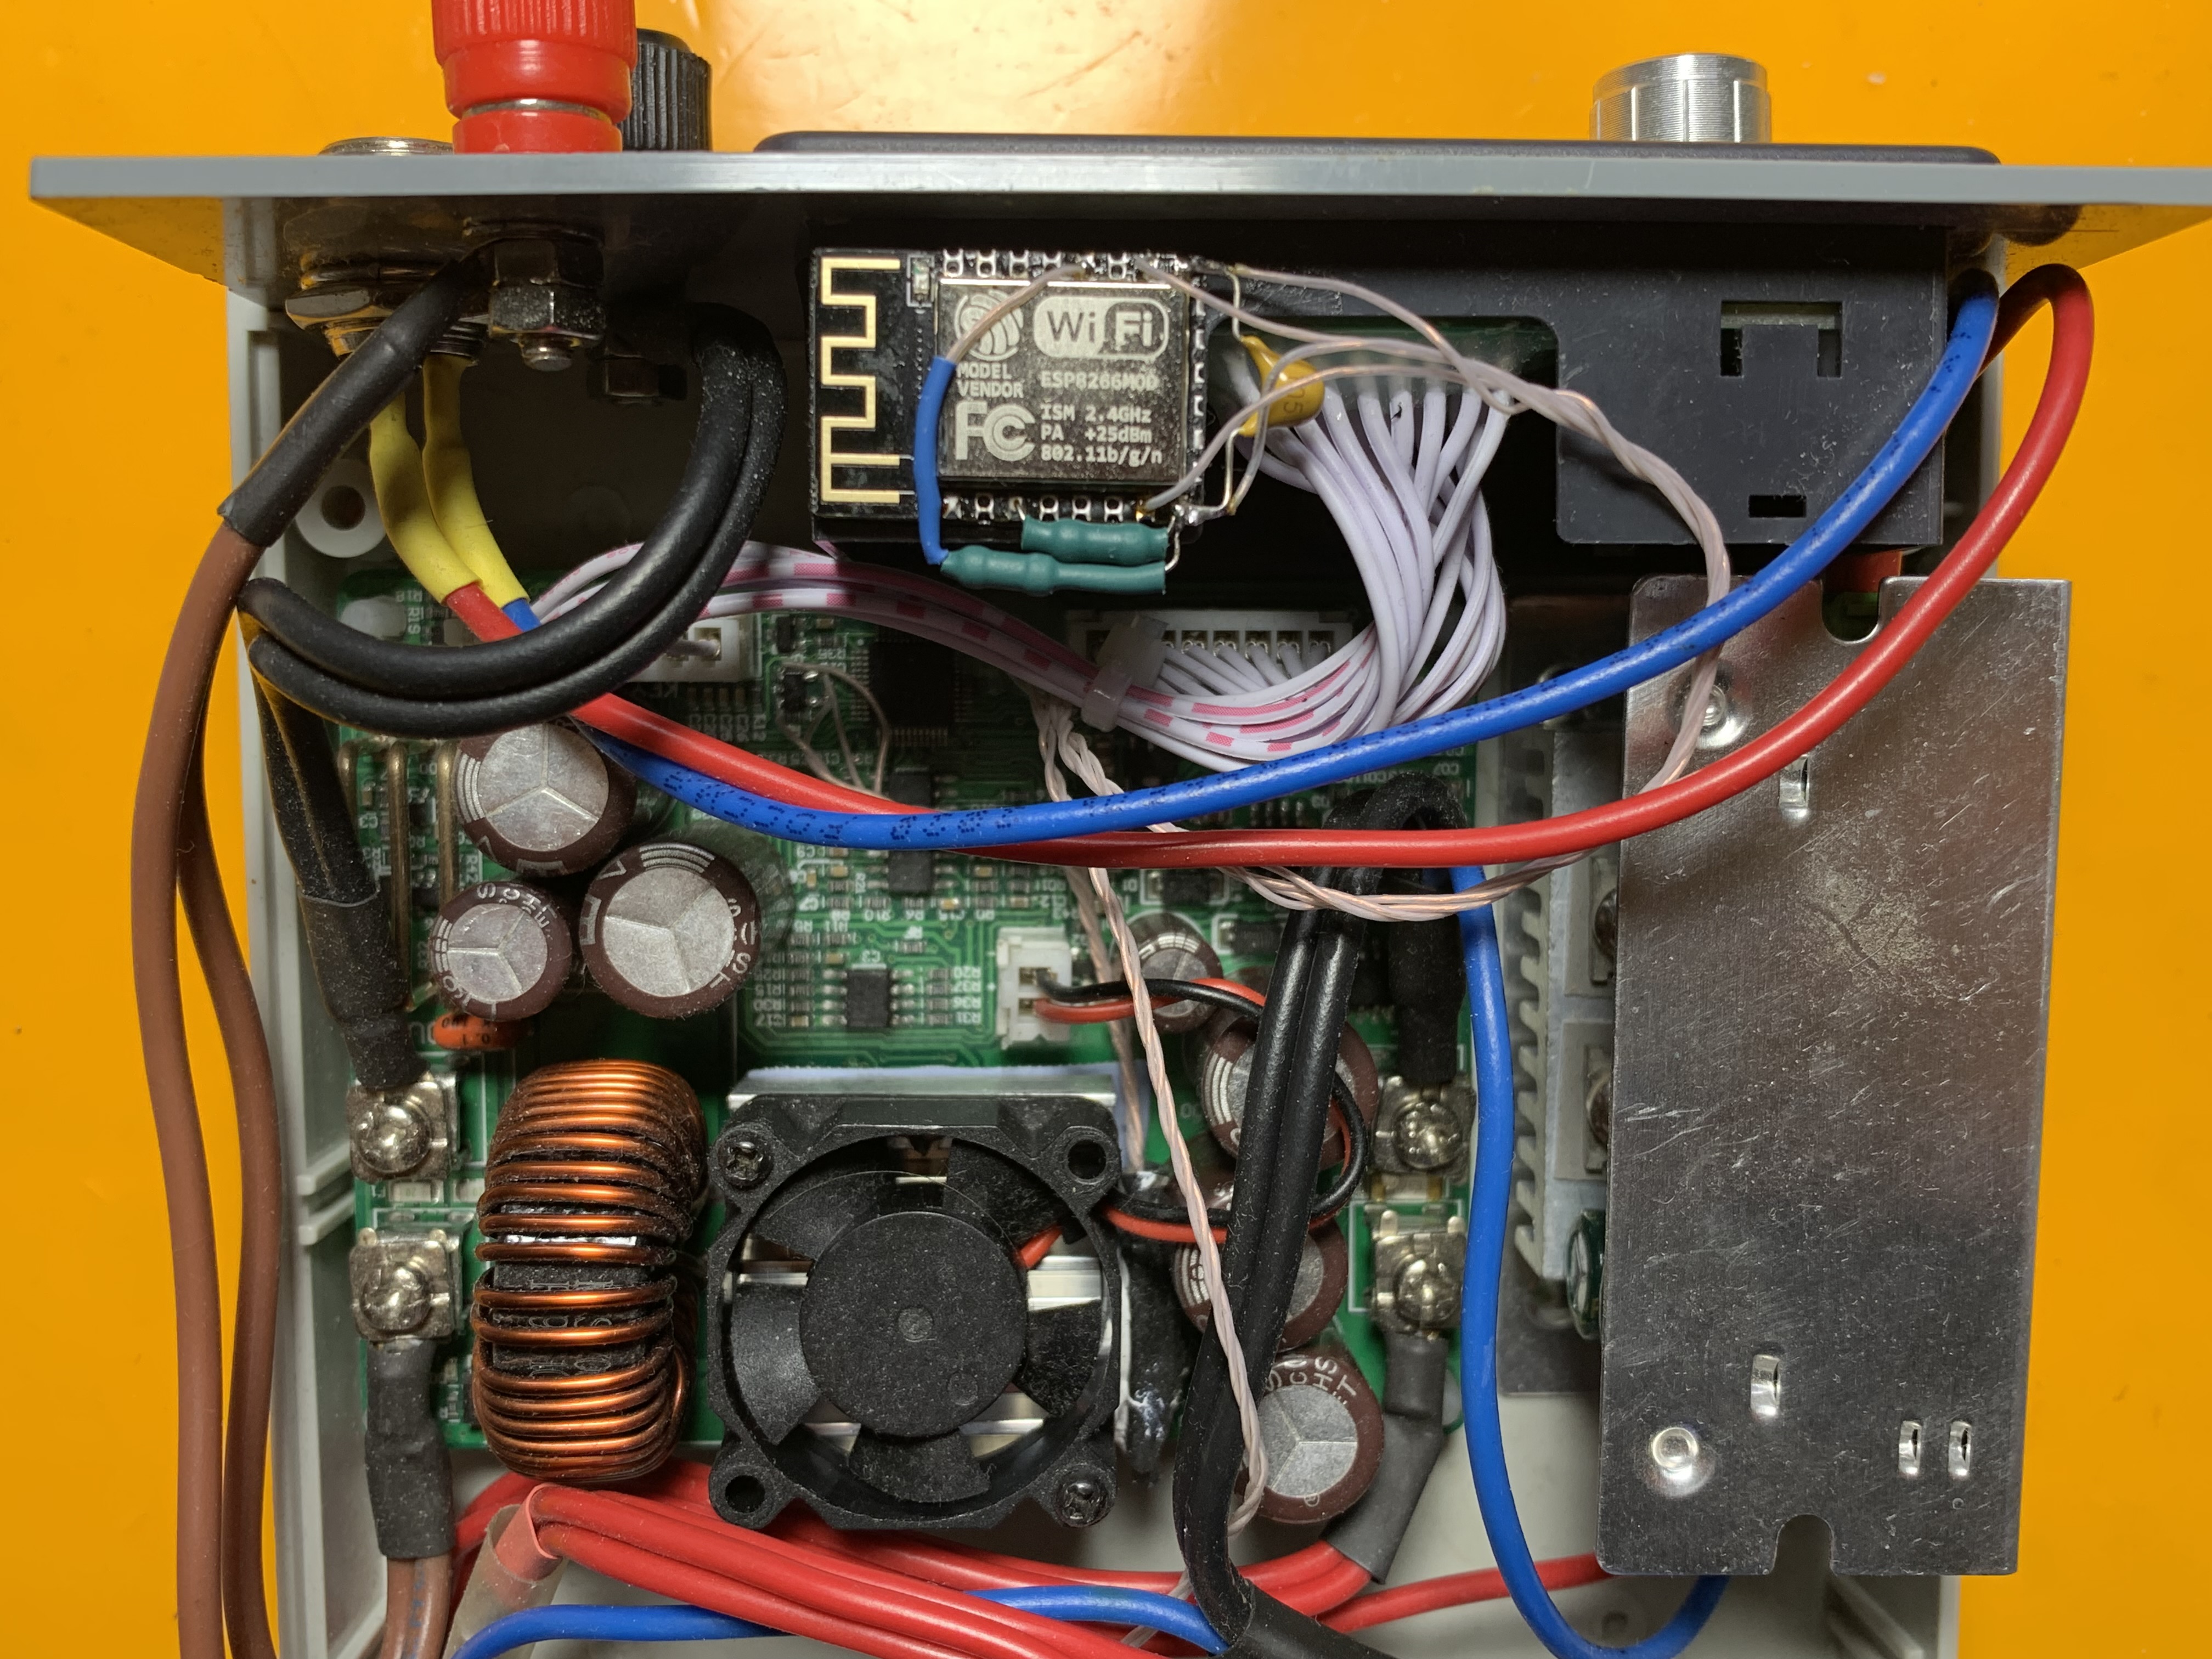
The development board is needed only for flashing and debugging. After debugging, you can connect a module without a development board. In the NodeMcu dev board "FLASH" button connected to GPIO0, so you can use "FLASH" button as "WiFi Reset". You can use any board with ESP8266.
I use this one: Click to view the board
Aliexpress page: https://aliexpress.ru/item/4000550036826.html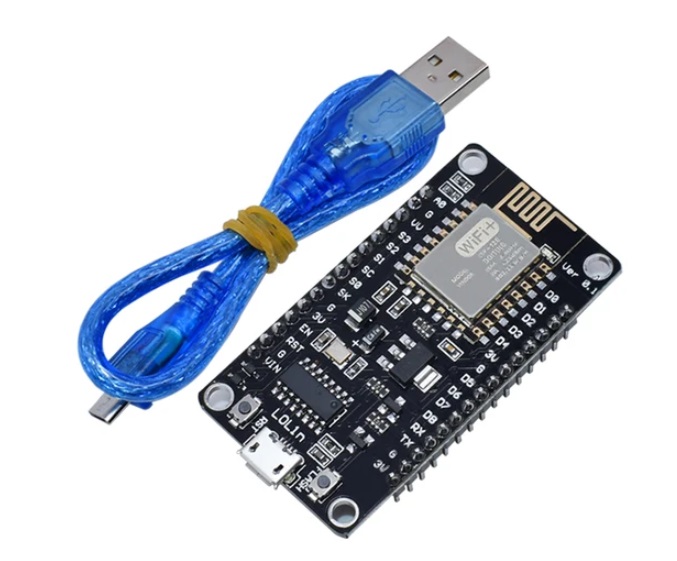
The project is Modbus RTU to Modbus TCP bridge. Now your DPS power supply can communicate with DPSmaster application over WiFi.
In the DPSmaster application select "TCP" and enter correct ESP8266's local IP address.
DPSmaster officail page: https://profimaxblog.ru/dpsmaster/

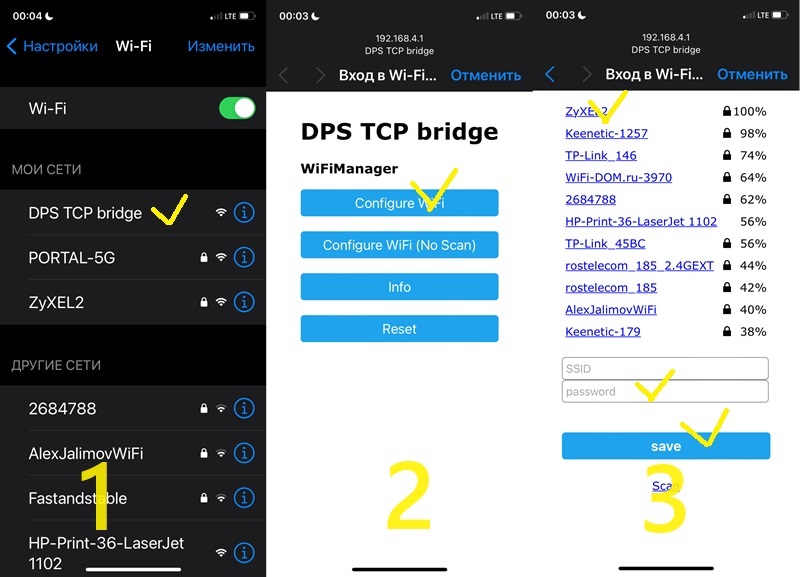
Push "WiFi Reset" button for 3 seconds. The ESP8266 module switch to access point mode. Open WiFi settings on your phone. Choose "DPS TCP bridge", no password needed. Then click "Configure WiFi", choose your router, enter password and click "Save". Now the ESP8266 module is in the station mode and connected to your wifi router.
For DPS alternative firmware you can use "Communication" menu "Wifi reset - Yes/No" item instead optional "WiFi Reset" button.
Open the router's web page in a browser. View the list of clients. For DPS alternative firmware: Go to "Parameters" menu. Press the "SET" button. The IP address will be displayed for 3 seconds.
https://youtube.com/shorts/995Rk9Xic3o
https://youtube.com/shorts/P--5Z4uEhjc
https://aliexpress.ru/item/1005004837211340.html
Comment the line like this:
// comment the line below if your DPSxxxx device has chinesse firmware
//#define DPS_ALTERNATIVE_FIRMWARE
Enter correct baud rate:
Serial.begin(9600);
The software serial over UART0/USB is used at 115200 speed. Unfortunately software serial is not a reliable tool.
// uncomment the line below if you need debug via USB/UART0
#define MB_DEBUG
