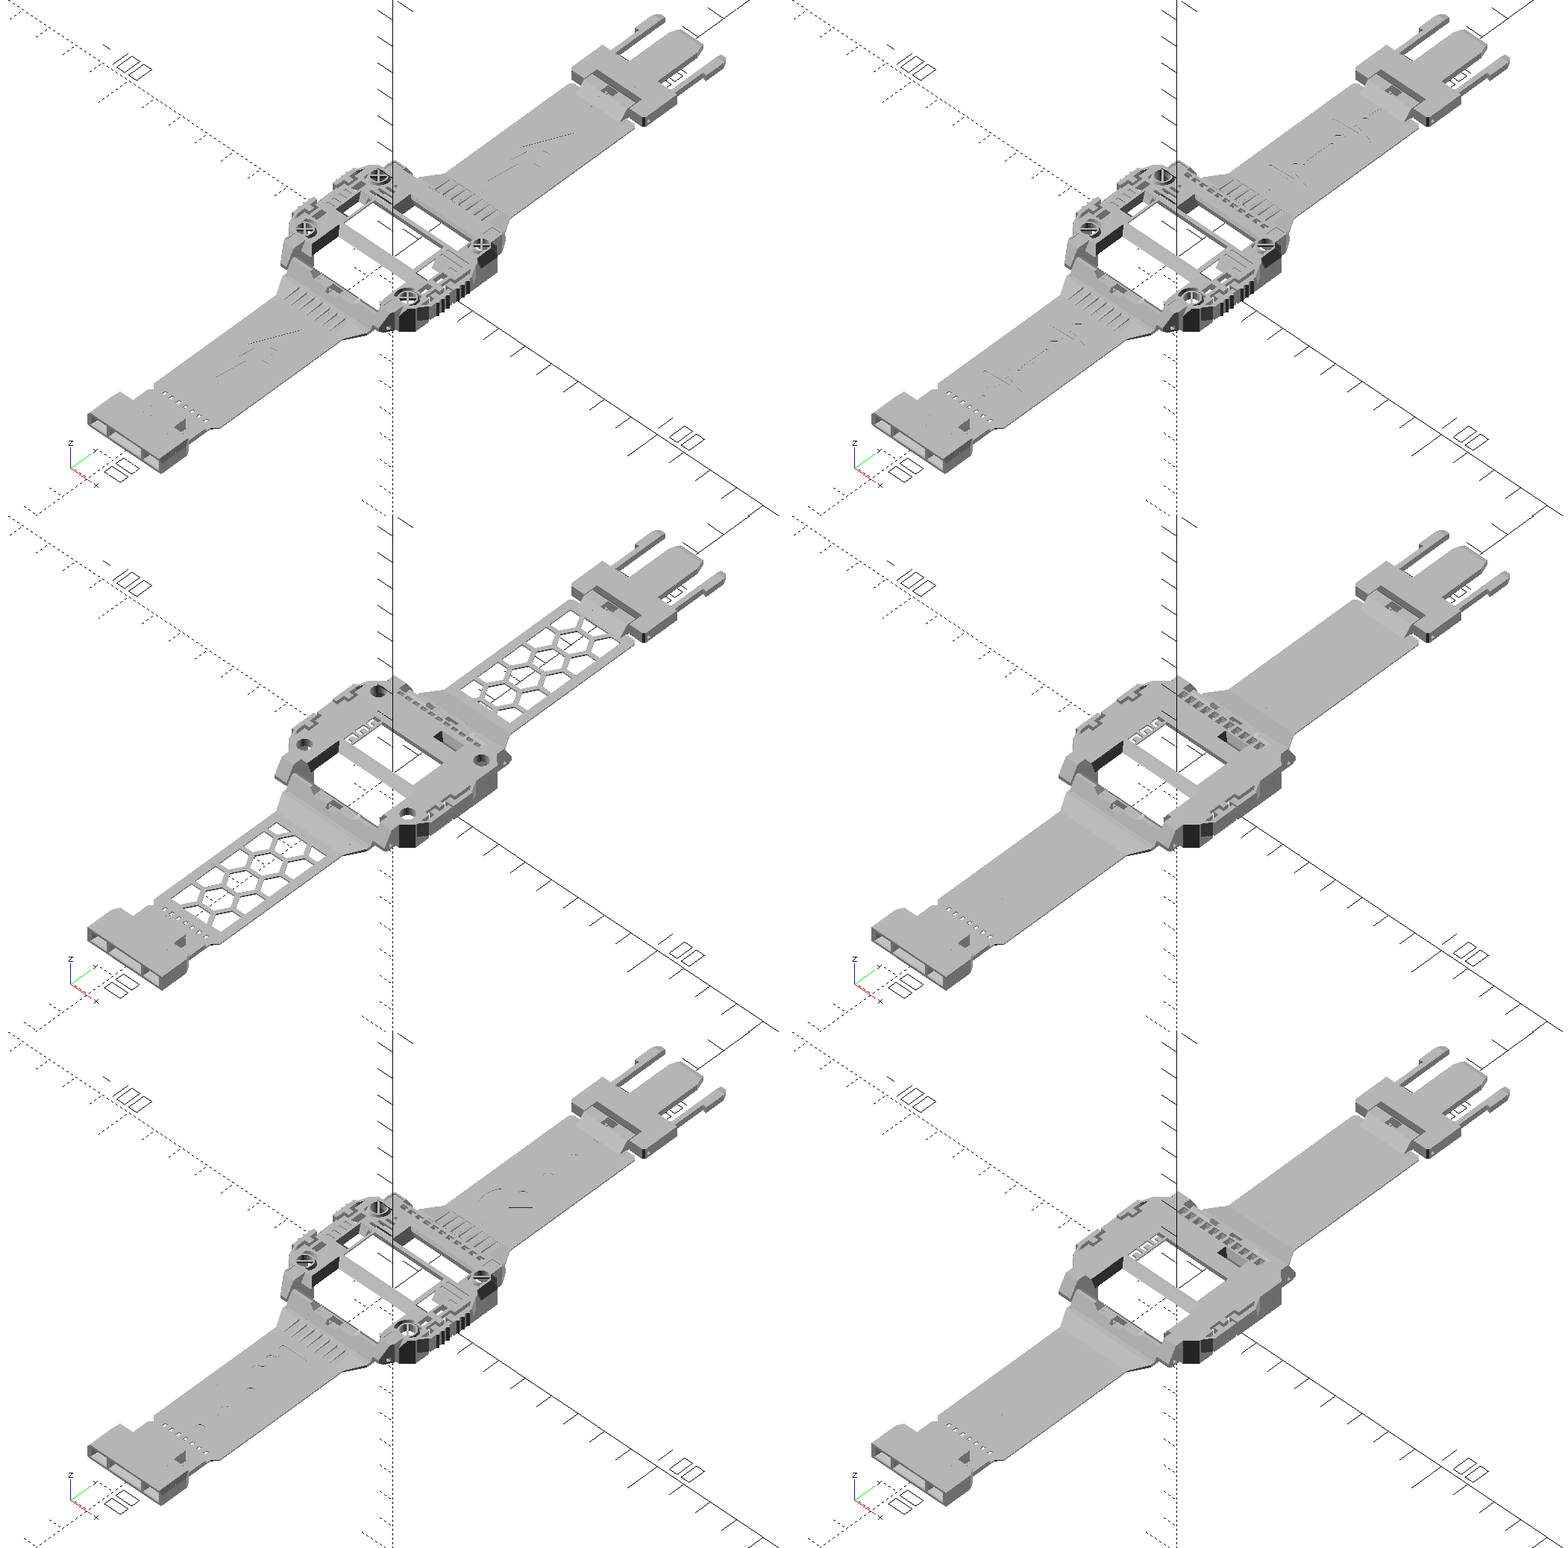
- interactive web interface available at https://card10-cover.0x1b.de/index.php (thx to segal!)
- more variations possible than you'll ever need!!!
- buttons become much more usable as they get a bigger surface
- the cover can be clipped onto the badge - there are no tools required to change the cover
- you can add a piece of clear plastic (e.g. cutout from a cheese packaging) as display protection
- the model has no overhangs, thus it is very easy to print (except if you turn side led's on)
- you can turn off the randomization and generate exactly the cover that YOU want!
- open this code in openSCAD (download from https://www.openscad.org/)
- specify whether you want a model with wristband or without (line 82) / the option with wristband also adds the wristband mounts (32 mm) to the watch cover
- if you want to print a wristband, specify the sircumference of your wrist in line 107
- specify from line 69 on which parts you want to generate
- select in line 68 if you want to have the parts oriented ready for print or in the way they will be assembled later
- [optional]: adjust settings below in the section 'CUSTOMIZE YOUR COVER BY ADJUSTING VALUES BELOW:'
- hit the render button in openSCAD (the button above the code with the hourglass & the cube)
- hit the .stl export button right next to the render button
- print your .stl model!
- print upside down without support out of PLA
- recommended slicer settings: 0.2mm layer height 0.4mm wall thickness / 1 wall 100% infill 0.4mm extruder
- clean up the print with a small utility knife
- [optional]: cut a 14mm x 30mm piece of clear plastic as display protection (e.g. from a pet-bottle) and place it inside the display cutout
- If you printed a wristband: Glue FClip on the end of the bottom wristband (e.g. with superglue)
- connect MClip with the top wristband (with a paper clip as axle)
- connect both wristbands to the cover (with paper clips as axles)
- if you printed a bottom: Unscrew the four screws on the bottom of the Card10, remove the stainless steel electrodes, add the bottom piece, add the electrodes, add the screws again.
- clip the cover onto your card10 badge
- print another cover for your friends
 Step 1: Clean up the inside of FClip with a small file.
 Step 2: Make sure that MClip fits smooth into FClip.
 Step 3: Glue FClip onto the bottom piece of the wristband.
 Pro-tip: Clothespins are nice for clamping the pieces together while the glue cures. A piece of tape (e.g. electric tape or the yellow back-foil on double sided tesa tape prevents the superglue to bond with the clothespins).
 Step 4: Connect MClip and the top part of the wristband with a paperclip. Cut the paperclip to size.
 Step 5: Heat up a piece of pipe with a hot air gun...
 ... and use the hot pipe to bend the wristband pieces.
 Step 6: Connect the wristband pieces and the cover with paperclips.
 This is the finished clip-on cover! You can also add the bottom plate to your Card10. This would be screwed in between the lower circuit board and the metal electrodes.
I added some stl files which were generated with Version 1 & 2 as examples. Here's a print of the model 1337haxx0r with all features unlocked:
All of the models feature a recessed display cutout where you can place a 30mm x 14mm transparent plastic piece as display protection.
Here's the model 'functional style' with half diffusor after losing a round of Tetris:
And here's a bunch of prints with different features. I cut out pieces from some food packaging for the screen protectors:
Thhere were plenty of test prints involved in making this work out nicely:
