This is the official Zalarify repository for the:
- Smart contracts.
- API Rest.
- Web application.
Zalarify is a decentralized platform for transfering payrolls to your employees. The company owners can pay using any ERC20 tokens, and their employees get the stablecoin DAI (it'll include new stablecoins in some months).
Using Zalarify you can:
- Create your own company.
- Add new employees to your company.
- Transfer the payroll to your employees using any ERC20, and the employees receive the ERC20 token they prefer. This functionality is integrated with StablePay smart contracts.
- Generate a payment receipt in IPFS.
The platform uses NodeJS and NPM. So, you need to install the following versions:
- NodeJS +10.15.3
- NPM: +6.4.1
If your SO is Ubuntu 18.04 LTS, you can follow this guide to install NodeJS (it includes NPM):
https://joshtronic.com/2018/05/08/how-to-install-nodejs-10-on-ubuntu-1804-lts/
$ git clone https://github.com/salazarguille/Zalarify.git ./zalarifyInstall Truffle
$ npm install truffle -gInstall Ganache Cli
$ npm install ganache-cli -gOnce you have installed Truffle and Ganache CLI, you need to configure each module.
The Truffle module is located in the root folder.
The Truffle module needs some env variables to be configured properly. In order to configure them, create a .env file based on the .env.template file (copy .env.template file to .env).
Once the file was created, it needs to setup some values. Please, follow the instruction to setup these values before executing any command.
This value is not required if you will use Ganache. You can leave the current value.
The INFURA_KEY key is needed to execute smart contracts in a testnet or mainnet. To get a key, just visit Infura.net, and signup.
This current value in the .env.template must NOT be modified. That pre-configured mnemonic contains accounts with enough ether and tokens balances to interact with Zalarify. If you change it, you will not able to use Zalarify. Verify the value is "gesture rather obey video awake genuine patient base soon parrot upset lounge".
The MNEMONIC_KEY key is used to get/create the ethereum addresses.
IMPORTANT NOTE: Don't use that mnemonic in a production environment.
The ETHERSCAN_API_KEY key was used to verify the smart contracts in Ropsten Etherscan.
In root folder, execute:
$ npm installThe API module needs some env variables to be configured properly. In order to configure them, create a .env file based on the .env.example file located at api-rest folder (copy api-rest/.env.example file to api-rest/.env).
The values in the api-rest/.env.example file are valid to run the application using Ganache. So, you don't need to modify it.
In case you need to run the application pointing to Ropsten, just modify the variable value DEFAULT_ETHEREUM_NETWORK to
ropsten.
In the ./api-rest folder, execute:
$ npm installThis module is located at client folder. In order to configure them, create a .env file based on the .env.local.template file located at client folder (copy client/.env.local.template file to client/.env).
The values in the .env.local.template file are valid to run the application using Ganache. So, you don't need to modify it.
In case you need to run the application pointing to Ropsten, just modify the variable value REACT_APP_DEFAULT_NETWORK to ropsten.
In the ./client folder, execute:
$ npm installThis module is not required to configure because it is only for testnets, and it is already configured and deployed in Ropsten.
You can access to it using this link.
Once you have configured all the required module, you are able to start the application using Ganache.
The platform uses the StablePay smart contracts which also uses the Kyber Network and Uniswap smart contracts. So, Zalarify needs a Ganache snapshot with the full smart contracts which is included in the project. So, to start Zalarify using Ganache, please follow the below steps:
- Uncompress the file
resources/db.zipinto./dbfolder (at the root project folder). - Verify there is not any sub-folder in
./db(just files). - Execute in the root folder.
$ npm run start:allOnce the application starts, it will open a tab browser.
IMPORTANT NOTE: Remember start your Metamask extension using the mnemonic in the ganache snapshot. It is "
gesture rather obey video awake genuine patient base soon parrot upset lounge".
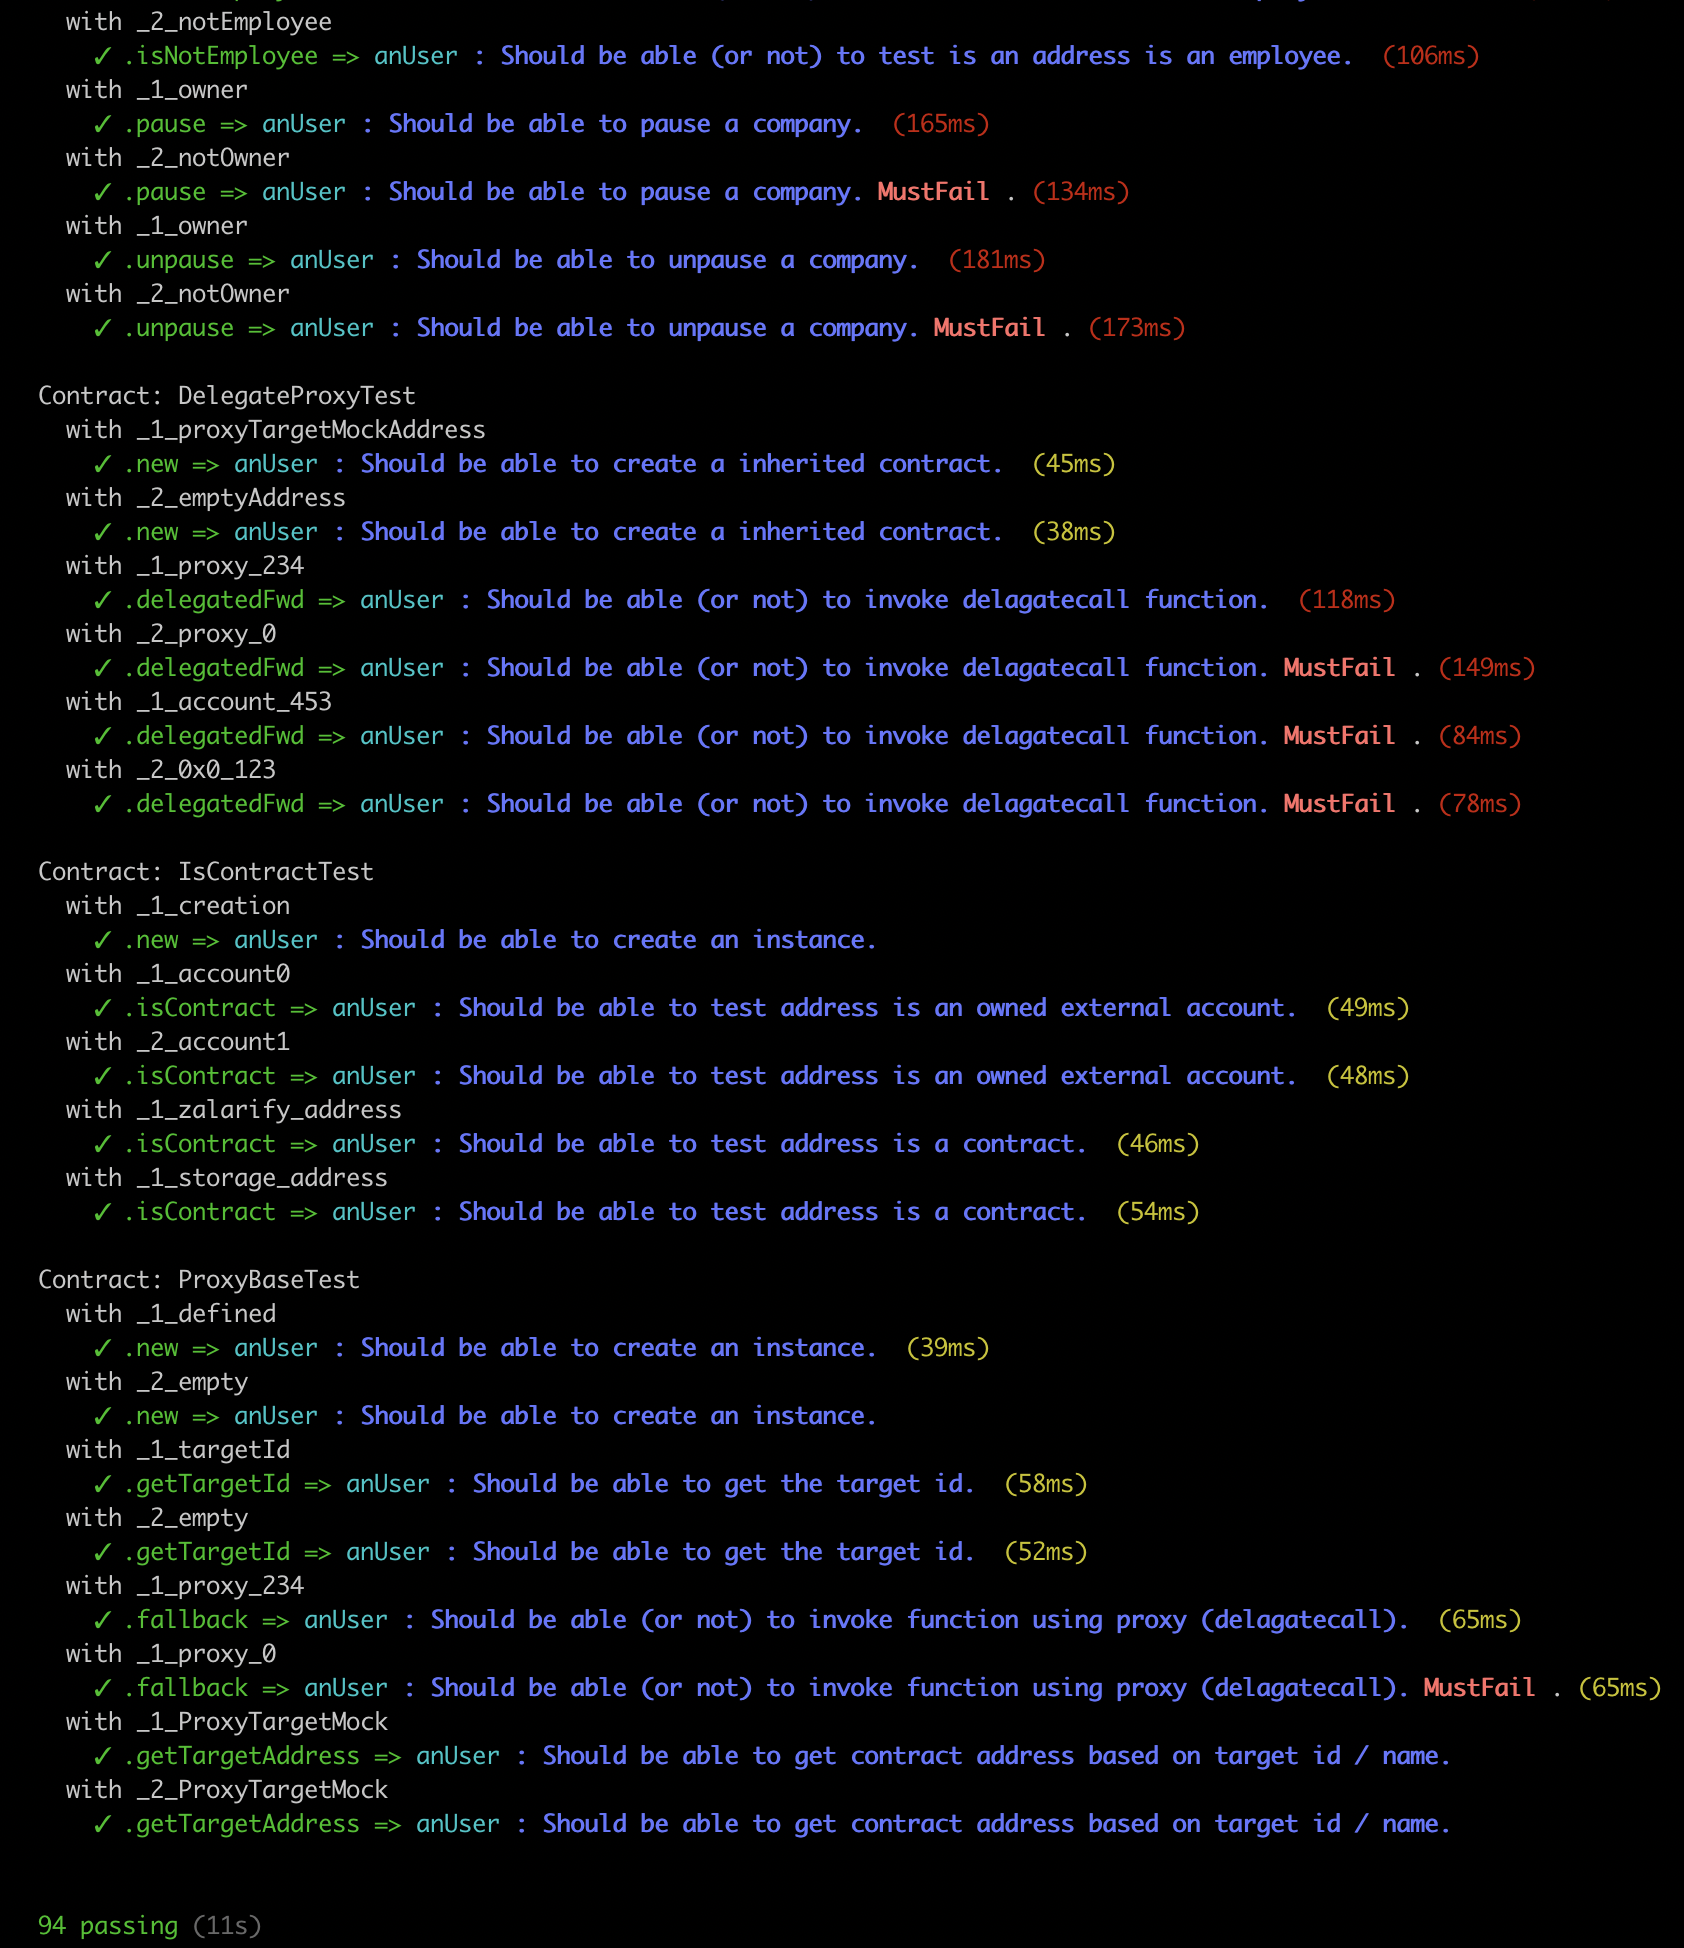
After configuring the environment variables, the tests can be executed.
$ truffle testThe platform uses the solidity-coverage dependency. It can be executed with the command below:
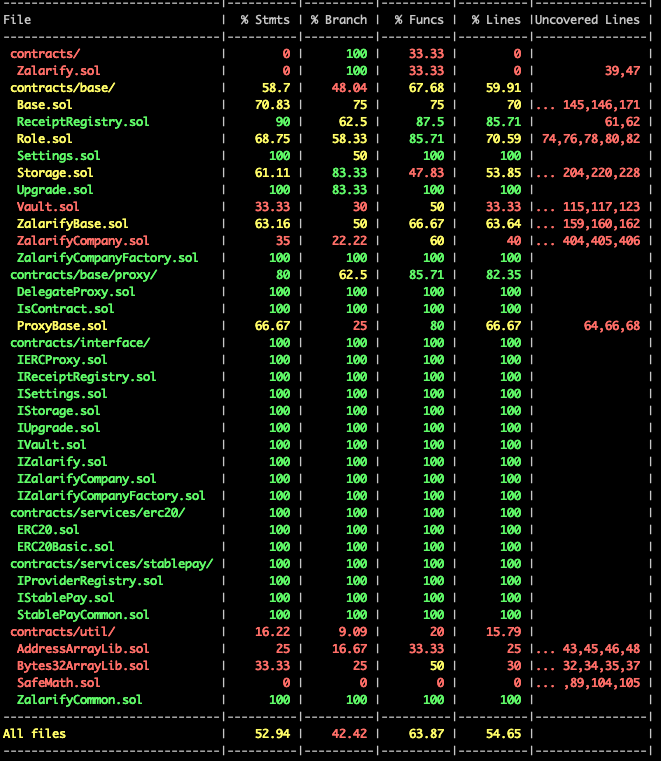
npm run test:coverage
As result, you will get:
- Statements: 52.94 %
- Branches: 42.42 %
- Functions: 63.87 %
- Lines: 54.65 %
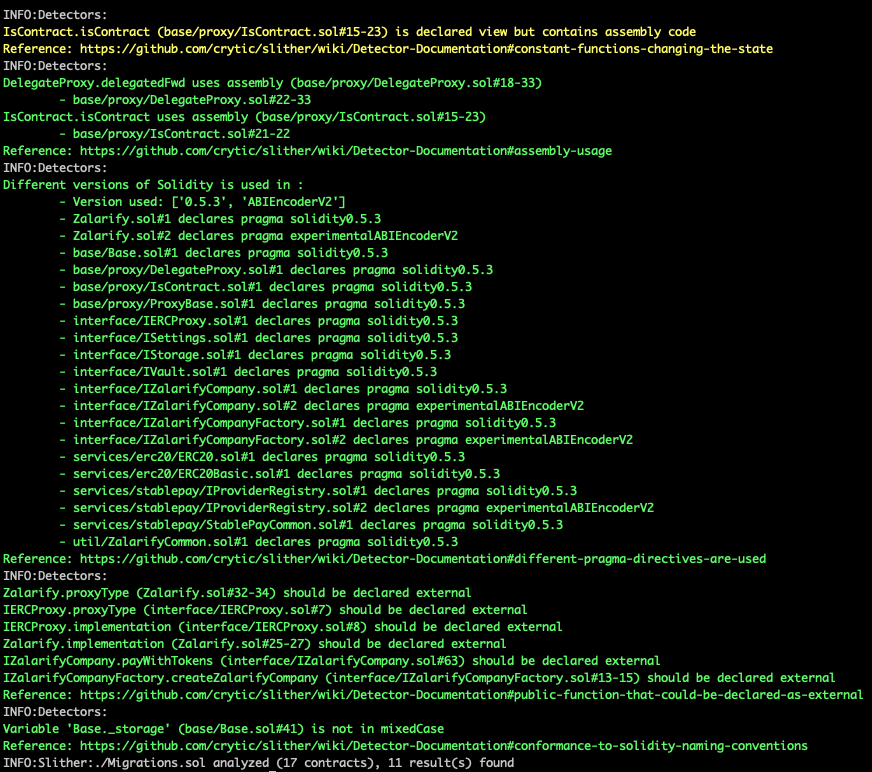
Smart contracts were validated by Slither. If you want to verify them, follow the following steps:
-
Pull the Docker Image executing
docker pull trailofbits/eth-security-toolbox. -
Start the docker container executing
docker run -it -v /local/path/to/contracts/folder:/share trailofbits/eth-security-toolbox. -
Once you are in the container, execute:
slither ..
If you need to change the solc version, use solc-select cli.
$ solc --version
solc, the solidity compiler commandline interface
Version: 0.5.2+commit.1df8f40c.Linux.g++

$ solc-select 0.4.24
$ solc --version
solc, the solidity compiler commandline interface
Version: 0.4.24+commit.e67f0147.Linux.g++
All the high severity issues were fixed during the development. Now the smart contracts contain only low priority issues.
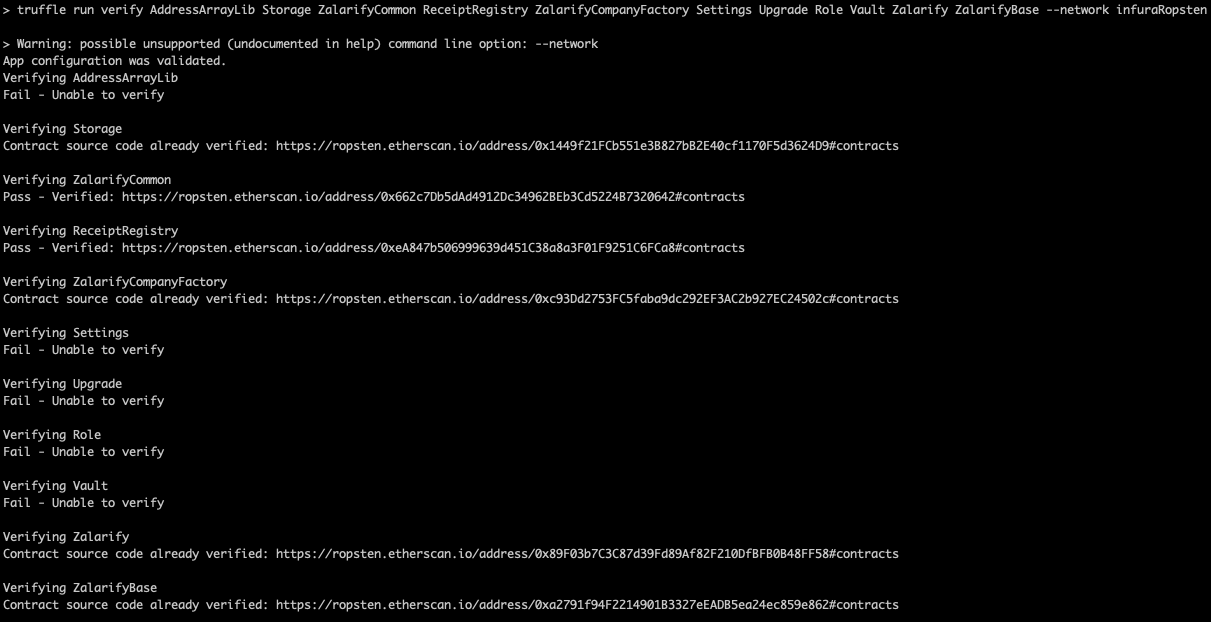
I have used the Truffle plugin truffle-verify-plugin to verify the smart contracts. The result is:
The file deployed_addresses.md contains which ones were verified.
If you have any question or feedback, contact me at [email protected].


