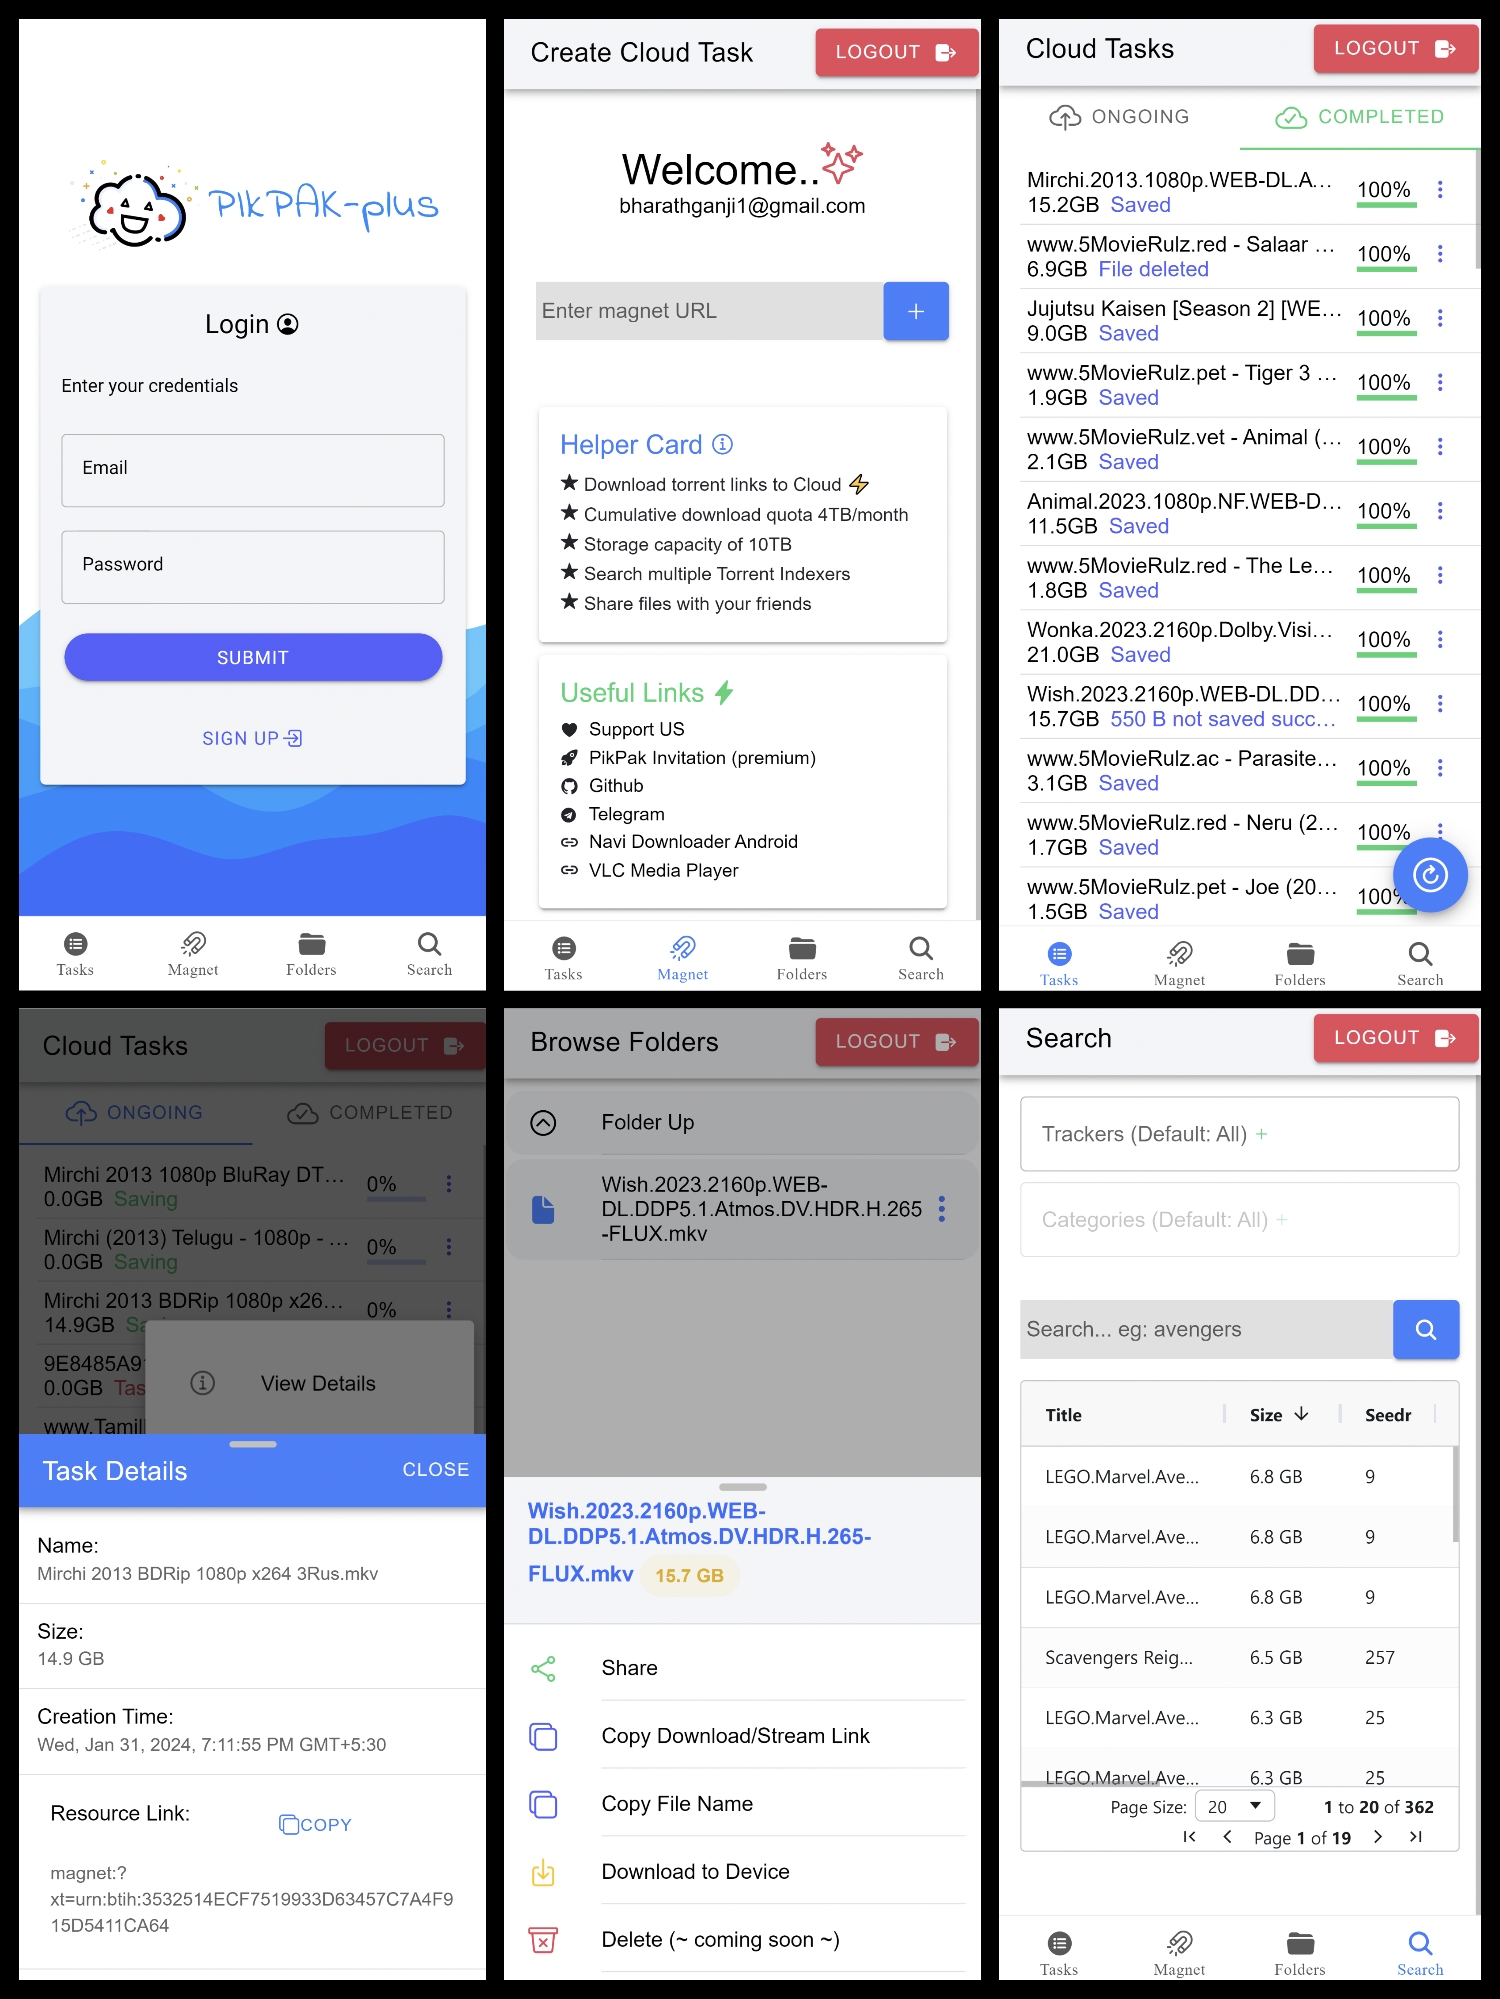
unofficial implementation of PikPak
Share your PikPak [Premium] with your friends and family!
Explore the docs »
Installation Demo (coming soon)
·
Report Bug
·
Request Feature
Table of Contents
Note:
-
This project started as a personal project to learn about docker and python flask. This was my first time working with flask so the code might not be the best, I have certainly learned a lot from this project and maintaining or updating it is just too much work for me, so I have decided to open source it.
-
I have been using PikPak for a long time now and it's great service available for affordable price, but I always felt that i haven't used atleast minimum 10% of montly quota available, I wanted to be share my account with and friends so, collectively we can use it to it's maximum potential, so I decided to build this application.
-
I may or maynot updating this project in future, but I have plans to enhance if i find any bugs, I have used using React + Vitejs + IonicFramework for the frontend, Flask for the backend with supabase for authentication and supabase(mySQL) for the database.
-
This project do not store any passwords from users and tried to provide authentication to its atmost possible.
-
IonicFramework is used by keeping in mind to implement cross platform applications but due to technical difficulties with vitejs and kind of poor archtecture (learner) it was kept of hold.
-
jackett was used for (pikpak-plus.com/search) searching torrents and i found this was the limitation with pikpak and try tried to enhance this feature as much as possible.
Download Drawback:
- During download we wont be receiving filename via content disposition request response, it will store as download.bin file. so, we need a blob mechanism to store it with custom file name.
solution:
- Rename the file after download (already an action provided to click and copy file/folder name).
- use 3rd party downloaders, provide the link and name and start download. (IDM, ADM, NAVI, etc...).
The application is containarized so that you don't need to go through the hassle of installing dependencies, tech stack used to built this application is listed below.
This project is focused to run on server environment hence docker containers are used to deploy the application.
-
Clone the repo
git clone https://github.com/bharathganji/pikpak-plus.git -
Create
.envfile inside the project root folder, add the following to it (referexample.env)# pikpak email, password (Required) user = [email protected] passwd = example # Supabse Project URL, anon public-key (Required) SUPABASE_URL = https://example.supabase.co SUPABASE_KEY = example string key # Jackett API key and domain (optional) # if you want to use search Functionality (Required) JACKETT_API_KEY = string key JACKET_DOMAIN = https://jackett.example # api hostname/URL if deployed external else dont change eg:'https://api.example.com/' VITE_PIKPAK_PLUS_API = 'http://server:5000' # UI Domain Name (optional) VITE_HOSTNAME = 'https://example.com' # Ports (optional) VITE_DEVELOPMENT_PORT = "3001" VITE_PRODUCTION_PORT = "3002" -
Create Table and enable RLS policies in supabase
-
Run the containers
sudo docker compose -f "docker-compose.yml" up -d --build
- sign-up with email and password, check your inbox and verify email
- sign-in and try out all features
See the open issues for a list of proposed features (and known issues).
Contributions are what make the open source community such an amazing place to be learn, inspire, and create. Any contributions you make are greatly appreciated.
- Fork the Project
- Create your Feature Branch (
git checkout -b feature/AmazingFeature) - Commit your Changes (
git commit -m 'Add some AmazingFeature') - Push to the Branch (
git push origin feature/AmazingFeature) - Open a Pull Request
Distributed under the GNU General Public License v3.0. See LICENSE for more information.
Bharath Ganji - @bharathganji - [email protected]
Project Link: https://github.com/bharathganji/pikpak-plus


