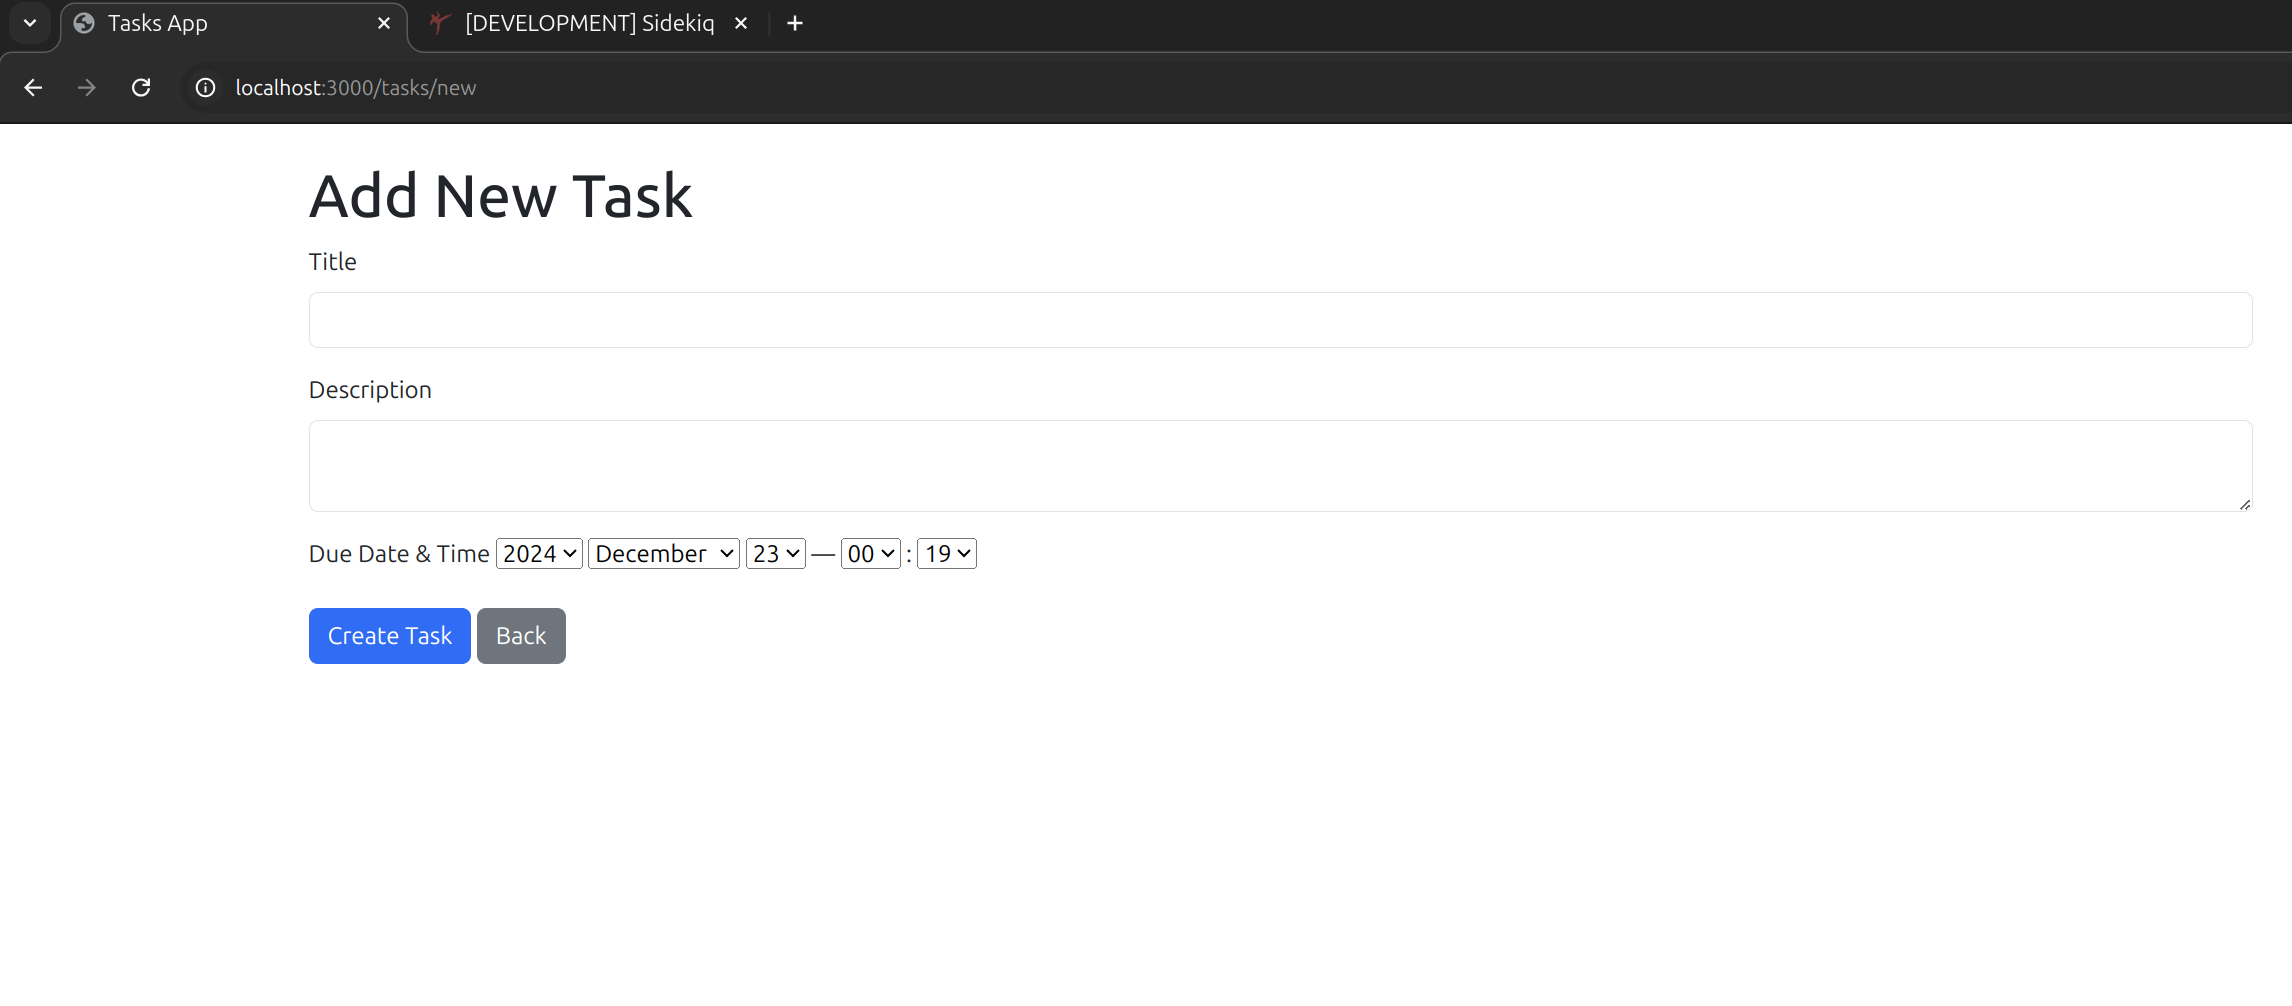
A Ruby on Rails web application with modern frontend styling using Bootstrap 5. This task management application helps you organize and track your daily tasks efficiently.
 List of tasks with CRUD operations and sorting options.
The Task Manager application follows the Model-View-Controller (MVC) architecture:
- Task: Represents tasks with attributes like
title,description,due_date, andstatus(enum with valuespending,completed, andoverdue). - Includes validations and default status logic.
- Uses embedded Ruby templates (ERB) for rendering pages.
- Pages include task listing, creation, editing, and status updates.
- TasksController: Handles CRUD operations for tasks and includes custom actions like
mark_as_completed.
-
Task Management:
- Tasks categorized into pending, completed, and overdue statuses.
- CRUD operations for tasks.
-
Background Jobs:
- Integration using Sidekiq and Sidekiq-Cron.
- Automated reminders and status updates for tasks.
-
Reminder Emails:
- Sends email notifications for tasks due within 30 minutes.
-
Automated Status Updates:
- Background jobs automatically update the status of overdue tasks.
- Ruby on Rails
- PostgreSQL
- Bootstrap 5
- Node.js/Yarn
- Sidekiq (for background job processing)
Before you begin, ensure you have the following installed:
- Ruby (version 3.2.1)
- Node.js (v16 or higher)
- Yarn (v1.22 or higher)
- PostgreSQL (v14 or higher)
- Redis (for Sidekiq)
-
Clone the repository:
git clone [repository-url] cd task_manager -
Install Ruby dependencies:
bundle install
-
Install JavaScript dependencies:
yarn install
-
Configure your database:
- Update
config/database.ymlwith your PostgreSQL credentials.
- Update
-
Setup the database:
rails db:create rails db:migrate rails db:seed # If you want to load sample data -
Start Redis server (required for Sidekiq):
redis-server
-
Start Sidekiq worker (in a separate terminal):
bundle exec sidekiq -
Start the development server:
./bin/dev # This will start both Rails server and asset compilation
The application will be available at http://localhost:3000.
The application uses PostgreSQL with the following default configuration:
- Development database:
task_manager_development - Test database:
task_manager_test - Production database:
task_manager_production
Connection pooling is configured based on the RAILS_MAX_THREADS environment variable (defaults to 5).
# Run all tests
bundle exec rspec

# Run specific test file
bundle exec rspec spec/models/task_spec.rb# Run RuboCop for Ruby code style checking
bundle exec rubocop- Fork the repository.
- Create your feature branch (
git checkout -b feature/amazing-feature). - Commit your changes (
git commit -m 'Add some amazing feature'). - Push to the branch (
git push origin feature/amazing-feature). - Open a Pull Request.
- Ensure your production environment meets the prerequisites (Ruby, PostgreSQL, Redis, etc.).
- Precompile assets:
rails assets:precompile
- Migrate the production database:
rails db:migrate RAILS_ENV=production
- Start the server using your preferred method (e.g., Puma, Passenger, or Nginx).
