Liked our work? give us a ⭐!
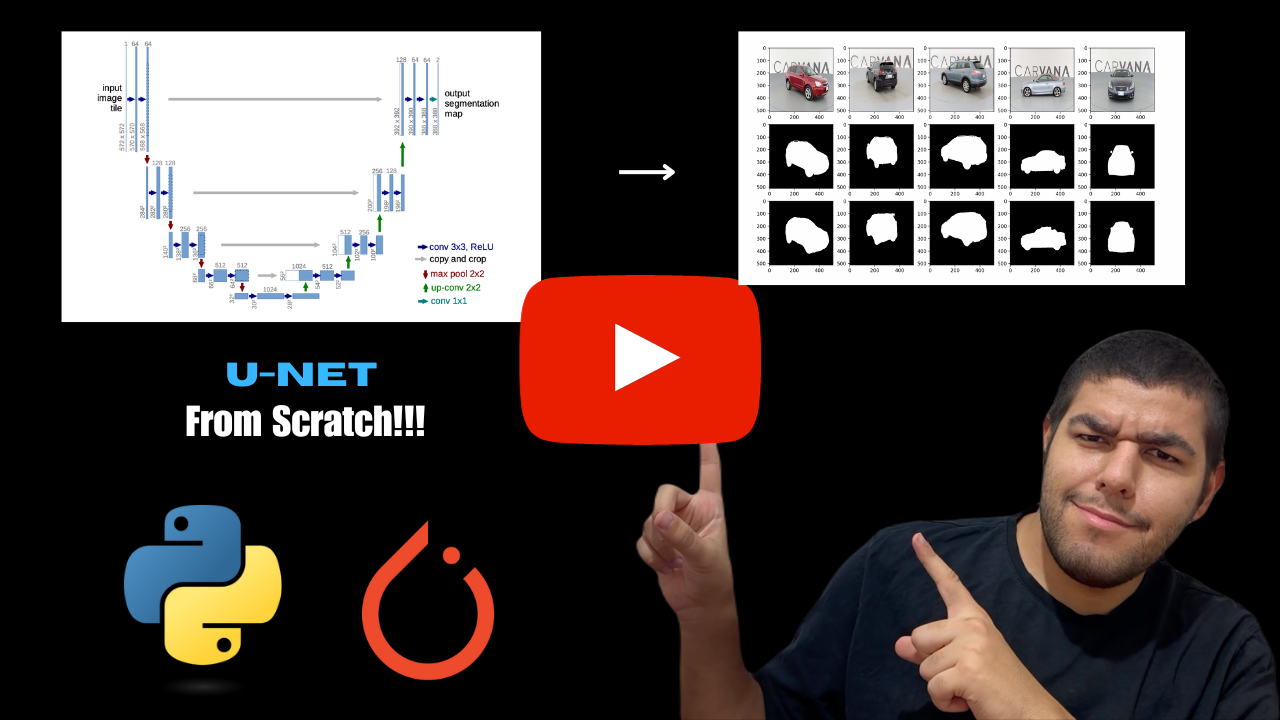
This repository contains minimalistic implementation of U-Net that is introduced in the paper U-Net: Convolutional Networks for Biomedical Image Segmentation using PyTorch. Implementation has tested using Carvana Image Masking Challenge by Kaggle.
This repository also contains a corresponding YouTube tutorial with the title Implement and Train U-NET From Scratch for Image Segmentation - PyTorch
We need four classes to implement U-Net. Parts of the UNet class which are DownSample to apply down sampling operation, UpSample to apply up sampling operation, DoubleConv to apply double convolution operation and the UNet as the main U-Net class.
class UNet(nn.Module):
    def __init__(self, in_channels, num_classes):
        super().__init__()
        self.down_convolution_1 = DownSample(in_channels, 64)
        self.down_convolution_2 = DownSample(64, 128)
        self.down_convolution_3 = DownSample(128, 256)
        self.down_convolution_4 = DownSample(256, 512)

        self.bottle_neck = DoubleConv(512, 1024)

        self.up_convolution_1 = UpSample(1024, 512)
        self.up_convolution_2 = UpSample(512, 256)
        self.up_convolution_3 = UpSample(256, 128)
        self.up_convolution_4 = UpSample(128, 64)

        self.out = nn.Conv2d(in_channels=64, out_channels=num_classes, kernel_size=1)

    def forward(self, x):
       down_1, p1 = self.down_convolution_1(x)
       down_2, p2 = self.down_convolution_2(p1)
       down_3, p3 = self.down_convolution_3(p2)
       down_4, p4 = self.down_convolution_4(p3)

       b = self.bottle_neck(p4)

       up_1 = self.up_convolution_1(b, down_4)
       up_2 = self.up_convolution_2(up_1, down_3)
       up_3 = self.up_convolution_3(up_2, down_2)
       up_4 = self.up_convolution_4(up_3, down_1)

       out = self.out(up_4)
       return out
class DoubleConv(nn.Module):
    def __init__(self, in_channels, out_channels):
        super().__init__()
        self.conv_op = nn.Sequential(
            nn.Conv2d(in_channels, out_channels, kernel_size=3, padding=1),
            nn.ReLU(inplace=True),
            nn.Conv2d(out_channels, out_channels, kernel_size=3, padding=1),
            nn.ReLU(inplace=True)
        )

    def forward(self, x):
        return self.conv_op(x)
class DownSample(nn.Module):
    def __init__(self, in_channels, out_channels):
        super().__init__()
        self.conv = DoubleConv(in_channels, out_channels)
        self.pool = nn.MaxPool2d(kernel_size=2, stride=2)

    def forward(self, x):
        down = self.conv(x)
        p = self.pool(down)

        return down, p
class UpSample(nn.Module):
    def __init__(self, in_channels, out_channels):
        super().__init__()
        self.up = nn.ConvTranspose2d(in_channels, in_channels//2, kernel_size=2, stride=2)
        self.conv = DoubleConv(in_channels, out_channels)

    def forward(self, x1, x2):
       x1 = self.up(x1)
       x = torch.cat([x1, x2], 1)
       return self.conv(x)
Project structured as follows:
.
└── src/
    ├── carvana_dataset.py
    ├── unet.py
    ├── unet_parts.py
    ├── main.py
    ├── inference.py
    ├── data/
    │   ├── manual_test
    │   ├── manual_test_mask
    │   ├── train
    │   └── train_mask
    └── models/
carvana_dataset.py creates the PyTorch dataset. unet_parts.py contains the building blocks for the U-Net. unet.py is the file that contains the U-Net architecture. main.py file contains the training loop. inference.py contains necessary functions to easly run inference for single and multiple images.
models/ directory is to save and store the trained models.
data/ directory contains the data you're going to train on. train/ contains images and train_mask/ contains masks for the images. manual_test/ and manual_test_mask/ are optional directories for showcasing the inference.
You can download a sample pre-trained model from here. Put the model into the models/ directory.
inference.py file provides two functions for inference. If you want to run prediction on multiple images, you must use pred_show_image_grid() function by giving your data path, model path and device as arguments.
If you want to run the prediction on single image, you must use single-image-inference() function by giving image path, model path and your device as arguments.
You can view a sample use inside inference.py.
In order to train the model you must run the command python main.py. File has hyperparameters of LEARNING_RATE, BATCH_SIZE and EPOCHS. You can change them as you like.
You must give your data directory and the directory you want to save your model to DATA_PATH and MODEL_SAVE_PATH variables in the main.py file.
By the end of the training your model will be saved into the MODEL_SAVE_PATH.
You can contact me with this email address: [email protected]


