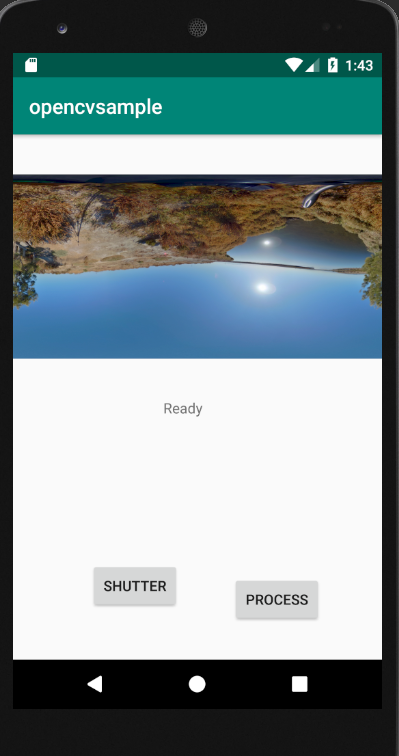
Sample application that shows OpenCV running on both a physical device RICOH THETA V and an Android Video Device. You can develop a plug-in on the emulator and then have it run on a physical device camera with only minor modifications.
Based on original work by roohii_3 with modifications by https://github.com/iamagod (kasper on theta360.guide)
You must enable storage permissions in the settings. If you have using a physical device RICOH THETA, you can use Vysor to go into Settings and enable storage permissions.
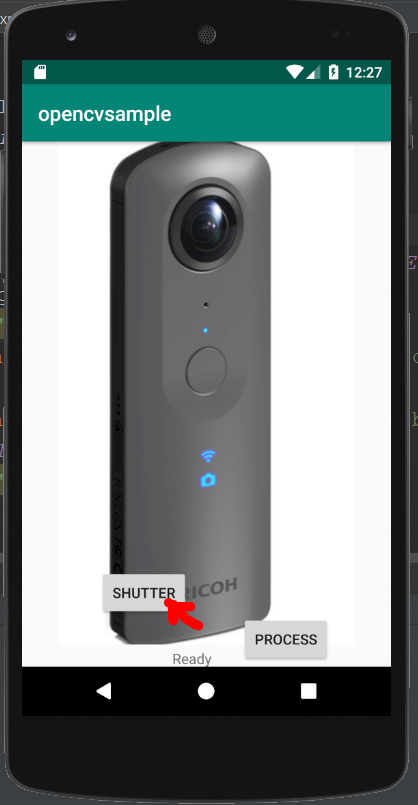
- Use your mouse to press Shutter button. It will load an
image into
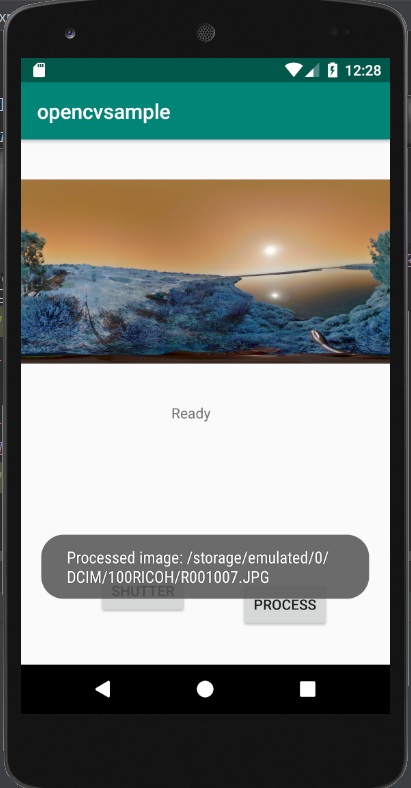
/sdcard/DCIM/100RICOH/ - Use your mouse to press the Process button. It will display an image processed with OpenCV to the emulator screen.
- Press the shutter button to take a picture
- After 4 seconds, press the Wi-Fi button to process the picture
You can see the processed image in Vysor. This demo does not save the processed image to disk.
The no-camera-template shows how to save the processed file to disk.
- JRE 1.8.0
- Android Studio 3.3.2
- Gradle 4.10.1
- OpenCV 3.4.5
- in gradle.build (app) specify
sourceCompatibilityandtargetCompatibilityas 1.8 due to use of lambda
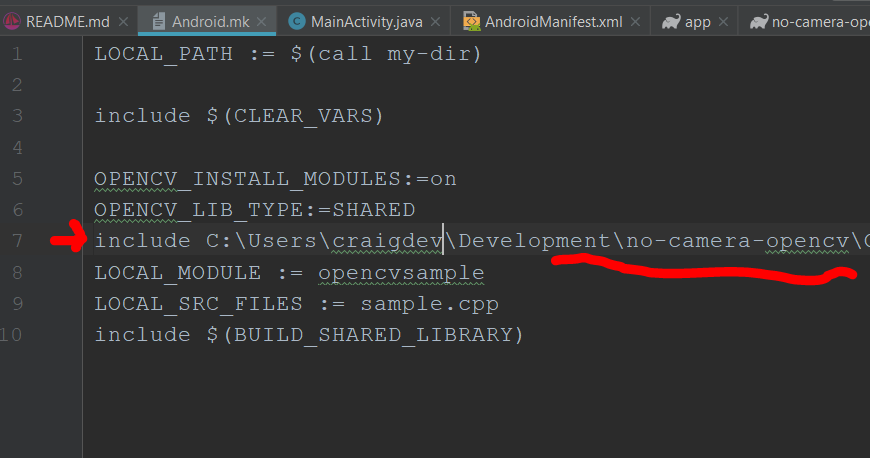
In Android.mk set your include path.
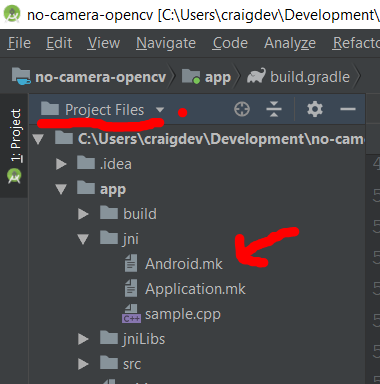
To see the Android.mk file, go to the
"Project Files" view of Android Studio. The
default view is "Android". You need to access
Project Files from the drop-down menu.
Edit the path in the screenshot below to match the path of your local OpenCV source code (which is part of this repo).
Emulator
2019/4/2
- added OpenCV 3.4.5 source to repo
- added directions to edit include path
- fixed problem with screen message for status of permissions
- added library version information to README
- added screenshots to README
- added release folder for the completed apk

