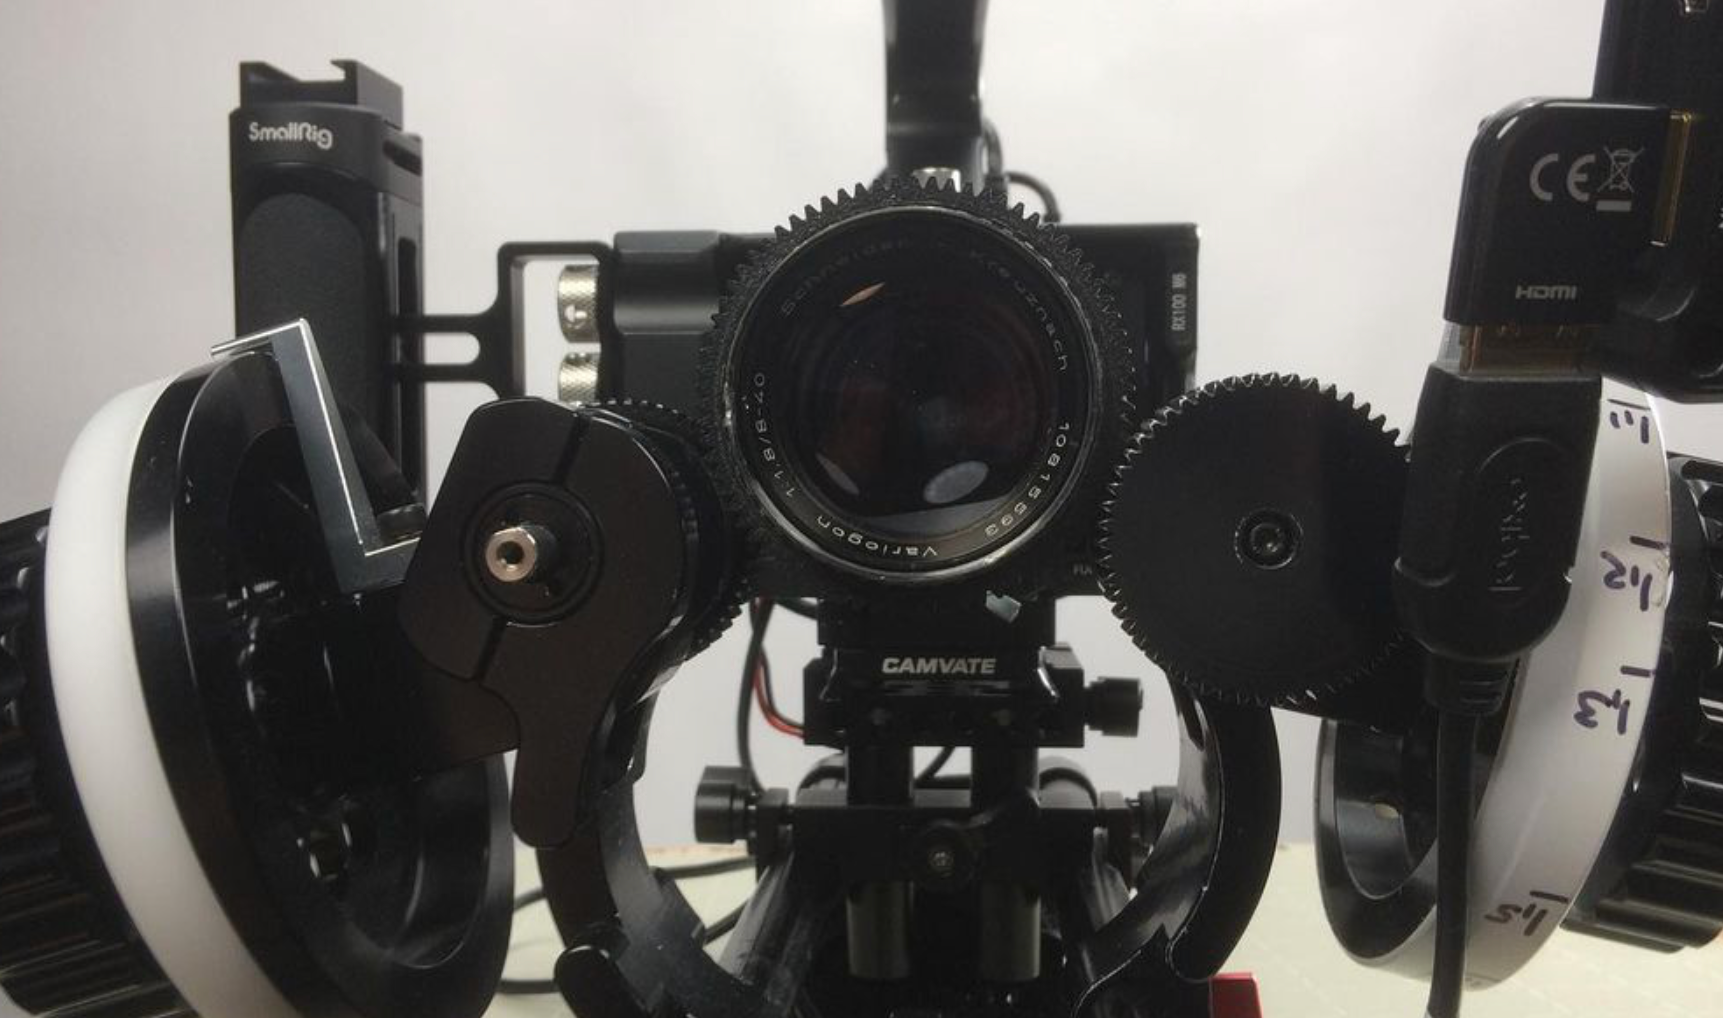
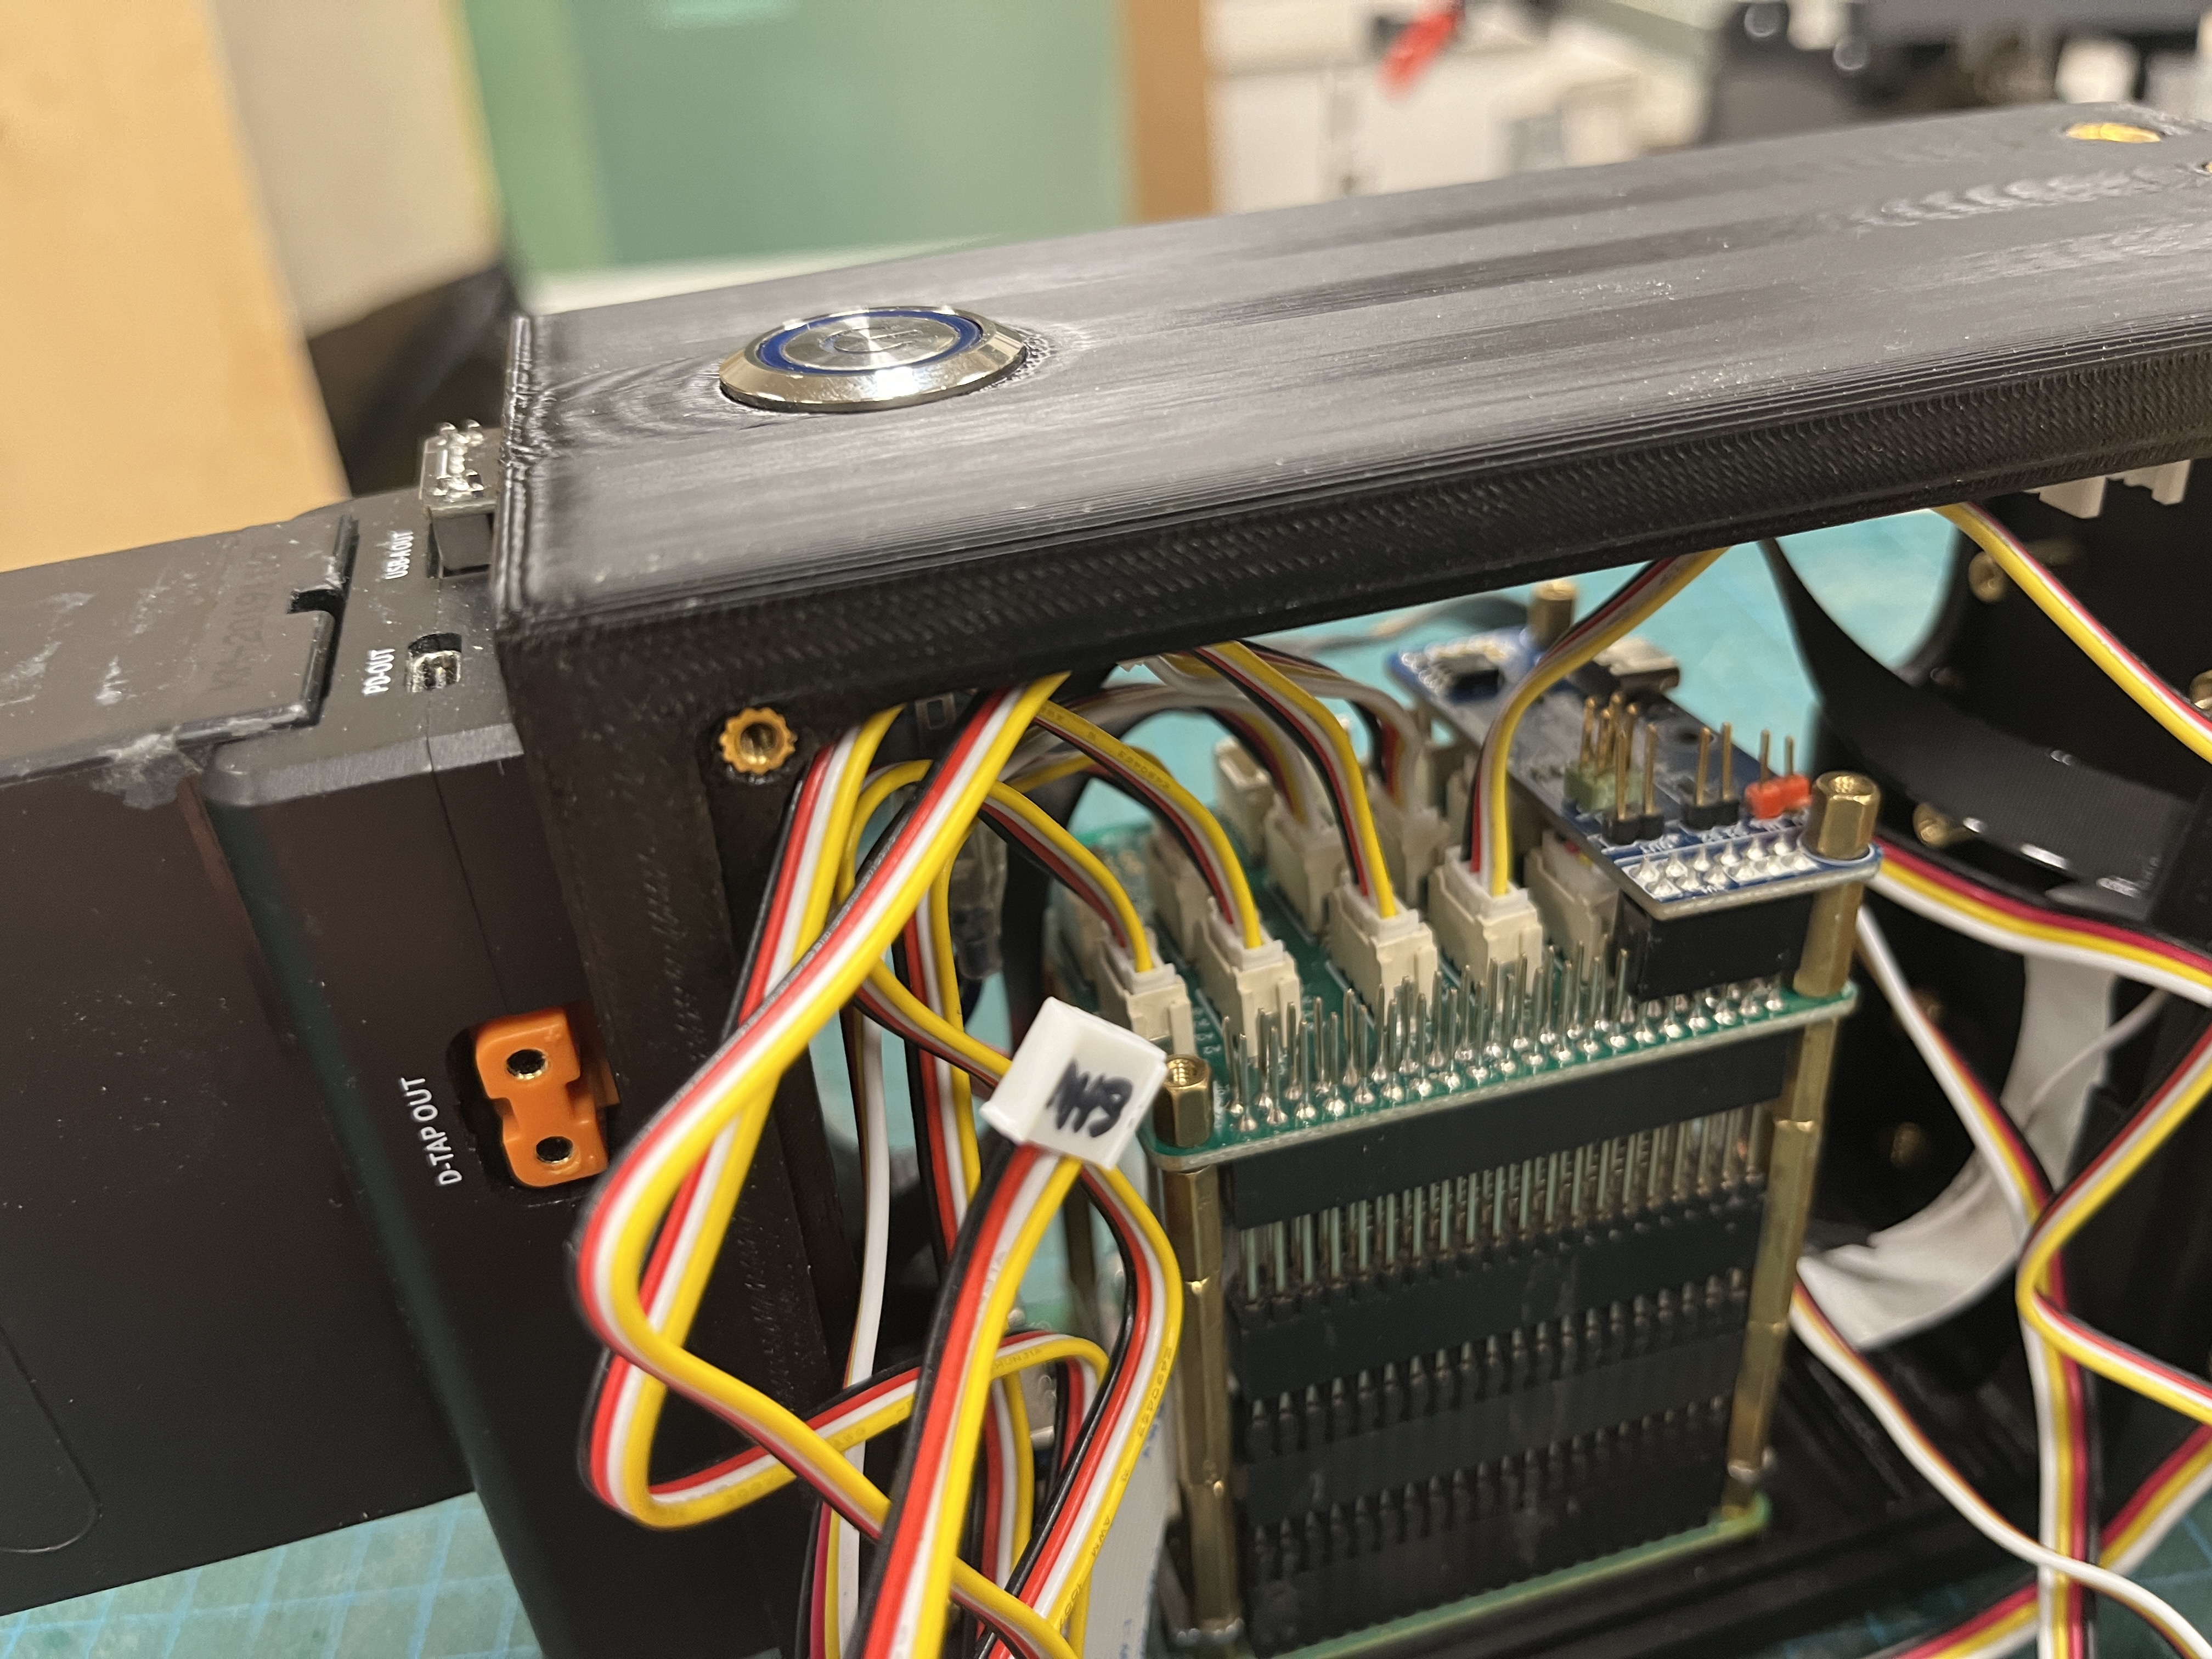
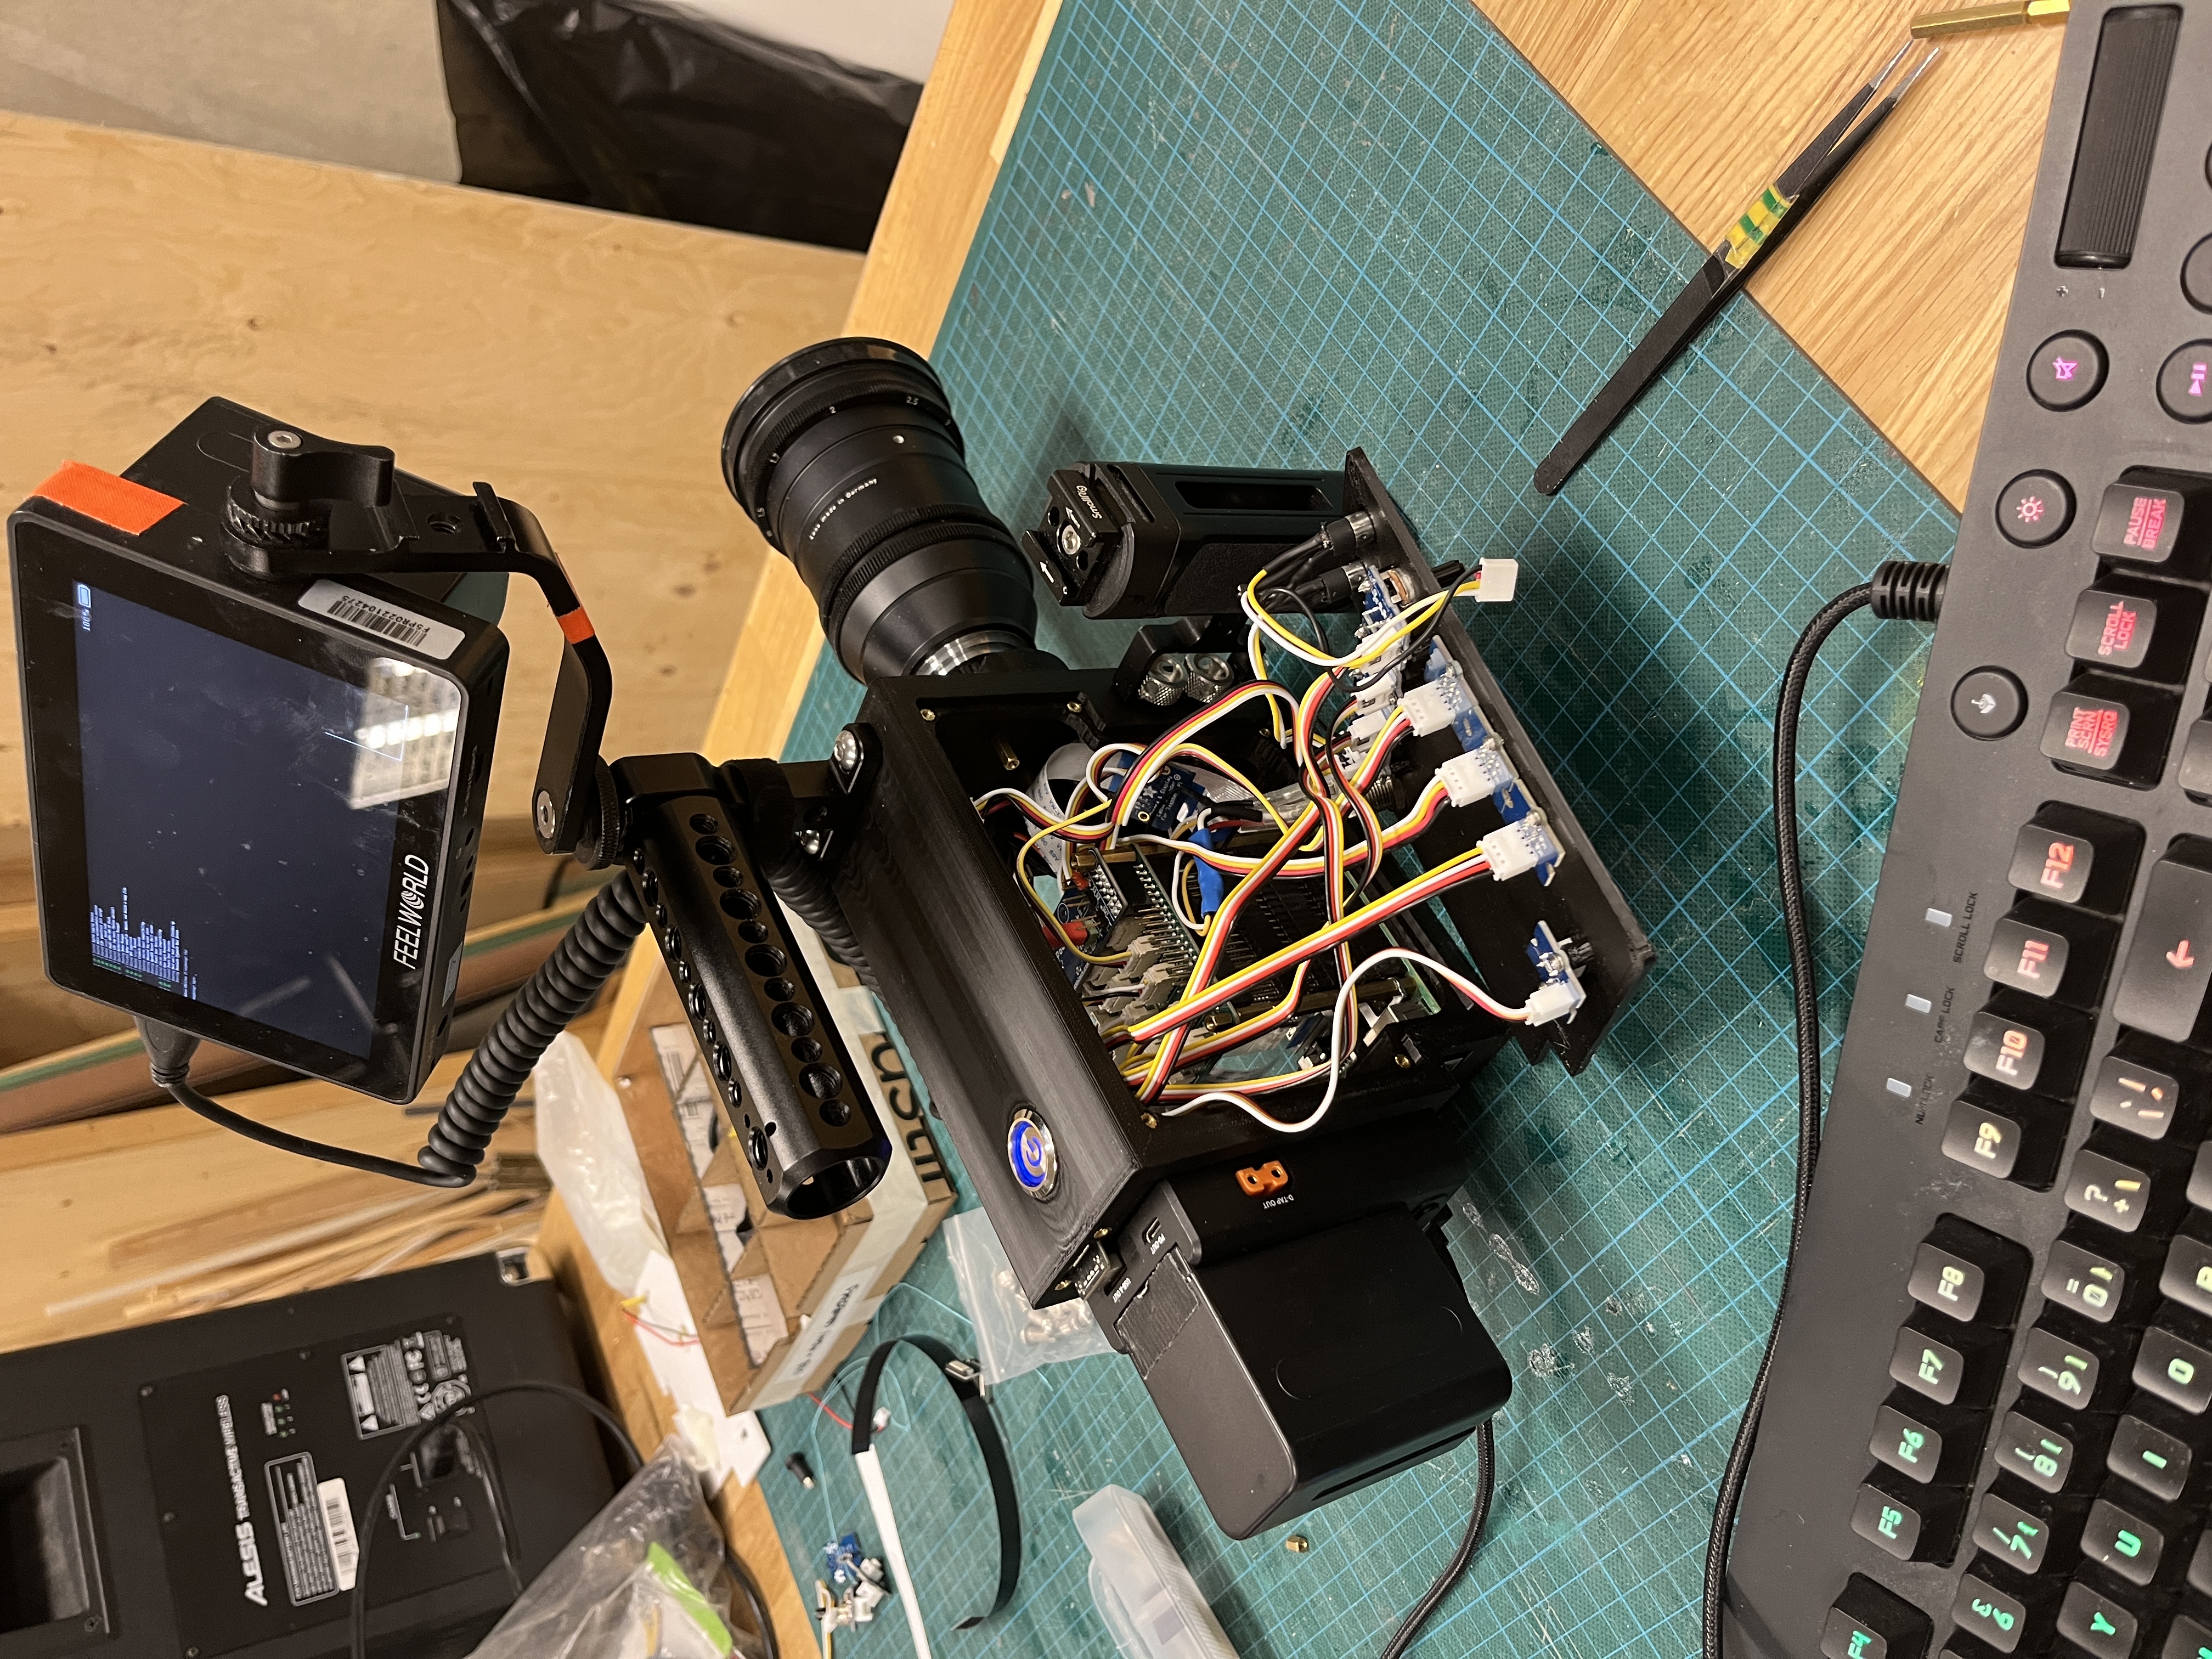
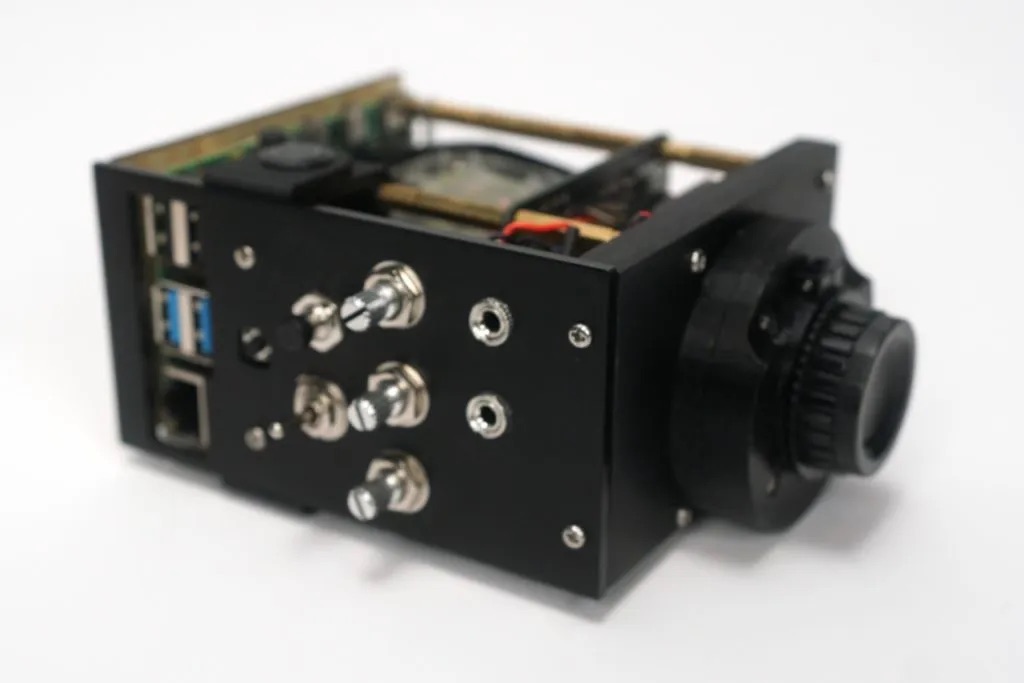
CineMate scripts is a way for users to implement and customize manual controls for their cinepi-raw build.
Project aims at offering an easy way to build a custom camera.
For basic operation and experimentation, only Raspberry Pi, camera board and monitor is needed. For practical use, buttons and switches can easily be added, allowing for a custom build.
A ready made disk image, with a Raspbian Bullseye Lite installation + cinepi-raw and CineMate scripts can be found in the release section of this repo.
Join the CinePi Discord here.
- Trigger recording and control camera settings with CineMate CLI, RPi GPIO, serial input via USB or USB keyboard.
- Easy user customization of GPIO and camera controls using a settings file
- Simple GUI on the HDMI display (normal computer screen or field monitor can be used)
- Support for rotary encoders for iso, shutter angle and fps controls.
- Support for Grove Base HAT for iso, shutter angle and fps controls via potentiometers.
- System button for safe shutdown of the Pi, start-up and unmounting of SSD drive
- Support for PiSugar (displays battery status in Simple GUI)
- Experimental PWM mode, for hardware control of frame rate and shutter speed, allowing for in-camera speed ramping
- Rasberry Pi 4B
- Official HQ or GS camera
- HDMI monitor
For recording, use a high speed SSD (min 200 MB/s write speed). Samsung T5, T7 and Extreme have been confirmed to work. SSD needs to be formatted as NTFS and named "RAW".
Download the disk image from here: https://github.com/Tiramisioux/cinemate/releases/tag/custom_cinepi%2Bcinemate2
Burn to SD card (> 8 GB) using Raspberry Pi imager or Balena Etcher.
| ❗ When connecting the camera module to the Pi, make sure it is the Pi is not powered. It is not advised to hot-swap the camera cable. |
|---|
Insert the SD card into the Pi. Connect camera, HDMI monitor and SSD drive.
Connect simple push buttons or use a paper clip for basic camera operation.
| Camera function | GPIO push button |
|---|---|
| start/stop recording | 4, 5 |
| increase iso one step | 27 |
| decrease iso one step | 15 |
| change resolution | 26 (single click) |
| reboot | 26 (double click) |
| safe shutdown | 26 (triple click) |
| unmount SSD | 26 (hold for 3 seconds) |
Rec light LED can be connected to pins 6 or 21.
| ❗ When connecting an LED to the GPIOs, be sure to use a resistor |
|---|
| ☝️ Connect GPIO 26 to GPIO 03 using a jumper wire, and the system button attached to GPIO 26 will also wake up the Pi, after being shutdown. |
|---|
For controlling iso, shutter angle and frame rate rotary encoders can be used. To engage parameter lock, click the rotary encoder push button.
| clk | dt | encoder button | |
|---|---|---|---|
| set iso | 9 | 11 | 10 |
| set shutter angle | 23 | 25 | 13 |
| set fps | 7 | 8 | 20 |
The button also allows for combined actions together with the system button (GPIO 26).
to be added
For SSH:ing to the Pi, use the following credentials:
User: pi
Password: 1
Cinemate offers a set of Command-Line Interface (CLI) commands that allow users to control camera settings directly from the terminal.
To stop the autostarted instance:
cd cinemate
make stop
To enable (and start) again:
cd cinemate
make start
To disable autostart:
cd cinemate
make uninstall
To enable autostart:
cd cinemate
make install
Anywhere in the CLI, type
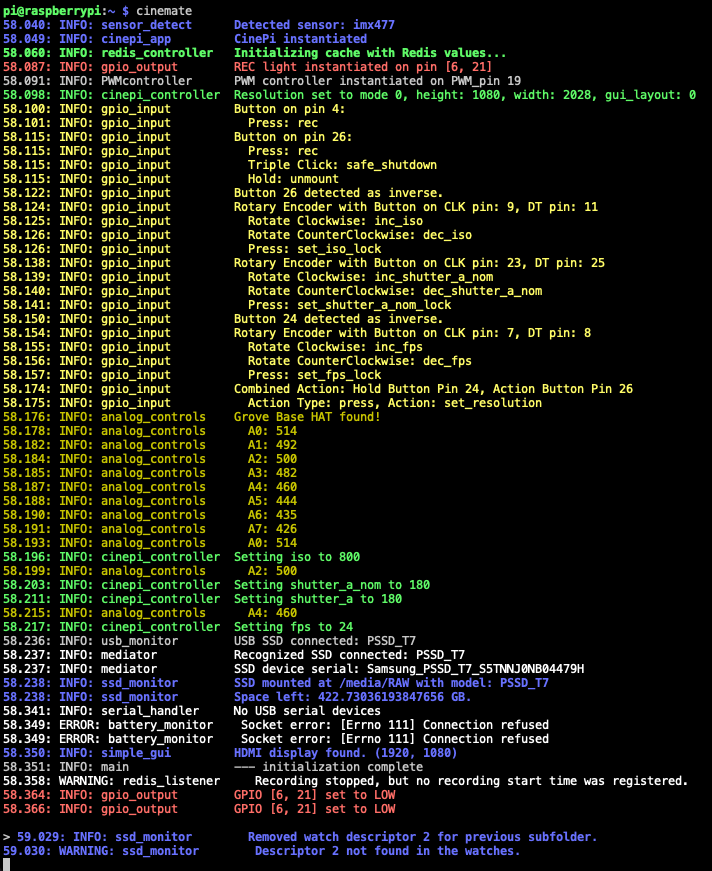
cinemate
This will show a startup sequence. Terminal will now accept the commands from the list below.
Example startup sequence, showing the output from CineMates modules
For extensive logging and troubleshooting, CineMate can be started using the cinemate -debug command.
Start/stop recording:
> rec
Adjust the ISO setting. Requires an integer argument.
> set_iso 800
Set the shutter angle. Requires a float argument for the angle.
> set_shutter_a 172.8
Configure the frames per second. Requires an integer argument.
> set_fps 24
Lock/unlock iso, shutter angle or fps: Toggle locks or set them directly. Providing an argument directly sets the value. Omitting the argument will toggle the control.
> set_iso_lock

> set_shutter_a_nom_lock 1

> set_fps_lock
Enable or disable doubling the FPS rate.
> set_fps_double

> set_fps_double 1
This table includes all the available commands (method calls) + arguments for the CineMate CLI and the GPIO default settings of cinemate/src/settings.json.
Commands are also possible to send to the Pi via USB serial.
| Camera function | CineMate CLI/USB serial command | arguments | GPIO button | GPIO rotary encoder | GPIO switch | Grove Base HAT | USB keyboard |
|---|---|---|---|---|---|---|---|
| start/stop recording | rec |
None (toggle control) | 4, 5 | 0 |
|||
| set iso | set_iso |
integer | clk 9, dt 11, bu 10 | A0 | |||
| iso increase | inc_iso |
- | 17 | 1 |
|||
| iso decrease | dec_iso |
- | 14 | 2 |
|||
| set shutter angle | set_shutter_a_nom |
float | clk 23, dt 25, bu 13 | A2 | |||
| shu increase 1 deg | inc_shutter_a_nom |
- | 3 |
||||
| shu decrease 1 deg | dec_shutter_a_nom |
- | 4 |
||||
| set fps | set_fps |
integer | clk 7, dt 8, bu 20 | A4 | |||
| fps increase 1 fps | inc_fps |
- | 5 |
||||
| fps decrease 1 fps | dec_fps |
- | 6 |
||||
| lock iso | set_iso_lock |
0, 1 or None (toggle control) | 10 (single click) | ||||
| lock shutter angle | set_shutter_a_nom_lock |
0, 1 or None (toggle control) | 13 (single click) | ||||
| lock fps | set_fps_lock |
0, 1 or None (toggle control) | 20 (single click) | ||||
| lock all controls | set_all_lock |
0, 1 or None (toggle control) | |||||
| lock shutter angle + fps | set_shutter_a_nom_fps_lock |
0, 1 or None (toggle control) | 24 | ||||
| sync shutter angle to fps | set_shutter_a_sync |
0, 1 or None (toggle control) | hold 13 + single click 26 | 16 | |||
| double fps | set_fps_double |
0, 1 or None (toggle control) | 12 | hold 20 + single click 26 | |||
| pwm mode | set_pwm_mode |
0, 1 or None (toggle control) | hold 10 + single click 26 | 22 | |||
| change resolution | set_resolution |
0, 1 or None (toggle control) | 26 (single click) | 8 |
|||
| reboot | reboot |
- | 26 (double click) | ||||
| safe shutdown | shutdown |
- | 26 (triple click) | ||||
| unmount drive | unmount |
- | 26 (hold for 3 sec) | 9 |
| Setting | Values |
|---|---|
| iso | 100, 200, 400, 640, 800, 1200, 1600, 2500 and 3200. |
| shutter angle | 1-360 in one degree increments + 172.8 and 346.6 |
| fps | 1-50 fps @ 2028x1080, 1-40 fps @ 2028x1520 |
The arrays can be customized using the settings file (see below).
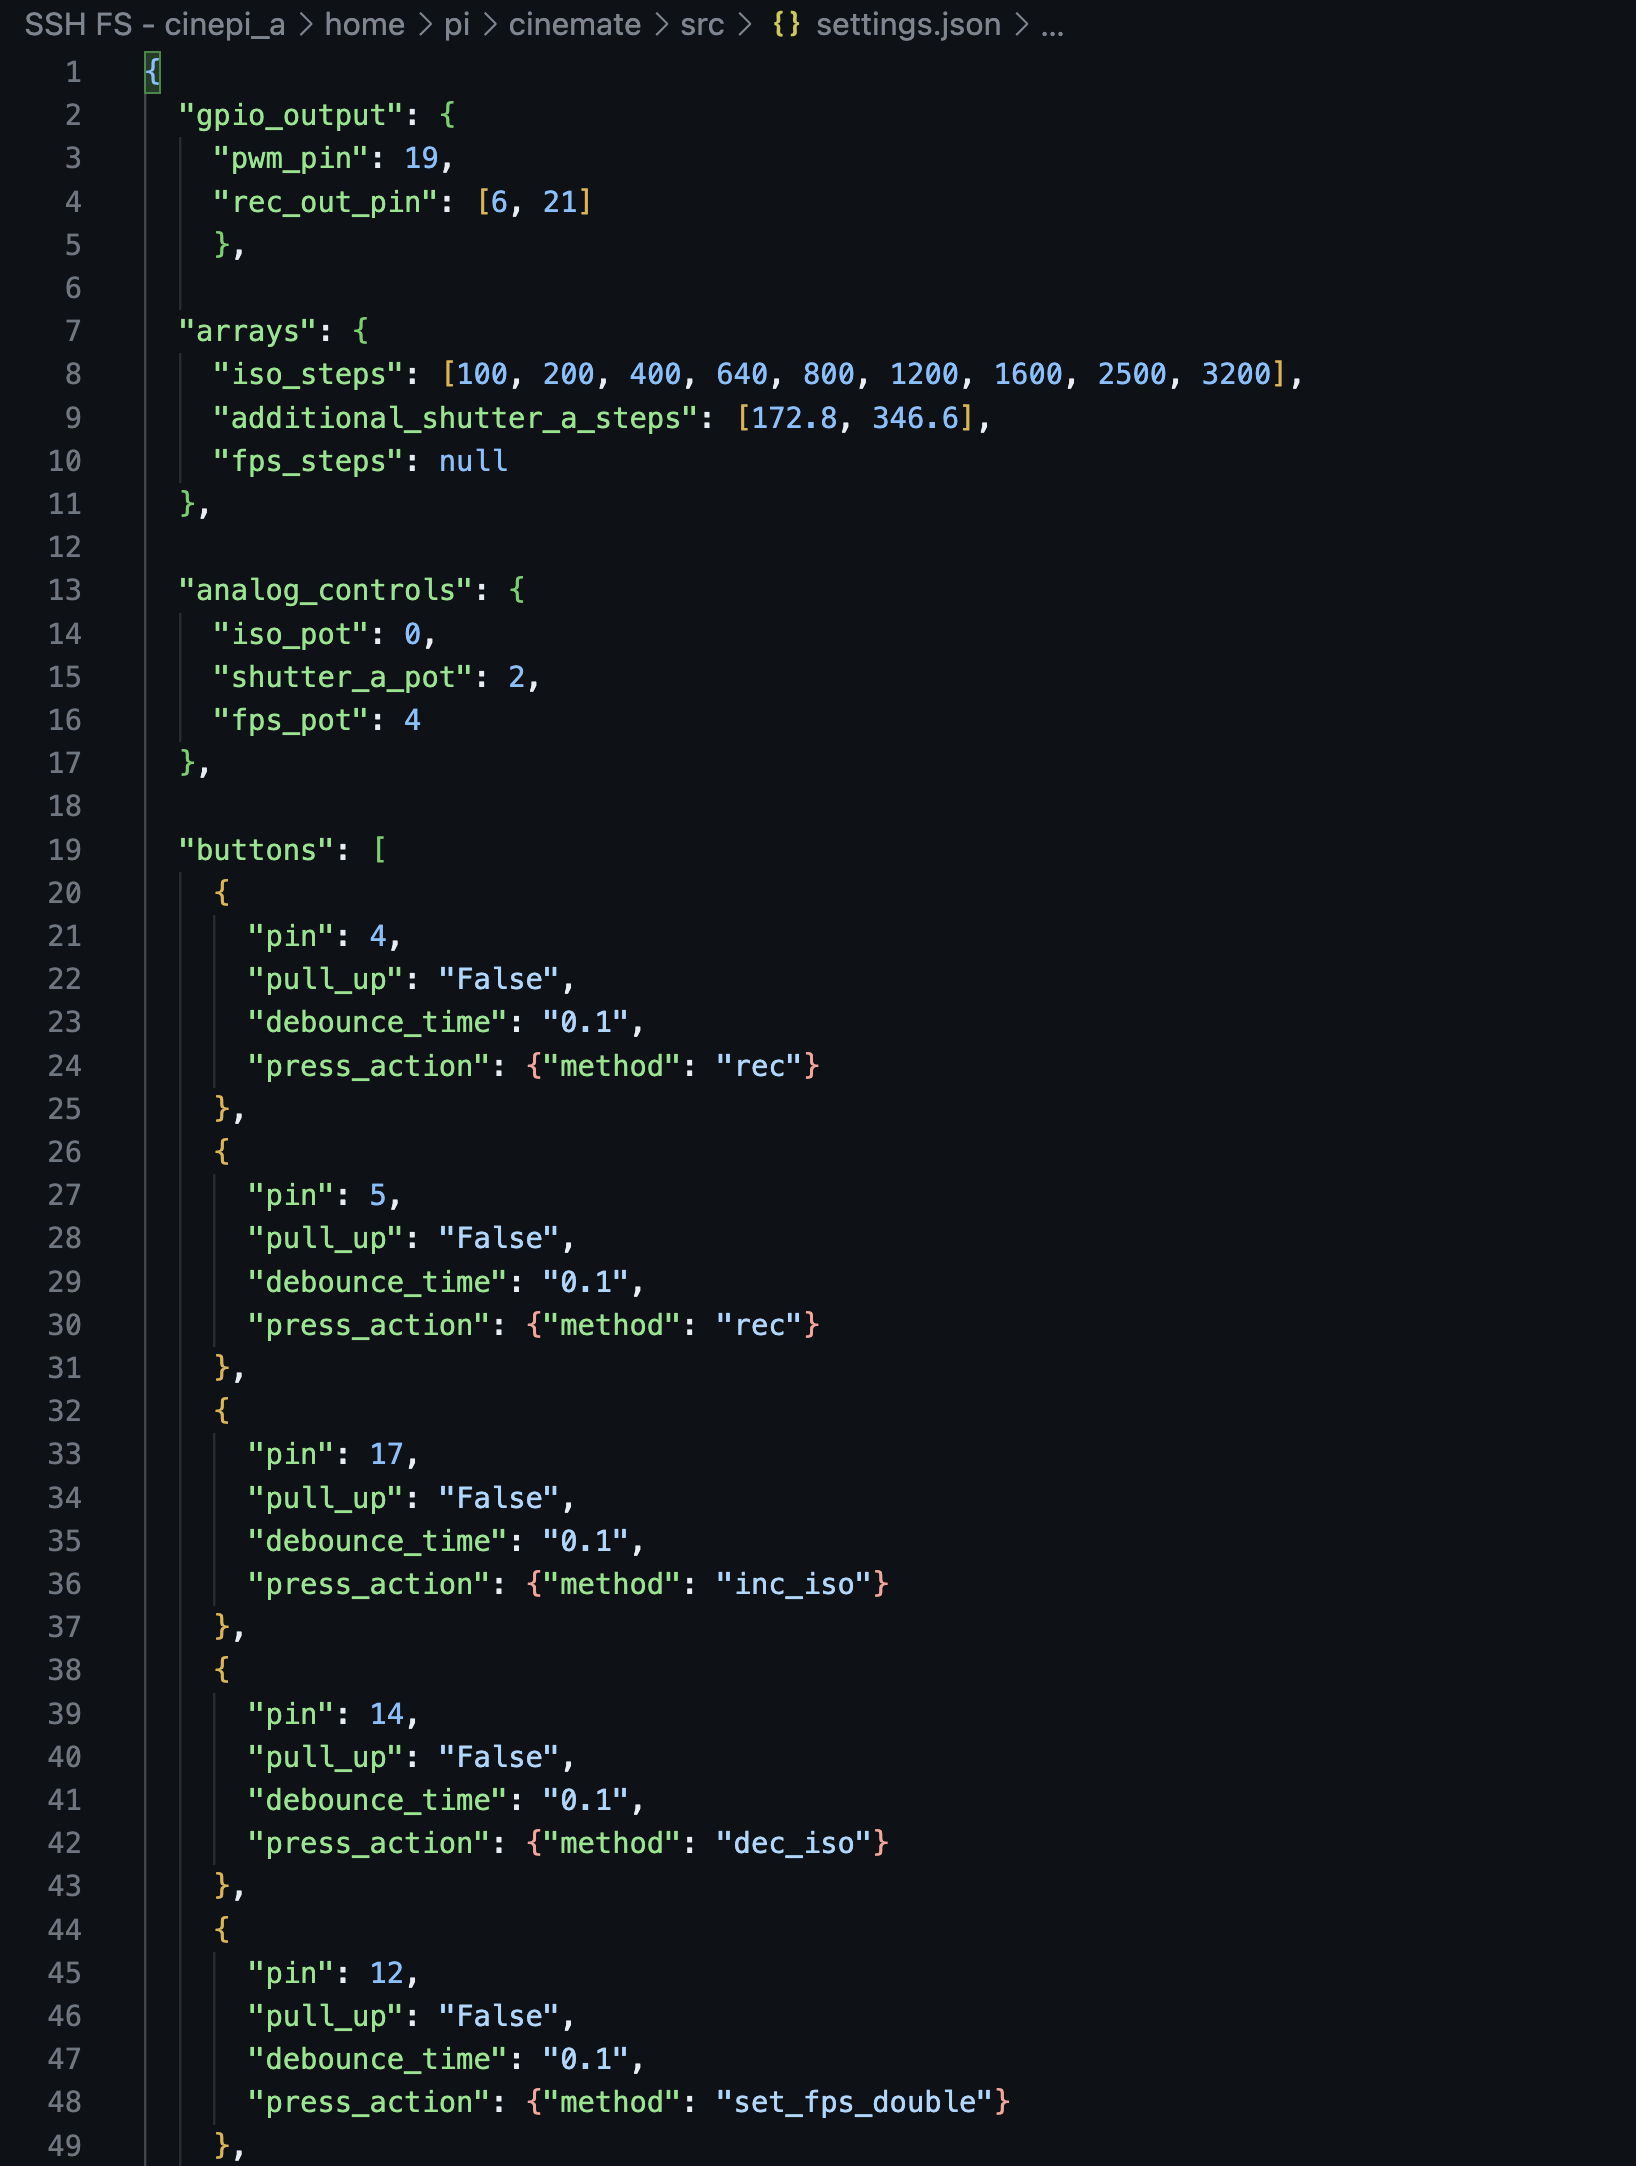
The settings file can be found in cinemate/src/settings.json. Here the user can define their own buttons, switches, rotary encoders and combined actions, modifying the table above.
Define your hardware setup and desired application behavior:
{
"pwm_pin": 19,
"rec_out_pin": [6, 21],
"iso_steps": [100, 200, 400, 640, 800, 1200, 1600, 2500, 3200],
"additional_shutter_a_steps": [172.8, 346.6],
"fps_steps": null
}
Map Grove Base HAT ADC channels to iso, shutter angle and fps controls:
"analog_controls": {
"iso_pot": "A0",
"shutter_a_pot": "A2",
"fps_pot": "A4"
}
Setup buttons with actions for different interactions:
"buttons": [
{
    "pin": 5,
    "pull_up": "False",
    "debounce_time": "0.1",
    "press_action": {"method": "rec"}
}
]
Each button can be configured with a variety of actions based on different interactions:
Press Action: Triggers a specified method upon a simple press.
Single, Double, and Triple Click Actions: Specify methods to execute based on the number of successive clicks.
Hold Action: Executes a method when the button is held down for a longer duration.
Each action can specify a method that corresponds to a function within the application, and args, an array of arguments that the method requires.
Note that if you have both a Press Action and a Single-Click action on a pin, the pin will first execute the Press Action and when released, execute the Single-Click Action. Combining Press Action and Click actions on the same pin is therefore not recommended.
Two-way switches are configured in the two_way_switches section and have actions for both states:
State On Action and State Off Action: Define what actions to take when the switch is turned on or off, respectively. Similar to button actions, these can specify a method and args.
"two_way_switches": [
{
    "pin": 16,
    "state_on_action": {"method": "set_shutter_a_sync", "args": [false]},
    "state_off_action": {"method": "set_shutter_a_sync", "args": [true]}
  },
}
]
Configure rotary encoders for settings adjustments and optional button presses:
"rotary_encoders": [
  {
    "clk_pin": 9,
    "dt_pin": 11,
    "button_pin": 10,
    "pull_up": "False",
    "debounce_time": "0.05",
    "button_actions": {
      "press_action": "None",
      "single_click_action": {"method": "set_iso_lock"},
      "double_click_action": "None",
      "hold_action": "None"
    },
    "encoder_actions": {
      "rotate_clockwise": {"method": "inc_iso", "args": []},
      "rotate_counterclockwise": {"method": "dec_iso", "args": []}
    }
}
]
Clockwise and Counterclockwise Actions: Specify methods to execute when the encoder is rotated in either direction.
Button Actions: If the encoder has a push button, configure actions similar to standalone buttons, including press, click, and hold interactions.
Set up interactions involving multiple inputs:
"combined_actions": [
{
  "hold_button_pin": 13,
  "action_button_pin": 26,
  "action_type": "press",
  "action": {"method": "set_shutter_a_sync"}
}
Combined actions allow for complex interactions involving multiple buttons or switches:
Hold Button Pin and Action Button Pin: Define the pins of the buttons involved in the combined action.
Action Type: Specifies the type of action required from the action_button_pin (e.g., press).
Action: Determines the method to execute when the combined action condition is met.
to be added
to be added
to be added
PWM mode sets the Raspberry Pi HQ/GS sensors in sink mode, as explained here: https://github.com/Tiramisioux/libcamera-imx477-speed-ramping
This makes it possible to feed the sensor XVS input with hardware PWM signal from the pi (CineMate uses pin 19 as default, but pin 18 also supports hardware PWM), allowing for hardware control of fps and shutter angle during recording, without restarting the camera.
| ❗ Note! Be sure to use a voltage divider so PWM signal is converted to 1.65V. |
|---|
This function is an experiment inspired by my old Nizo 8mm camera which has a button for doubling the motor speed, achieving in-camera speed ramping.
From my tests I have noticed that changing fps works fine, but sometimes camera has to be reset a couple of times to work properly (toggling the PWM mode button). Changing shutter angle in PWM mode (or having shutter angle sync engaged) also doesn't seem to work properly.
| ❗ Note that if you update this repo, your setting-file will be overwritten with the latest default CineMate settings file. If you are using a custom settings file, be sure to copy it to somewhere outside of the cinemate folder before updating, or see below for how to exclude the file from git update. |
|---|
To ensure that you can update the cinemate repository on your Raspberry Pi while retaining your custom settings in /src/settings.json, follow these steps:
-
Navigate to the CineMate directory and stop any autostarted instance of CineMate.
cd cinemate make stop -
Stash Your Custom Settings File
Before updating, stash your
settings.jsonfile to prevent it from being overwritten during the update:git stash push src/settings.json -m "Saving custom settings.json"
-
Pull the Latest Updates
Pull the latest updates from the development branch of the cinemate repository:
git pull origin development -
Reapply Your Custom Settings
After pulling the updates, reapply your
settings.jsonfile:git stash popIf you encounter any merge conflicts with
settings.json, Git will notify you. Resolve the conflicts by manually merging the changes, and then commit the resolved version ofsettings.json. -
Restart CineMate
cinemate
It's a good practice to keep a backup of your settings.json file outside the repository directory. This ensures that you have a copy of your custom settings in case of unexpected changes or merge conflicts.
Actual frame rate of the IMX477 sensor fluctuates about 0.01% around the mean value. This has no visual impact but will impact syncing of external audio. If recording synced audio, make sure to use a clapper board in the beginning and the end of the take. This will make it easier to sync the sound, but sync might still drift back and forth.
Cinepi-raw names the clips according to system time. For clips to use the current time of day, an RTC (Realtime Clock Unit) can be installed.
To get the right system time on the Pi, simply connect to a computer connected to the internet via SSH and the Pi will update its system time.
To check system time in the CineMate CLI:
time
To write system time to a connected RTC, in the Cinemate CLI:
set time
Now, if not connected to the internet, on startup the Pi will get its system time from the RTC.
To make a compressed image backup of the SD card onto the SSD:
sudo dd if=/dev/mmcblk0 bs=1M status=progress | xz -c > /media/RAW/cinepi_cinemate_raspbian_image_$(date +%Y-%m-%d_%H-%M-%S).img.xz
Backing up an 8 GB CineMate image takes about 2 hours.
Tinkercad model here.
Tinkercad model here
by Alexander Weigand
Tinkercad model here.
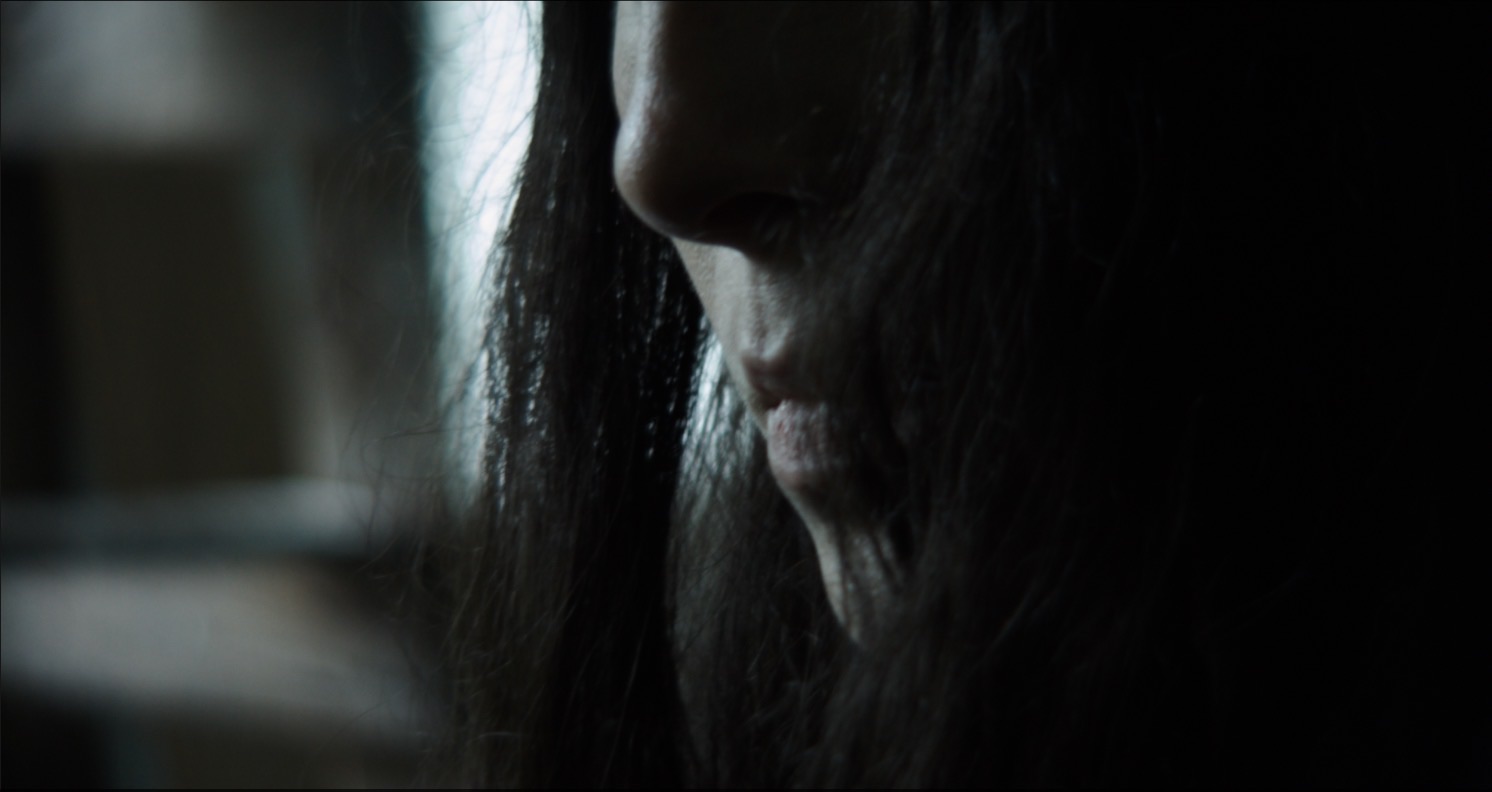
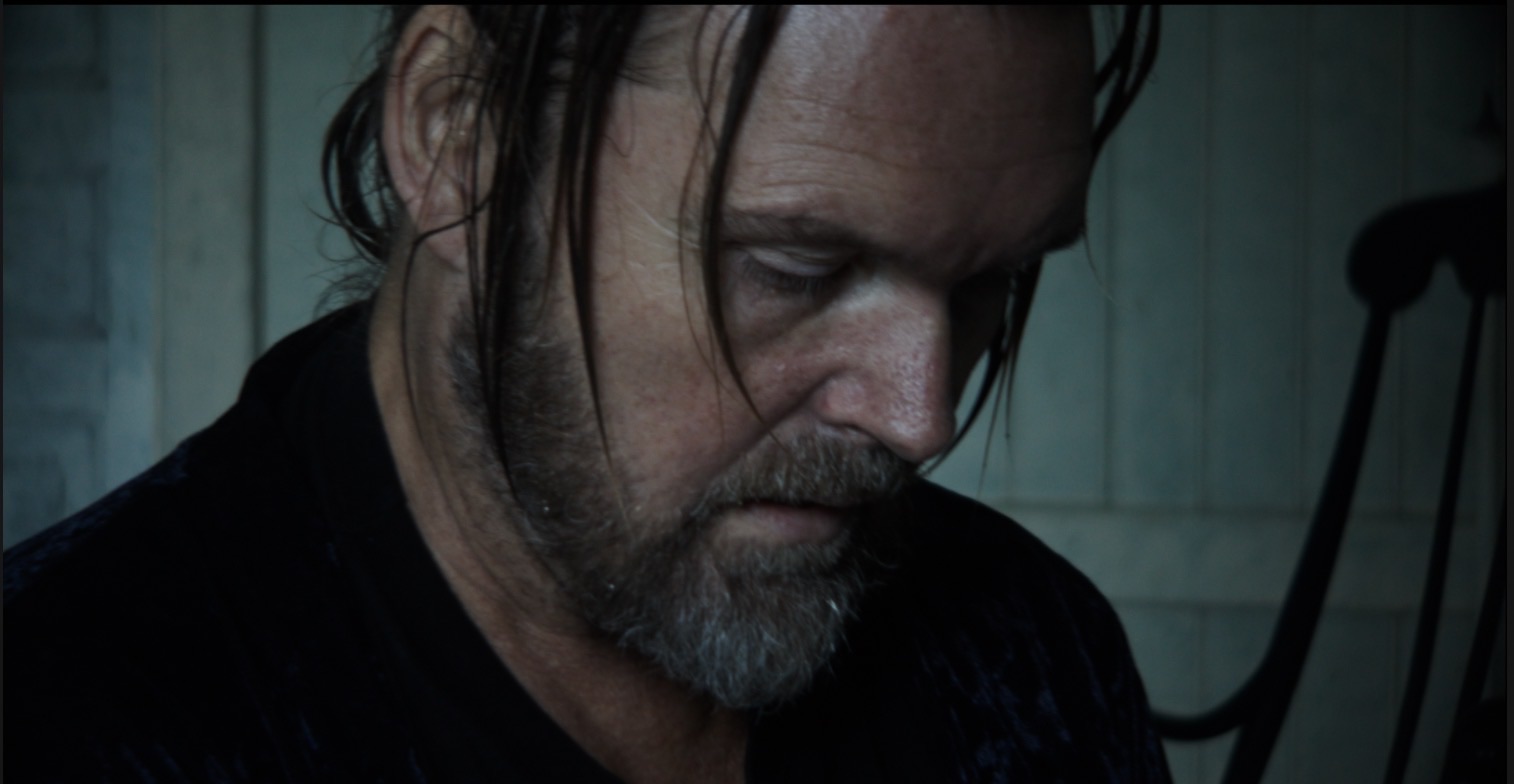
Images shot with Schneider Kreuznach Variagon 18-40 zoom from 1967. Developed as BMD RAW in Davinci Resolve with Arri LogC to Rec LUT
