PyTorch3D_Rendering_Basics
+-data
+-images
+-README.md
+-report
+-requirements.txt
+-starter
- Download and extract the files.
- Make sure you meet all the requirements given on: https://github.com/848f-3DVision/assignment1
- The data folder consists of all the data necessary for the code.
- The images folder has all the images/gifs generated after running the codes.
- All the necessary instructions for running the code are given in README.md.
- The folder report has the html file that leads to the webpage.
- Scripts for all the questions are present in the starter folder.
Make sure you are in the PyTorch3D_Rendering_Basics directory.
Run the code:
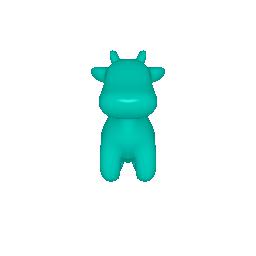
python -m starter.render_mesh --image_size 256 --output_path images/cow_render.jpg
This takes the necessary data from the data folder and gives a render as an output.
The render is saved as cow_render.jpg in the images folder
Run the code:
python -m starter.360_render_mesh --image_size 256 --output_path images/cow_render.jpg
This takes the necessary data from the data folder and gives a gif render as an output.
The render is saved as 360_cow_render.gif in the images folder.
Run the code:
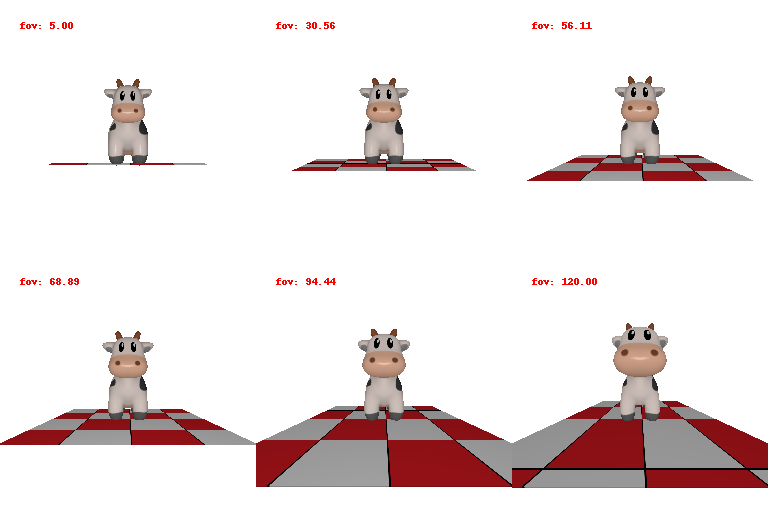
python -m starter.dolly_zoom --num_frames 10
This takes the necessary data from the data folder and gives a gif render as an output.
The render is saved as dolly_zoom.gif in the images folder.
Run the code:
python -m starter.tetrahedron_mesh
This takes the vertices and faces as inputs gives a gif render as an output.
The render is saved as 360_tetrahedron_render.gif in the images folder.
Run the code:
python -m starter.cube_mesh
This takes the vertices and faces as inputs gives a gif render as an output.
The render is saved as 360_cube_render.gif in the images folder.
Run the code:
python -m starter.gradient_cow_mesh --image_size 256 --output_path images/gradient_cow_render.jpg
This takes the extreme colors as inputs gives a retextured gif render as an output.
The render is saved as gradient_cow_render.gif in the images folder.
No transformation:
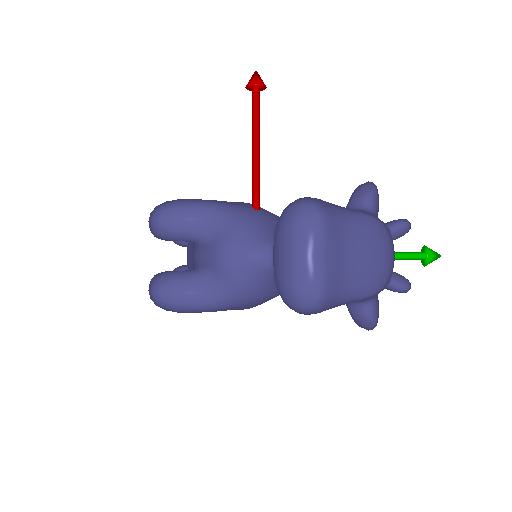
There are 4 relative camera transformations that produce the necessary output. All the outputs can be produced from the same code by running:
python -m starter.camera_transforms --image_size 512
Uncomment the indicated parts of the code to get the desired output.
This takes the (R_relative, T_relative) as inputs gives a transformed render as an output.
The render for the four transformations are saved as transform{i}.jpg (where i = 1,2,3,4) in the images folder.
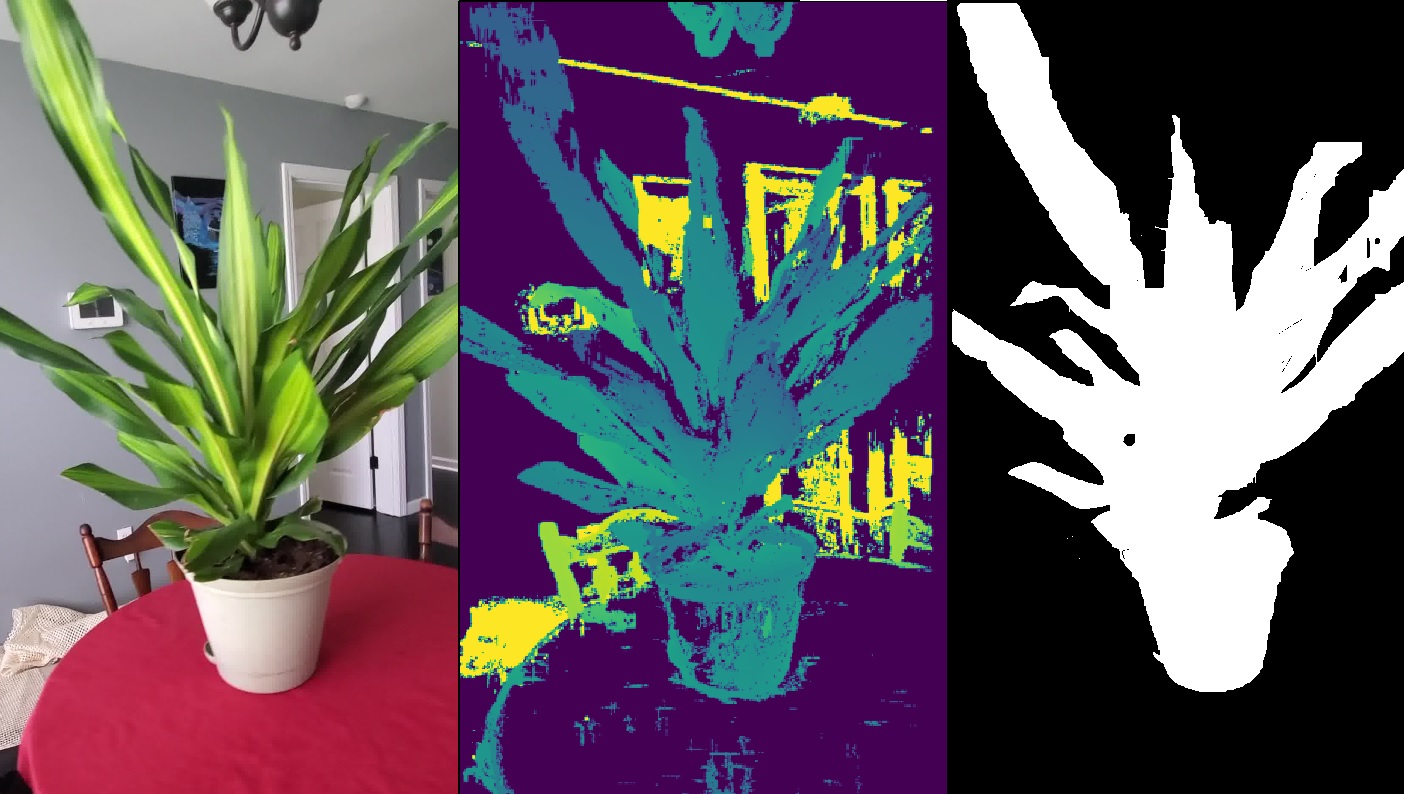
We have 3 point cloud datas:
- From the first image
- From the second image
- By concatinating the two point clouds make changes in the code in the load_rgbd function wherever indicated to get the respective point cloud output.
Then Run the code:
python -m starter.render_generic --render rgbd
This takes the points and rgba data as inputs gives a gif render as an output.
The renders are saved as 360_pointcloud_plant1.gif, 360_pointcloud_plant2.gif, 360_pointcloud_plant3.gif in the images folder.
This code renders a torus using parametric sampling. Run the code:
python -m starter.render_generic --render parametric --num_samples 100
Change the number of samples to get different outputs make changes in the code in the render_torus function wherever indicated to get the respective output. The render is saved as parametric_torus_{n}.gif in the images folder. (n represents number of samples)
This code renders a torus mesh using implicit function. Run the code:
python -m starter.render_generic --render implicit
The render is saved as implicit_torus.gif in the images folder.
The html code for the webpage is stored in the report_example folder along with the images/gifs. Clicking on the starter.md.html file will take you directly to the webpage.


